![]()
This post may contain affiliate links which keeps this blog going but does not add any cost to you
Step 1: Prep
Take your foil and crumble it into a ball or egg shape. The more foil you use, the larger your Dragon’s Egg will be. You may also create multiple smaller eggs. I like to create a flat bottom piece so that it can sit flat on the surface; you can create this however you’d like.
Step 2:
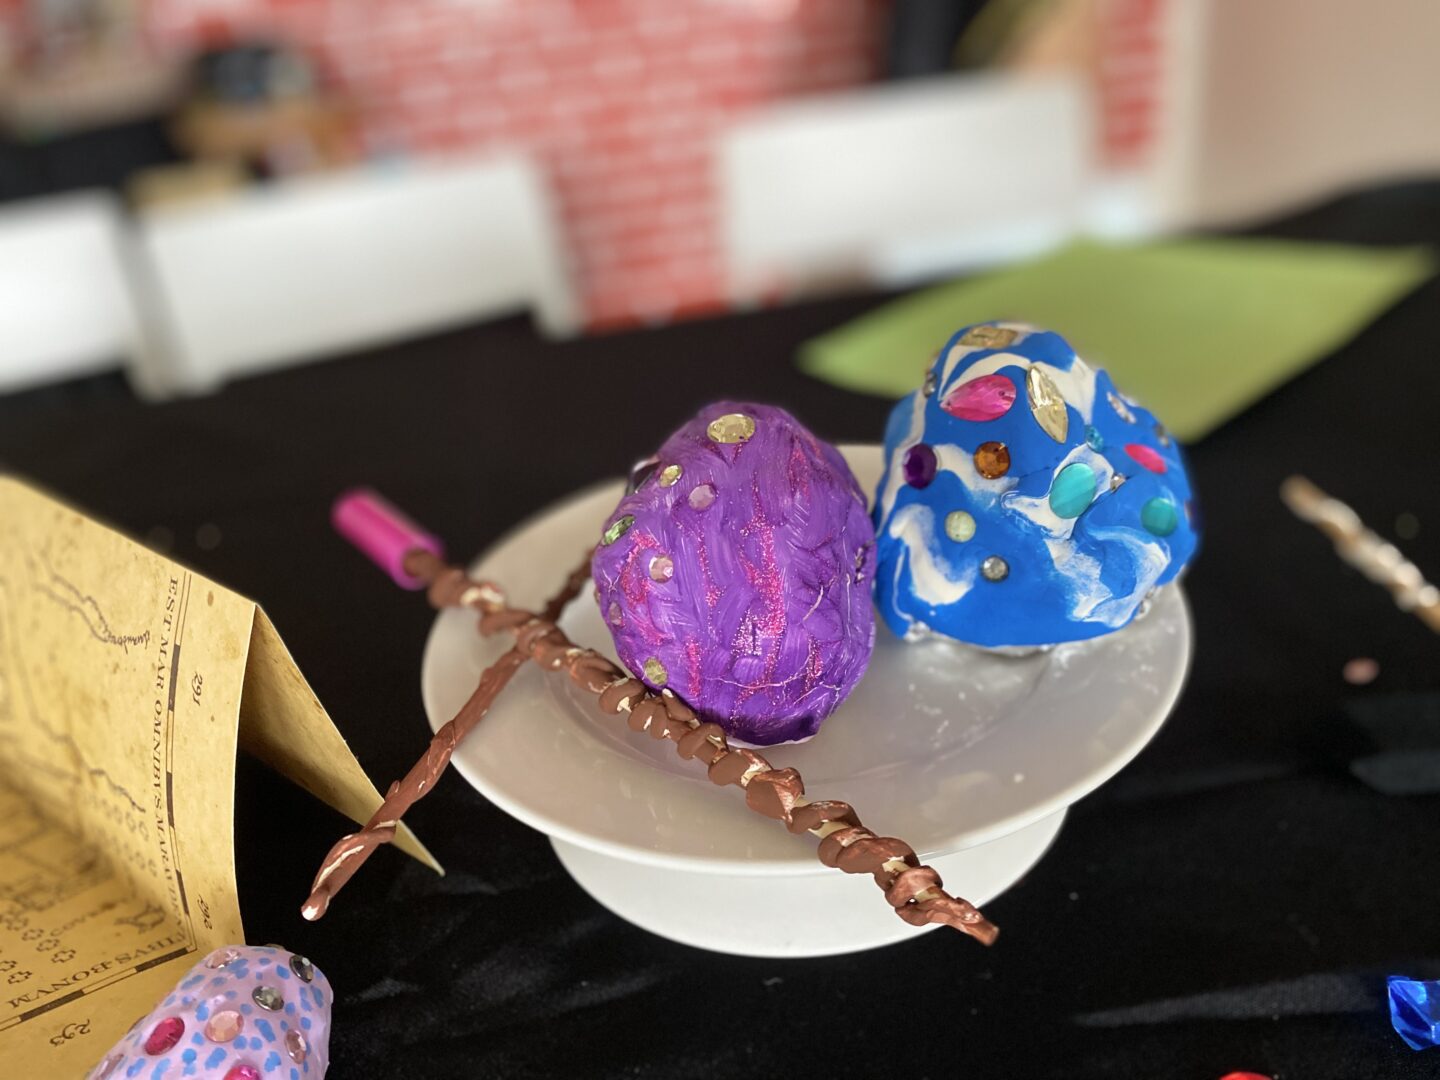
Take your air-dry clay and roll it around. If you’re using two different colors, mix them by twisting and squishing (a very fun sensory activity). If you plan on painting your egg, the color of your clay will not matter)
Step 3:
Roll your clay into a ball, then push down with the palm of your hand to flatten it. Continue to flatten it until it’s large enough to wrap around the foil egg you’ve created.
Step 4:
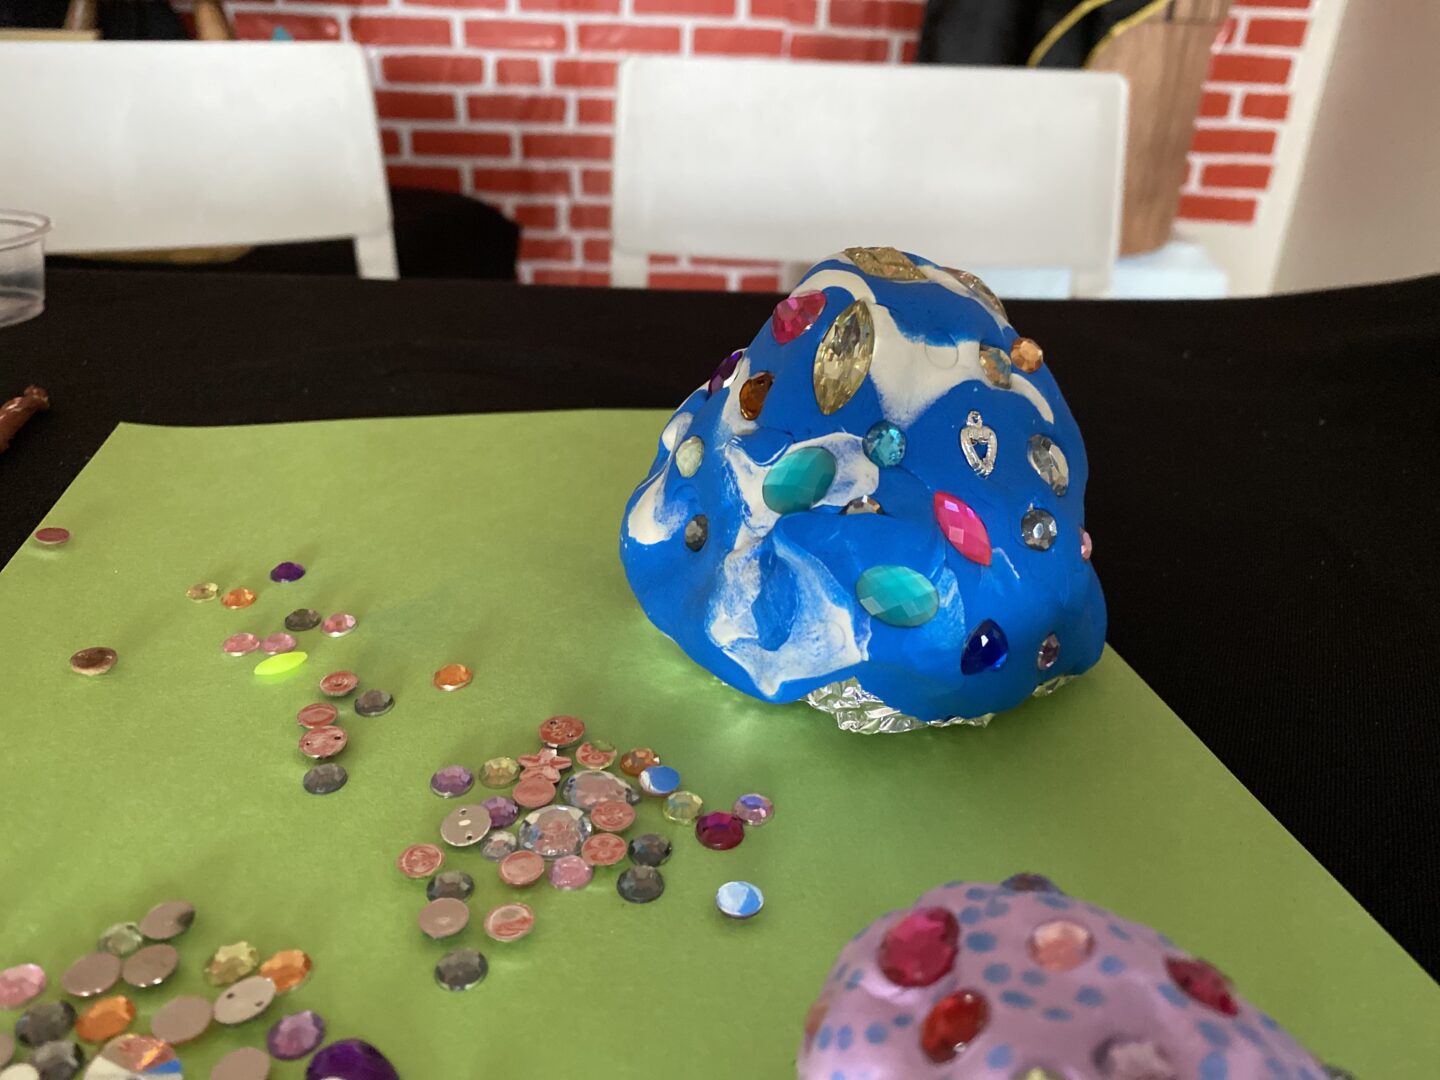
Take your clay and begin wrapping your foil egg with it. It’s okay if pieces of foil are sticking out. If you’re planning on painting it, you can paint directly over the foil. If you’re going to use only the clay, you may remove larger pieces from other areas and place them over the foil.
Step 5:
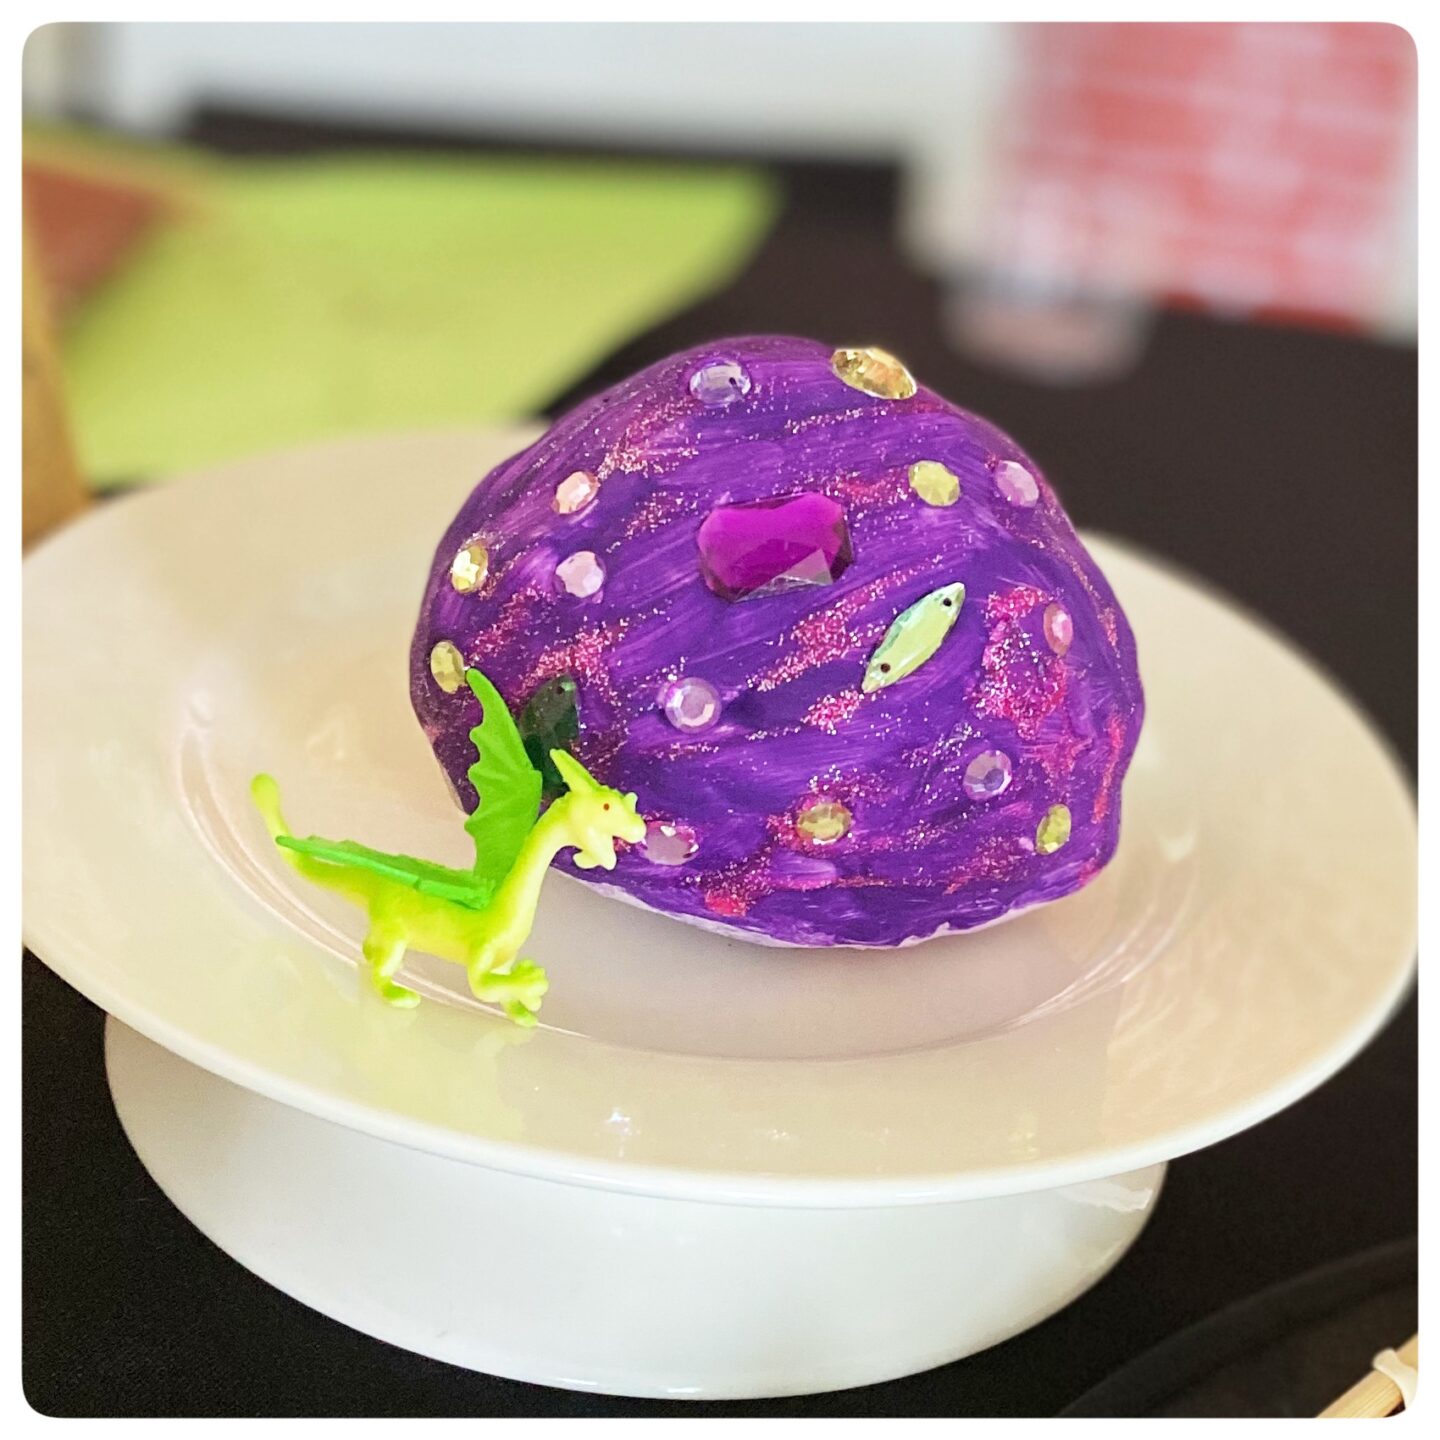
You may paint your egg if you wish. Then it’s time to add your jewels. Push your jewels into the clay. When the clay dries, it will harden around your jewels keeping them secure and safe on your egg. This is also a great time to add glitter, if you wish.
Step 6:
Allow the air-dry clay to dry overnight and it will be ready for play tomorrow. You may also use permanent markers to draw dots or other designs on your egg once dry. Your egg is light-weight and yet sturdy.
Check out video tutorial
Share your Projects:
Check out more of our Wizardly Wonders Camp and don't forget to tag us on social when you try these out #how2playtoday
Check out our Instagram page and stories for more ideas of How 2 Play Today with your children.
![]()

