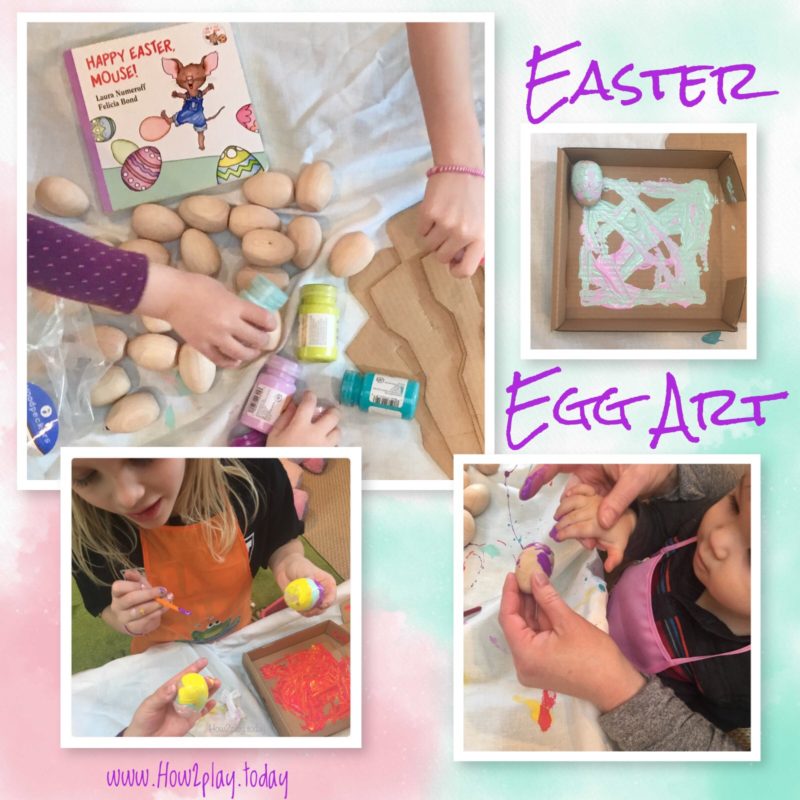
Creative DIY Easter egg art. This open-ended process art allows the kids to direct the art project by giving them options and embracing the mess. The process becomes the fun focus and not necessarily the product because whatever the end result is, will be beautiful.
This post contains affiliate links which keeps this blog going but does not add any cost to you
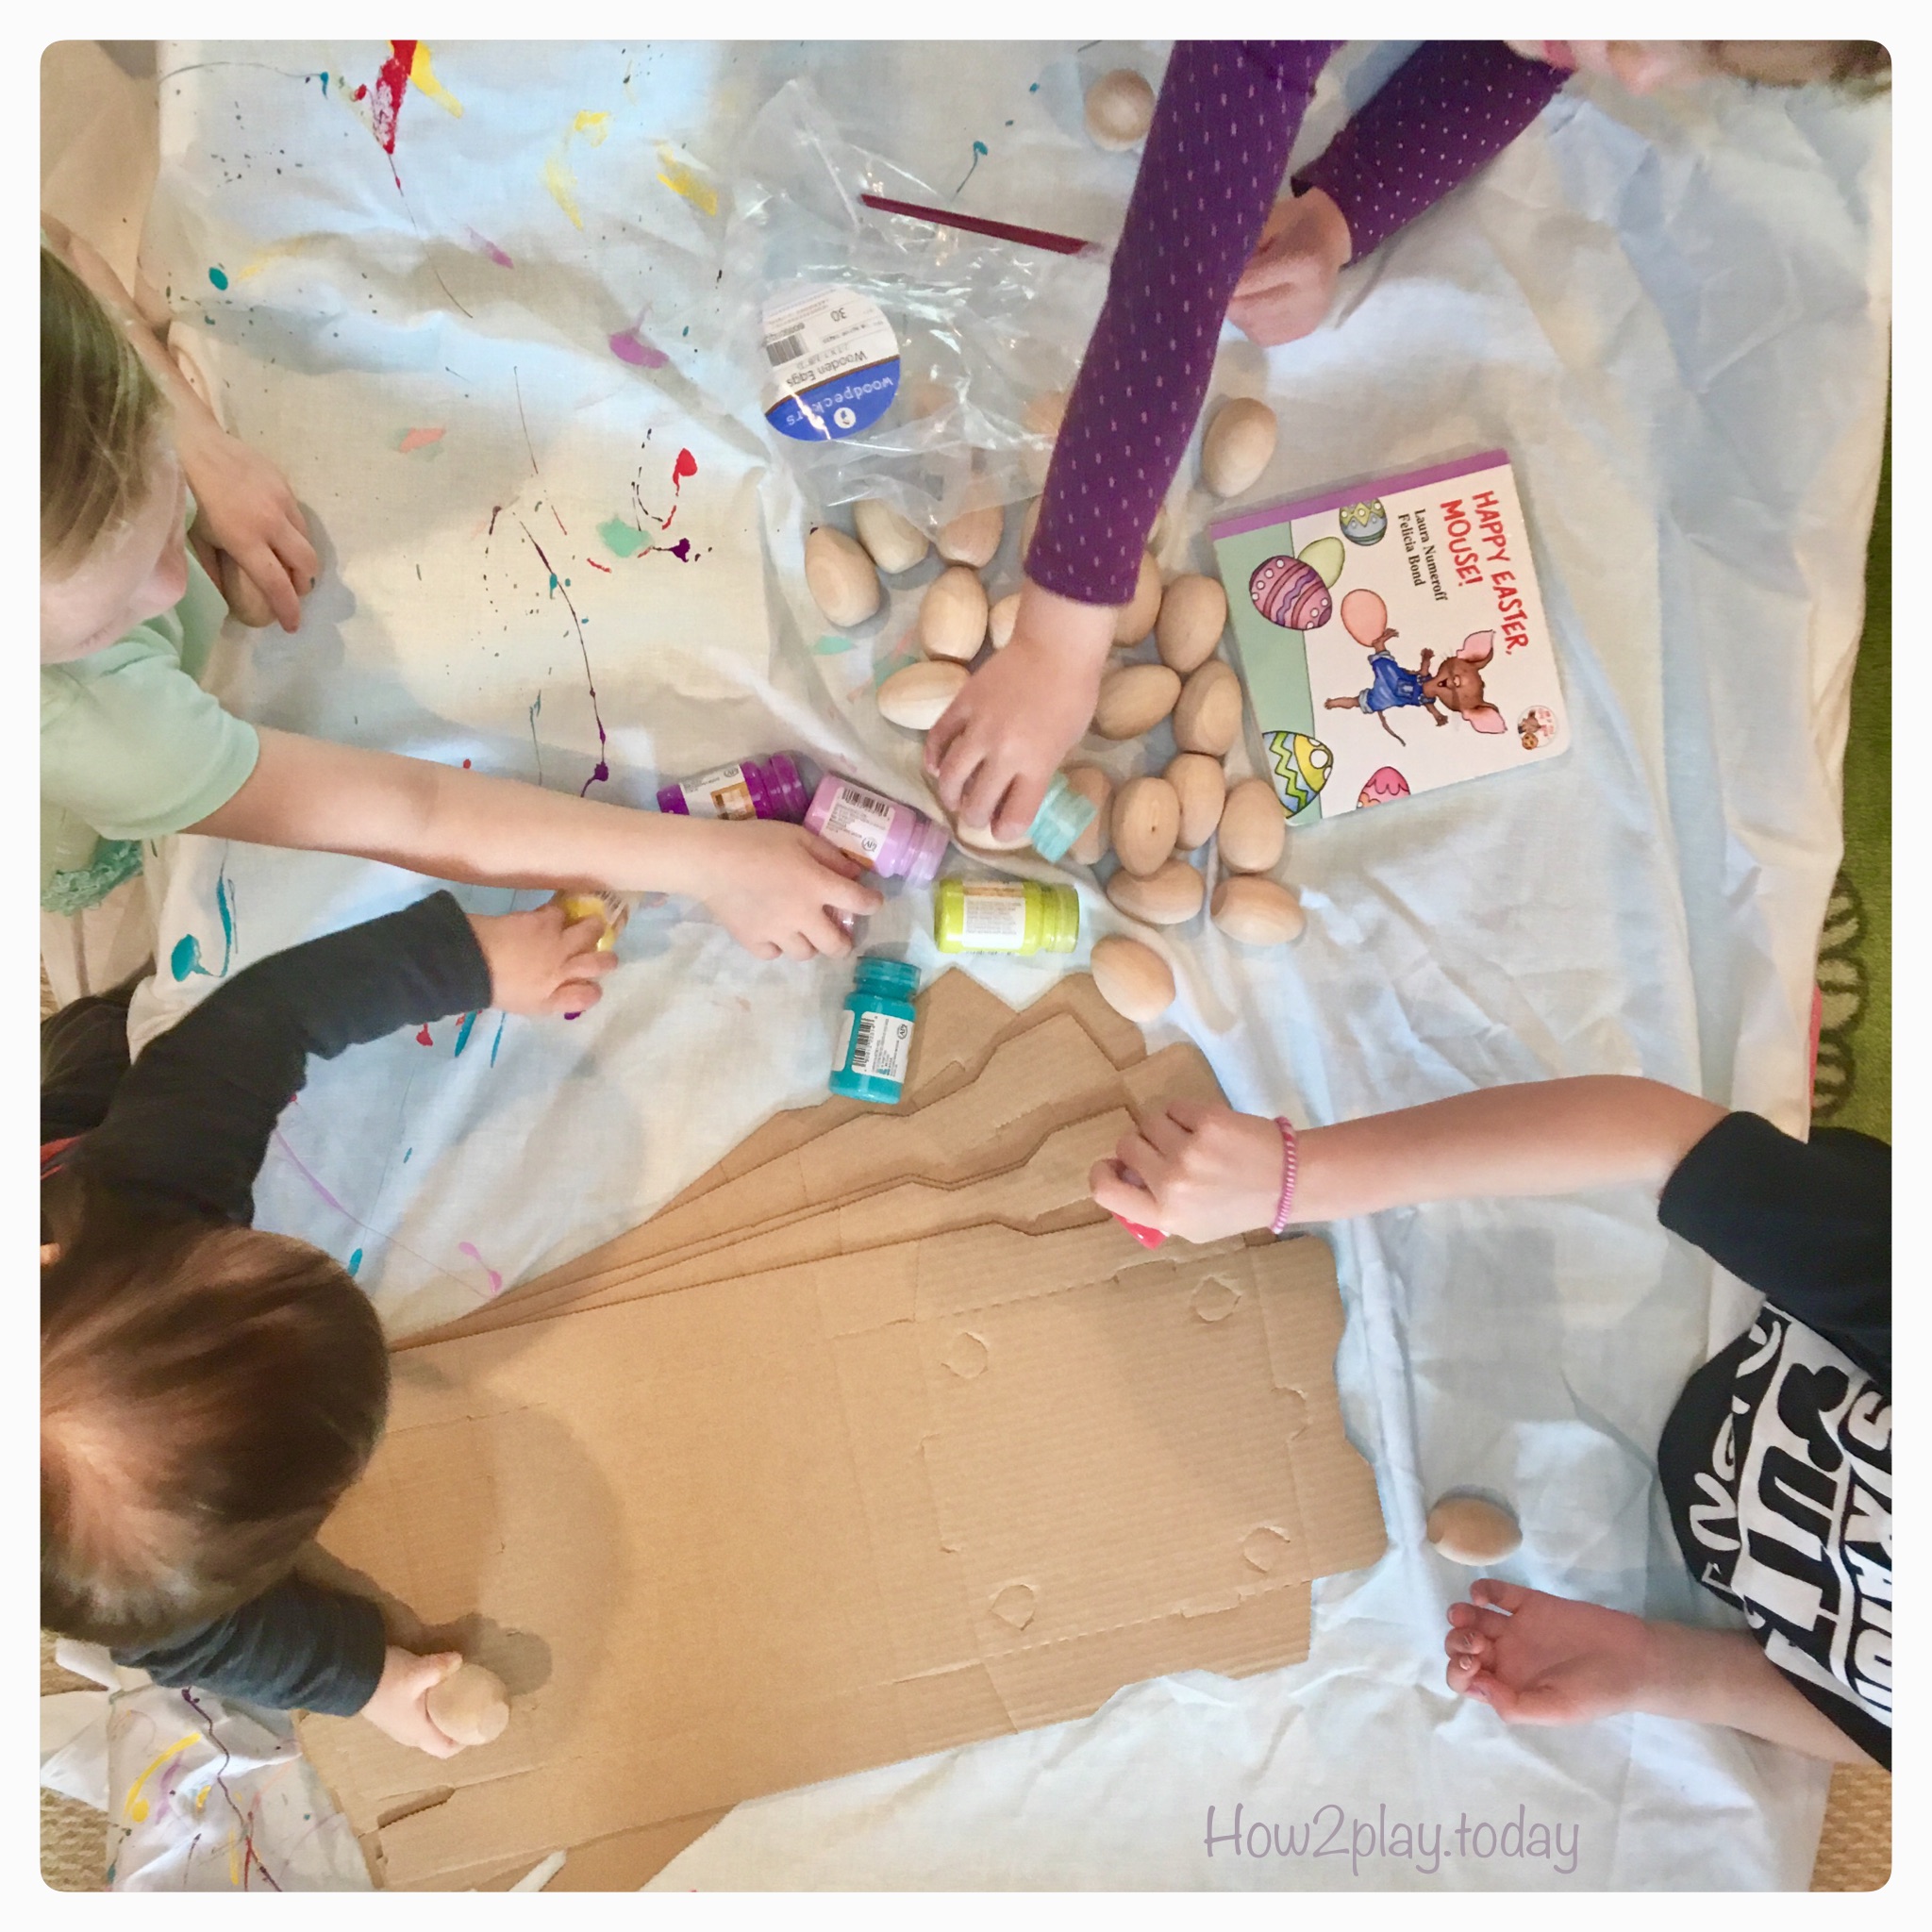
What You Need
- wooden eggs
- paint {best to use washable}
- paint brushes
- boxes or trays
- drop cloth to cover your area
- smocks
- baby wipes & paper towels
Where 2 Buy Online


How 2 Play
We read Happy Easter, Mouse by Laura Numerous & Felicia Bond. On the pages, I asked the kids what they saw.
"What colors do you see?"
"Are the eggs the same?"
"How are they the same and how are they different?"
After the book, introduce the art supplies and talk about how we can color the eggs like Bunny does in the book for Mouse.
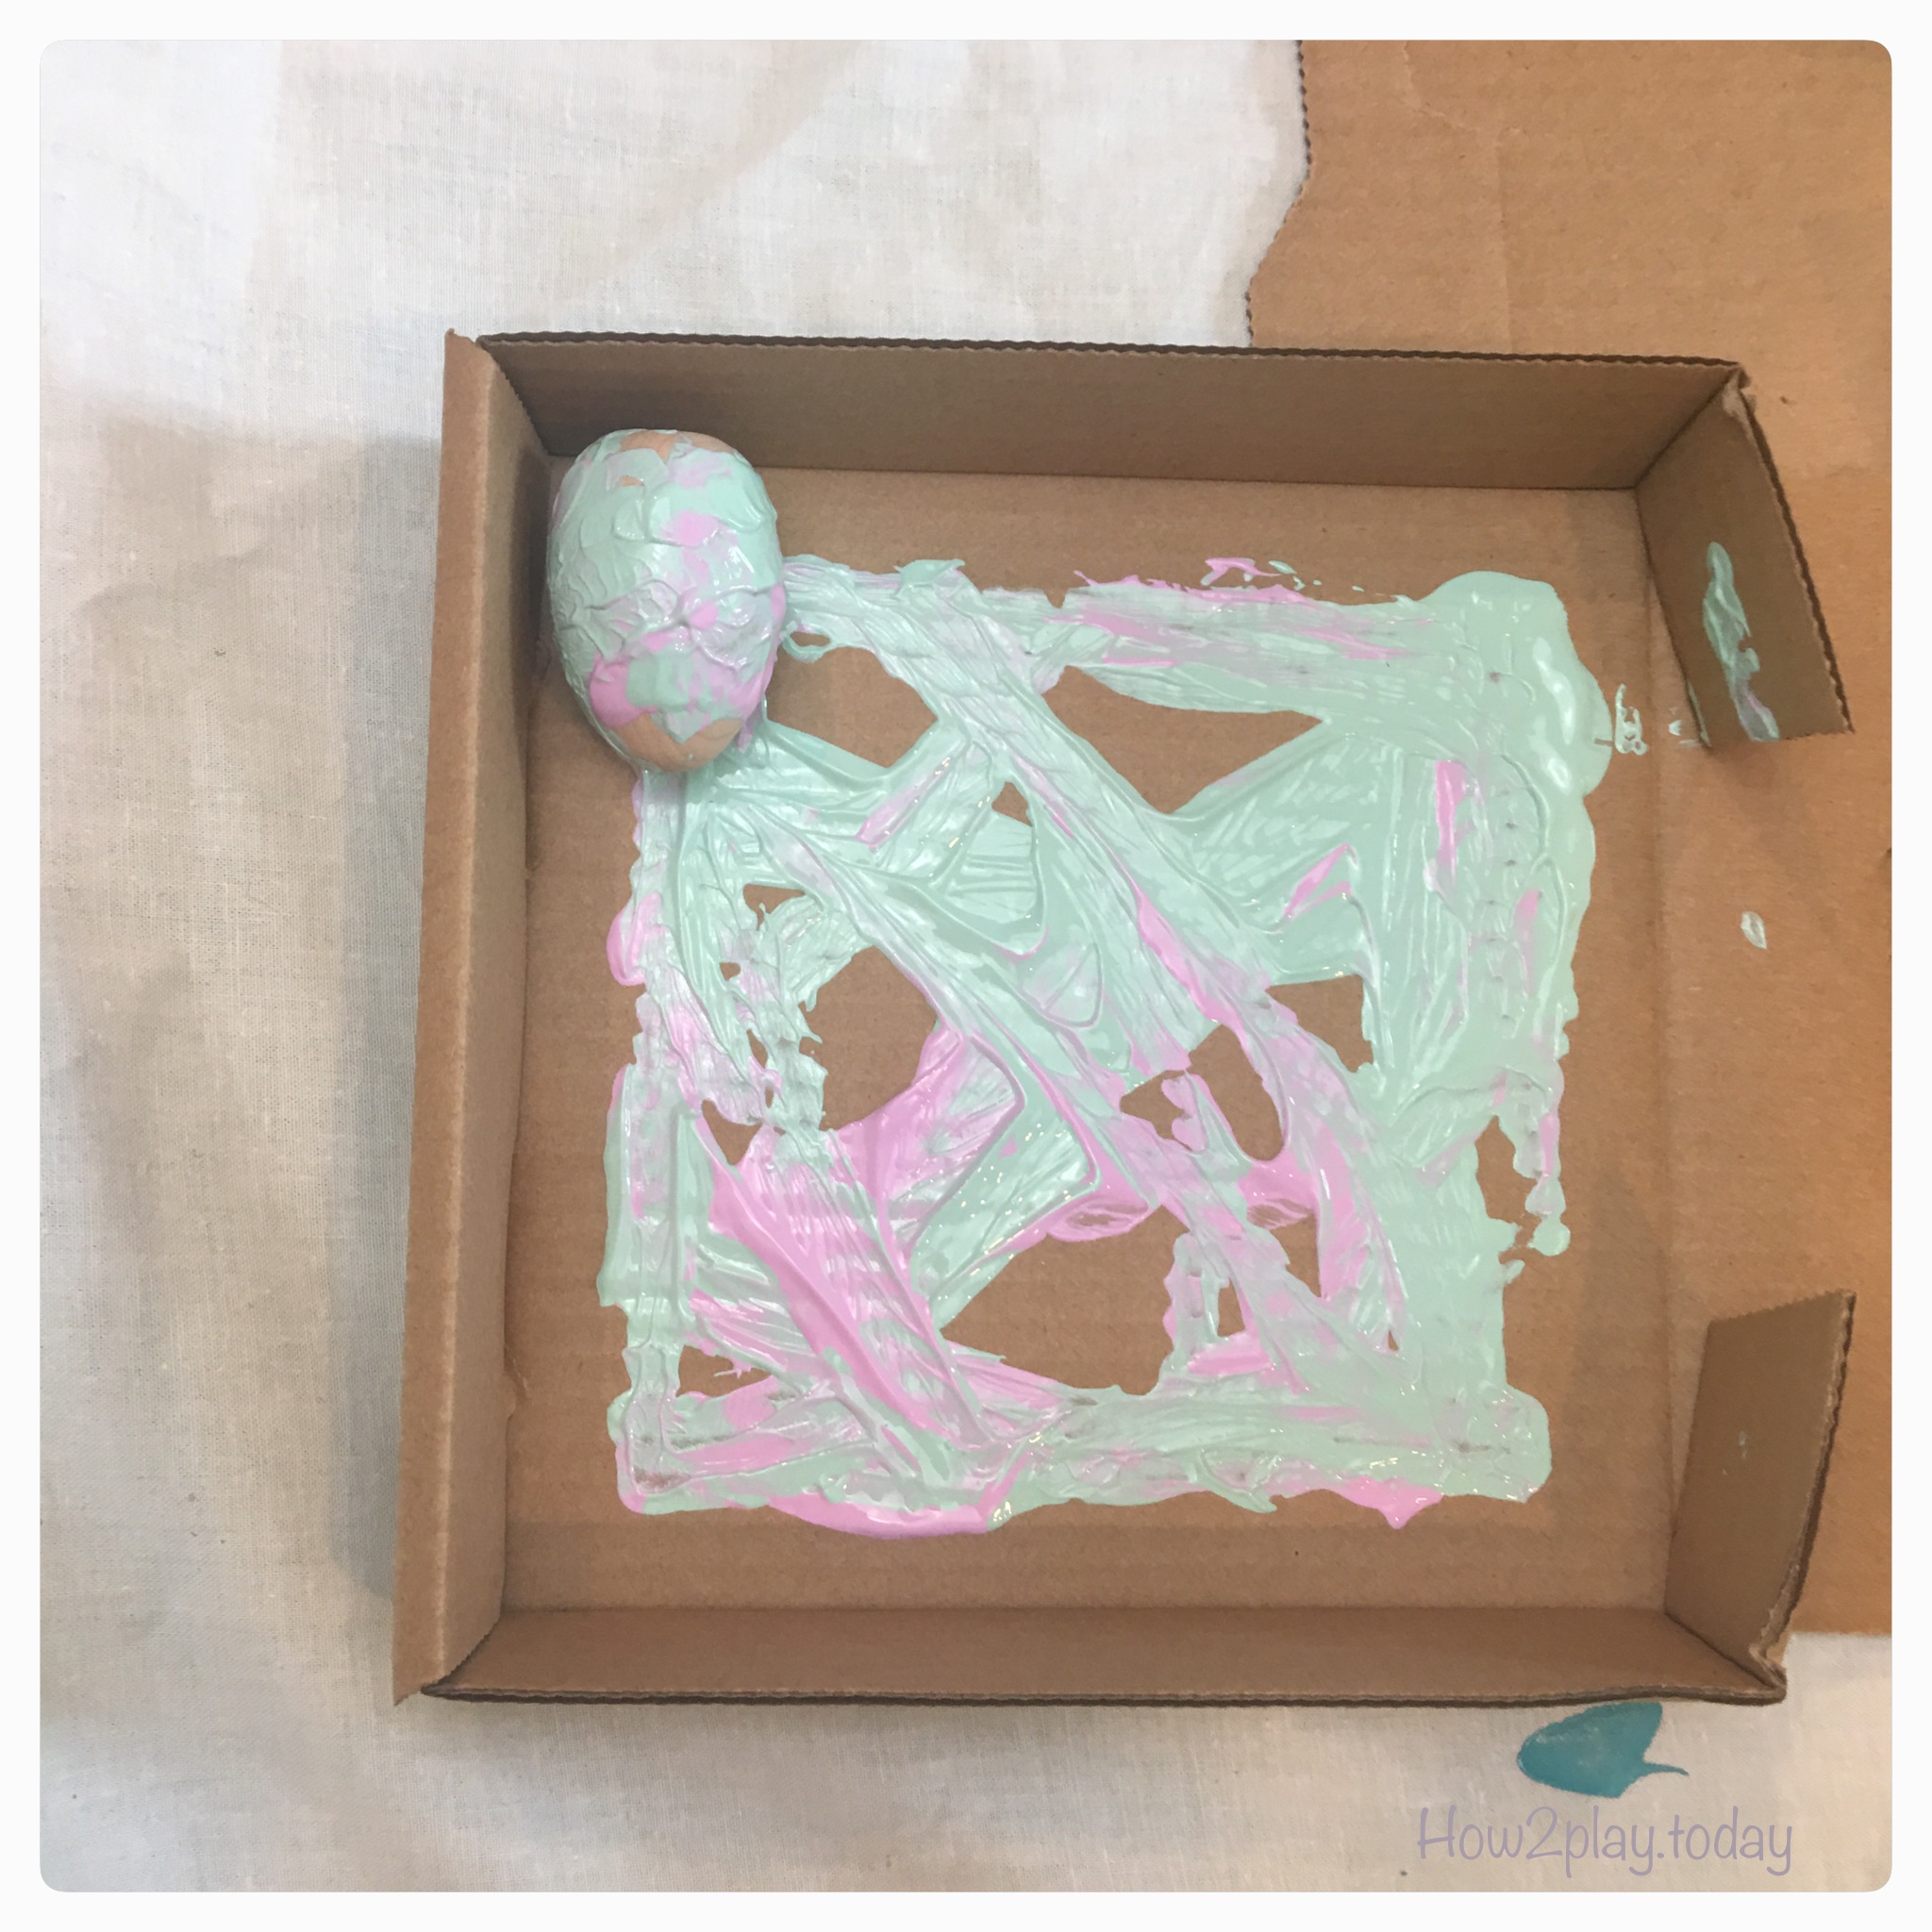
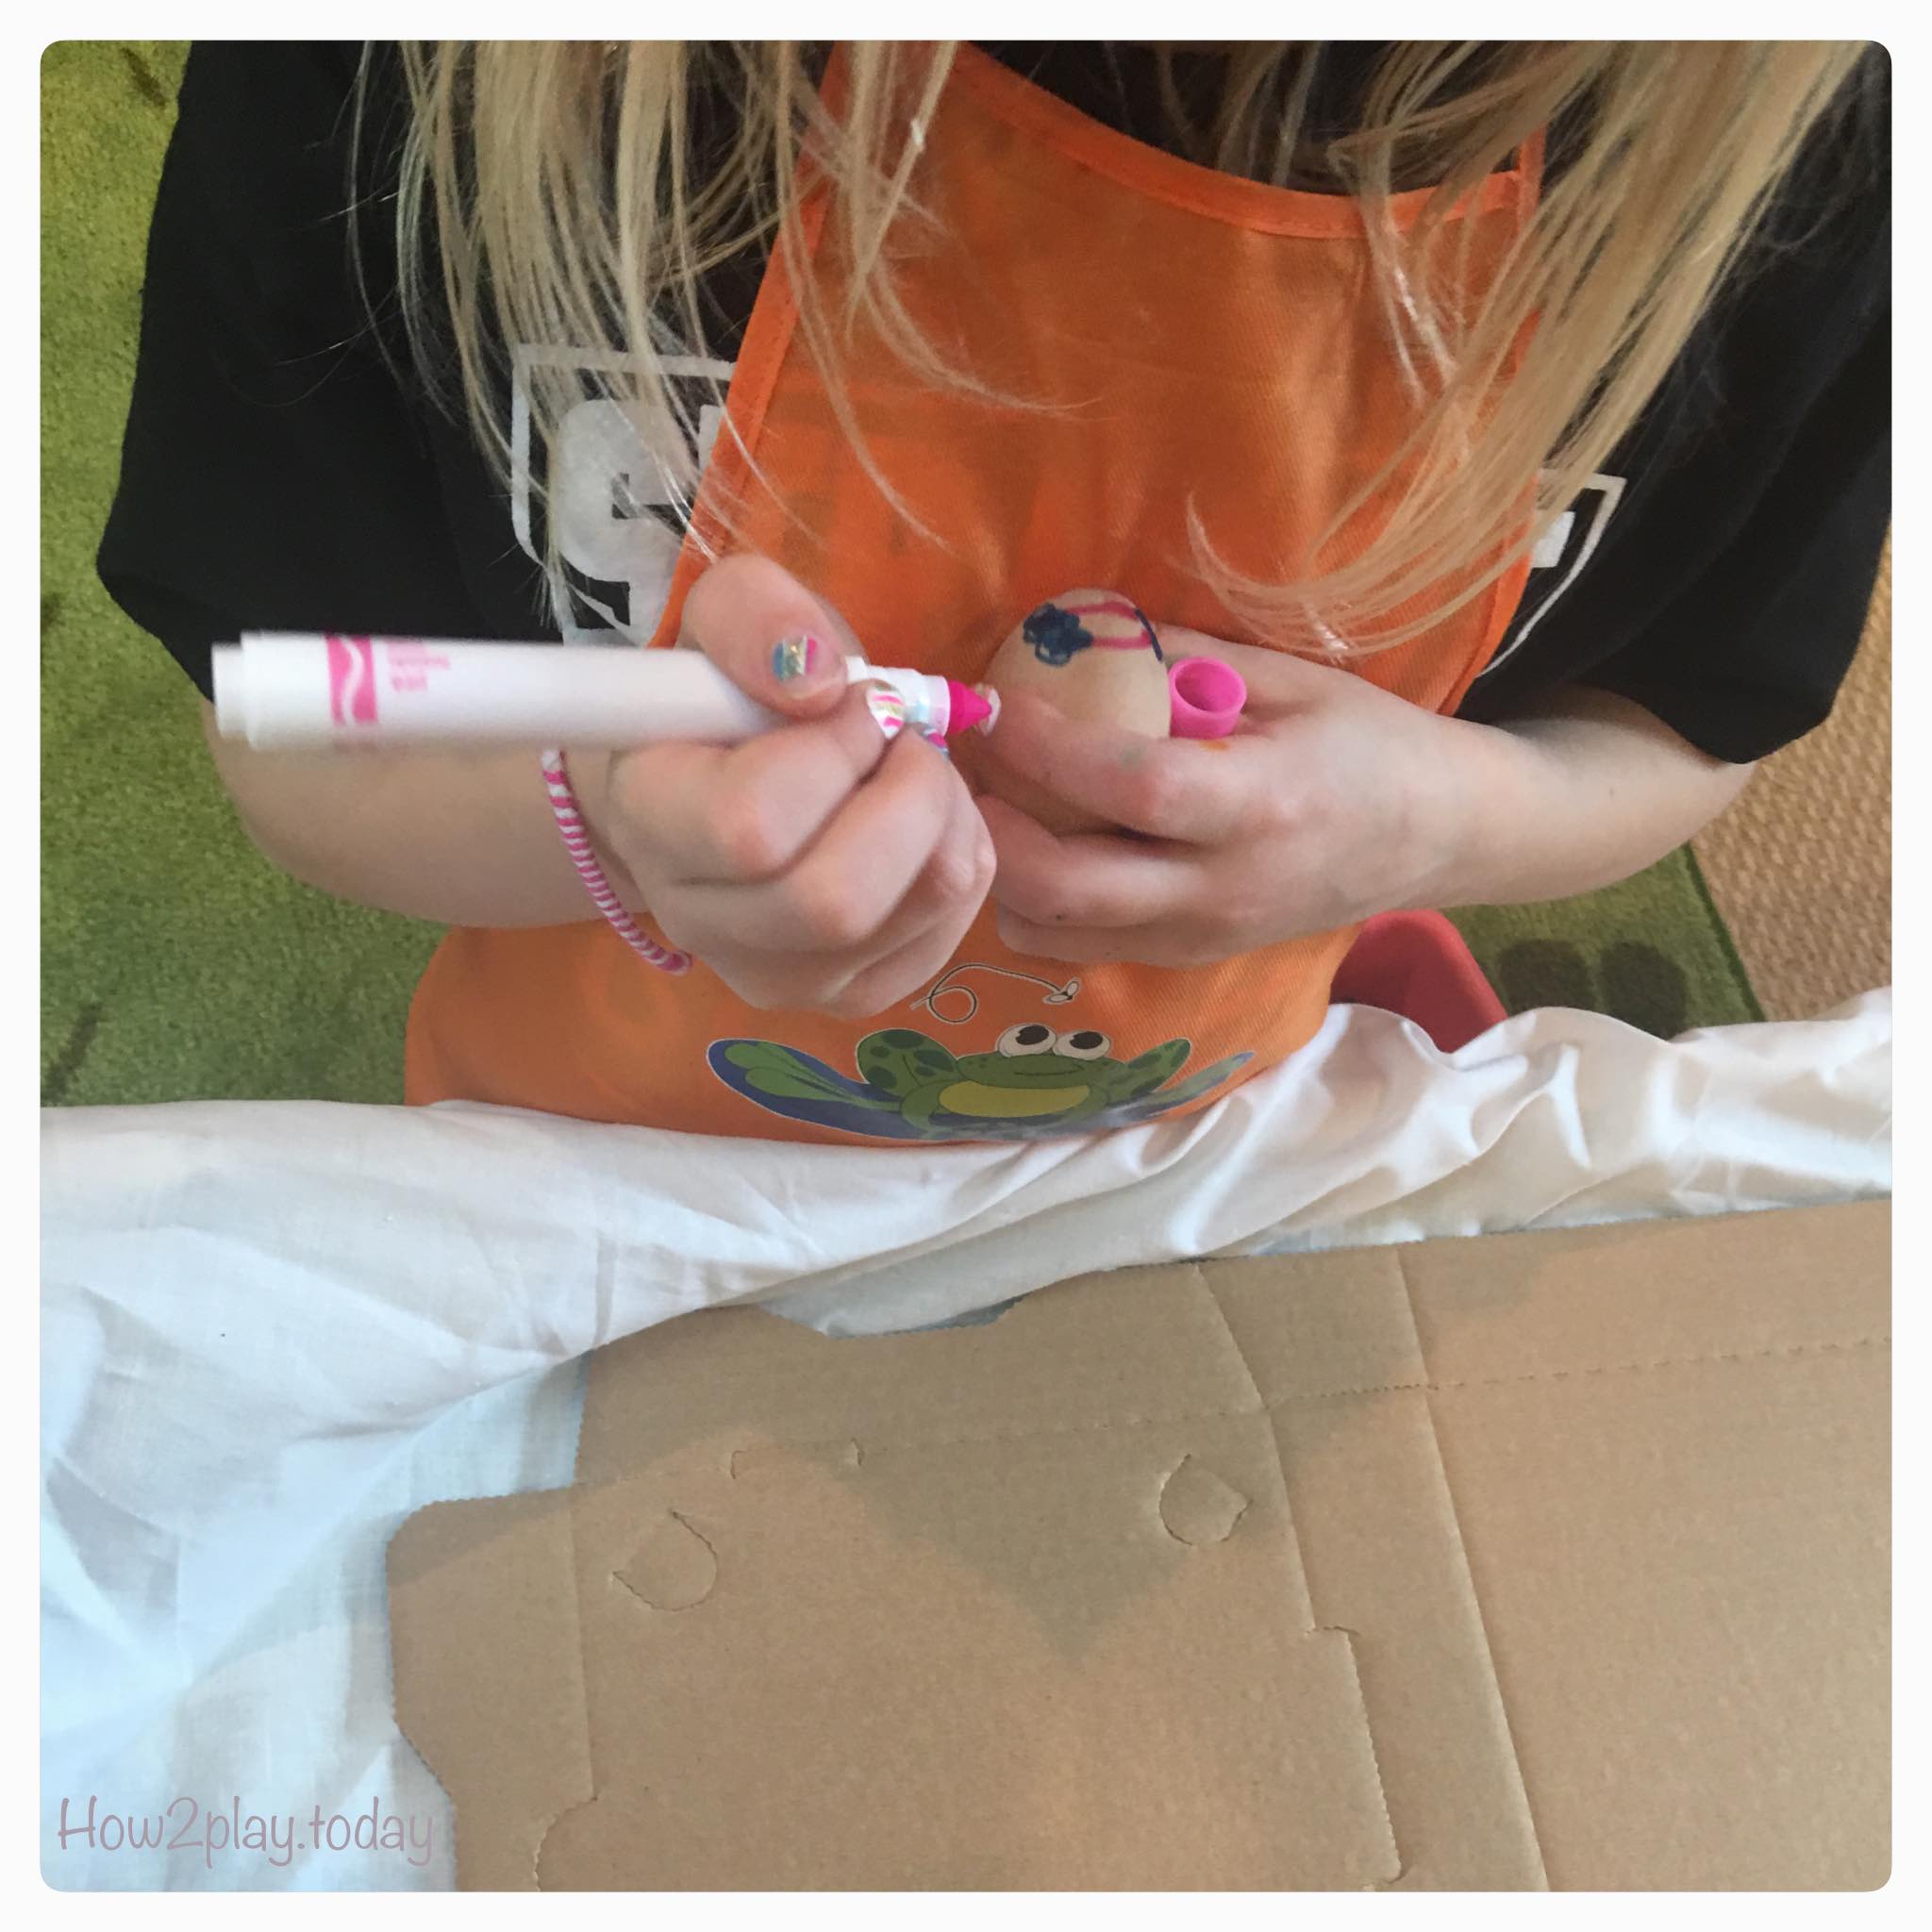
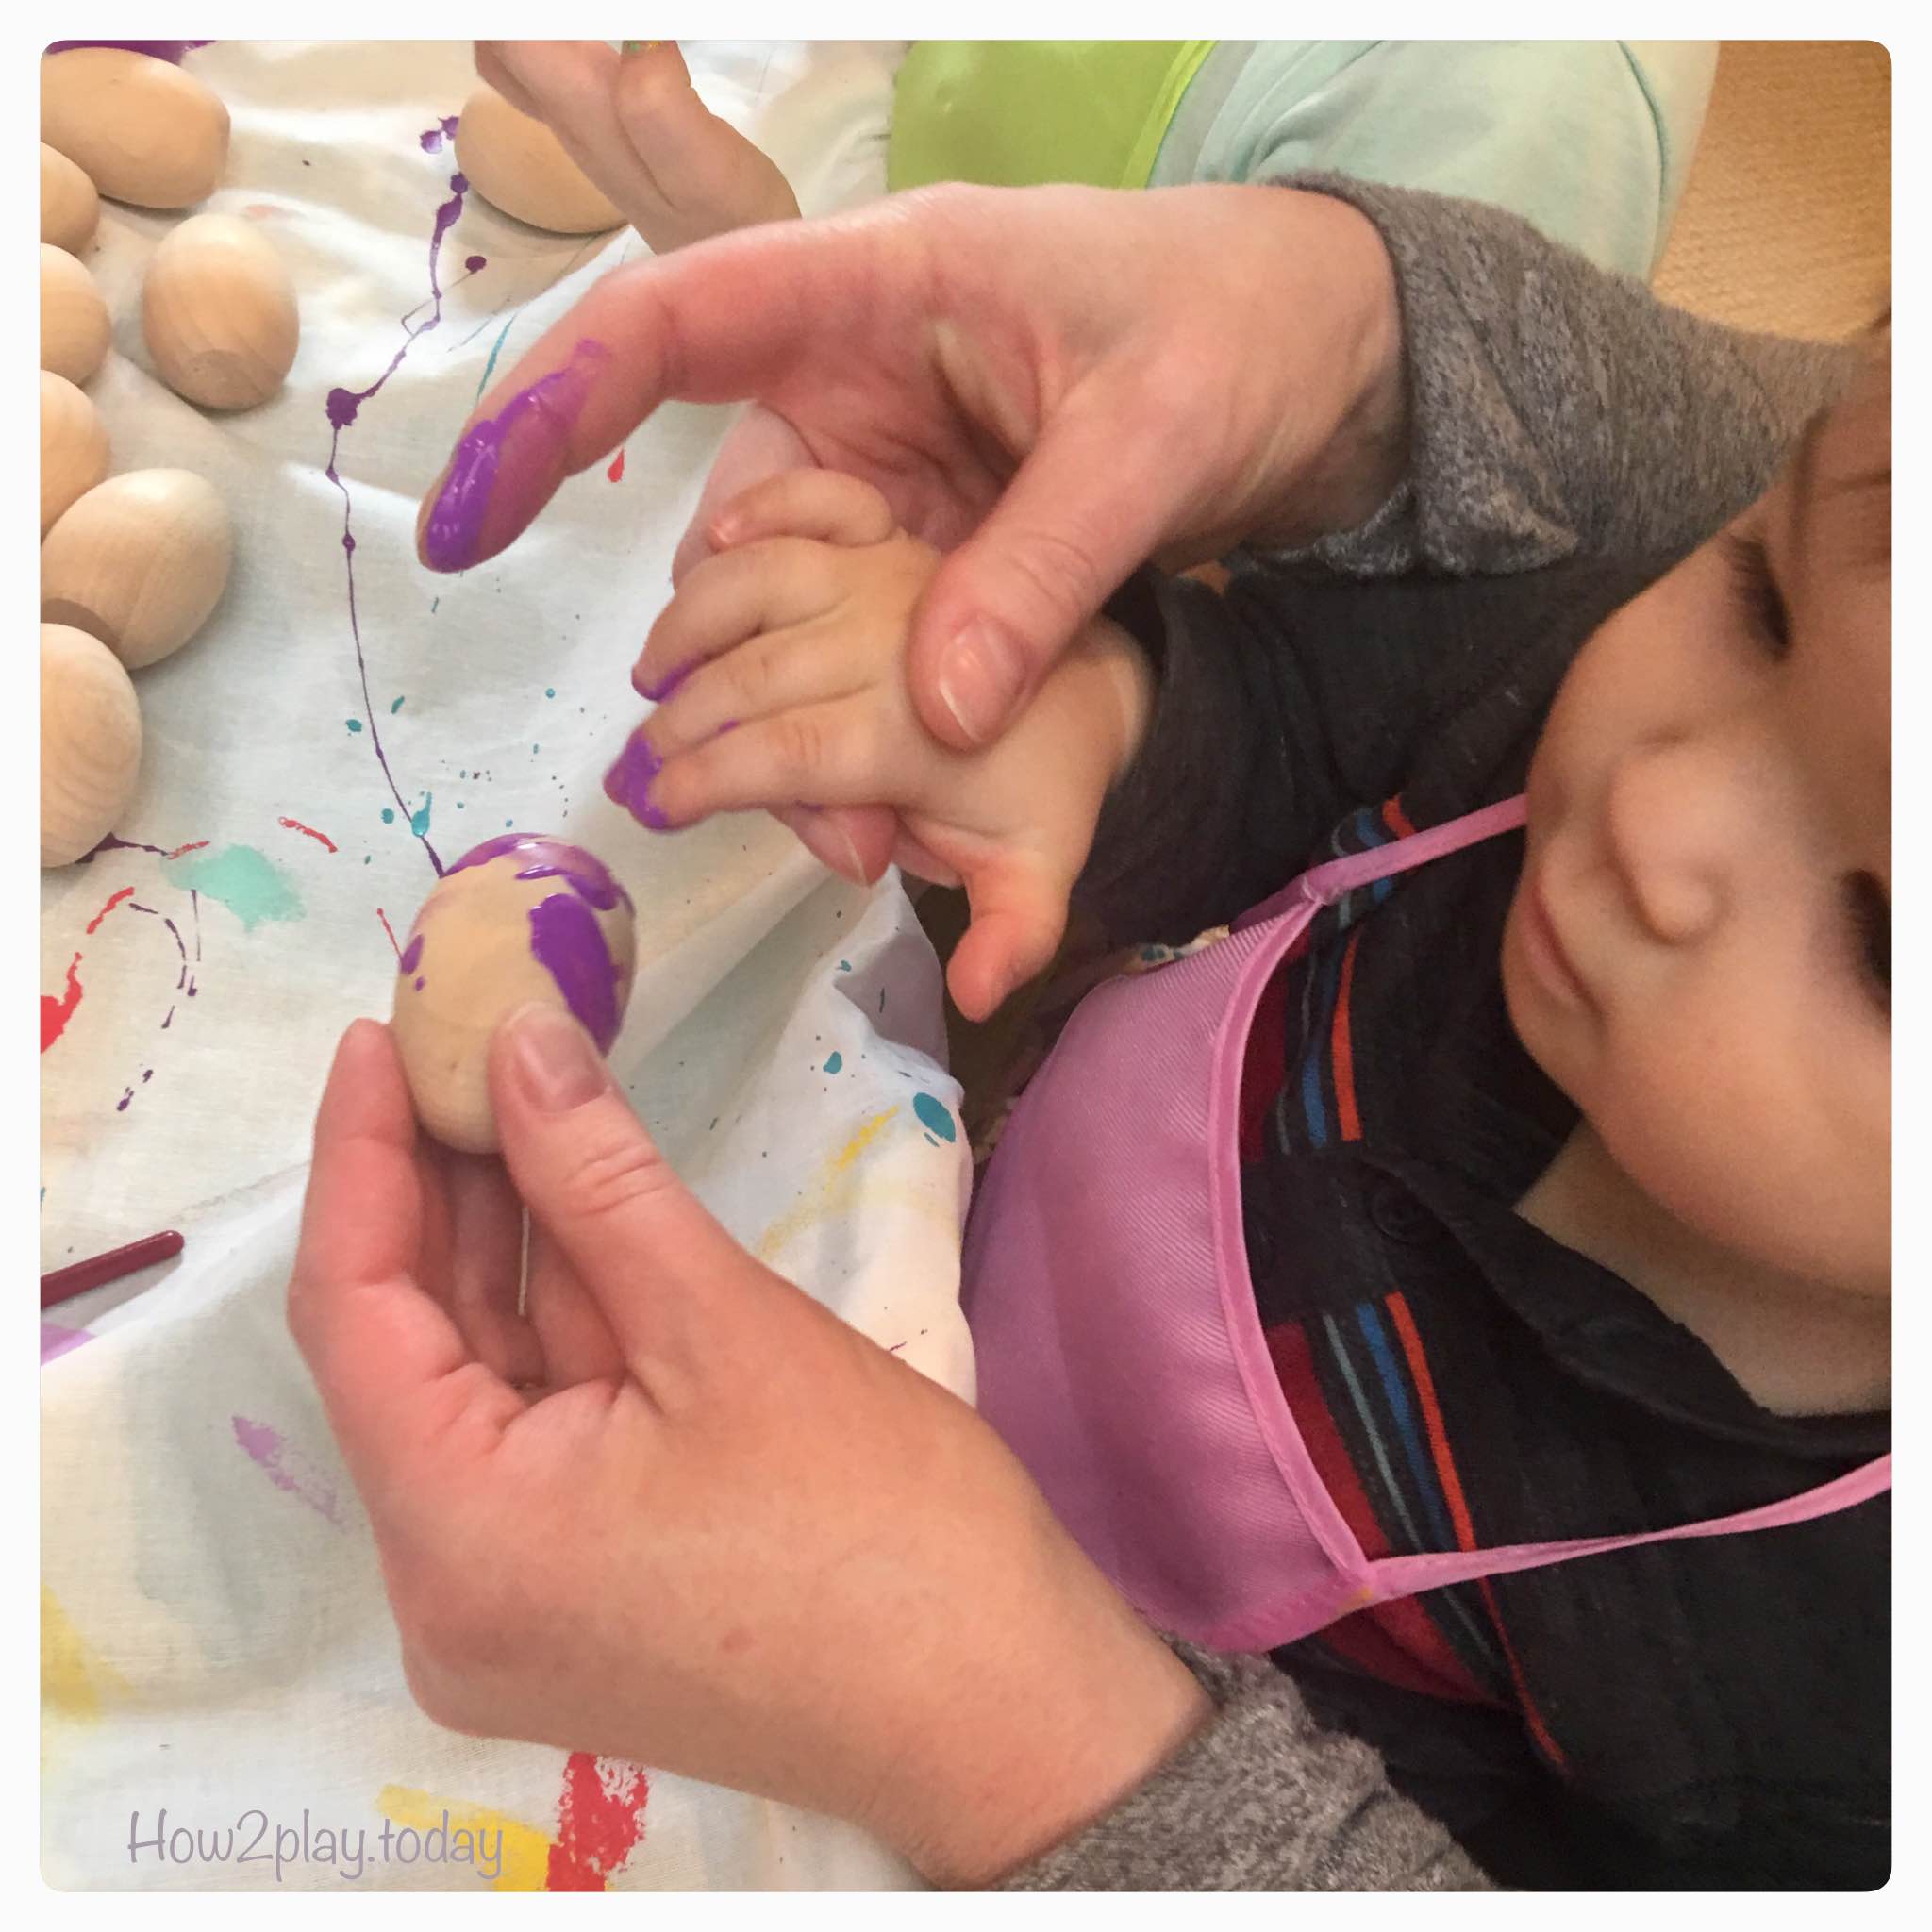
Markers are offered for drawing. Paint is offered along with paint brushes or cardboard boxes for "marbled painting".
Allow the child to put the wooden egg into the box and choose the colors to pour in. Close the box and the child then gets to wiggle and shake the colors around.
These wooden eggs are great because the bottoms are flat so they can stand up to dry (and to be displayed later)
Process Art means that the end product is not the goal but to allow the children to express creativity along the way (process).
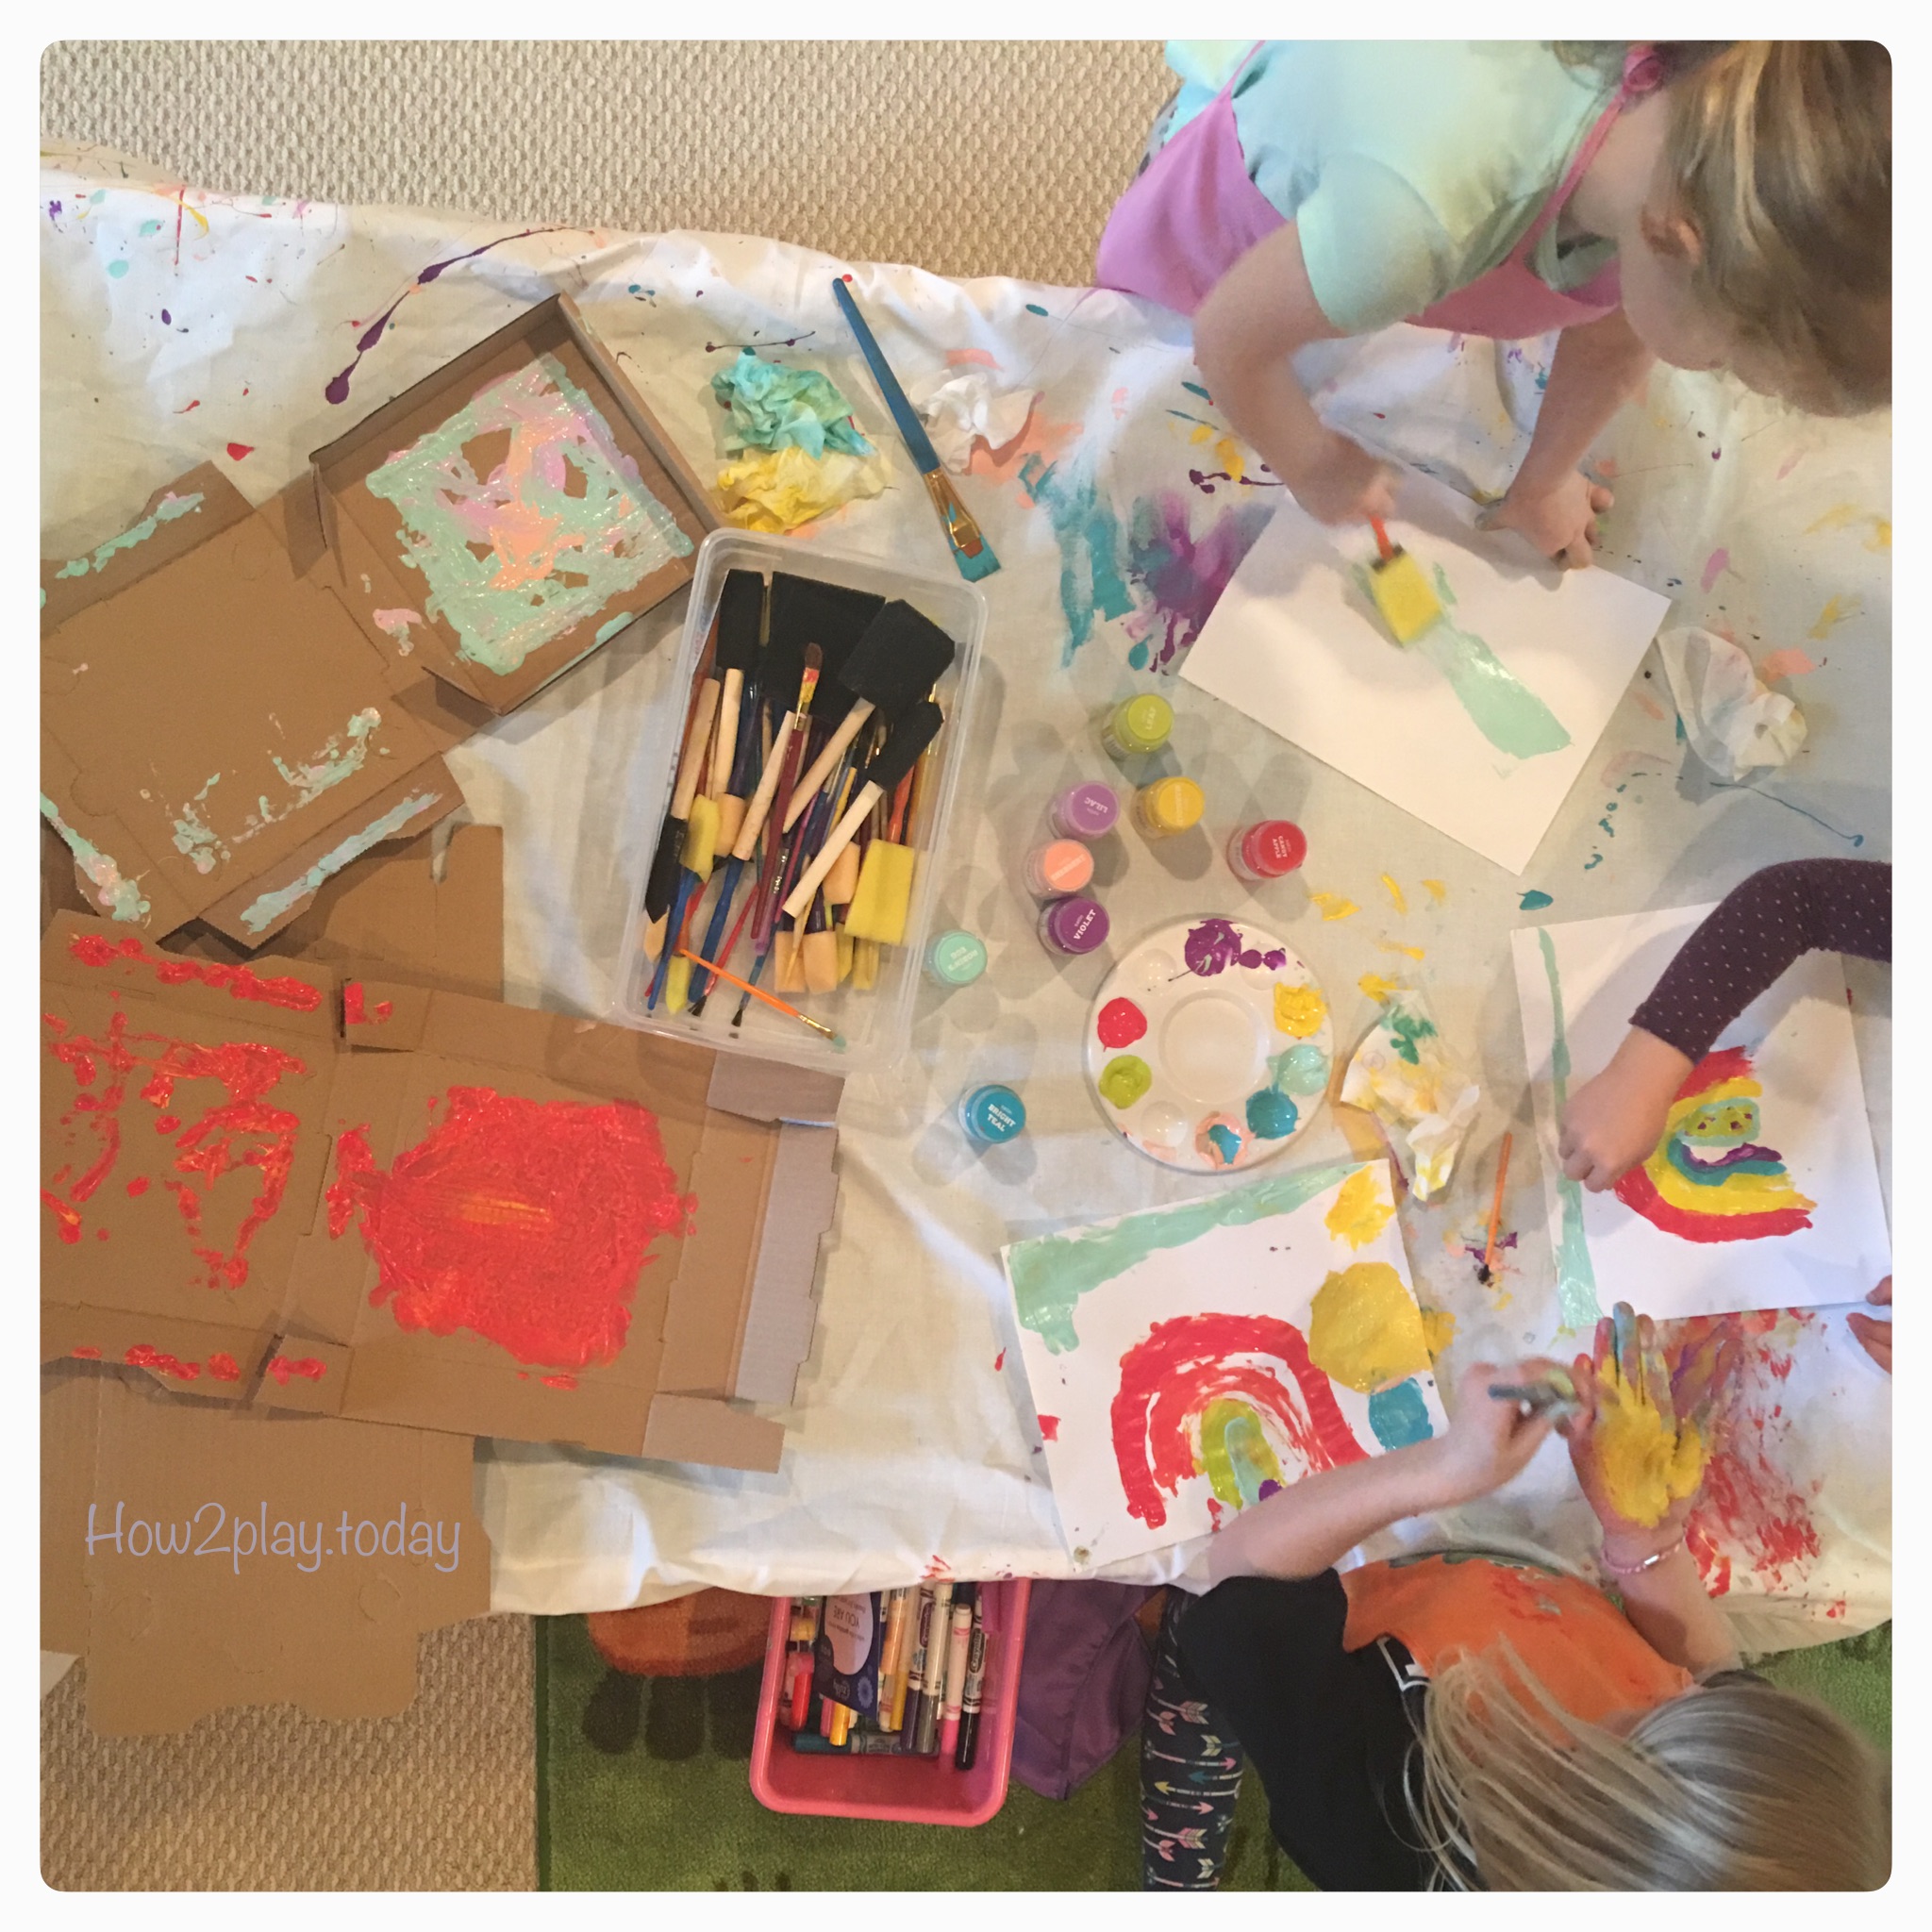
While the eggs were drying, the kids decided to keep finger painting and created some wonderful pictures.
They also wanted to keep the boxes as their creative works of art.
Reminders:
Prepare the area for the activity prior to introducing it to the kids. This allows for less stress on you.
Embrace The Mess. Just know that it's going to get messy but that's okay. Prepare the area with a drop cloth, wear clothes that can get messy, and always keep baby wipes & paper towels near by along with a garbage can. Easy clean up.
