This post may contain affiliate links which keeps this blog going but does not add any cost to you
Objective:
Creating ways to explore Pop Art while learning about Keith Haring
Skill Development: Art Education
Minimum Age: Elementary
Messiness: Medium
![]()
This post may contain affiliate links which keeps this blog going but does not add any cost to you
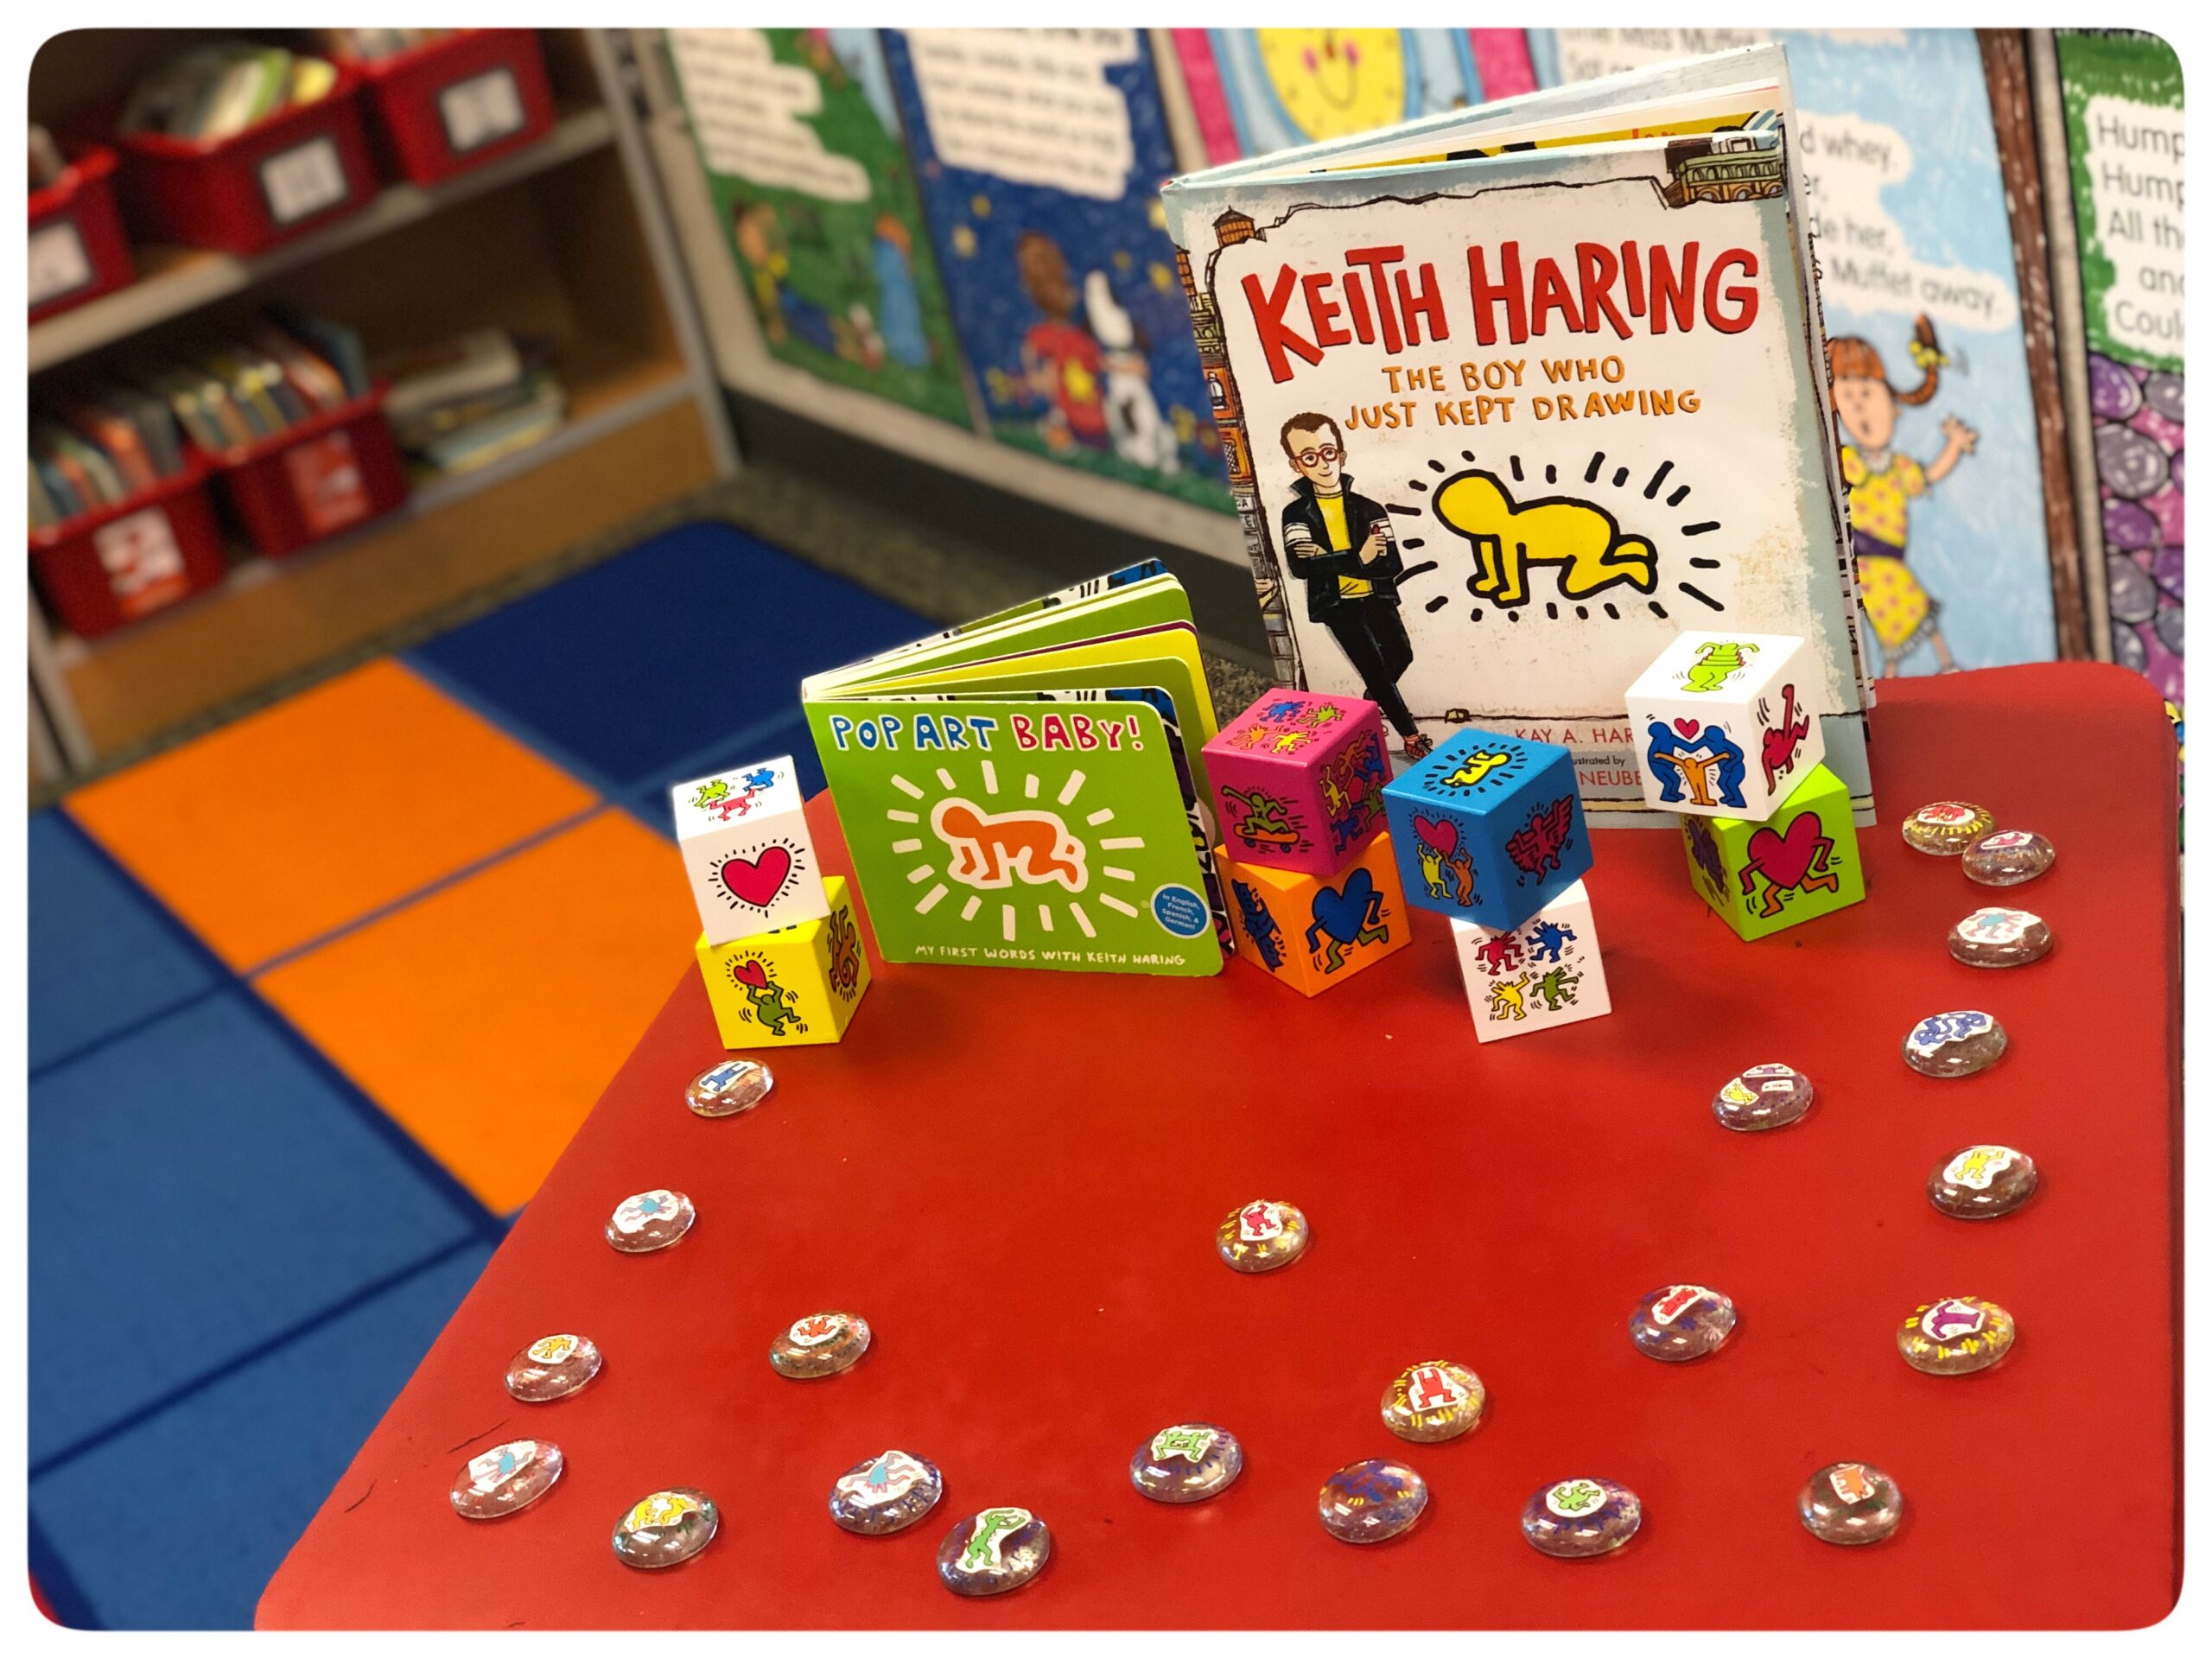
Books to Read
*Reading enhancing the learning environment
Objective:
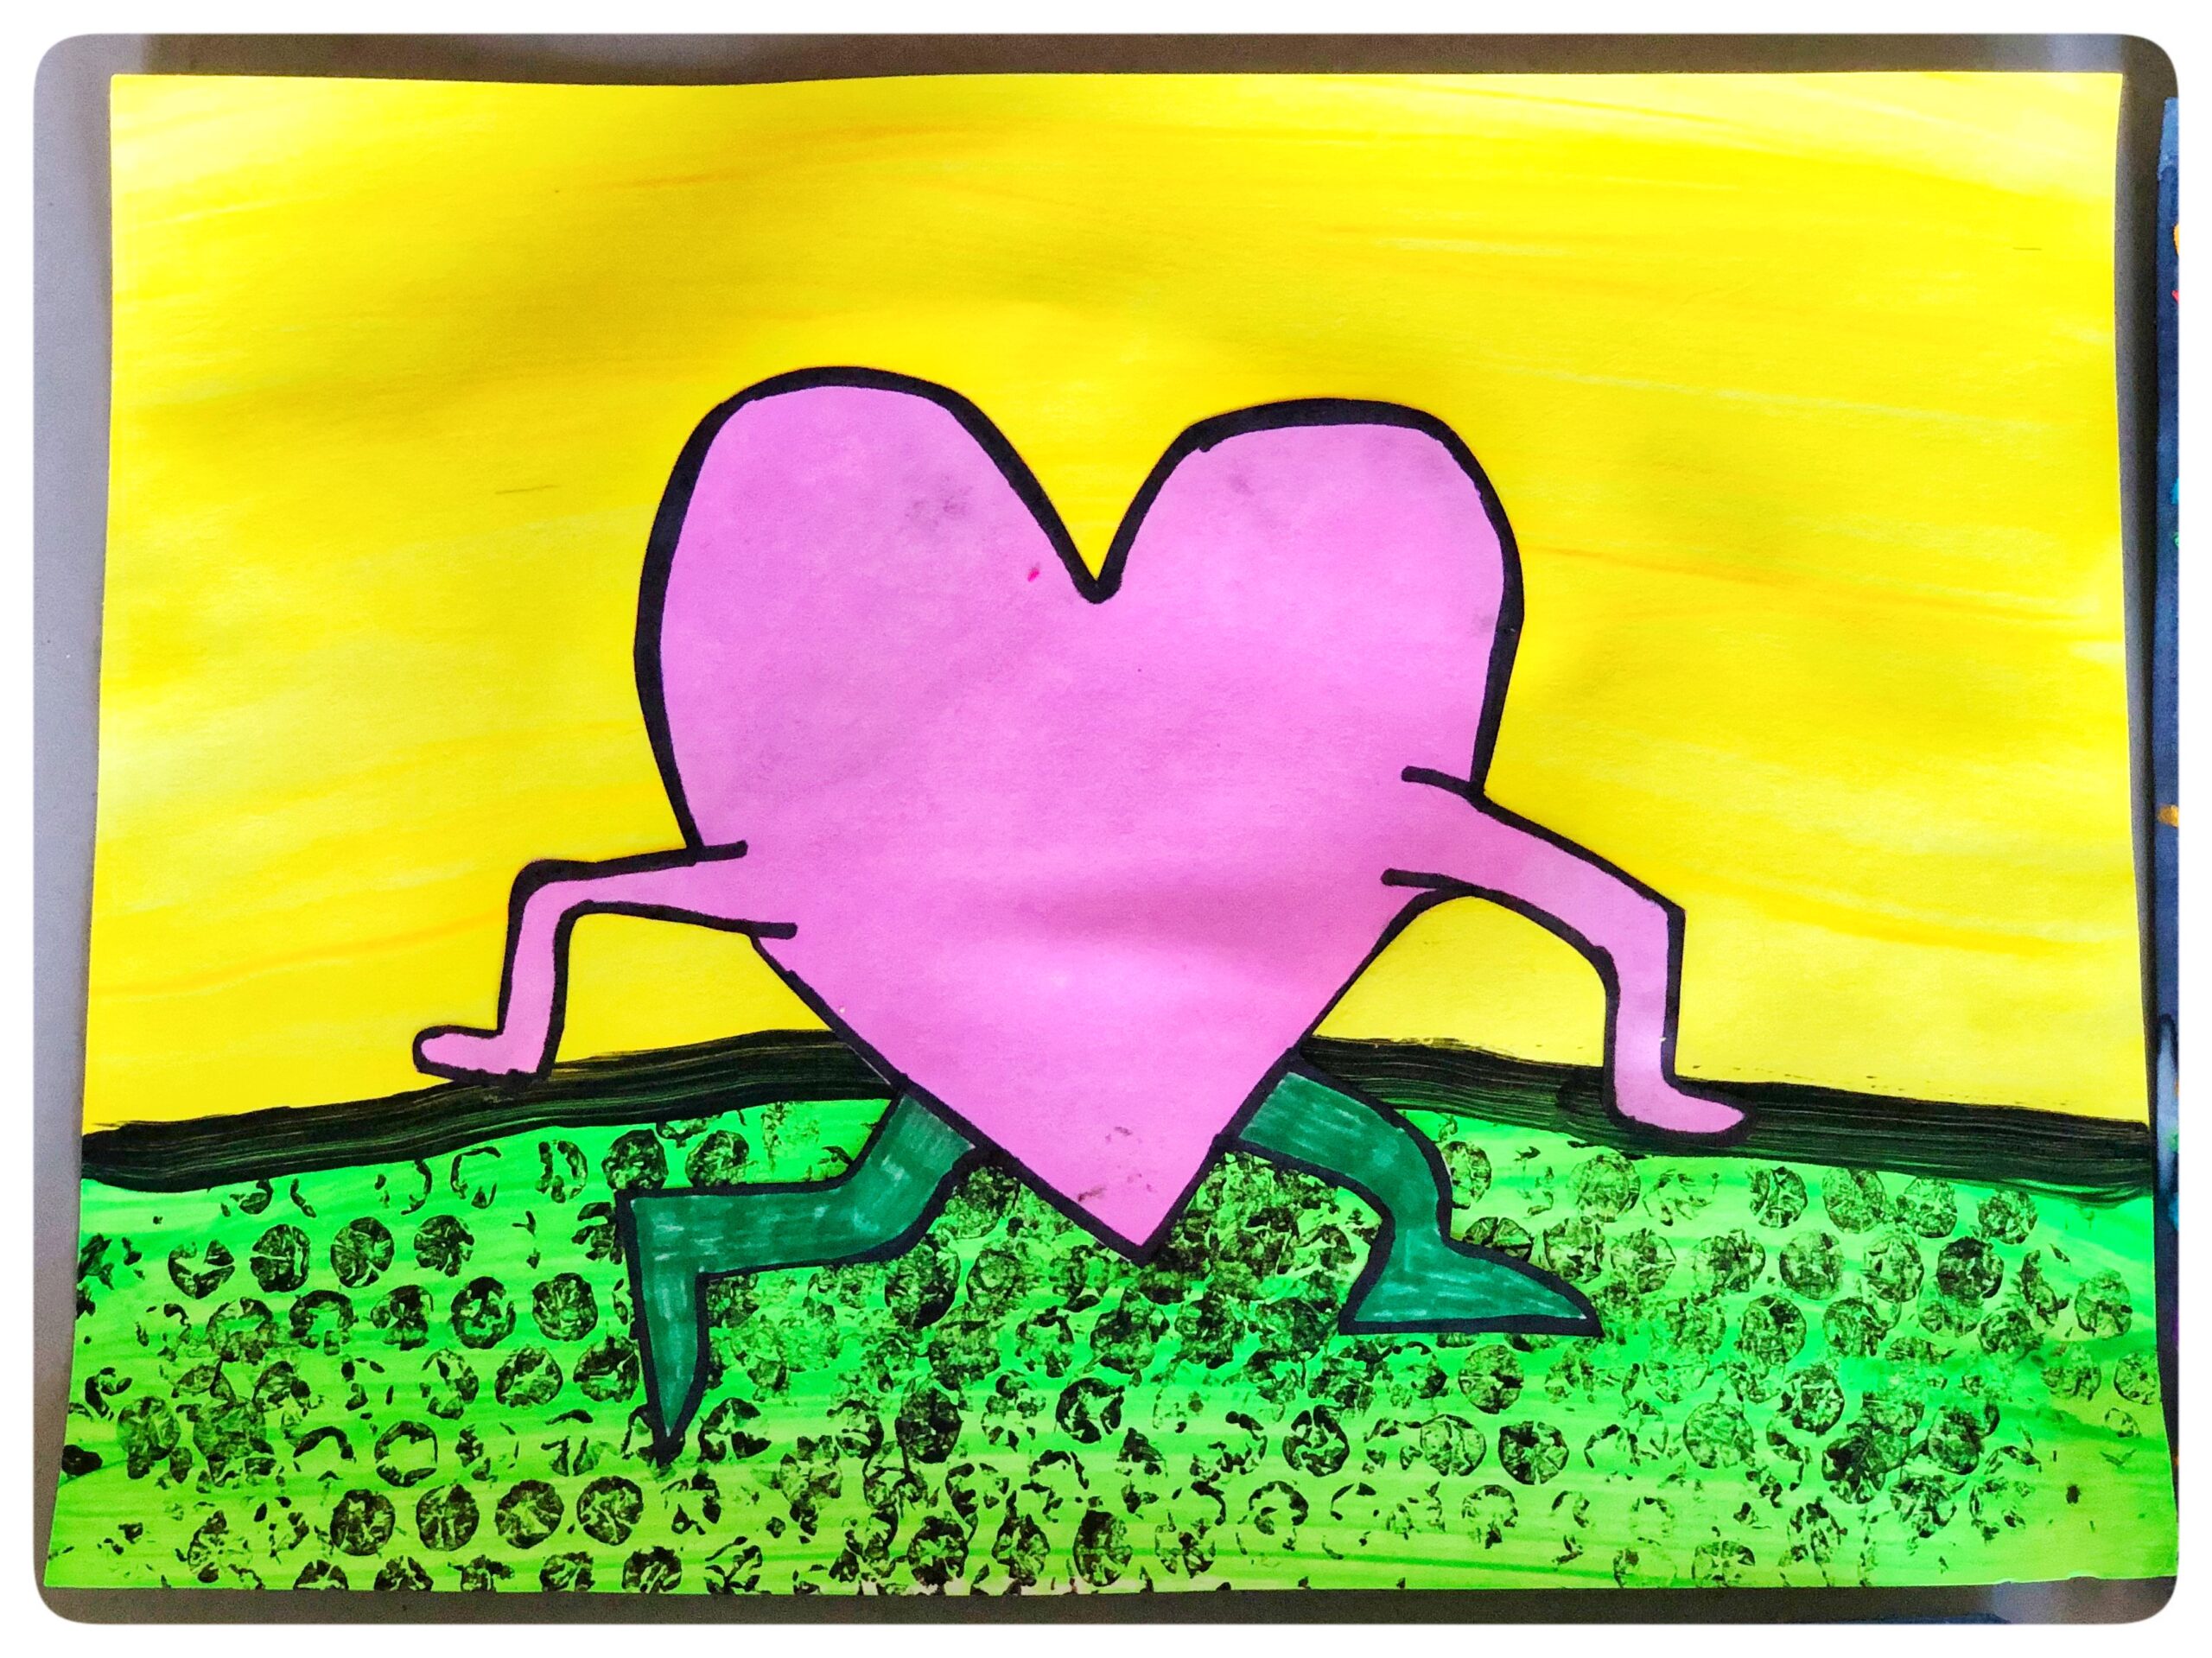
Keith Haring, a famous artist, is primarily known for solid, bold lines with vibrant colors. His artwork tells of friendship, fun, and acceptance. Today we're creating interactive ways to think about Pop Art while learning about Keith Haring.
Step 1:
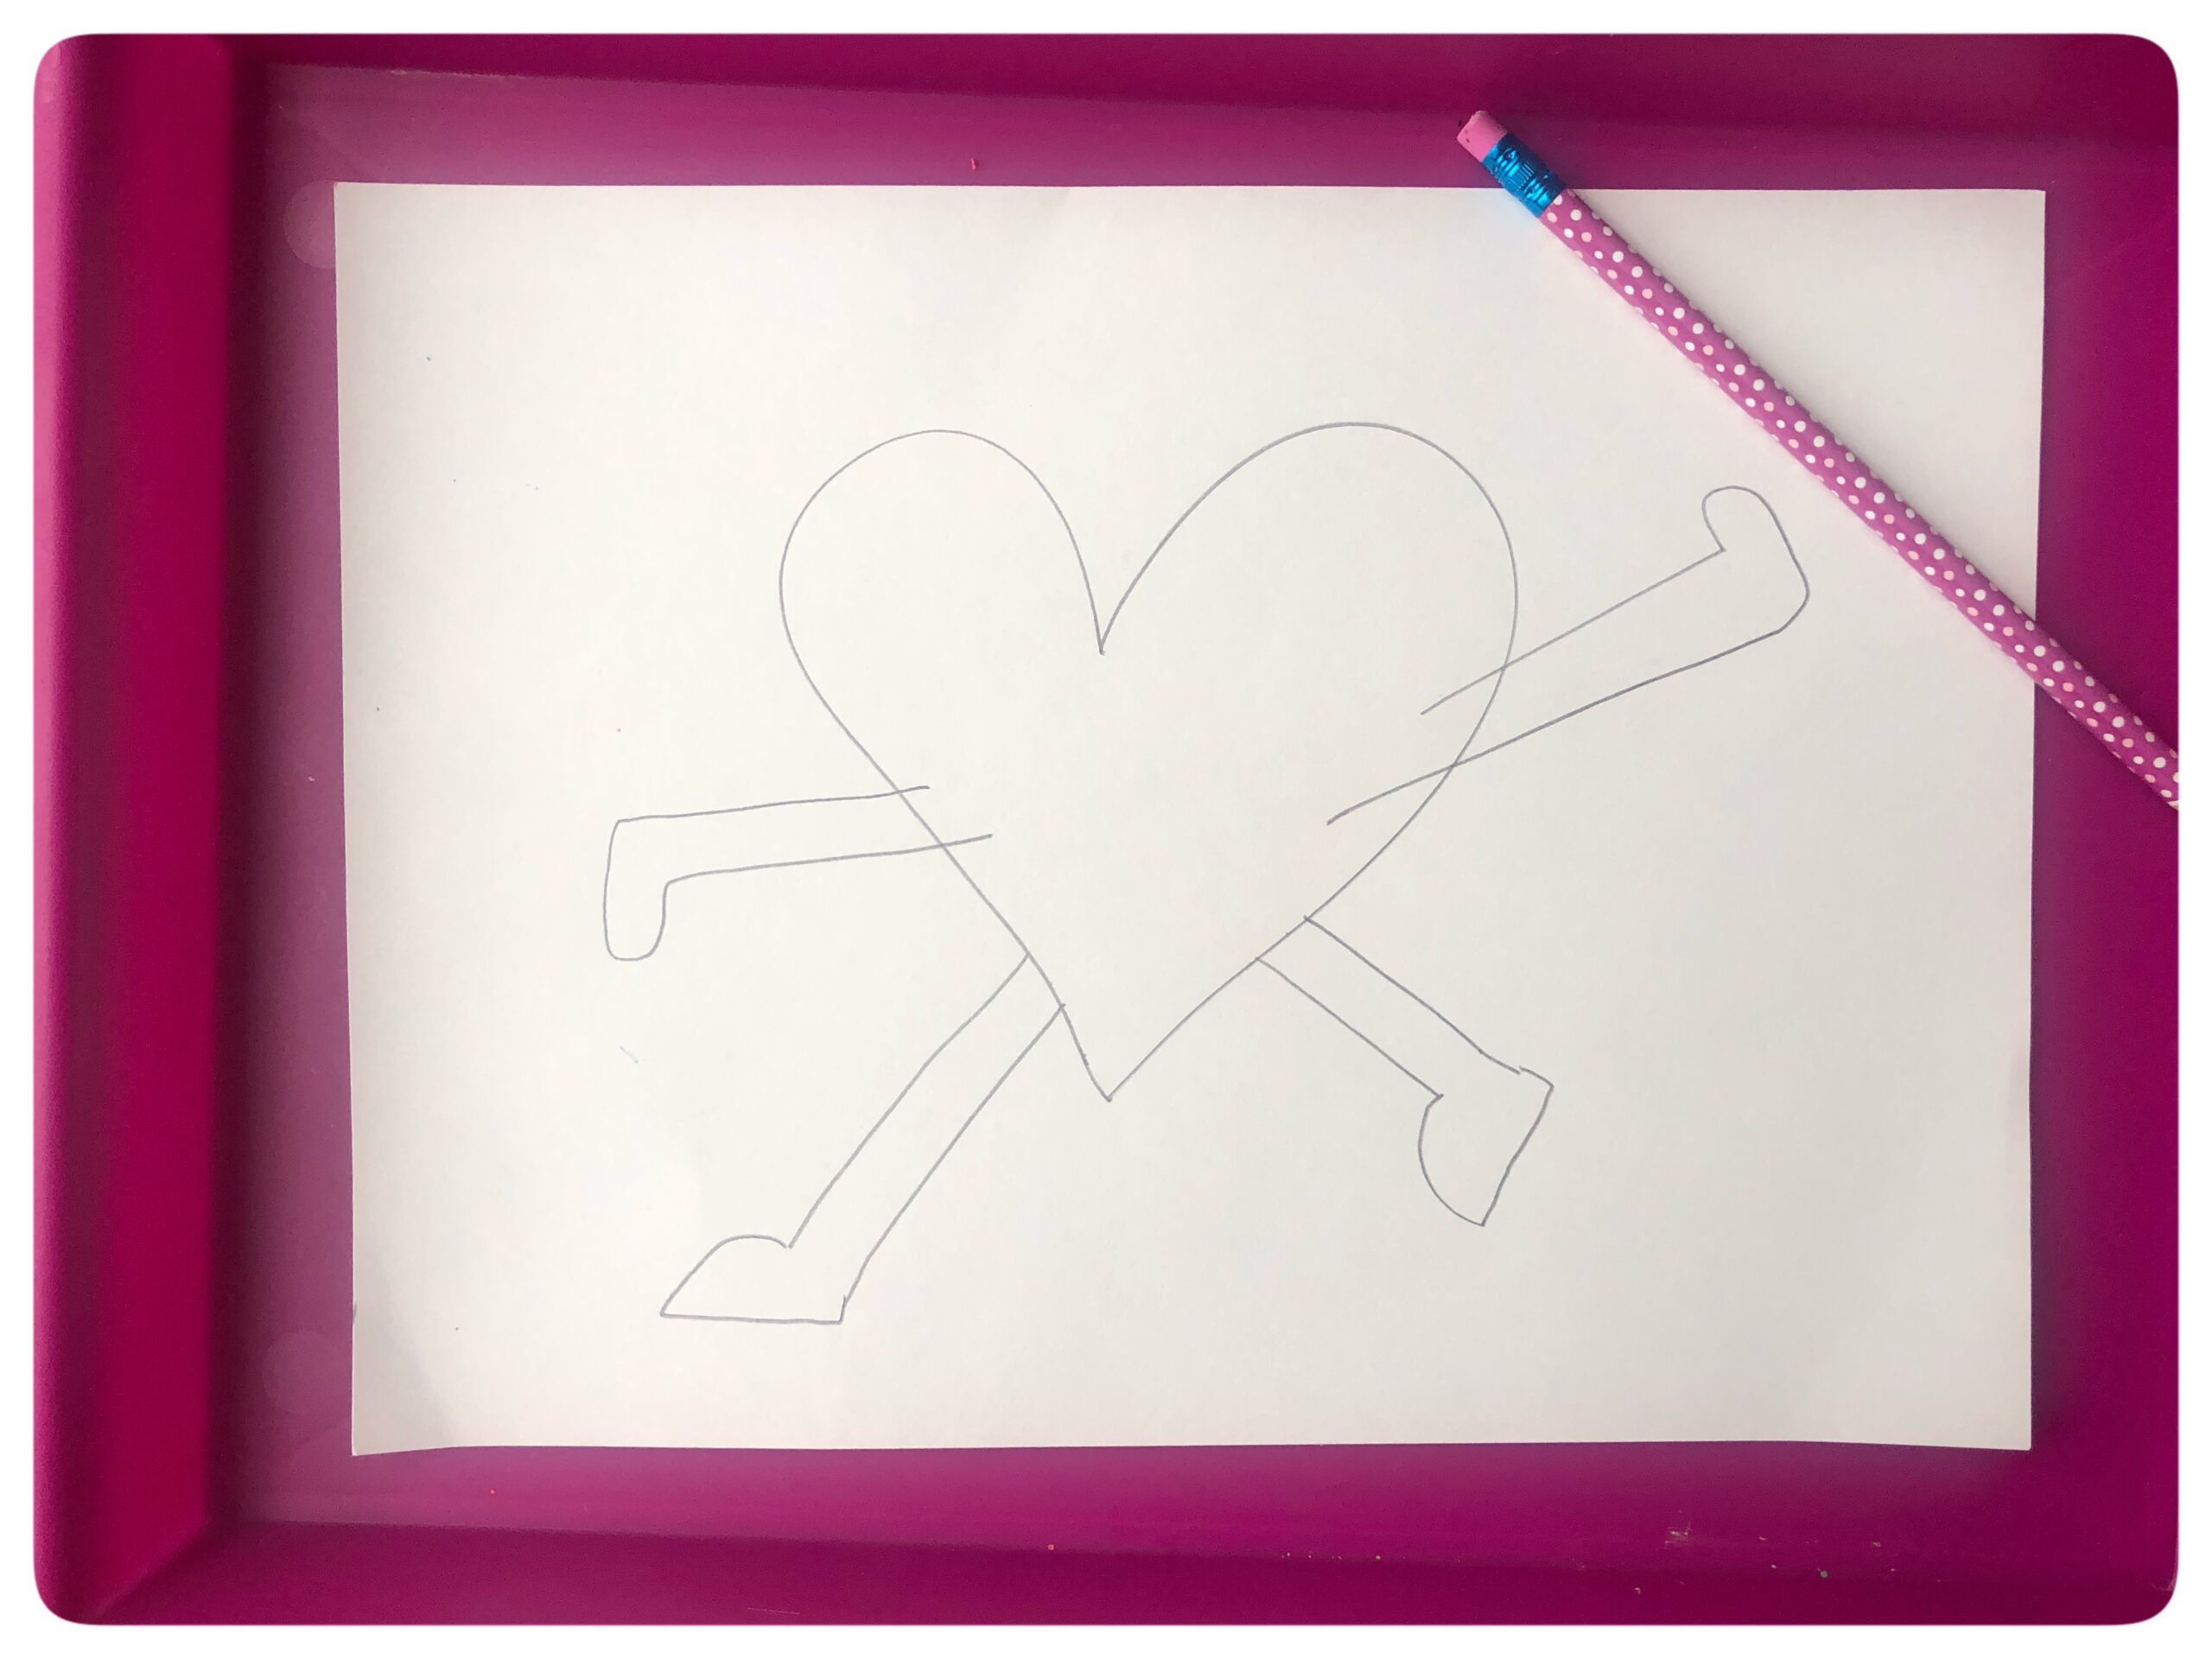
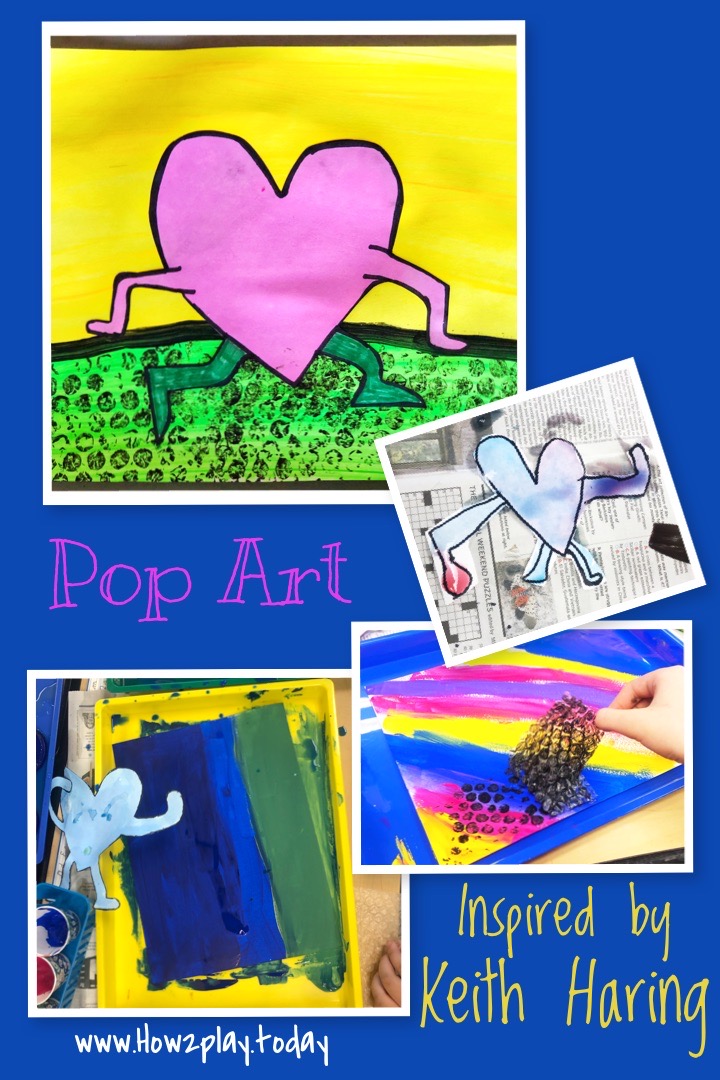
On your Mixed Media paper, draw a large heart.
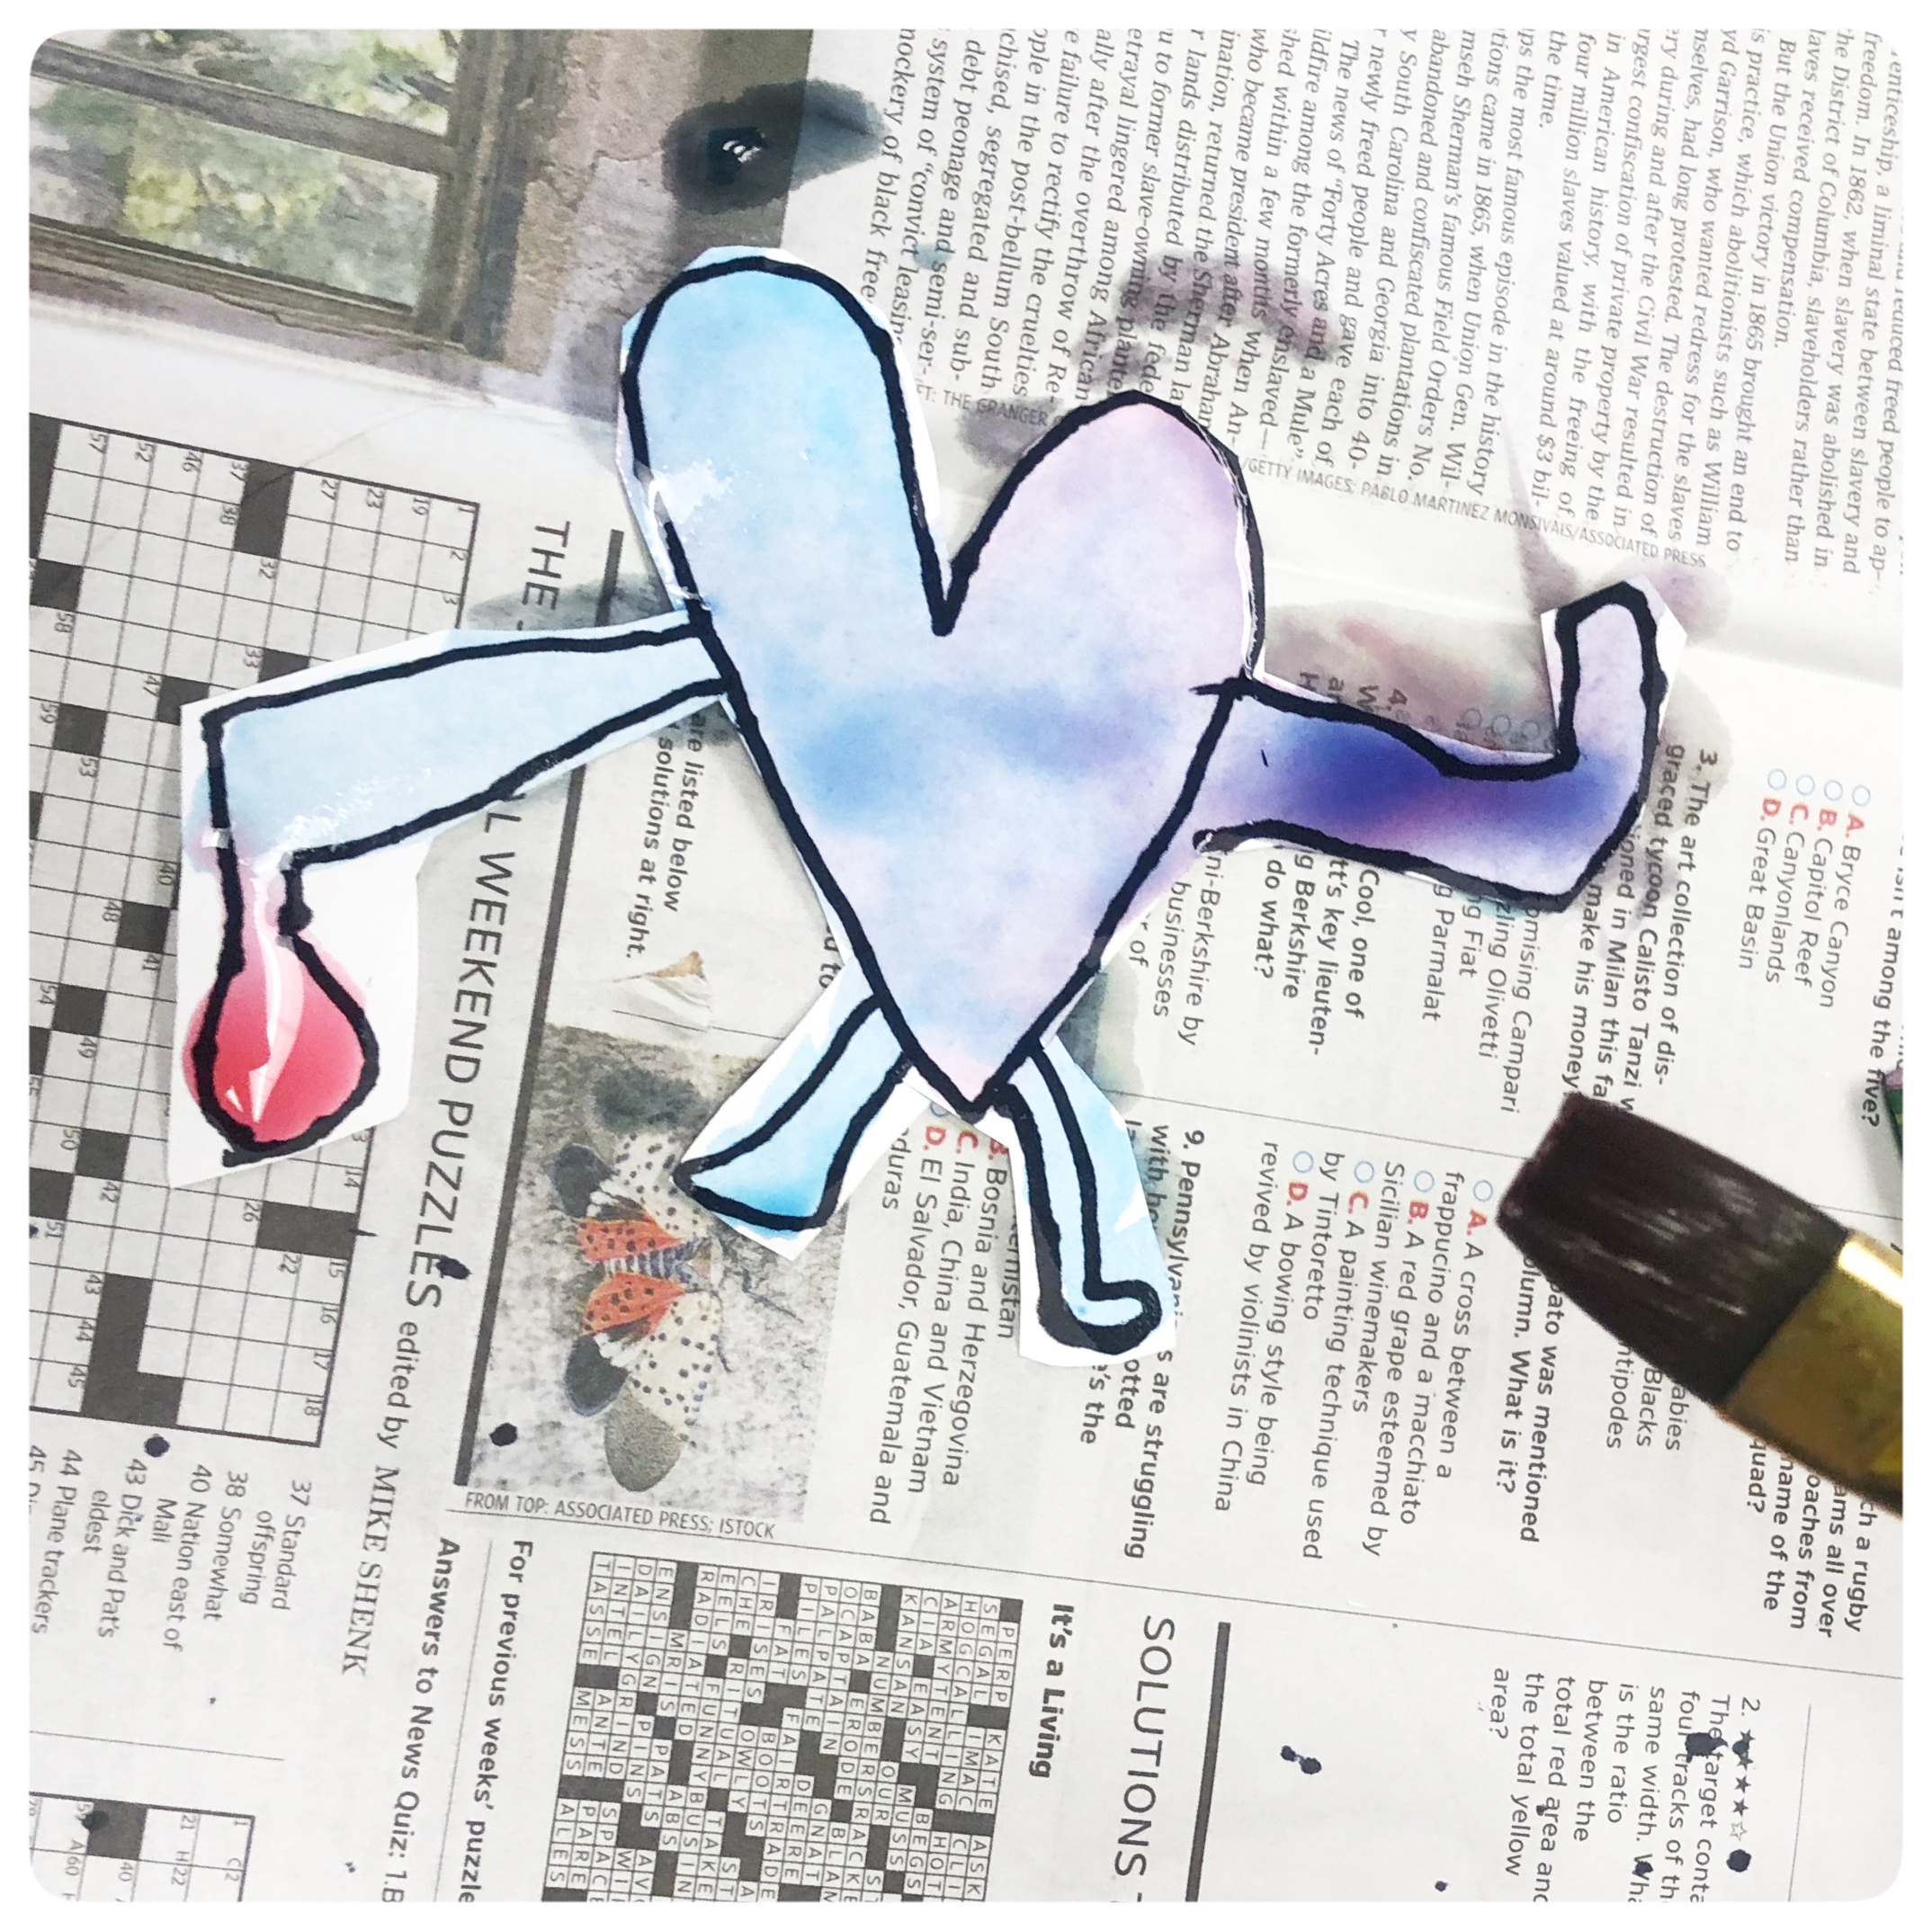
Add the arms and legs just like Keith Haring did. You can create your heart walking, dancing, jumping, waving… this is your artwork so it will be as unique as you are.
Step 2:
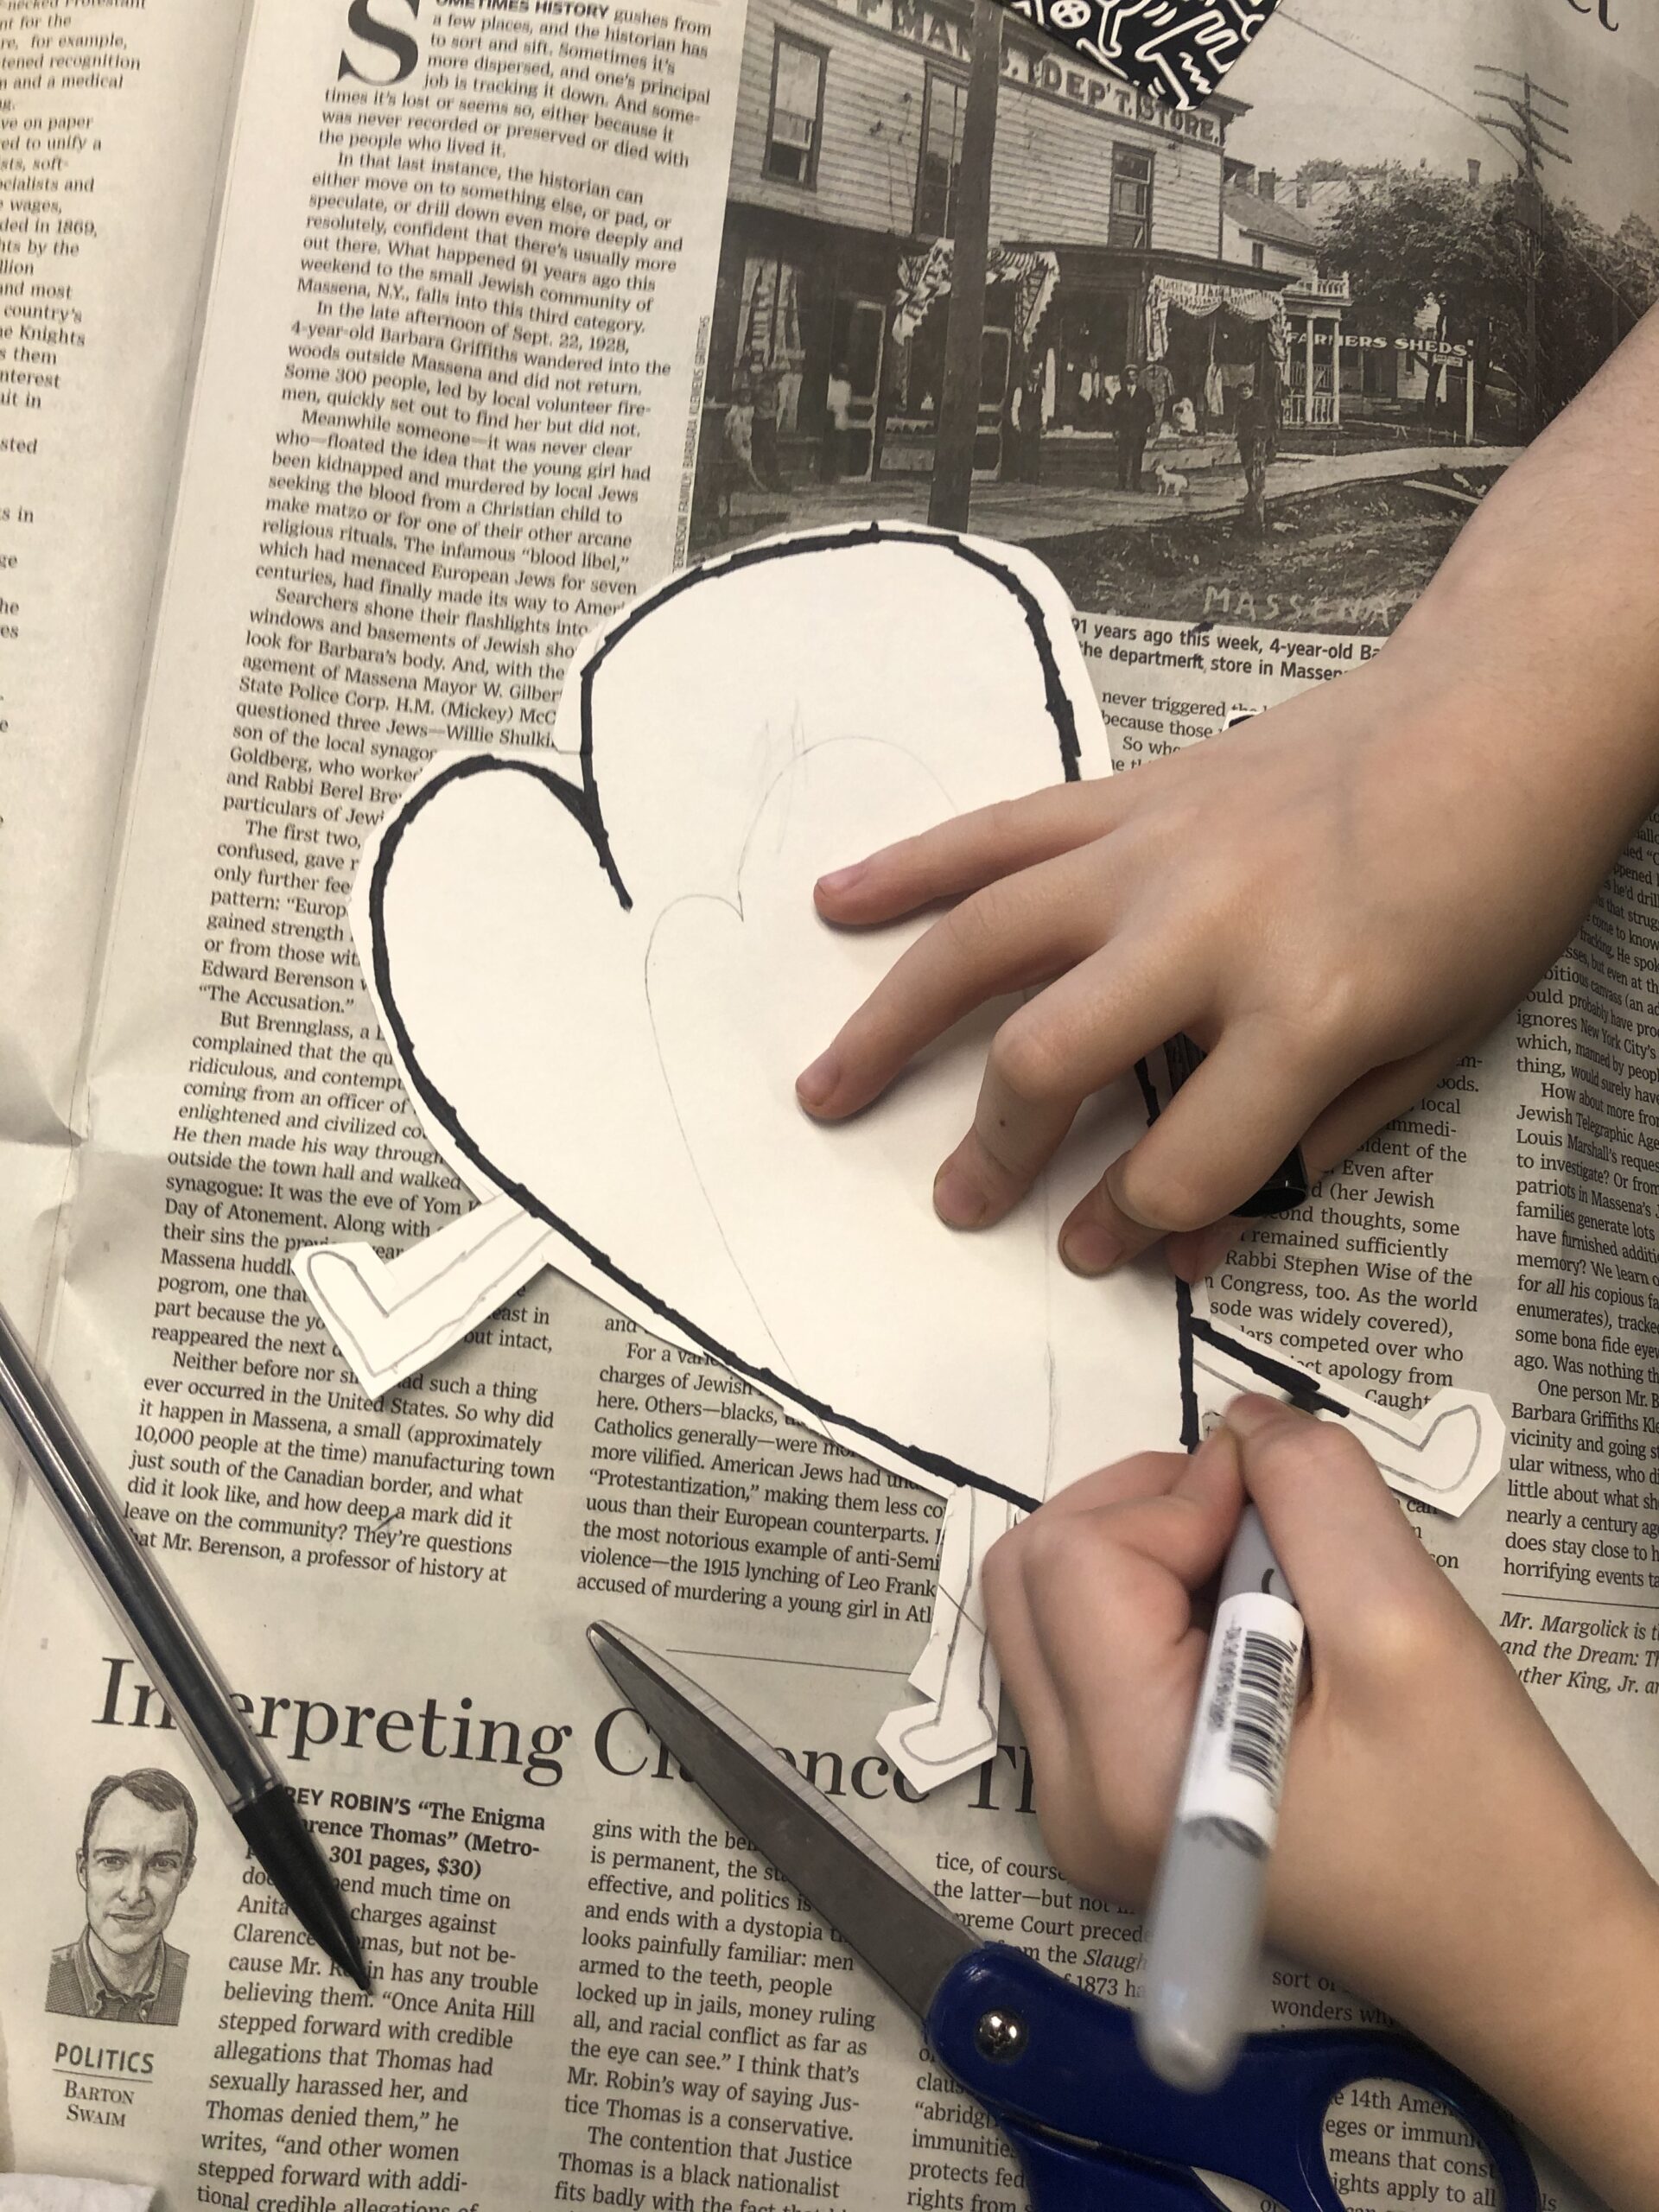
Decide which side you want to decorate. If you don’t want any pencil markings to show, you can turn your heart over after you cut it out or leave it how it is. Give your design a thick black boarder with your Sharpie.
You can also choose to color in the legs with Sharpie.
Cut out your heart.
Step 3:
Time to grab your liquid watercolors and paint brush. You may use a paper towel to dab off excess watercolor if you wish.
We found it best to use newspaper for the beginning part with watercolor. We used Art Trays from S&S Worldwide for the painting portion. These trays are durable and easy to wash.
Step 4:
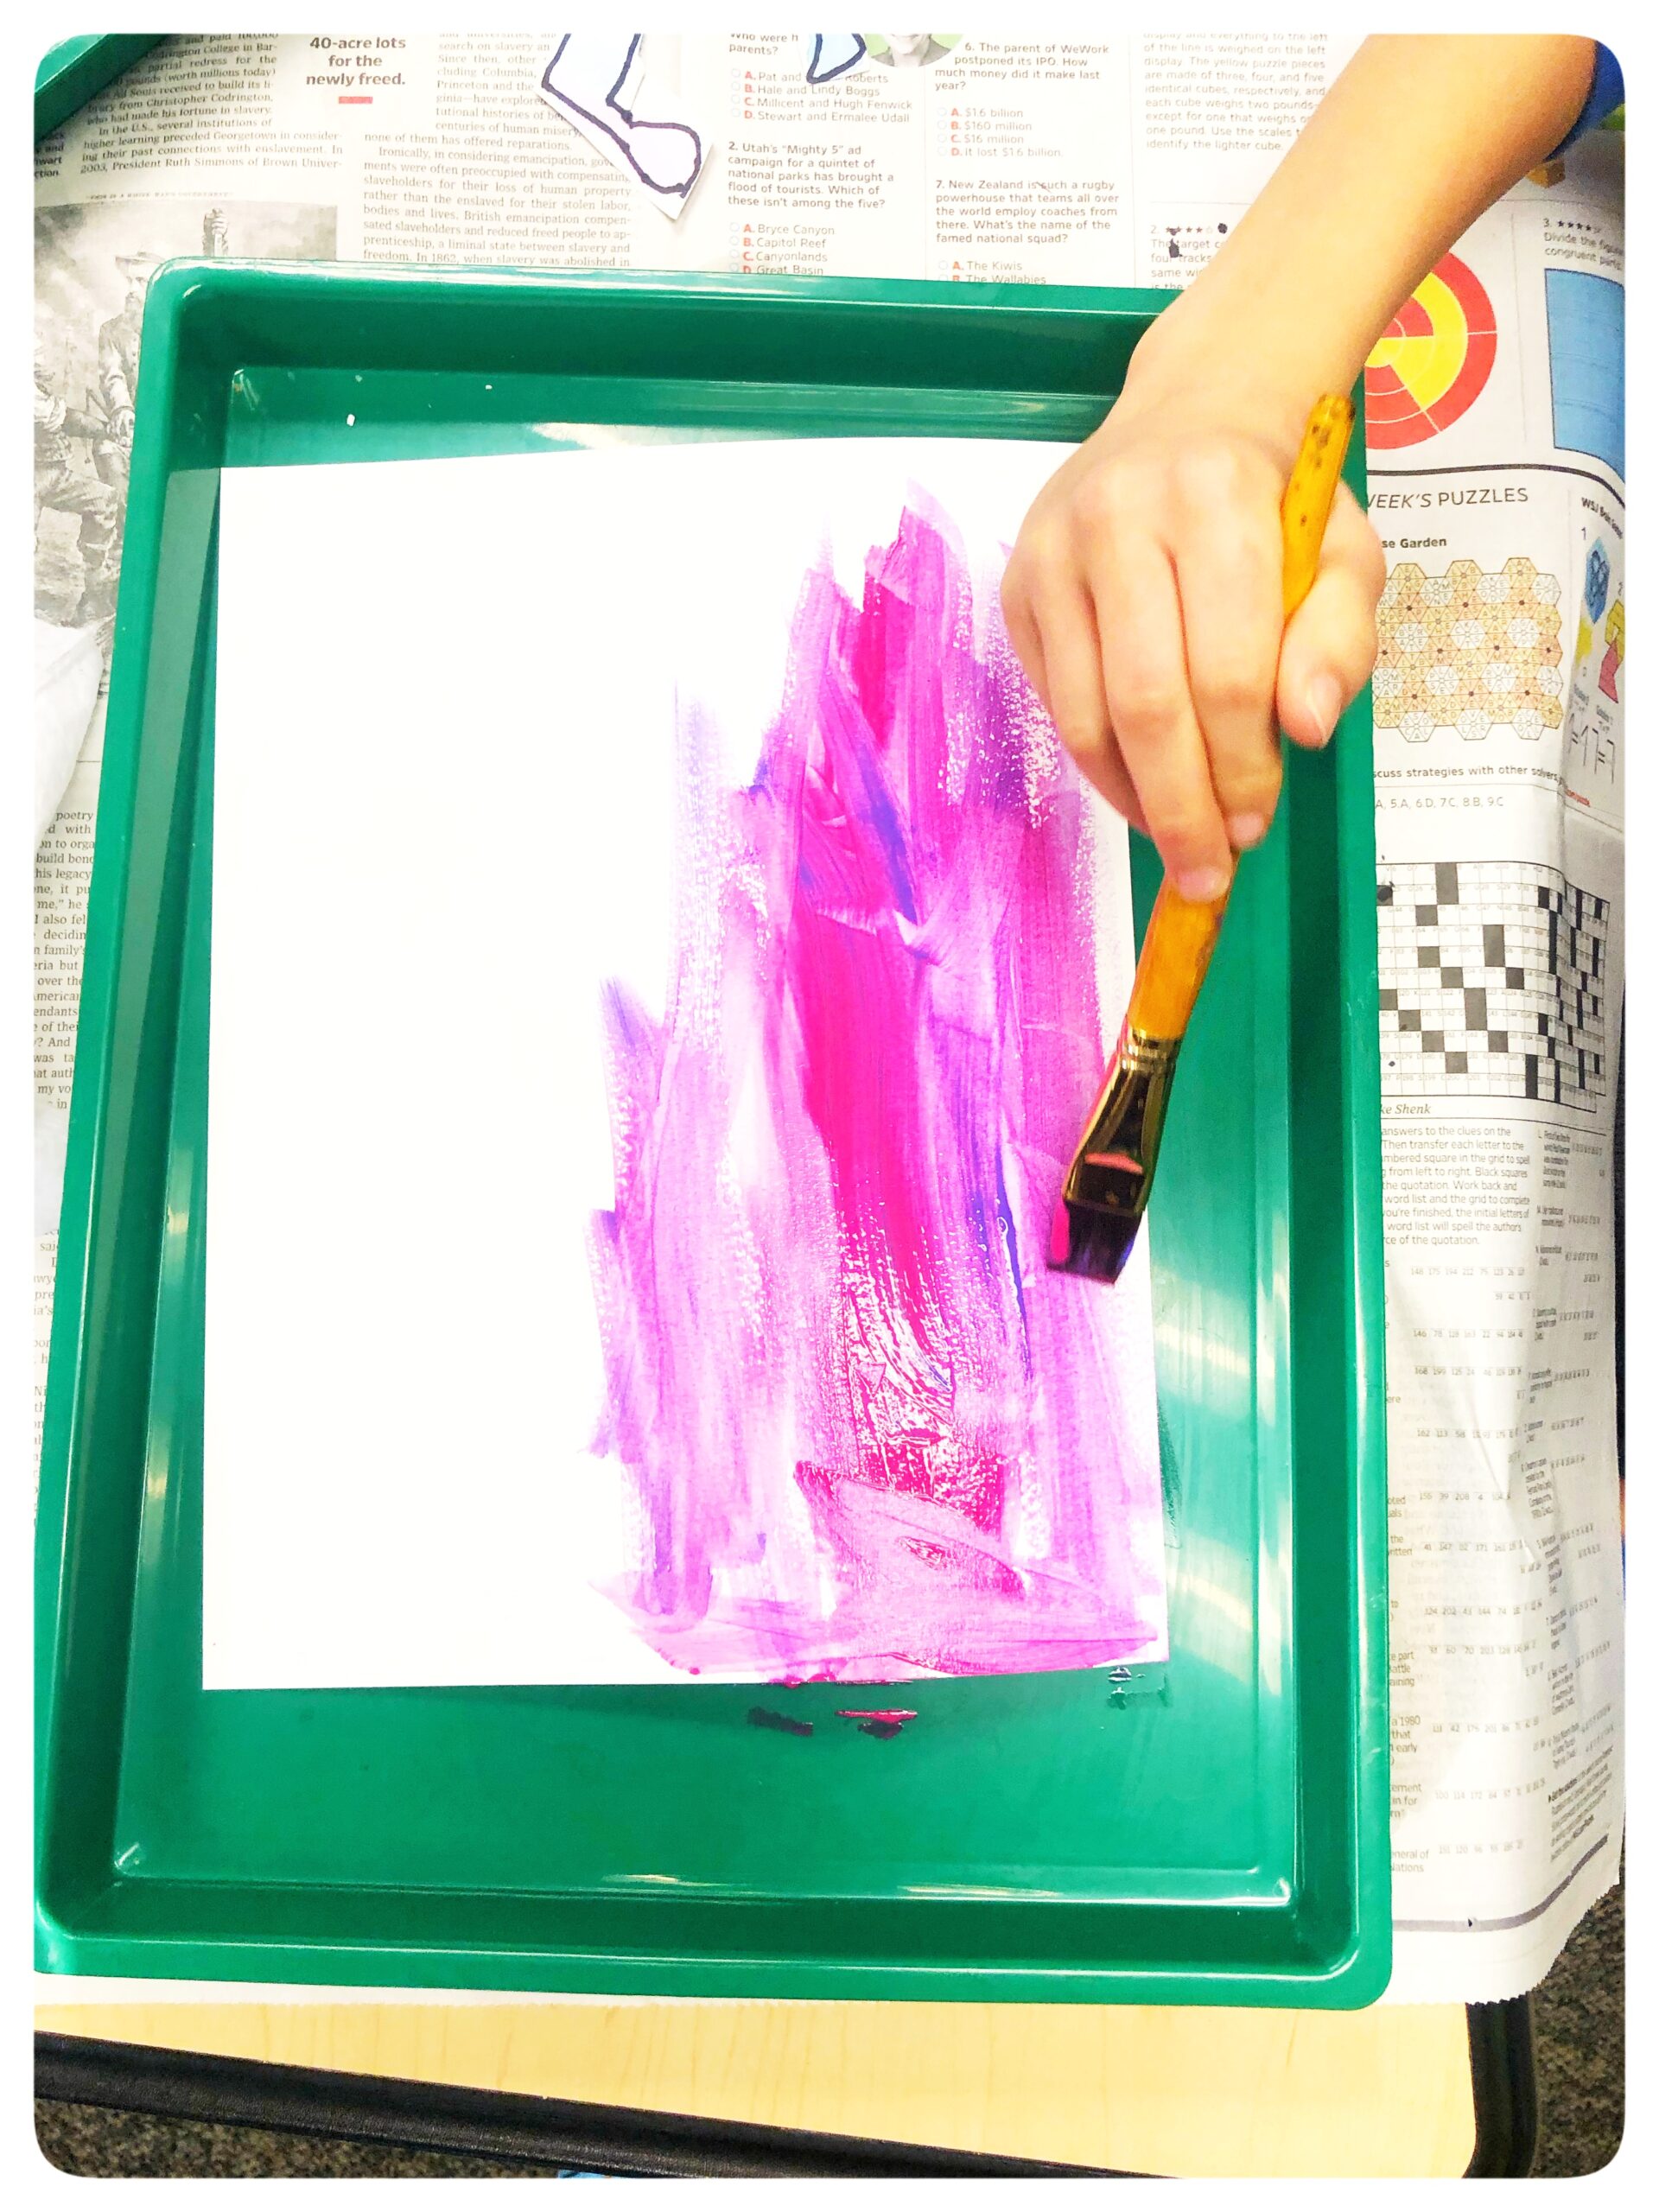
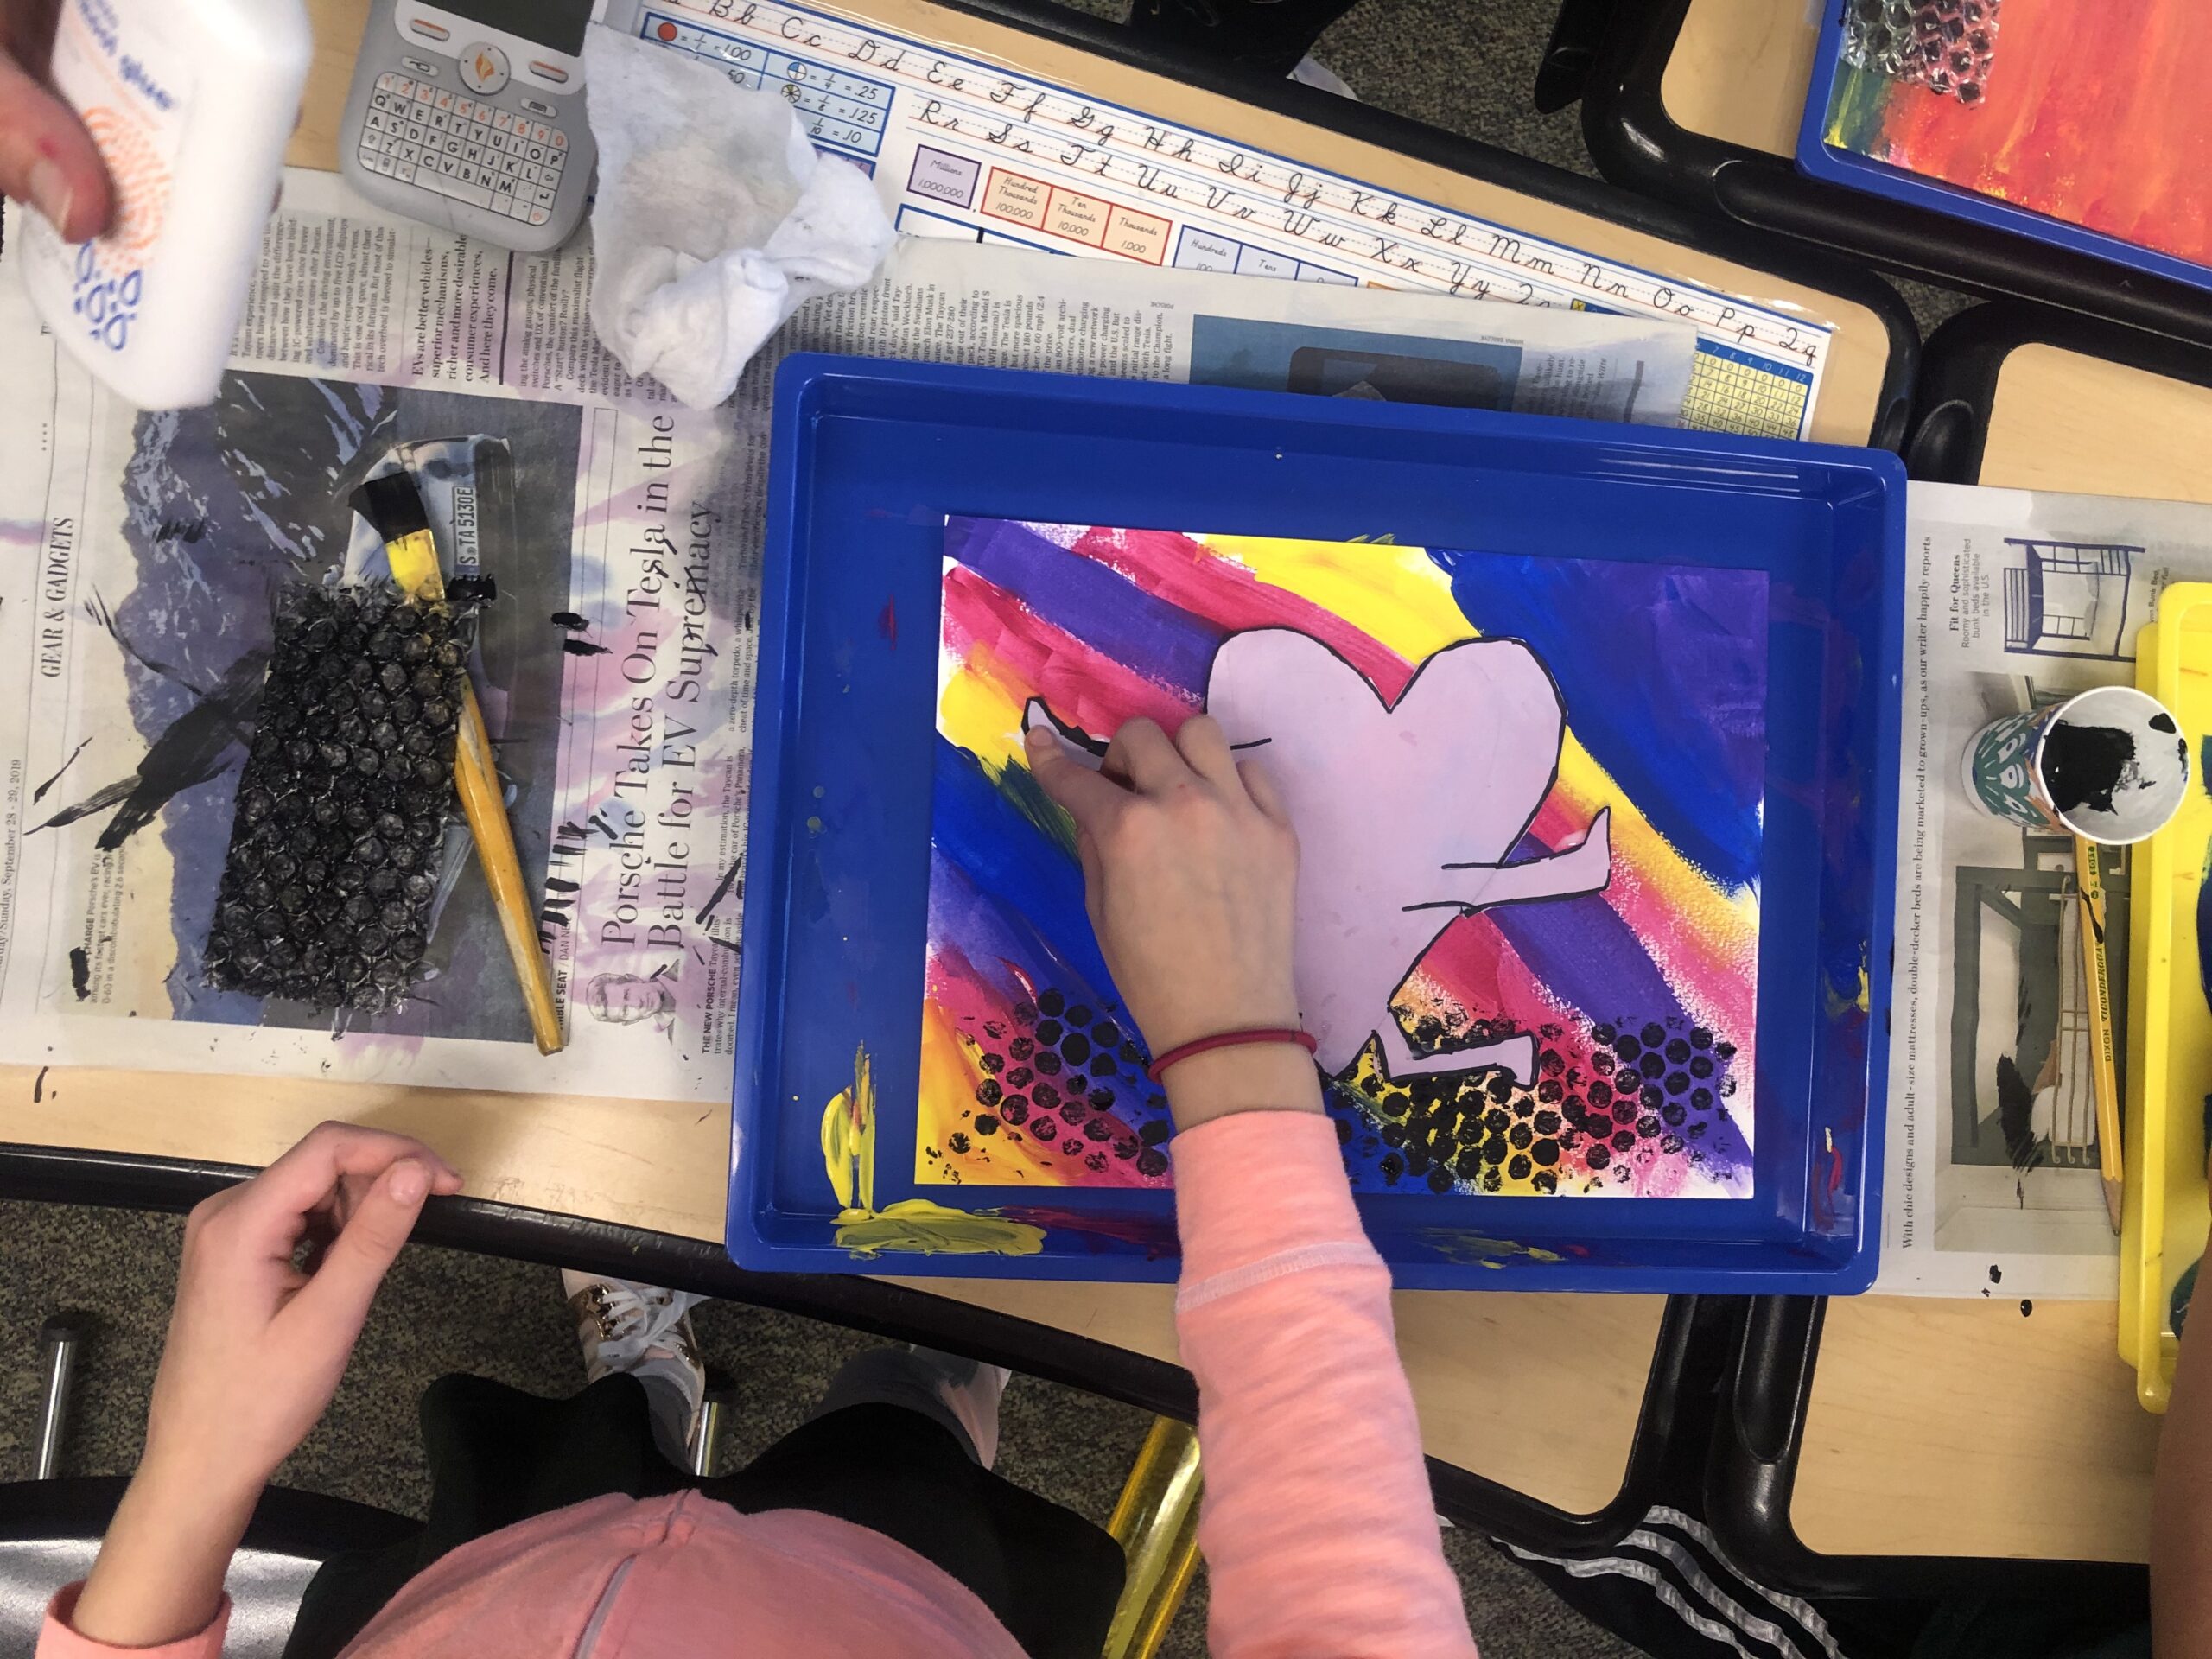
Now it’s time to create your background. On your watercolor paper, chose two colors of acrylic paint and start painting.
Step 5:
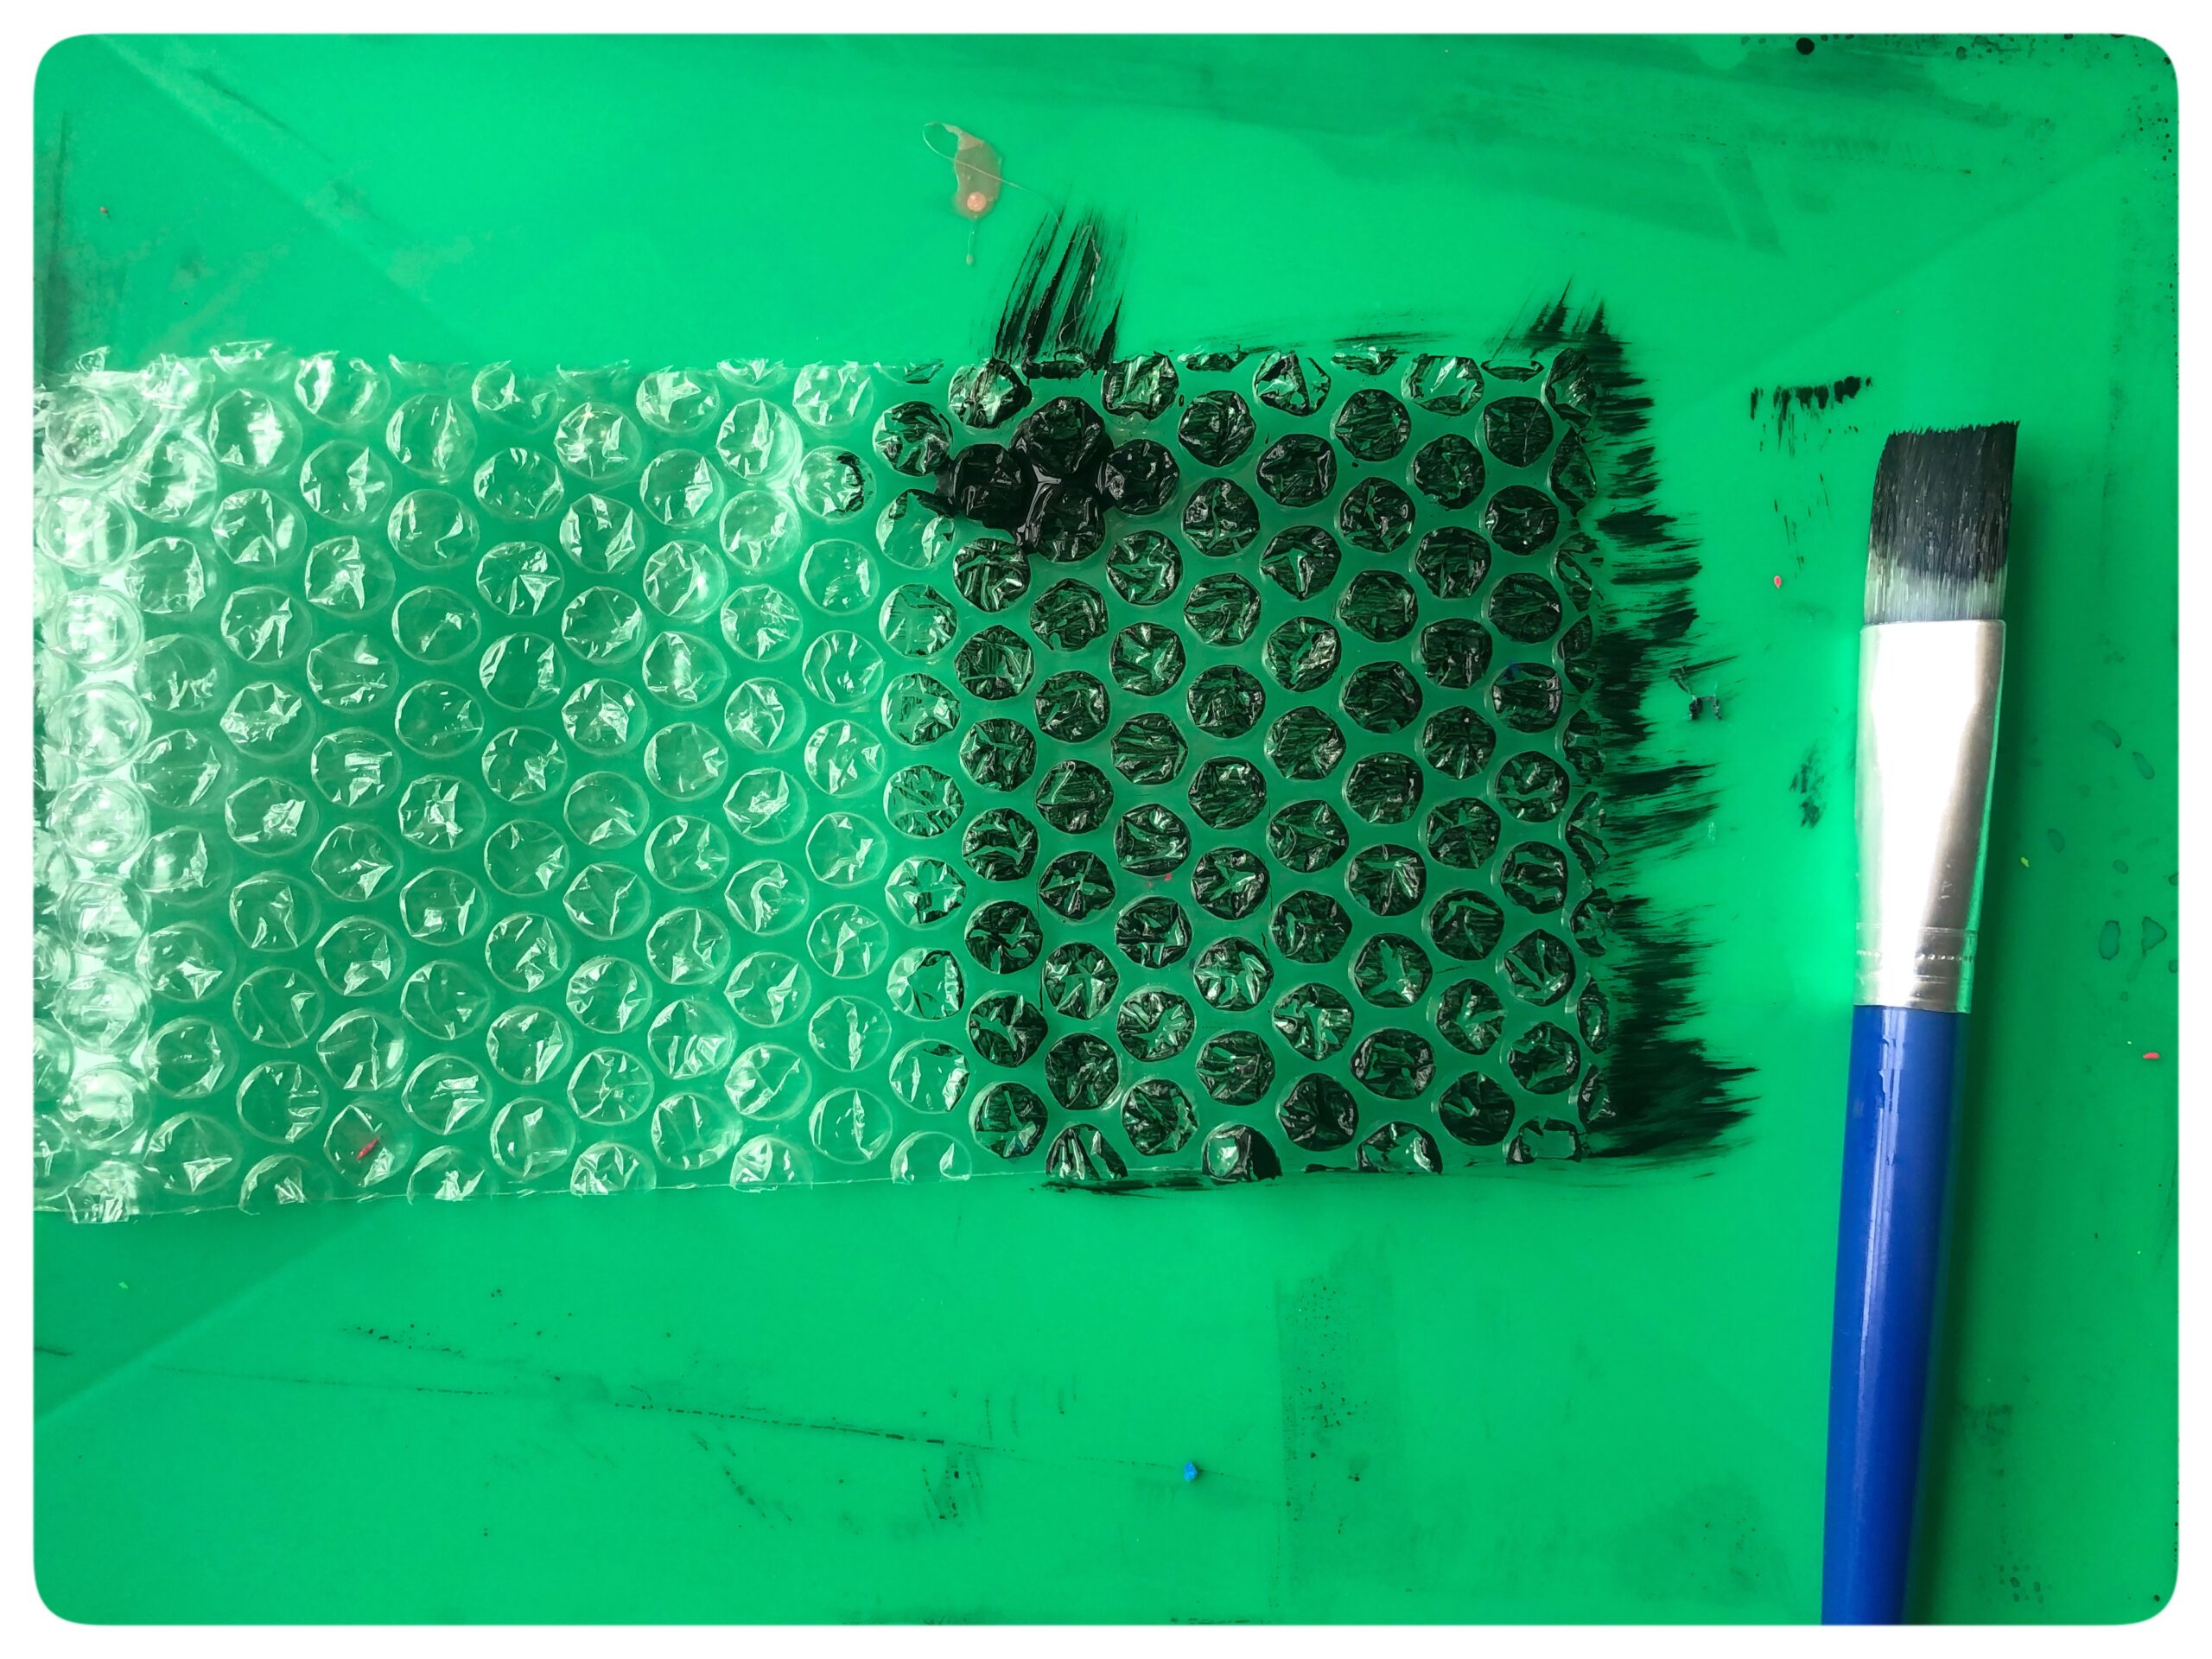
Keith Haring’s drawings often had patterns so to give your artwork some added dimension, you get to create a pattern using Bubble wrap!
Paint your bubble wrap with black acrylic paint. Be careful not to soak the wrap. You’ll want to keep the paint on the raised bubble pieces and not down in between.
Step 6:
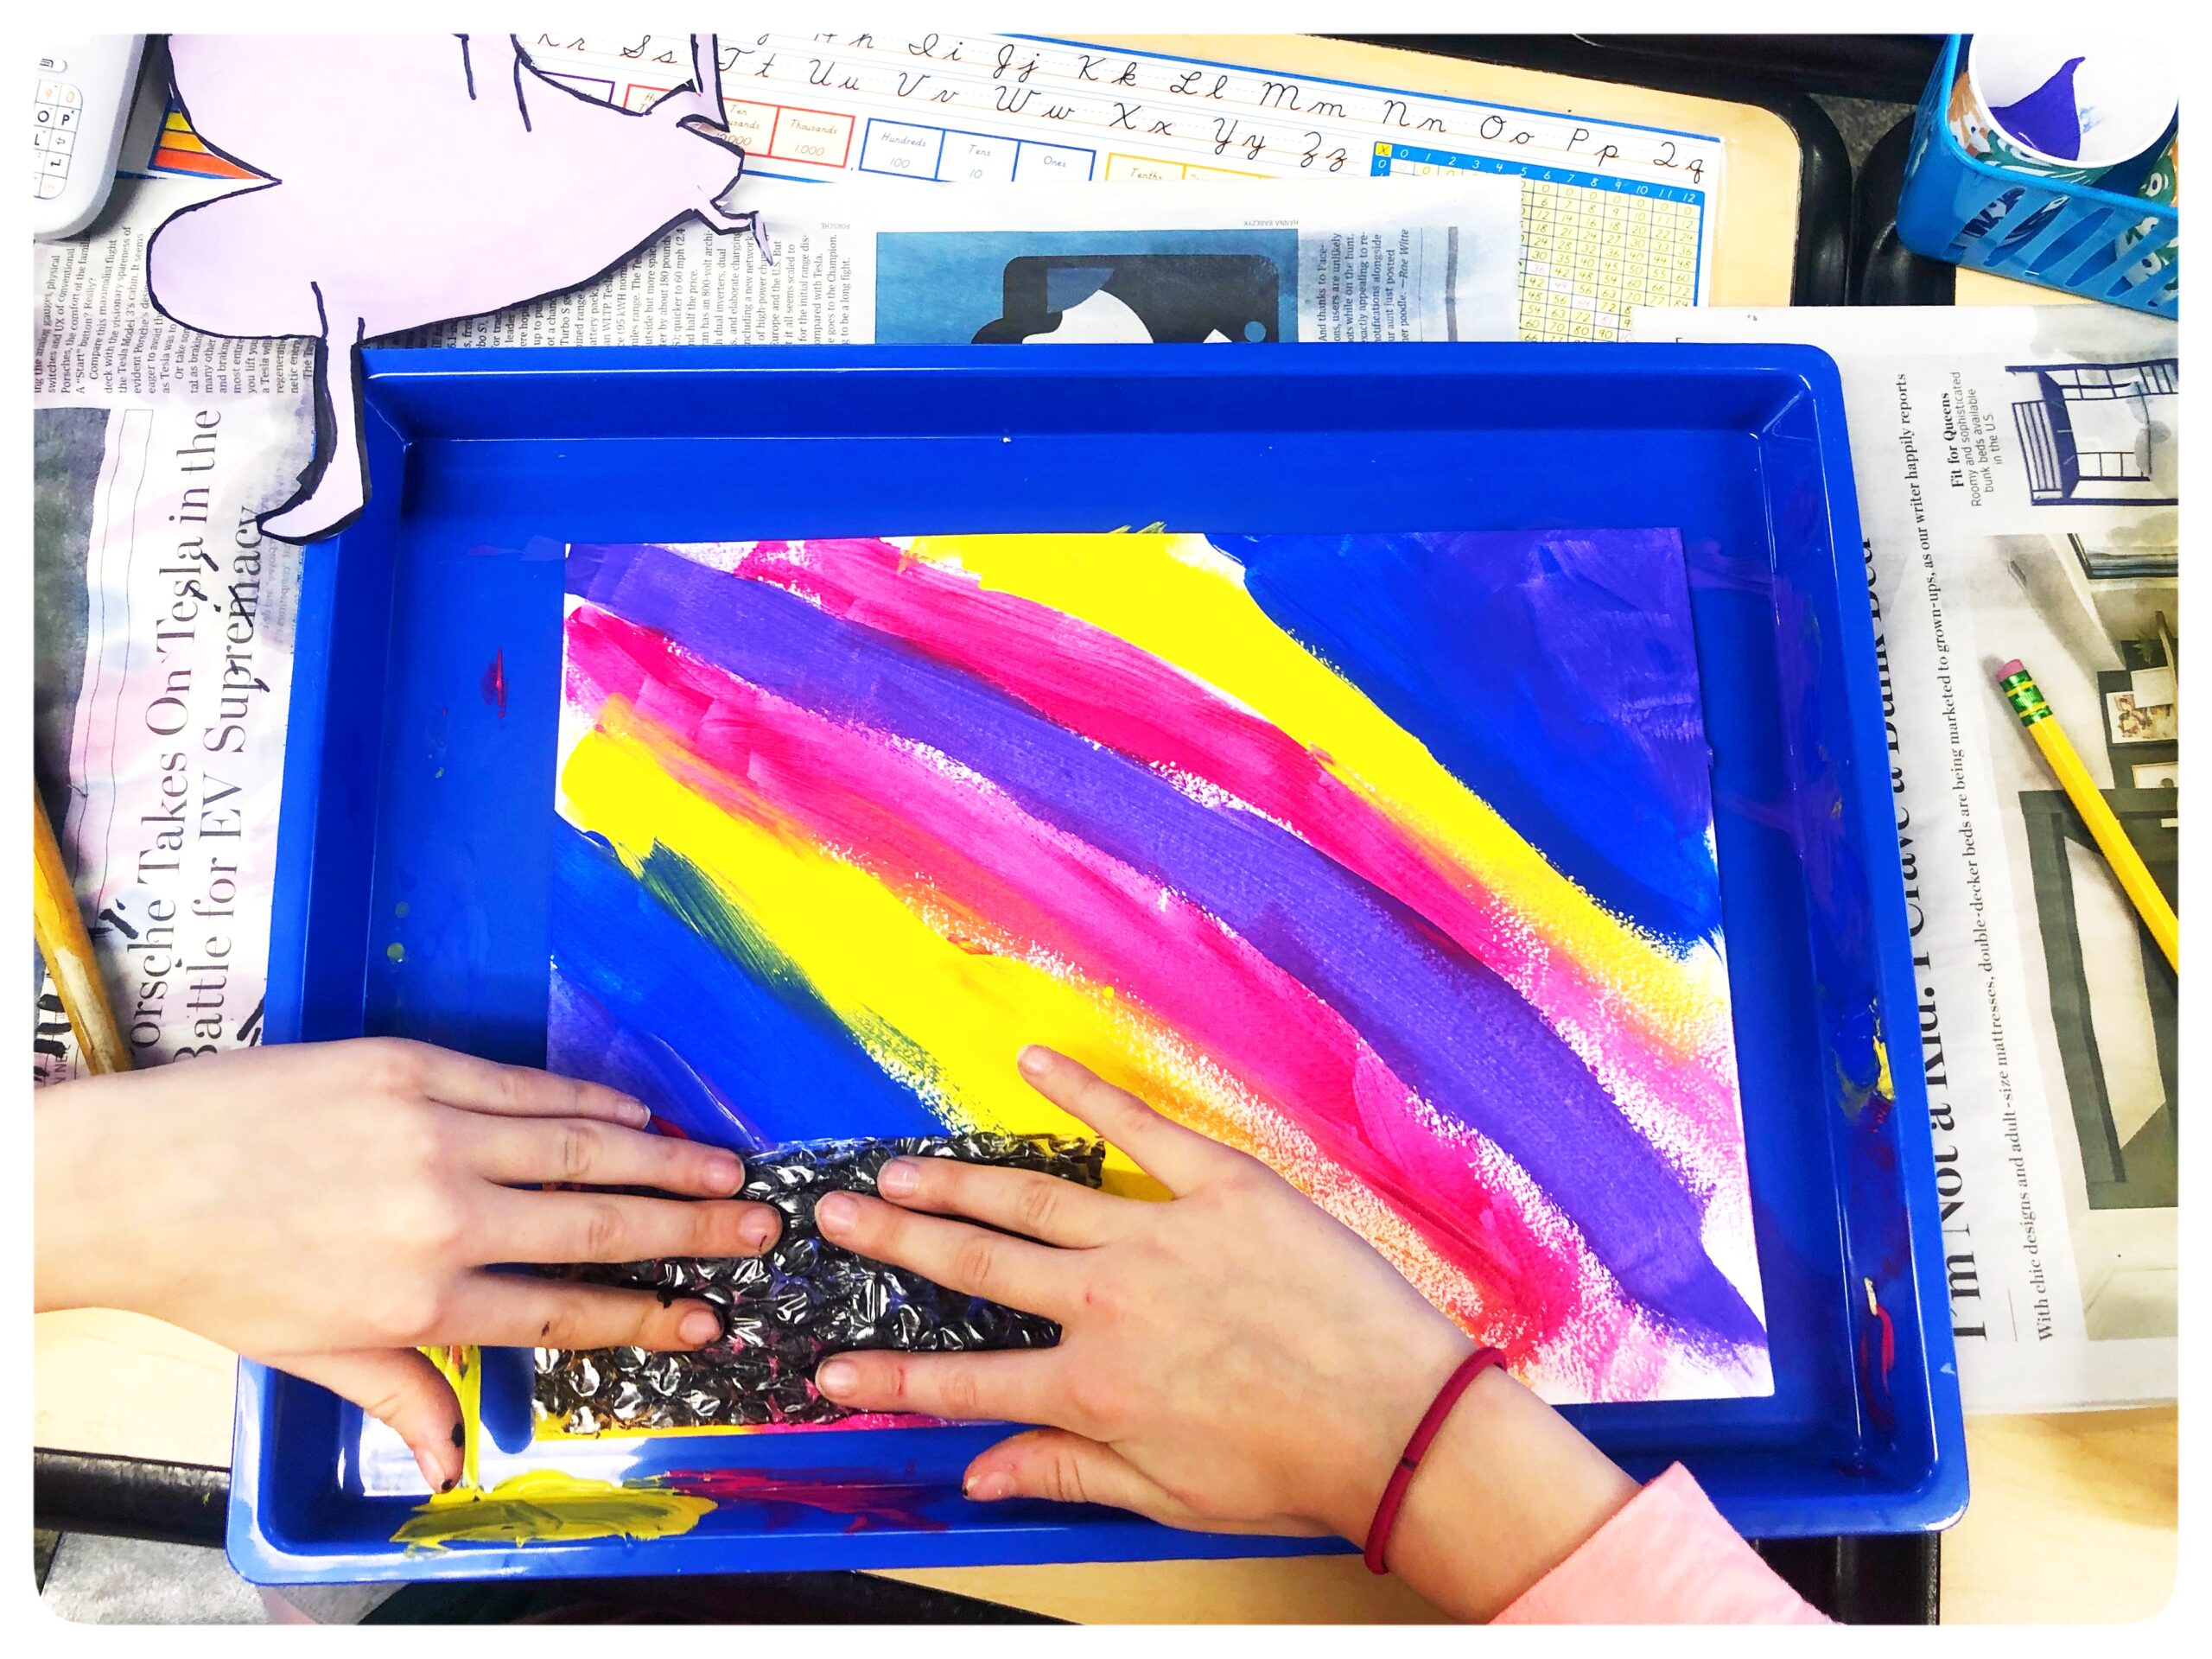
Push your bubble wrap down on the lower portion of your artwork. This creates the road or path your heart will be dancing on. Repeat until your lower space is covered as much as you’d like it to be.
Step 7:
Now add your dancing heart and your artwork is ready to enjoy. If your paint is still wet, your heart may just stick right to it. If not, you can add some glue or double-sided tape.
Share your Projects:
Check out more of our Art ideas here and don't forget to tag us on social when you try these out #how2playtoday
Check out our Instagram page and stories for more ideas of How 2 Play Today with your children.
Sensory Table:
I'm a huge advocate for sensory play even at the elementary school level. We set this table up in the back for students to explore if they wanted to take a break, needed their art to draw or if they finished early.
We also created Kindness Pebbles to keep or share as a way to remember to be kind to ourselves and to others.
![]()

