This post may contain affiliate links which keeps this blog going but does not add any cost to you
Objective:
Creating fun & simple sensory activities
Skill Development: Sensory
Minimum Age: Preschool
Messiness: Medium
![]()
Materials
- Art Trays
- Clear glue
- White glue
- Liquid Starch
- Craft sticks
- Acrylic paint
- Glitter
- Foam balls
- Fishbowl beads
- Hsetiy Slime Kit - this one is Amazing!! {I still buy the above items and add the items from this kit into our options}
You can't spell Slime without Smile
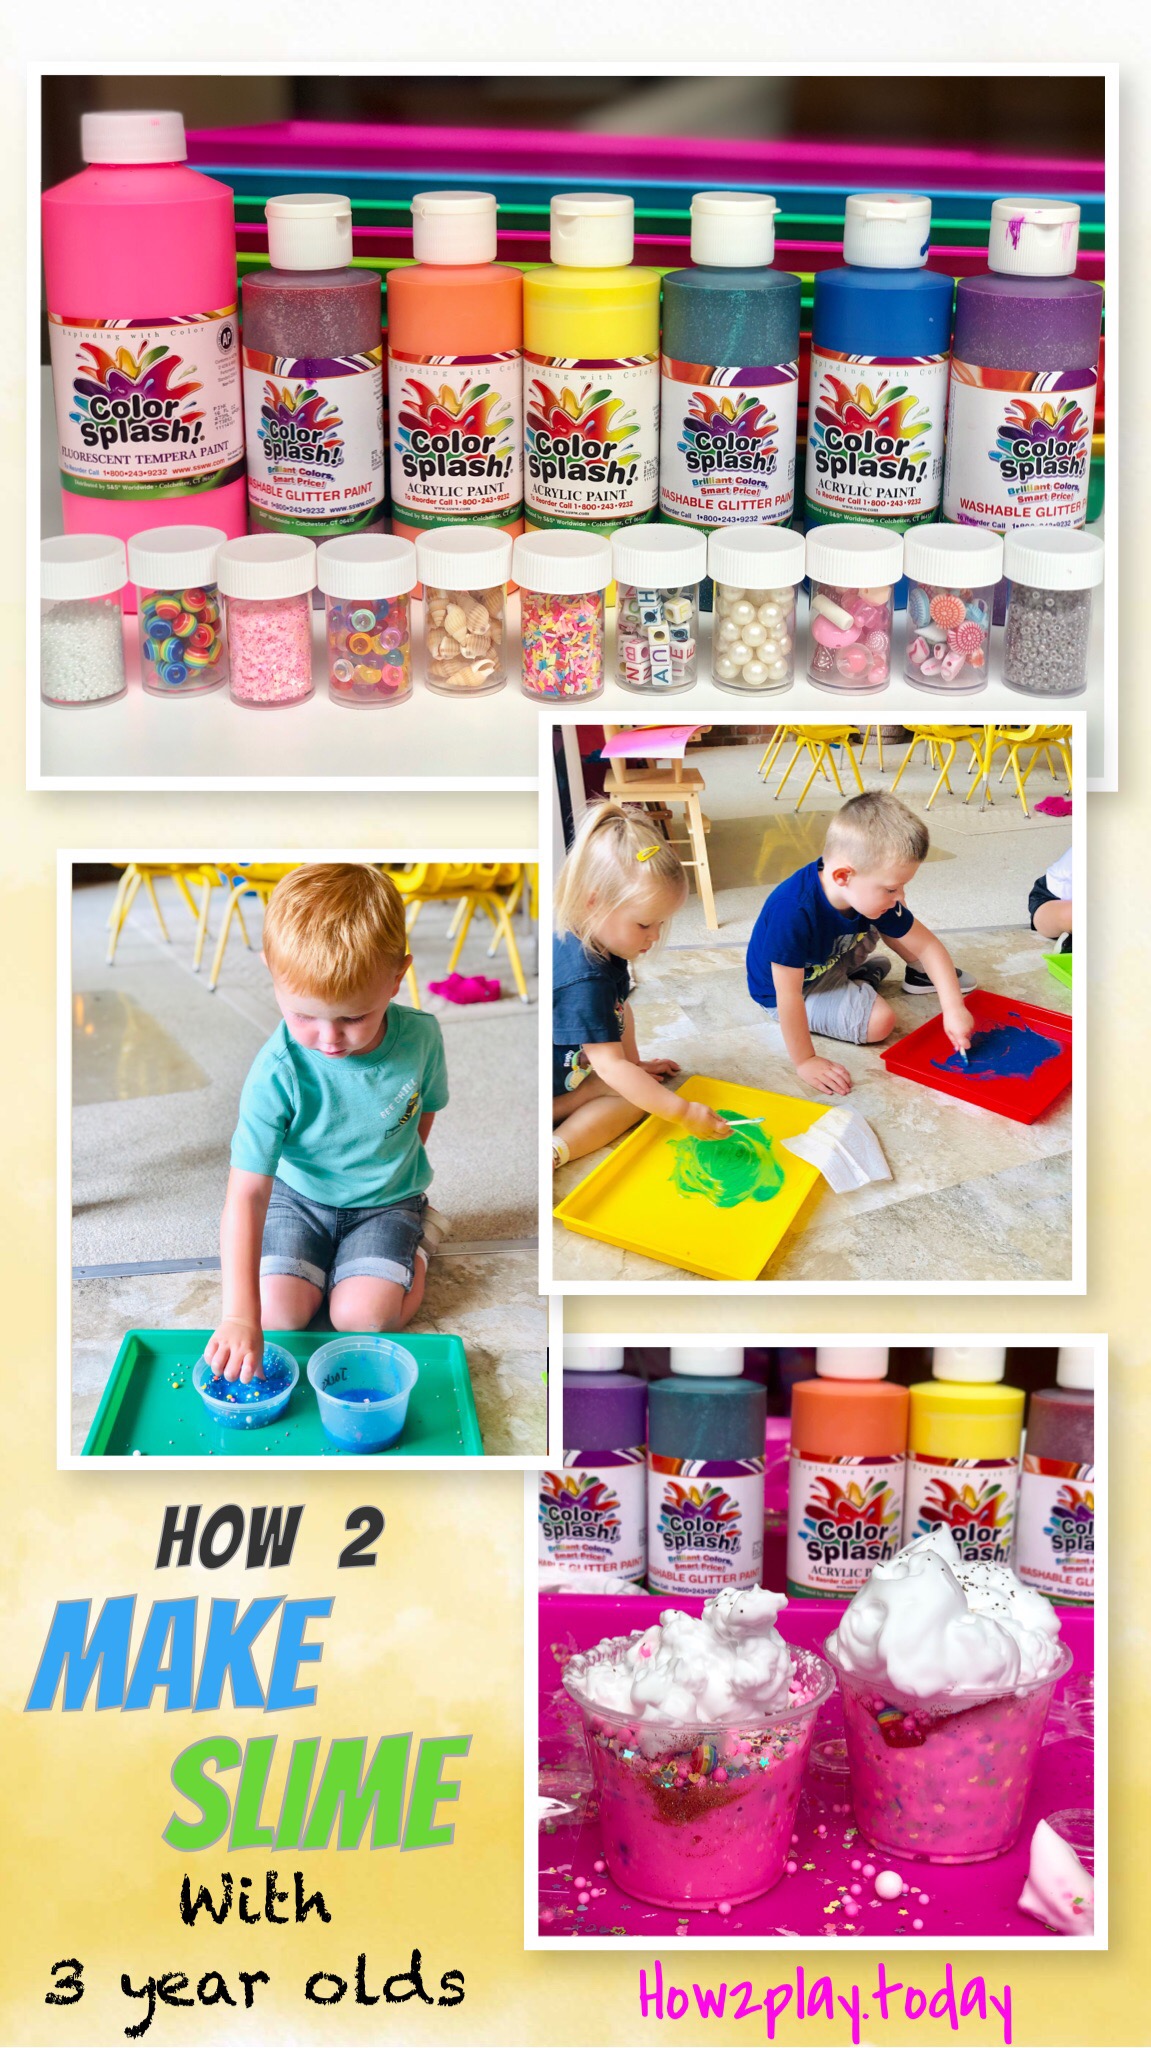
Slime has been a popular sensory material for a very long time but many worry about the mess it creates. Here is how I allowed a group of 3 year olds create their very own slime!
Here are a few things you can do to prep in order to not stress about the mess:
- Have baby wipes handy
- Keep garbage can close by
- Use containers like these art trays to keep the slime contained
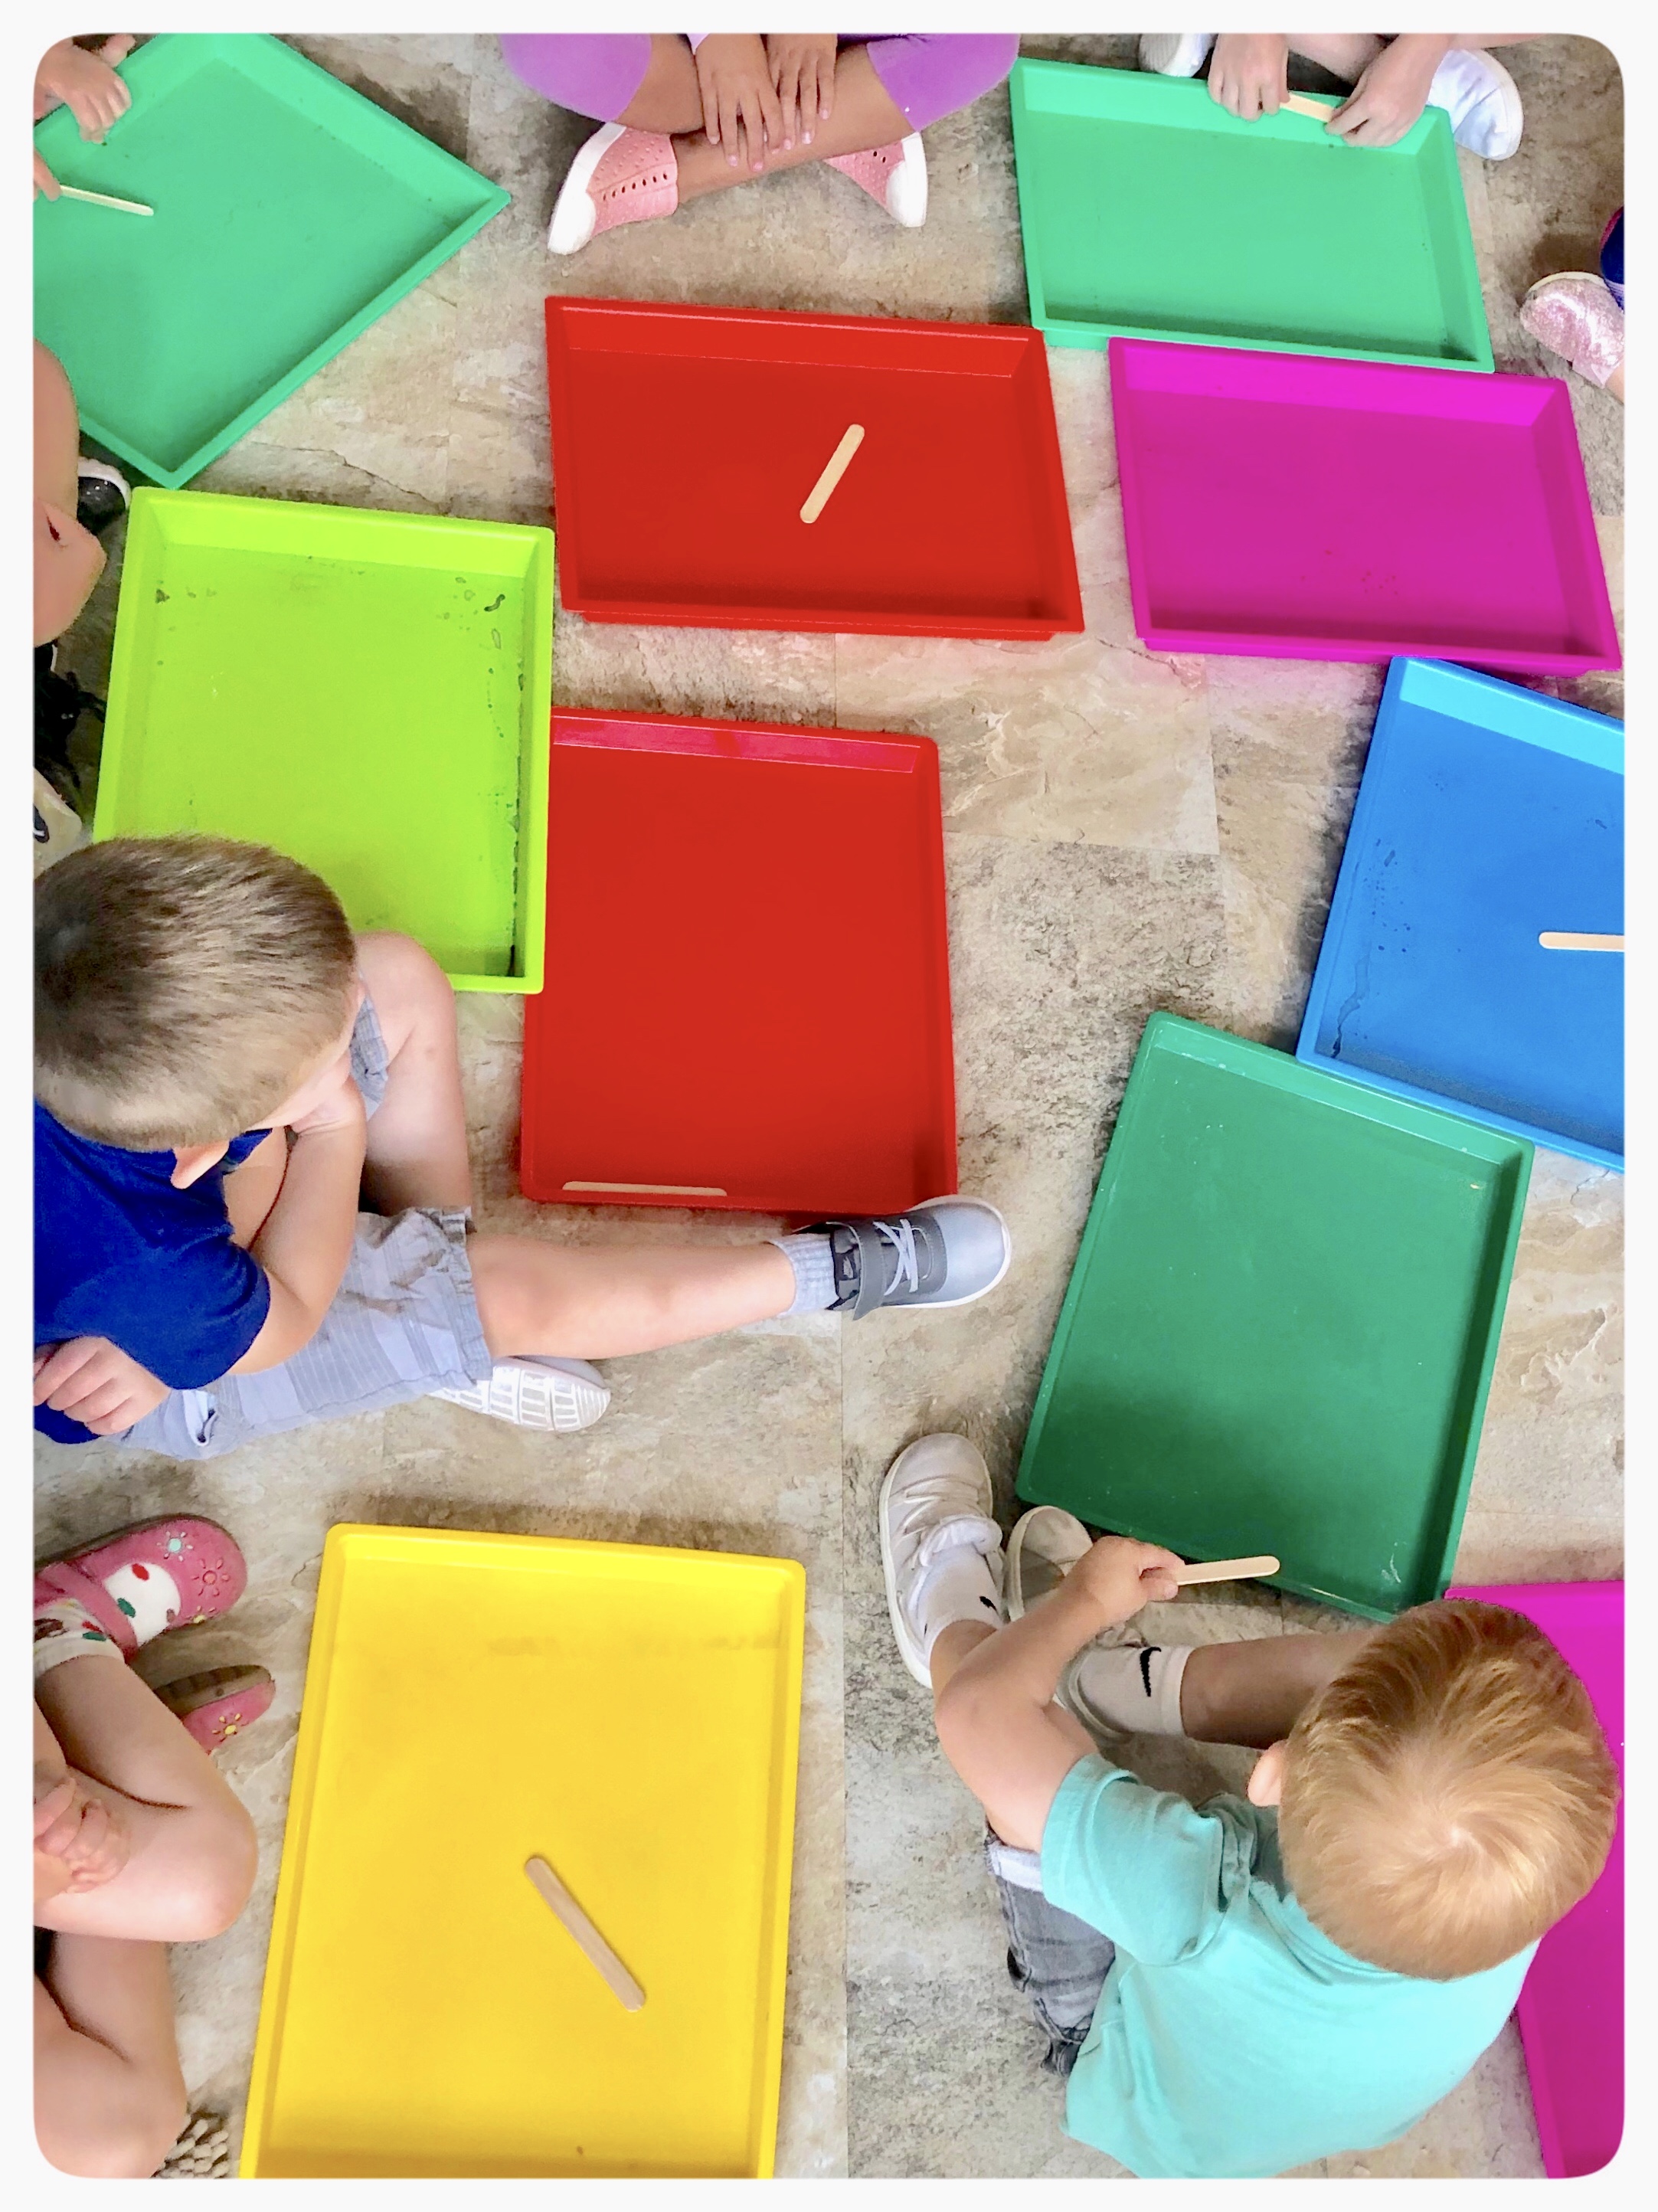
1. Each child received one tray and a large popsicle or craft stick.
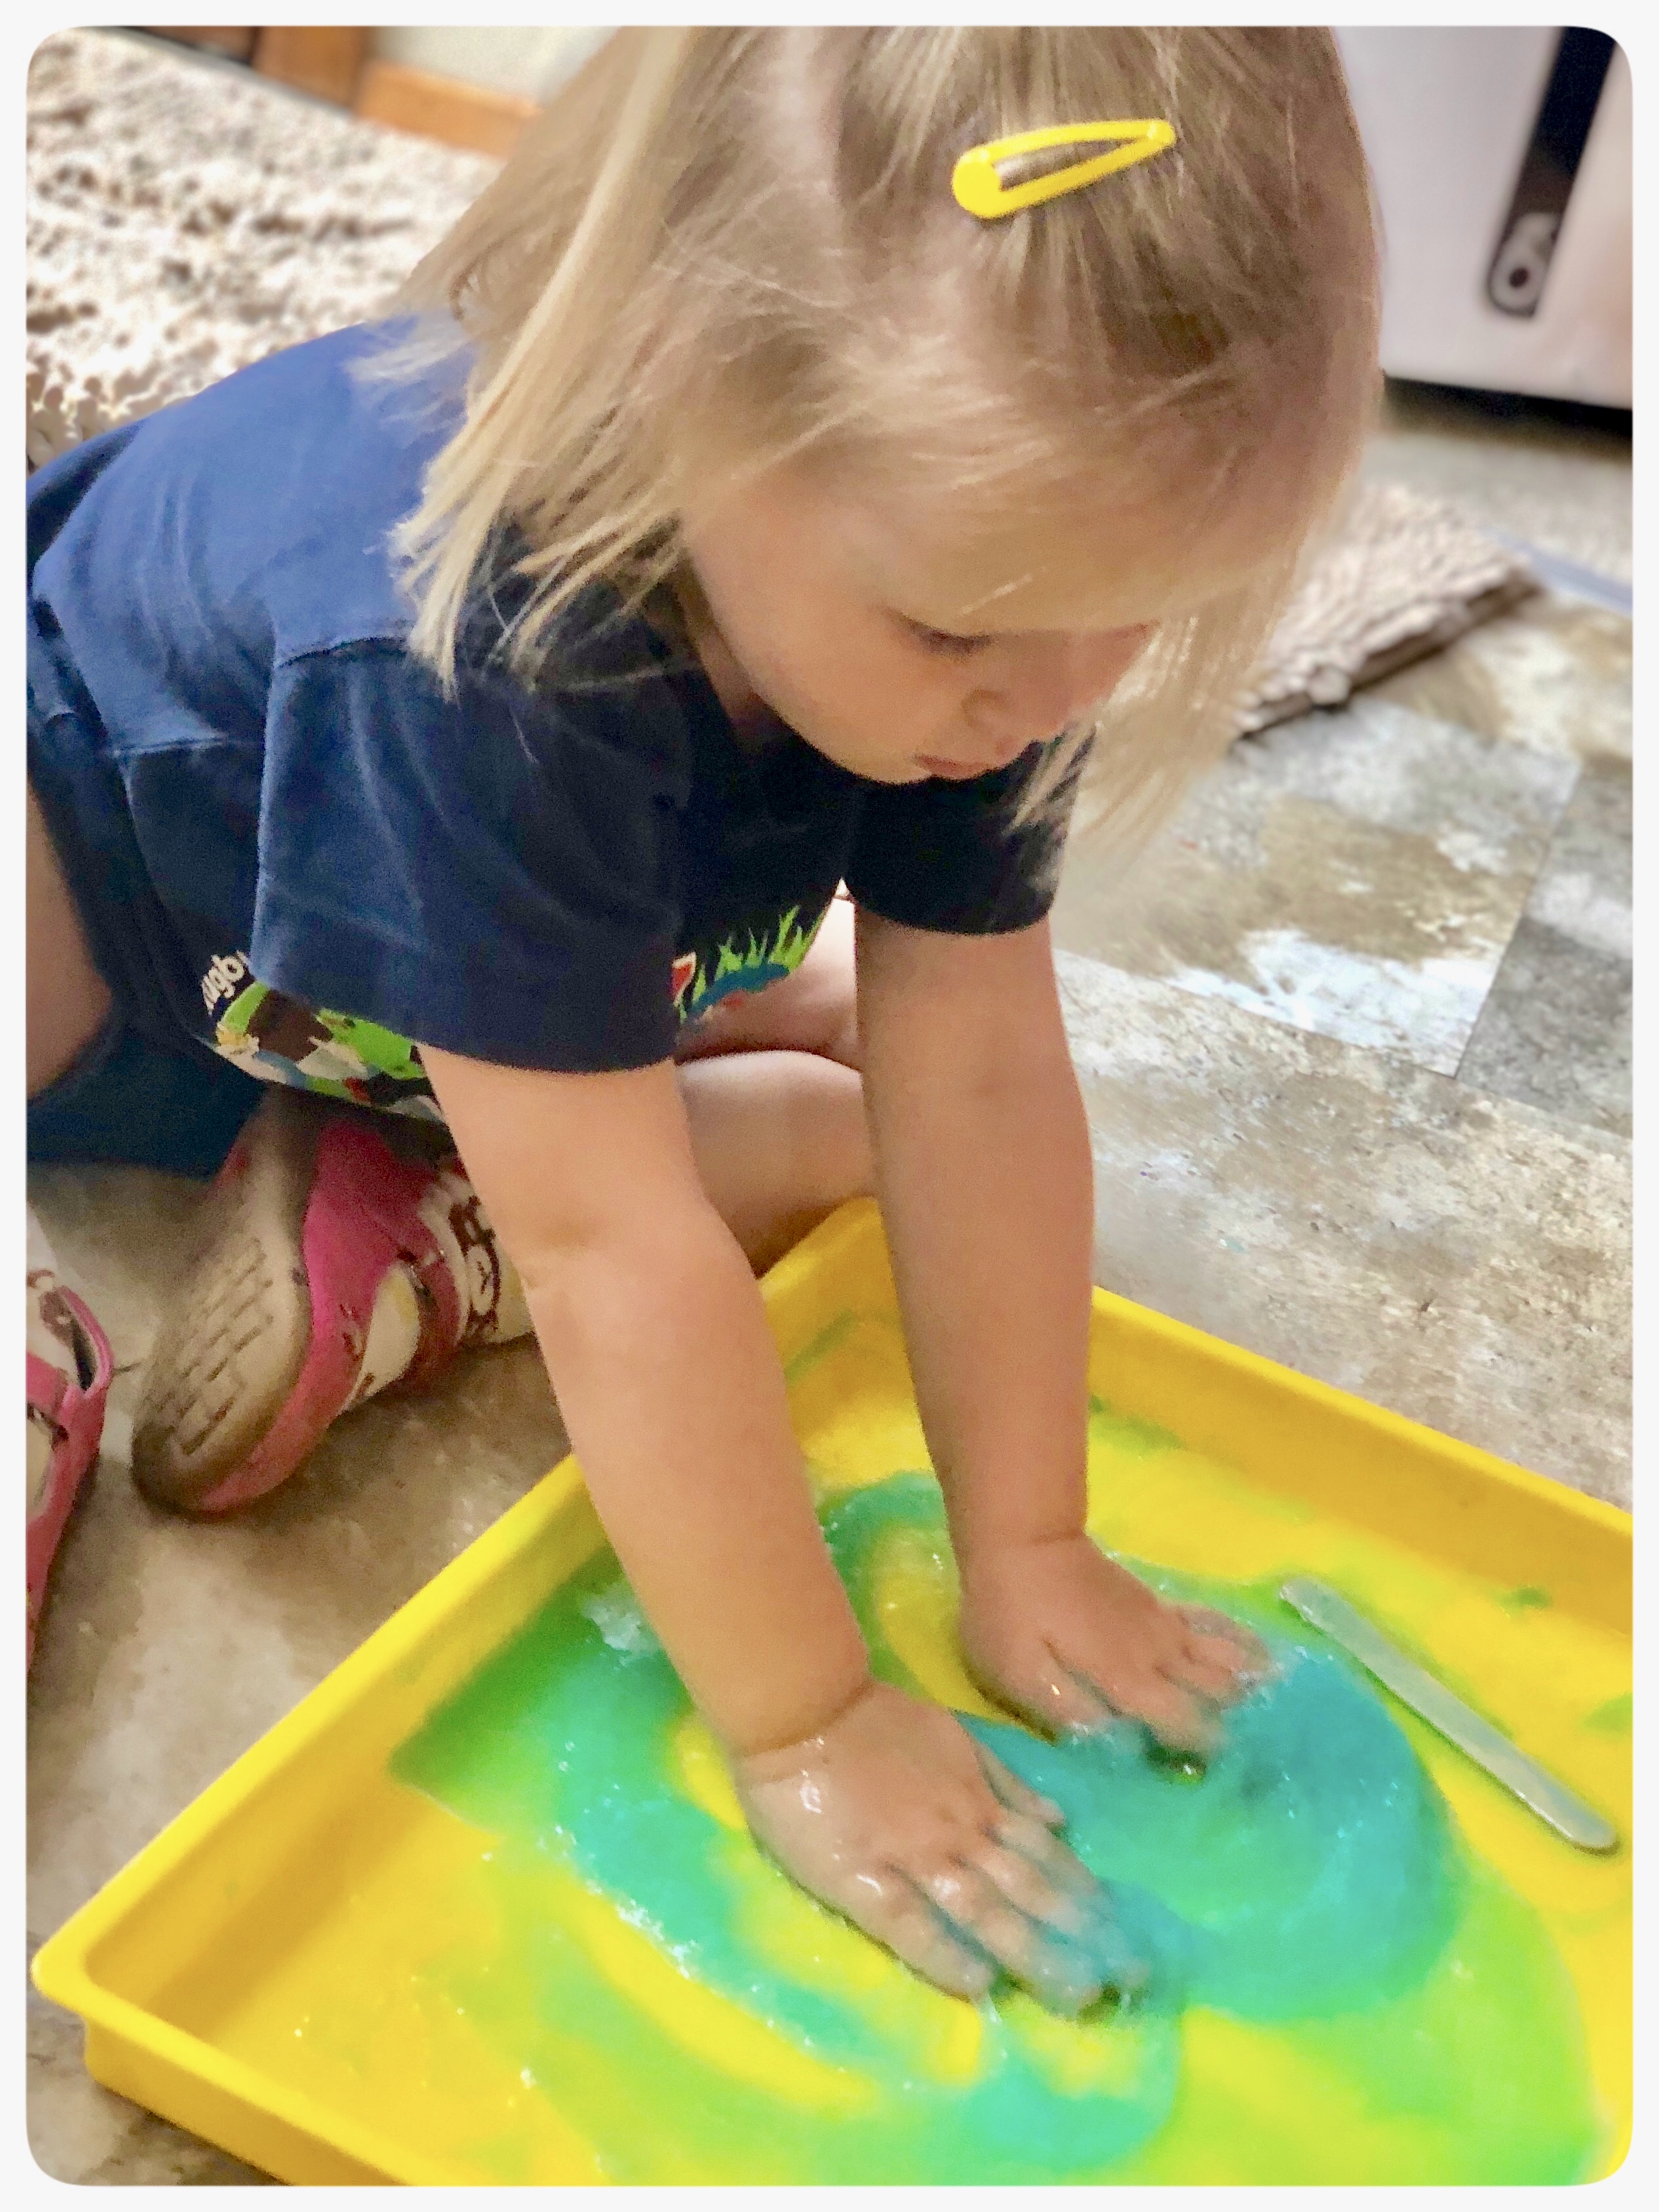
2. I explained that clear glue is great for adding glitter and let them choose between clear and white glue. I poured about 3/4 cup glue onto their trays.
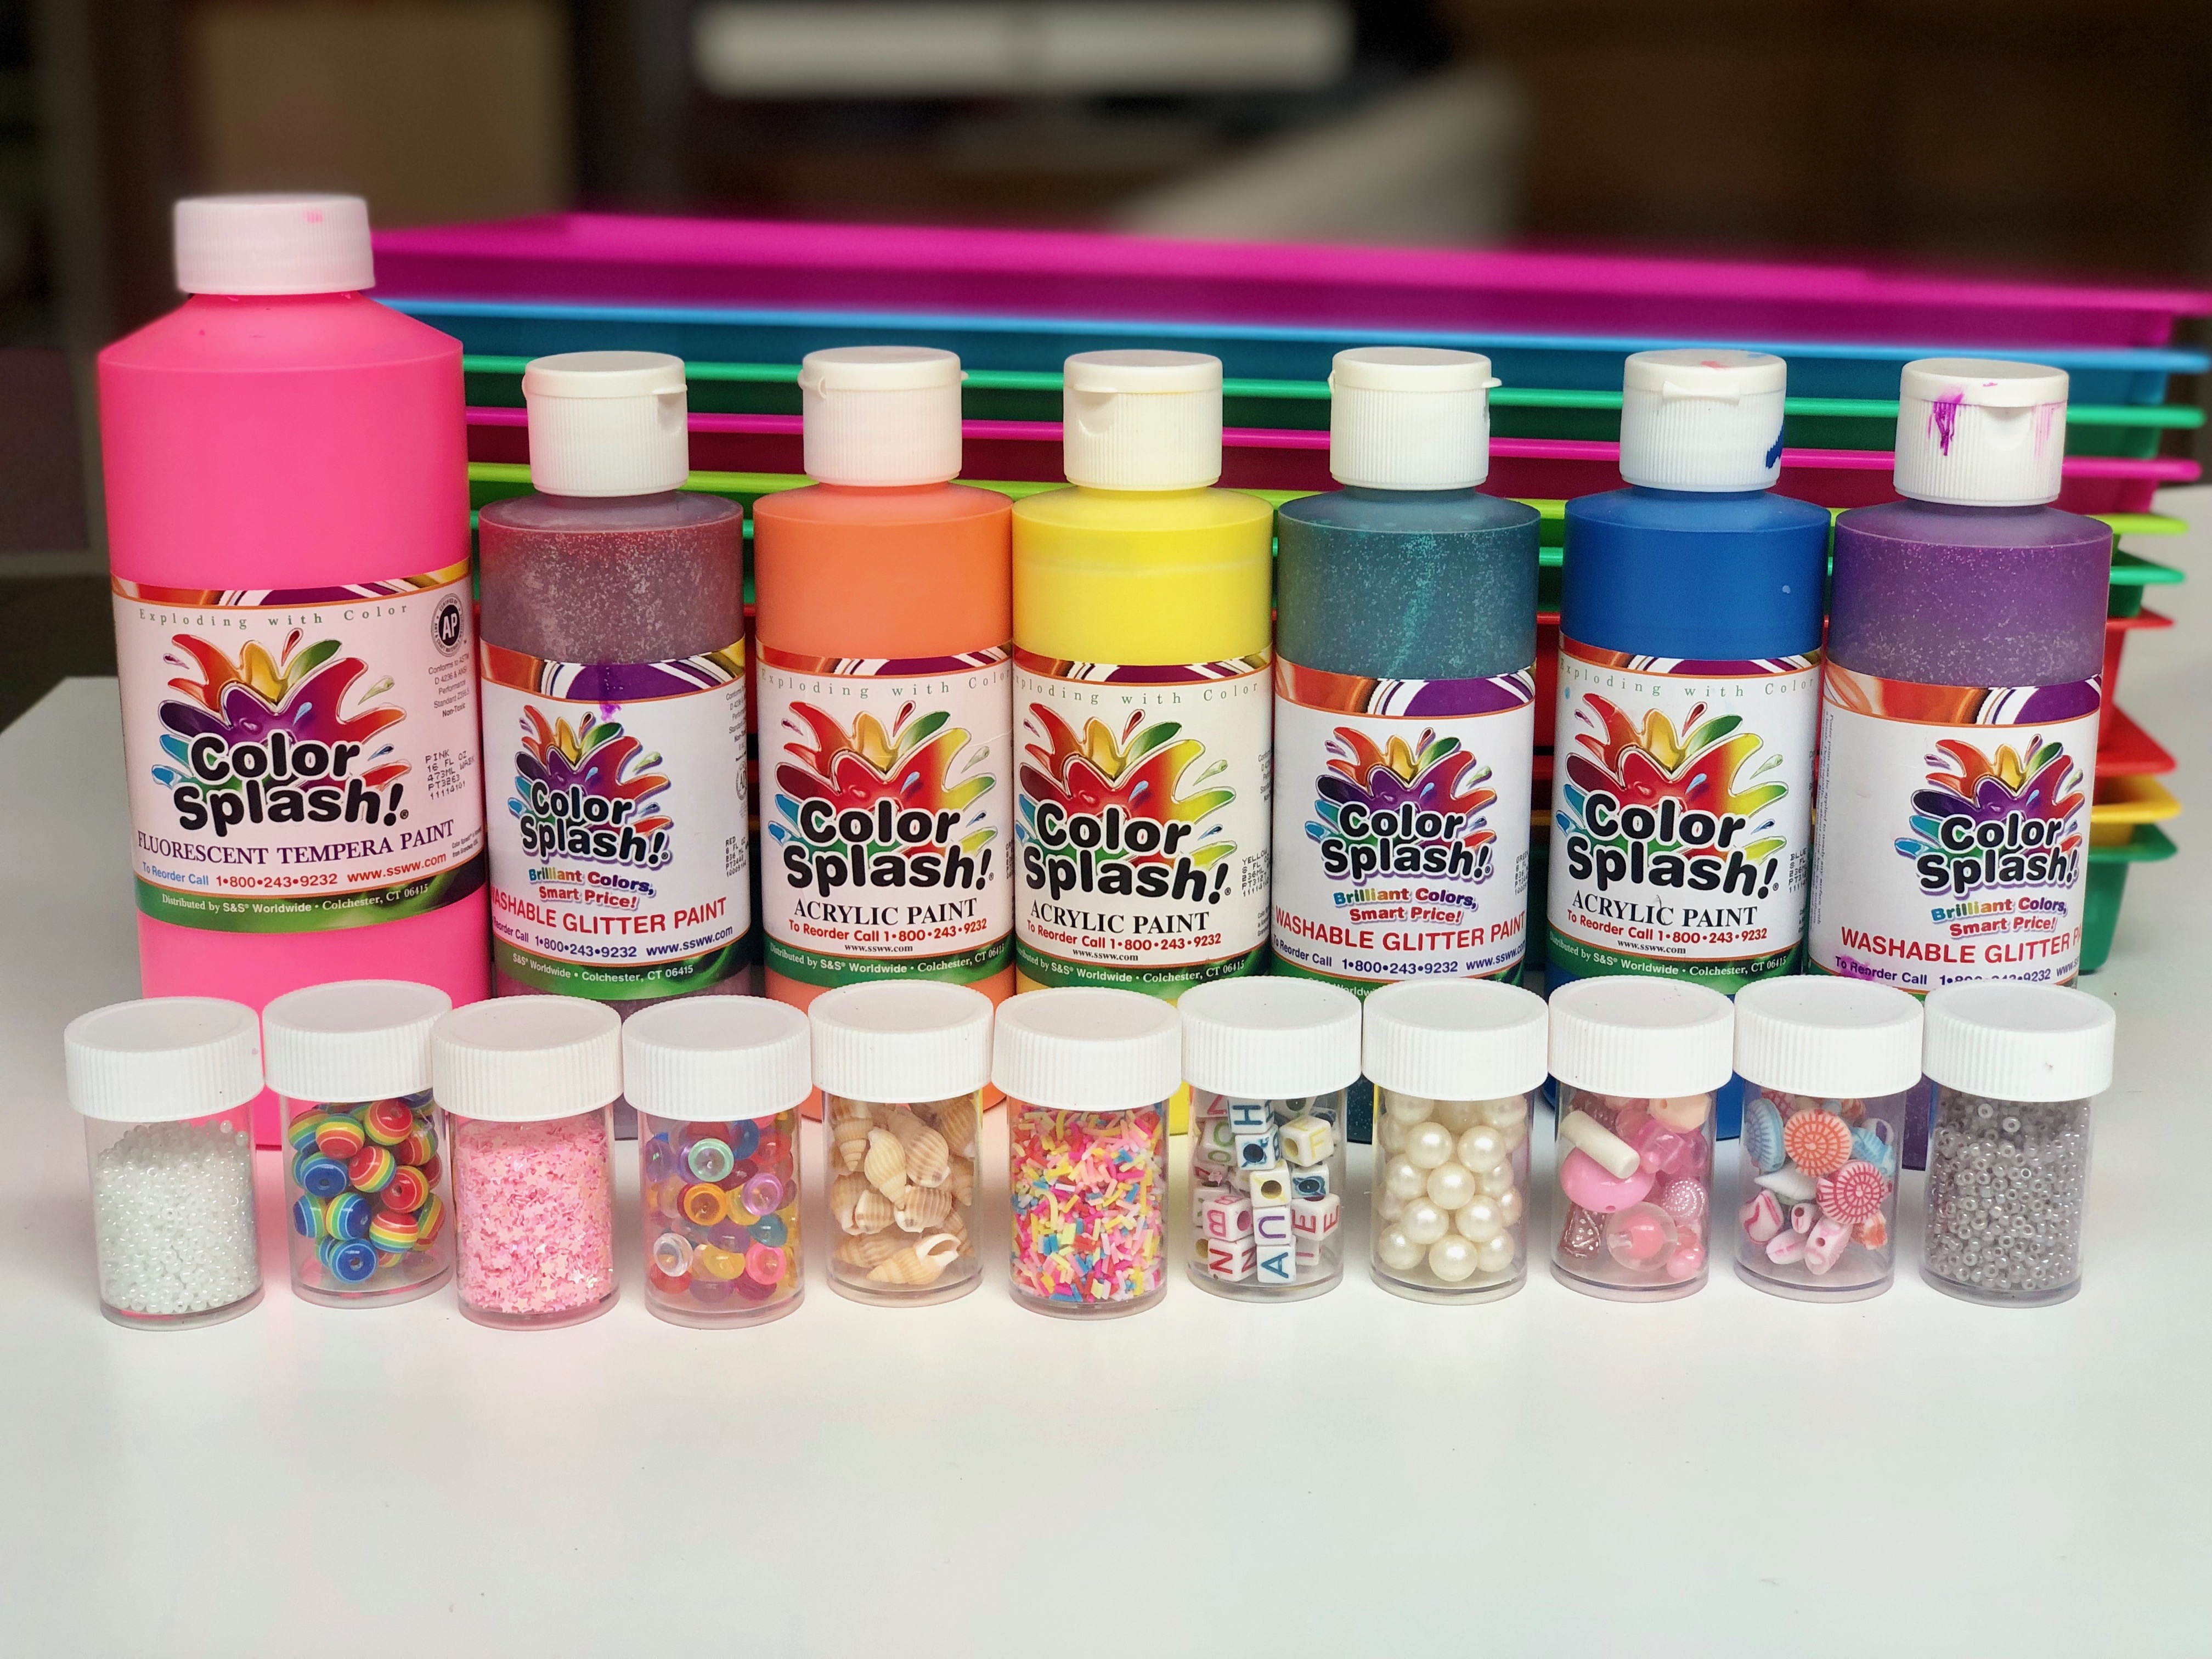
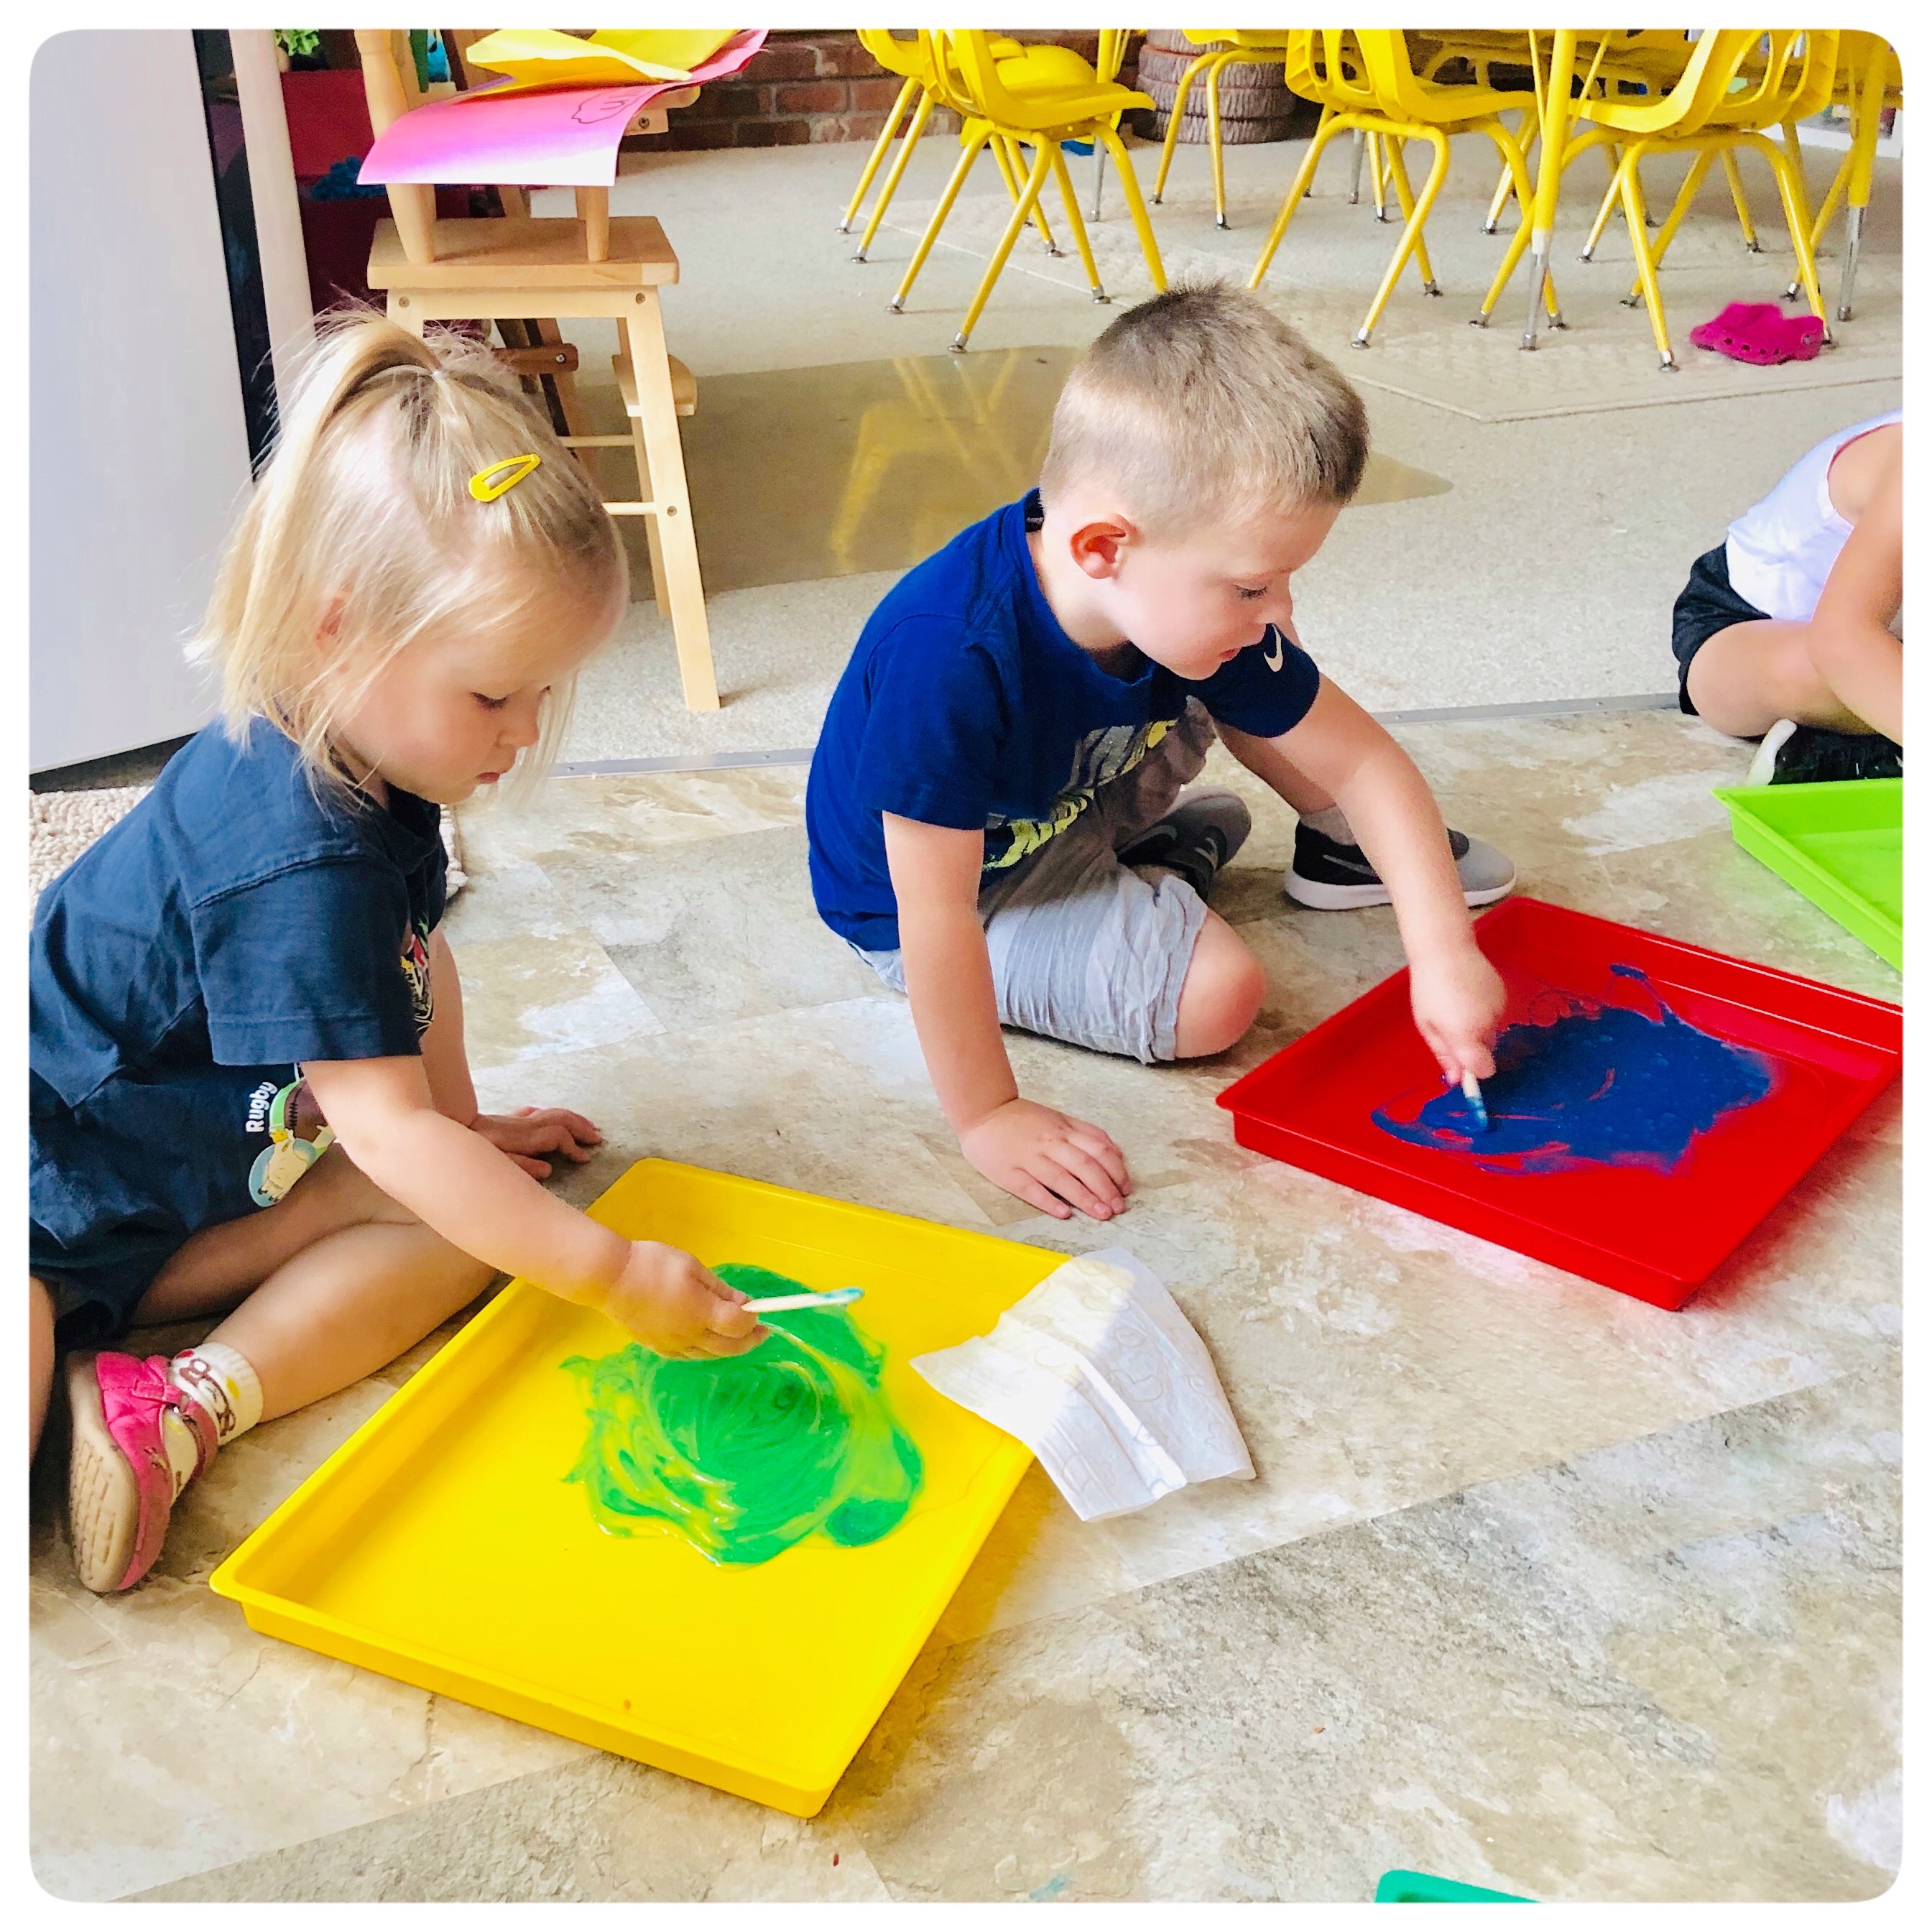
3. Then each child was able to pick what color of acrylic paint they wanted added, if they wanted it to be a color, which everyone did. They mixed their paint and glue together.
We have been using paints from S&S Worldwide for over 4 years and I just love their bright colors.
>> click here for my complete list of Favorite slime ingredients from Amazon
"Can I use my hands?" Why yes, you can!
This is such a wonderful sensory activity and what's better than being able to get right in there and use your hands.
If you're worried about this getting on their clothes, remember to have baby wipes close by to use. Also, warm water and white vinegar will help remove the slime should it get on clothes so no worries!
4. Add in 1/2 cup of Sta-Flo liquid starch and stir. This is one part I suggest the adults doing. If you buy slime kits, this is the part they call the "activator" and this is what really turns your goo into Slime.
5. Add the fun stuff!
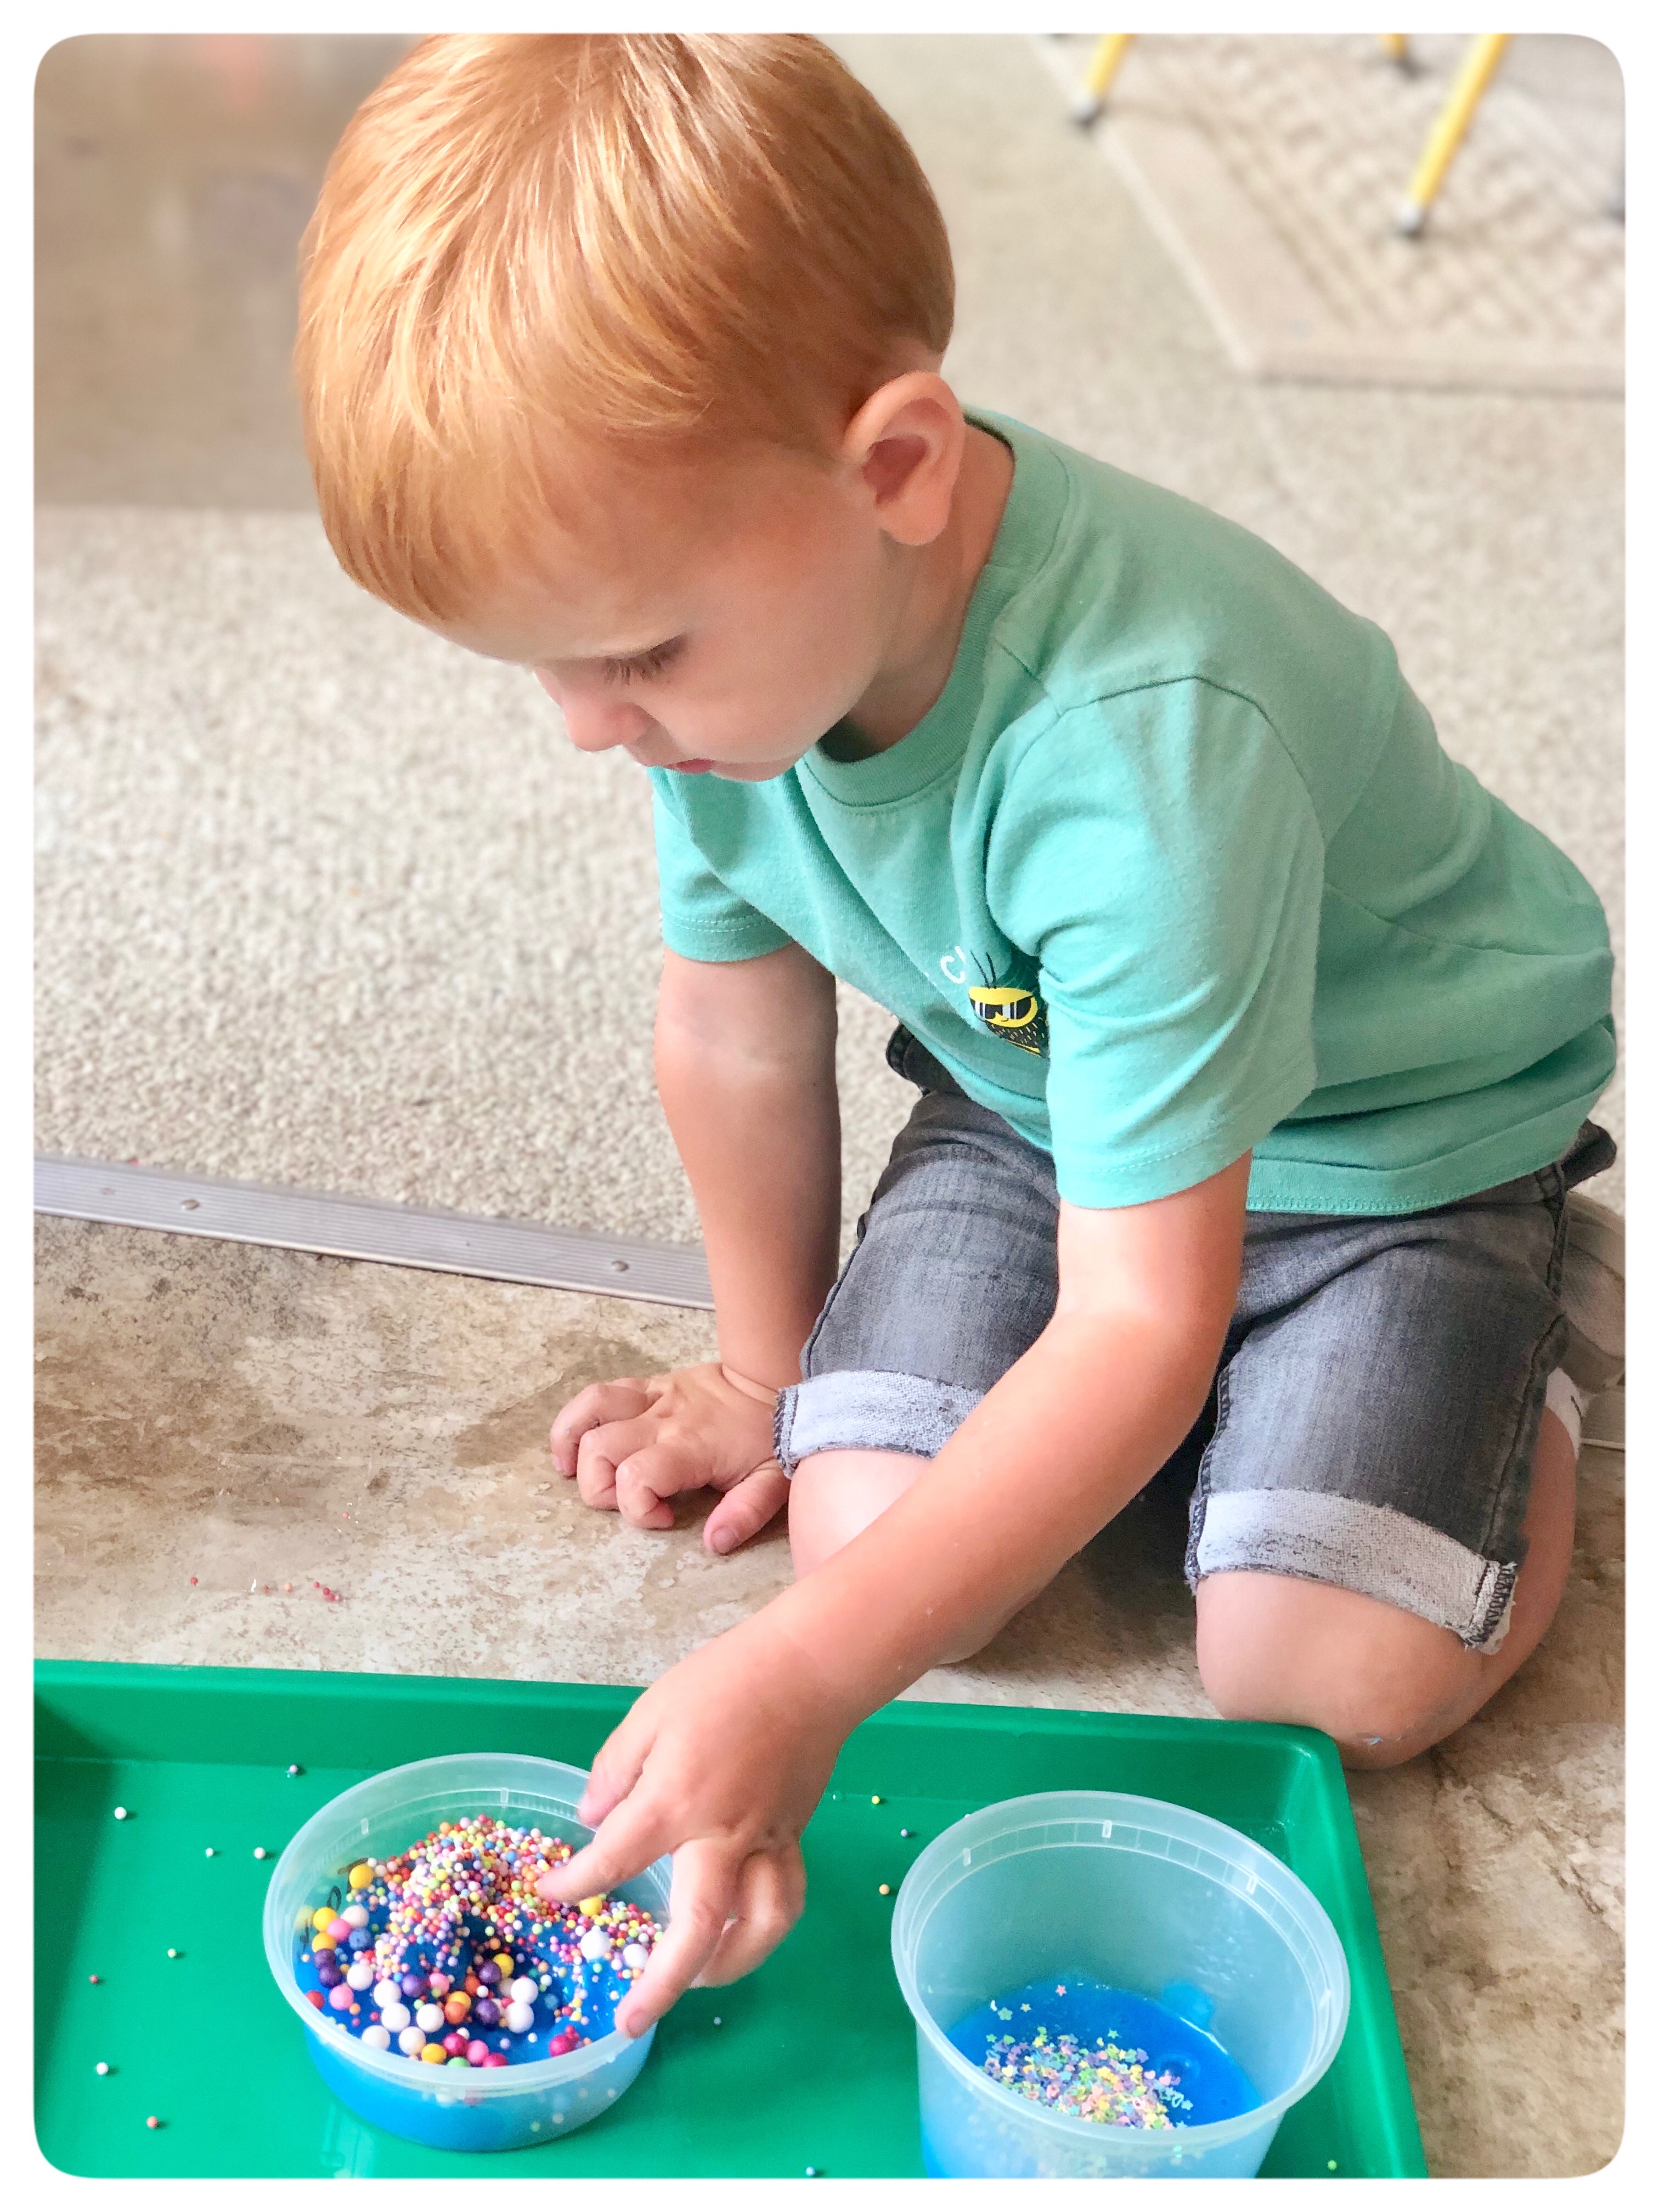
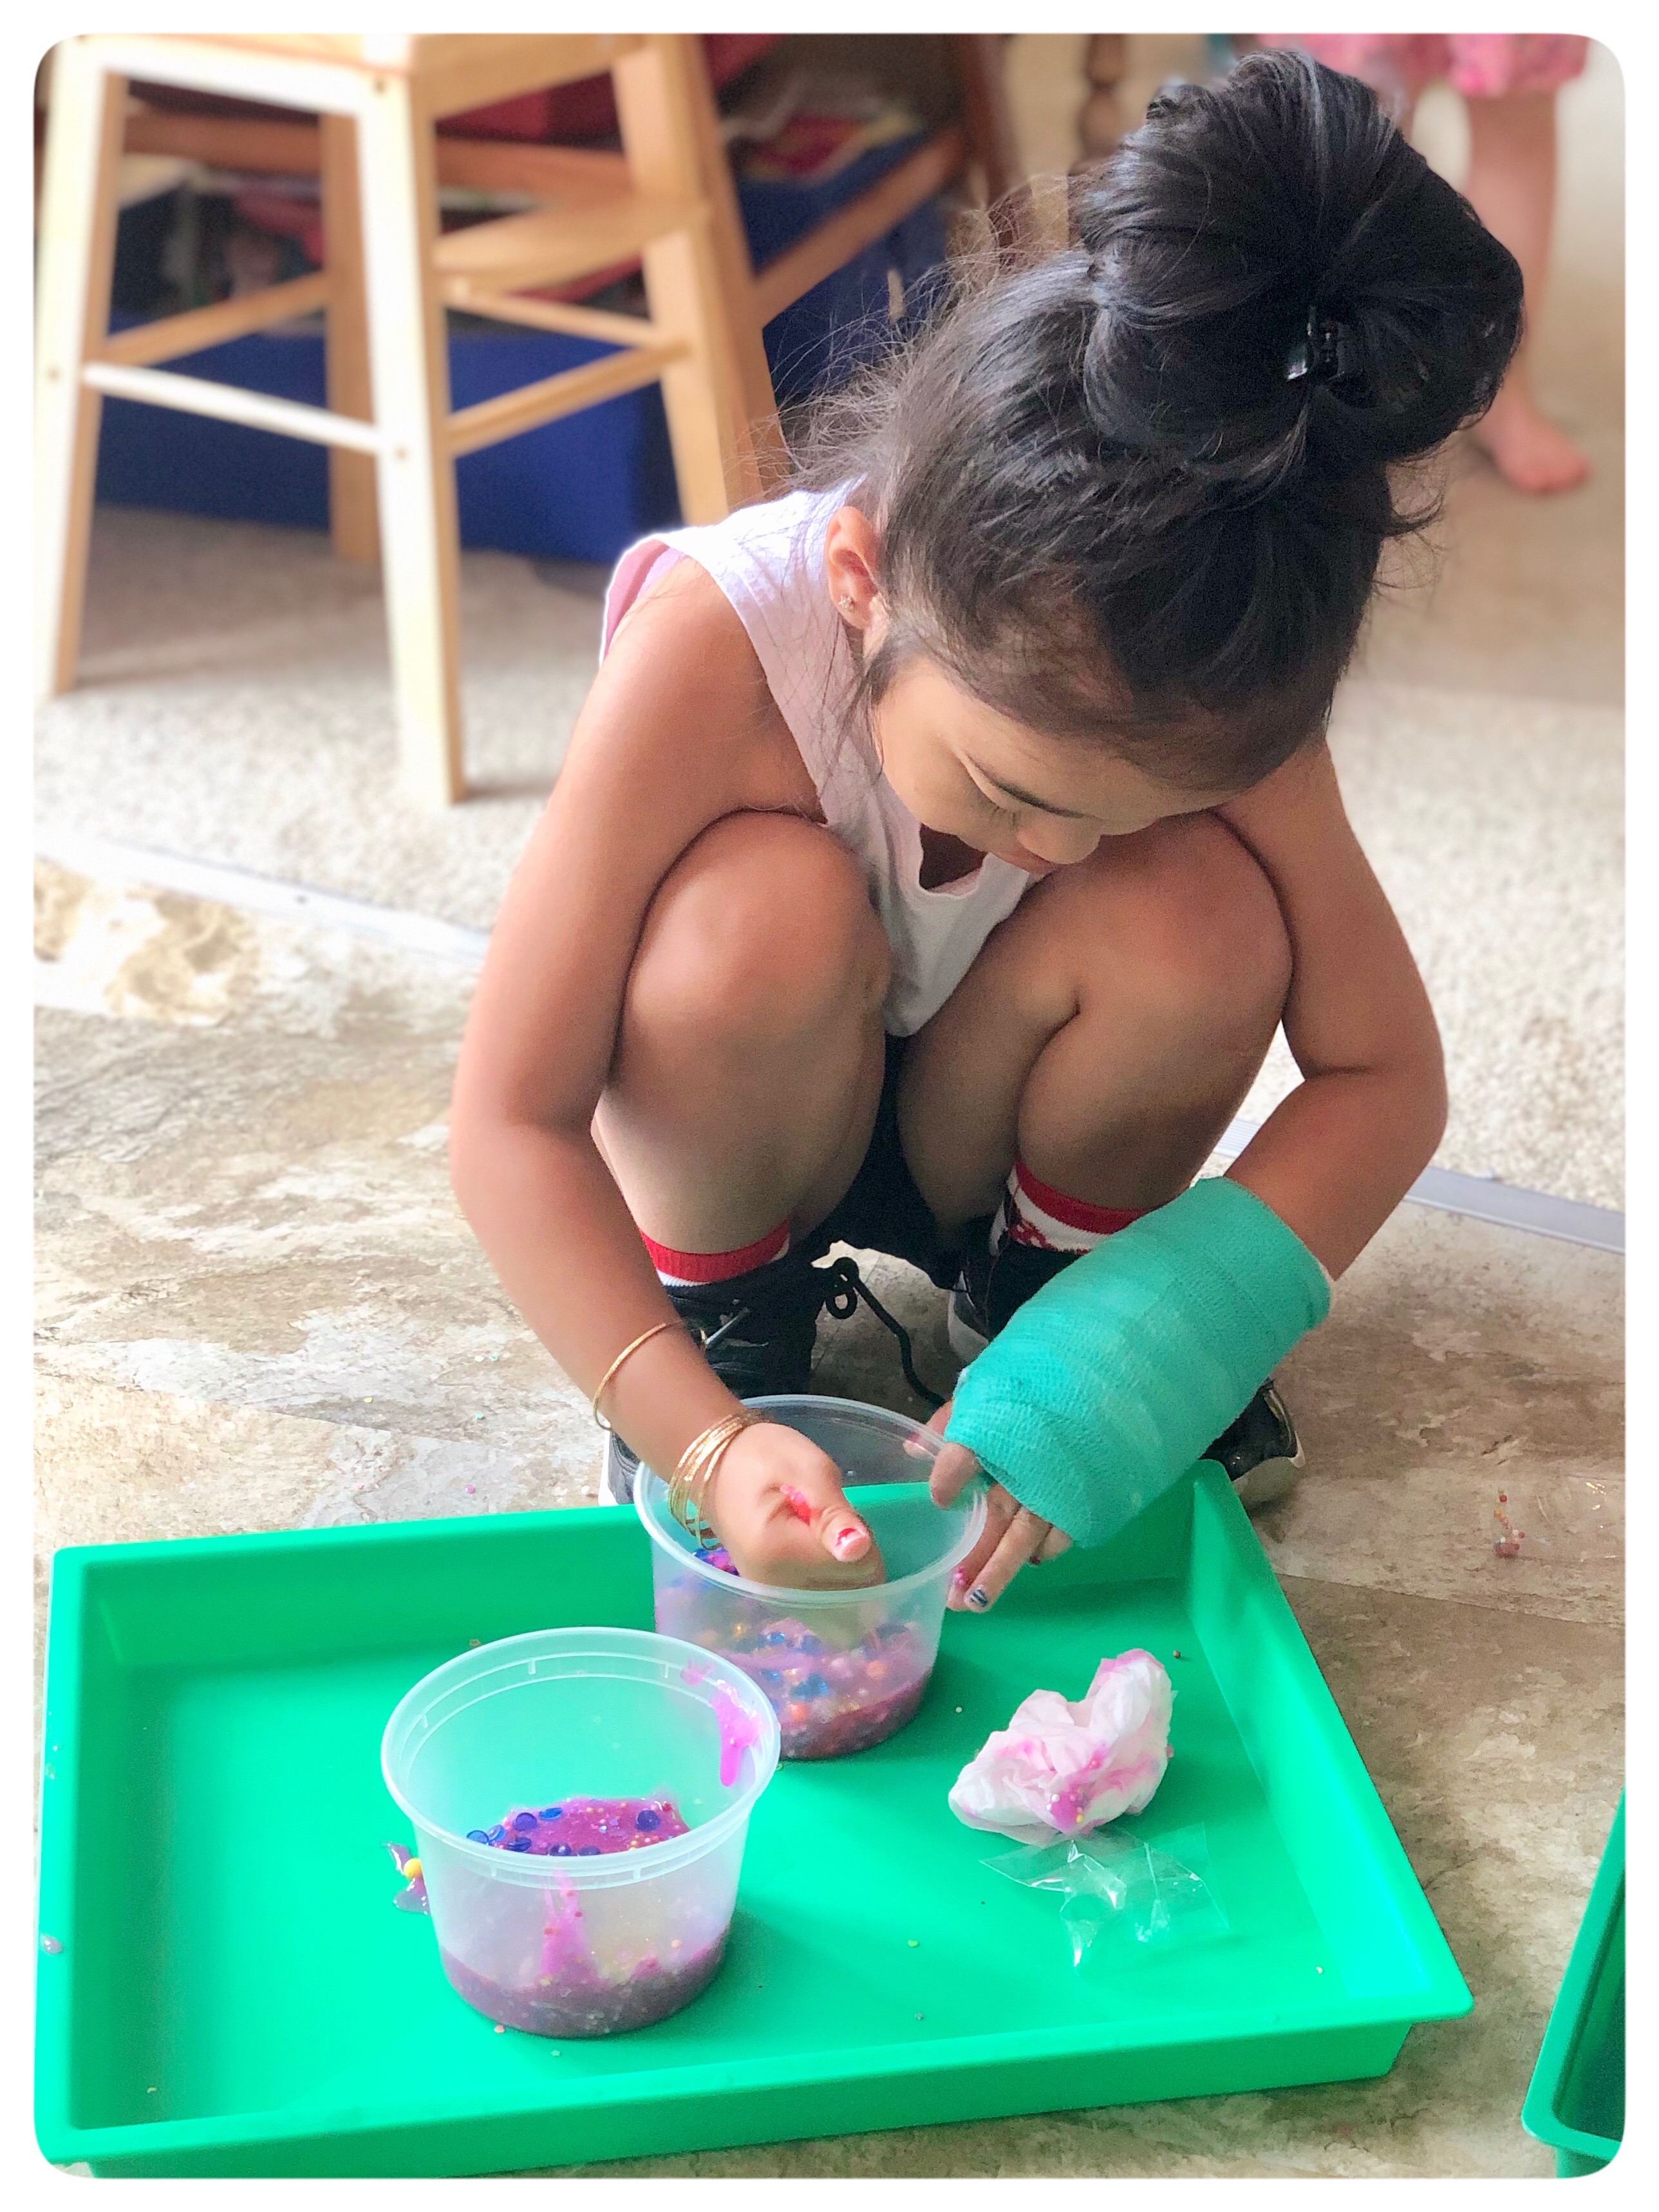
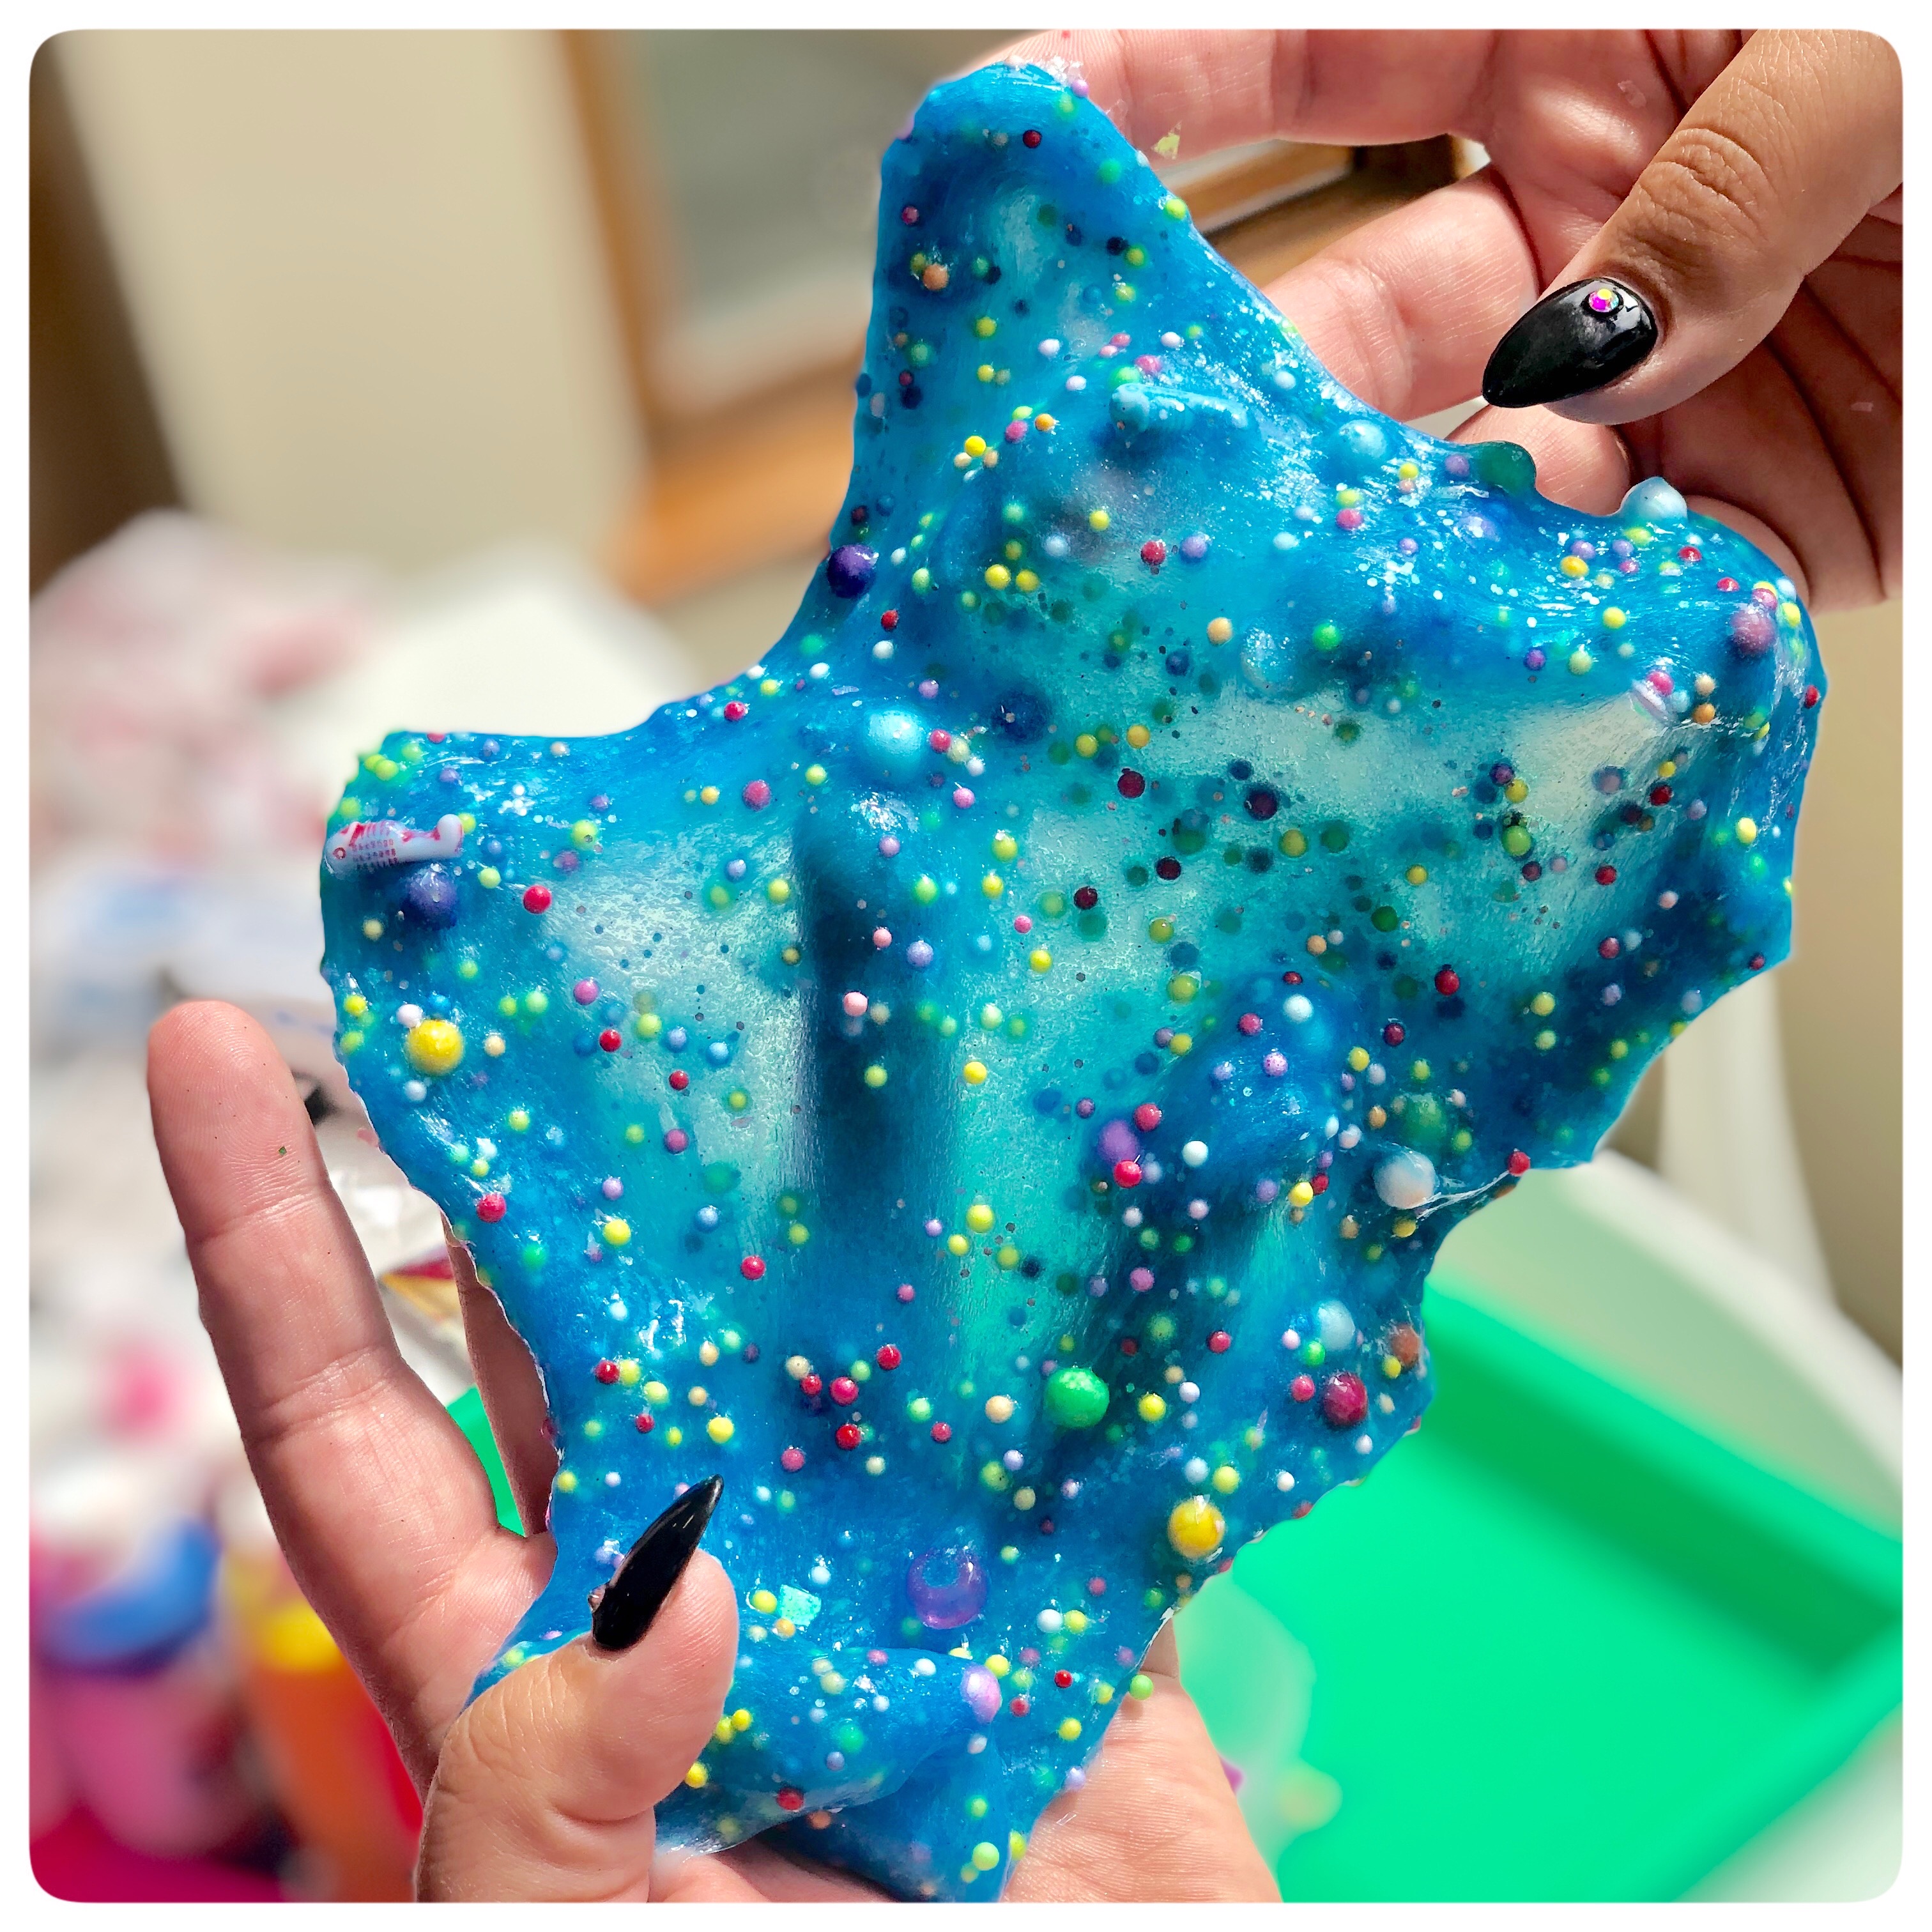
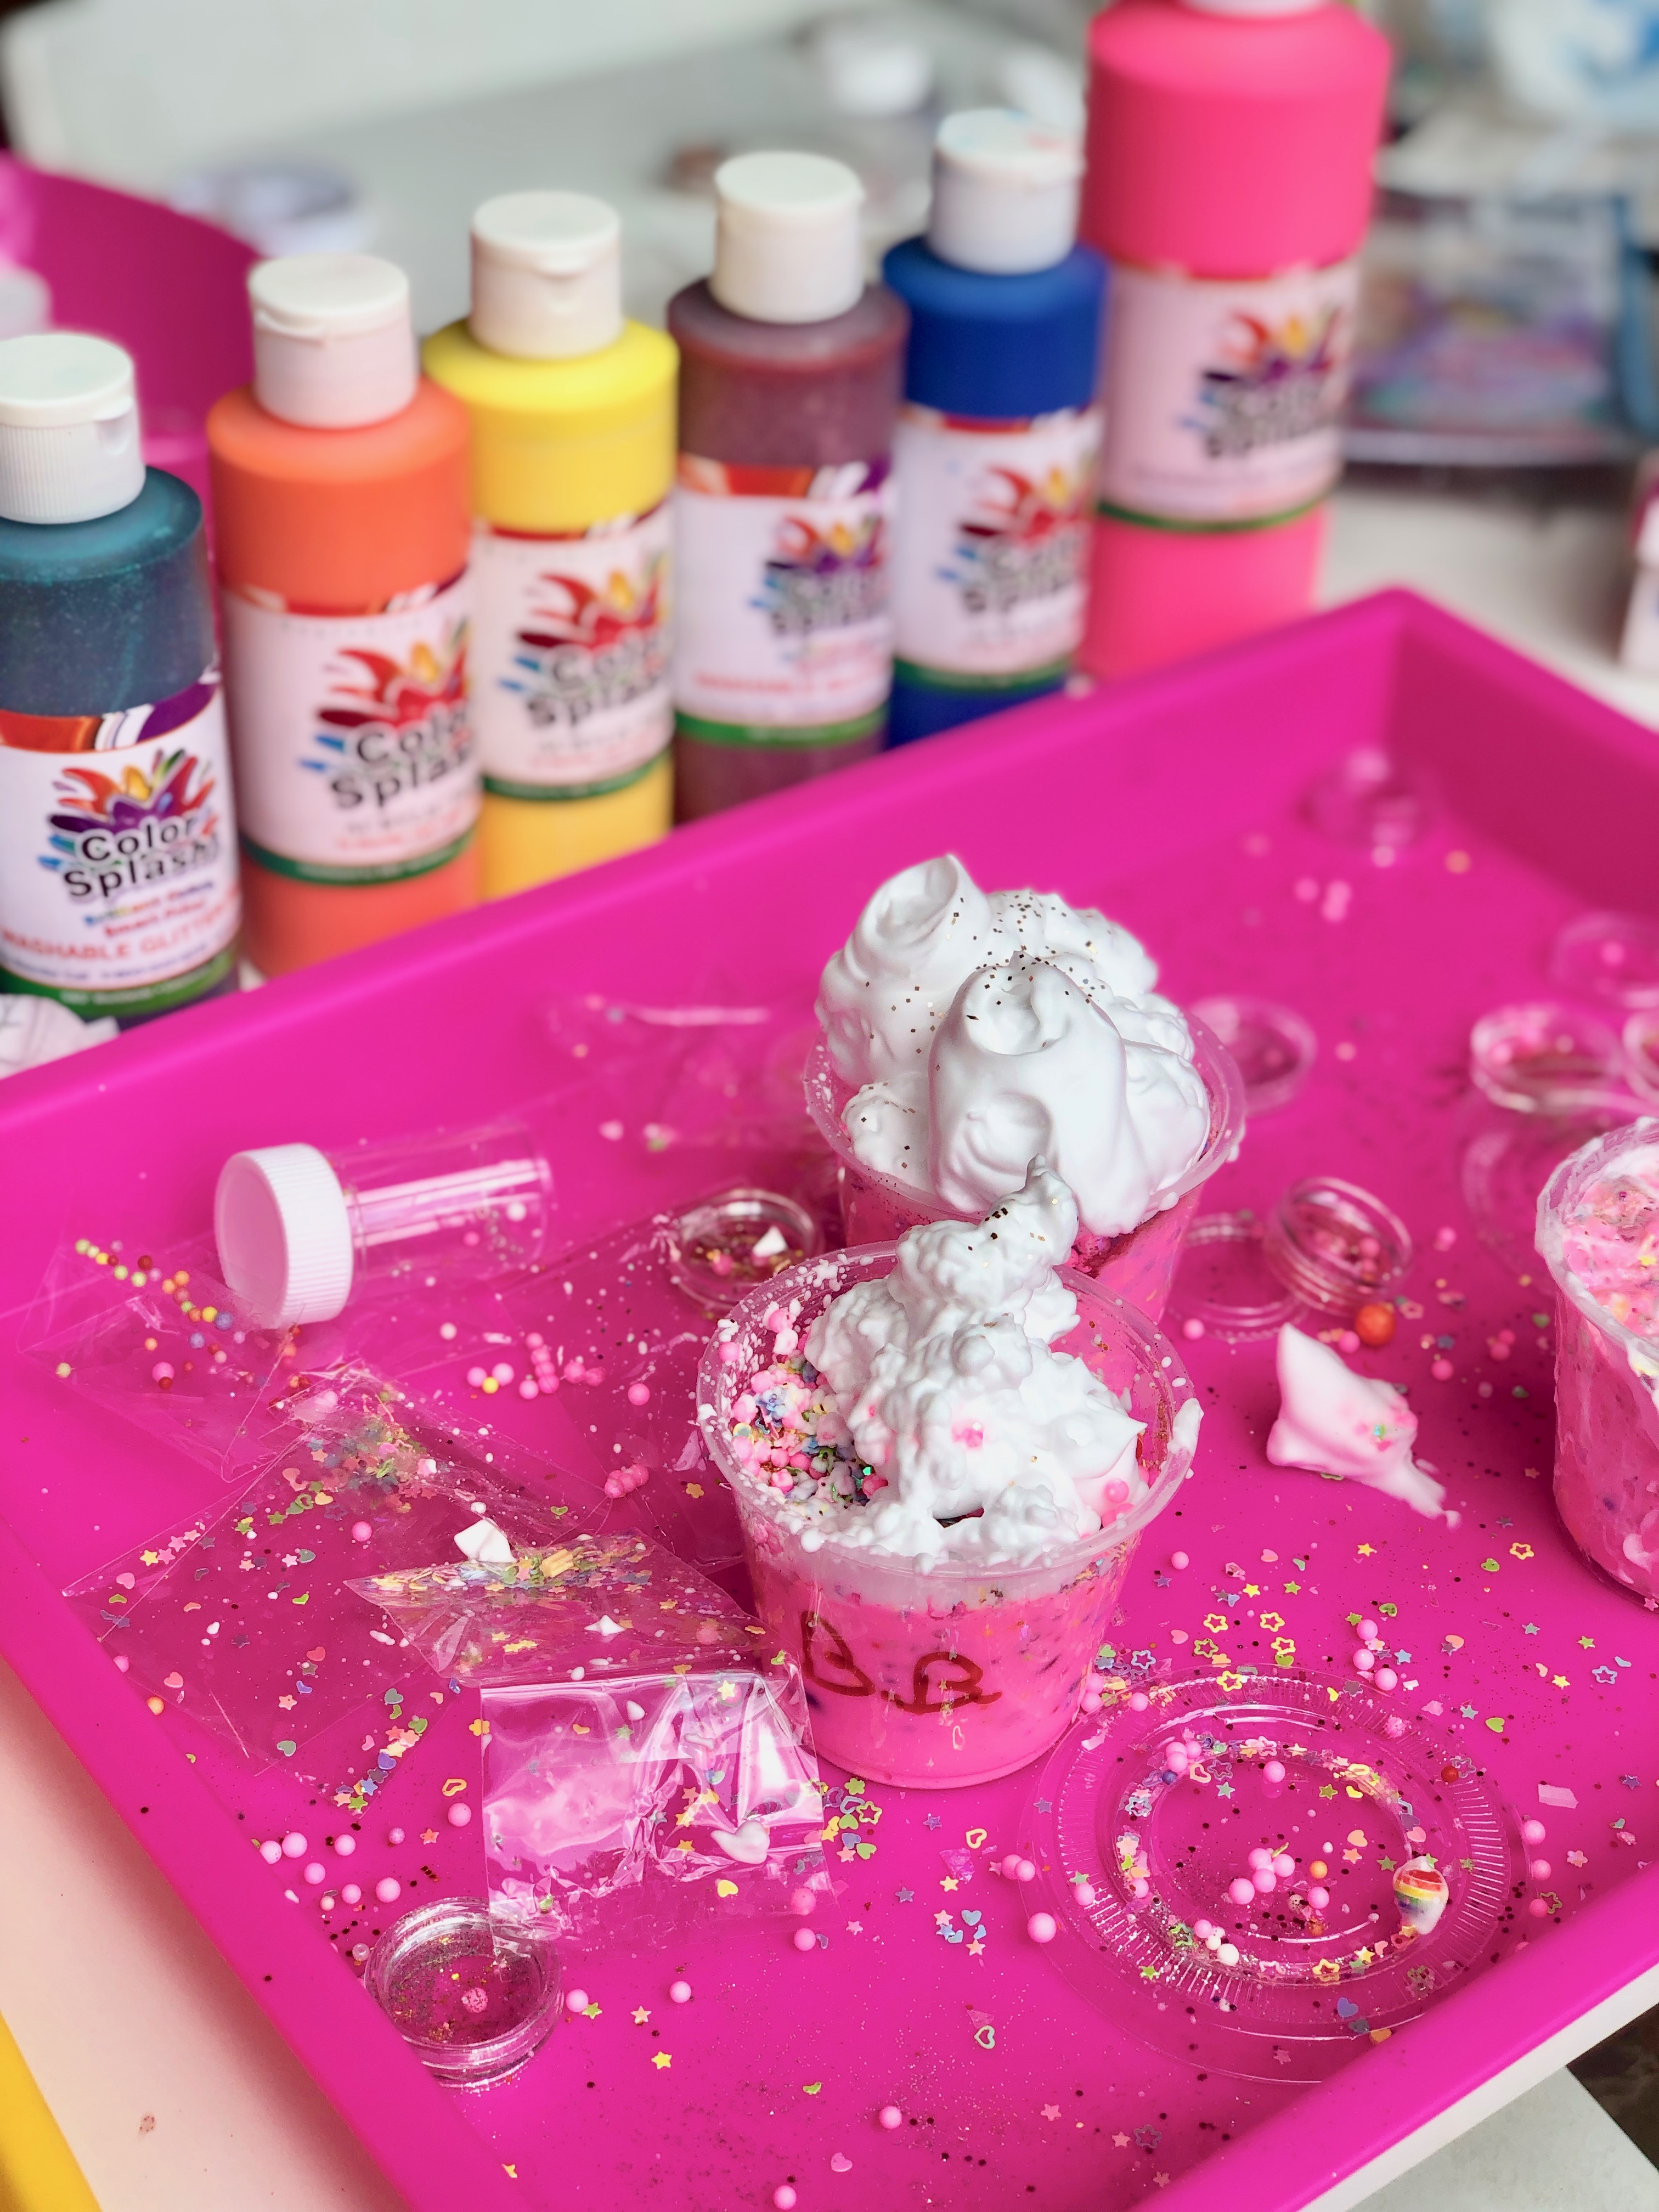
Each child was able to add any fun items they wish: fine glitter, chunky glitter, even metallic glitter, pearls, different beads, foam balls, shells... the list goes on.
Allowing them to choose what they want helps them become more independent. They really did do the majority of this activity all on their own and it's wonderful to watch how excited they get.
5. Continuing mixing. This is helpful for the adults to do because it's a lot of pulling and kneading, which can be challenging for little hands. Allow them to help as much as they wish.
>> click here for my complete list of Favorite slime ingredients from Amazon
How 2 Play:
Now for the Fun!
6. Play Time! Now it's time to play with your slime. You can also add shaving cream to make it fluffy.
Here's a fun picture of a little girl who added the shaving cream then sprinkled some glitter to the top.
Click here for more Slime Activities
~Happy Creating~
![]()

