![]()
This post may contain affiliate links which keeps this blog going but does not add any cost to you
Materials
click here for the entire list on Amazon
- White Mixed Media paper
- Construction Paper in a variety of colors
- Markers
- Scissors
- Liquid Glue
- Corrugated Cardboard
- Bubblewrap
- Brayer
- Black Paint
Books to Read
- Crunch and Crack, Oink and Whack! An Onomatopoeia Story
*Reading enhancing the learning environment
Printable Version
Onomatopoeia, per the Oxford Dictionary, means the formation of a word from a sound associated with what is named.
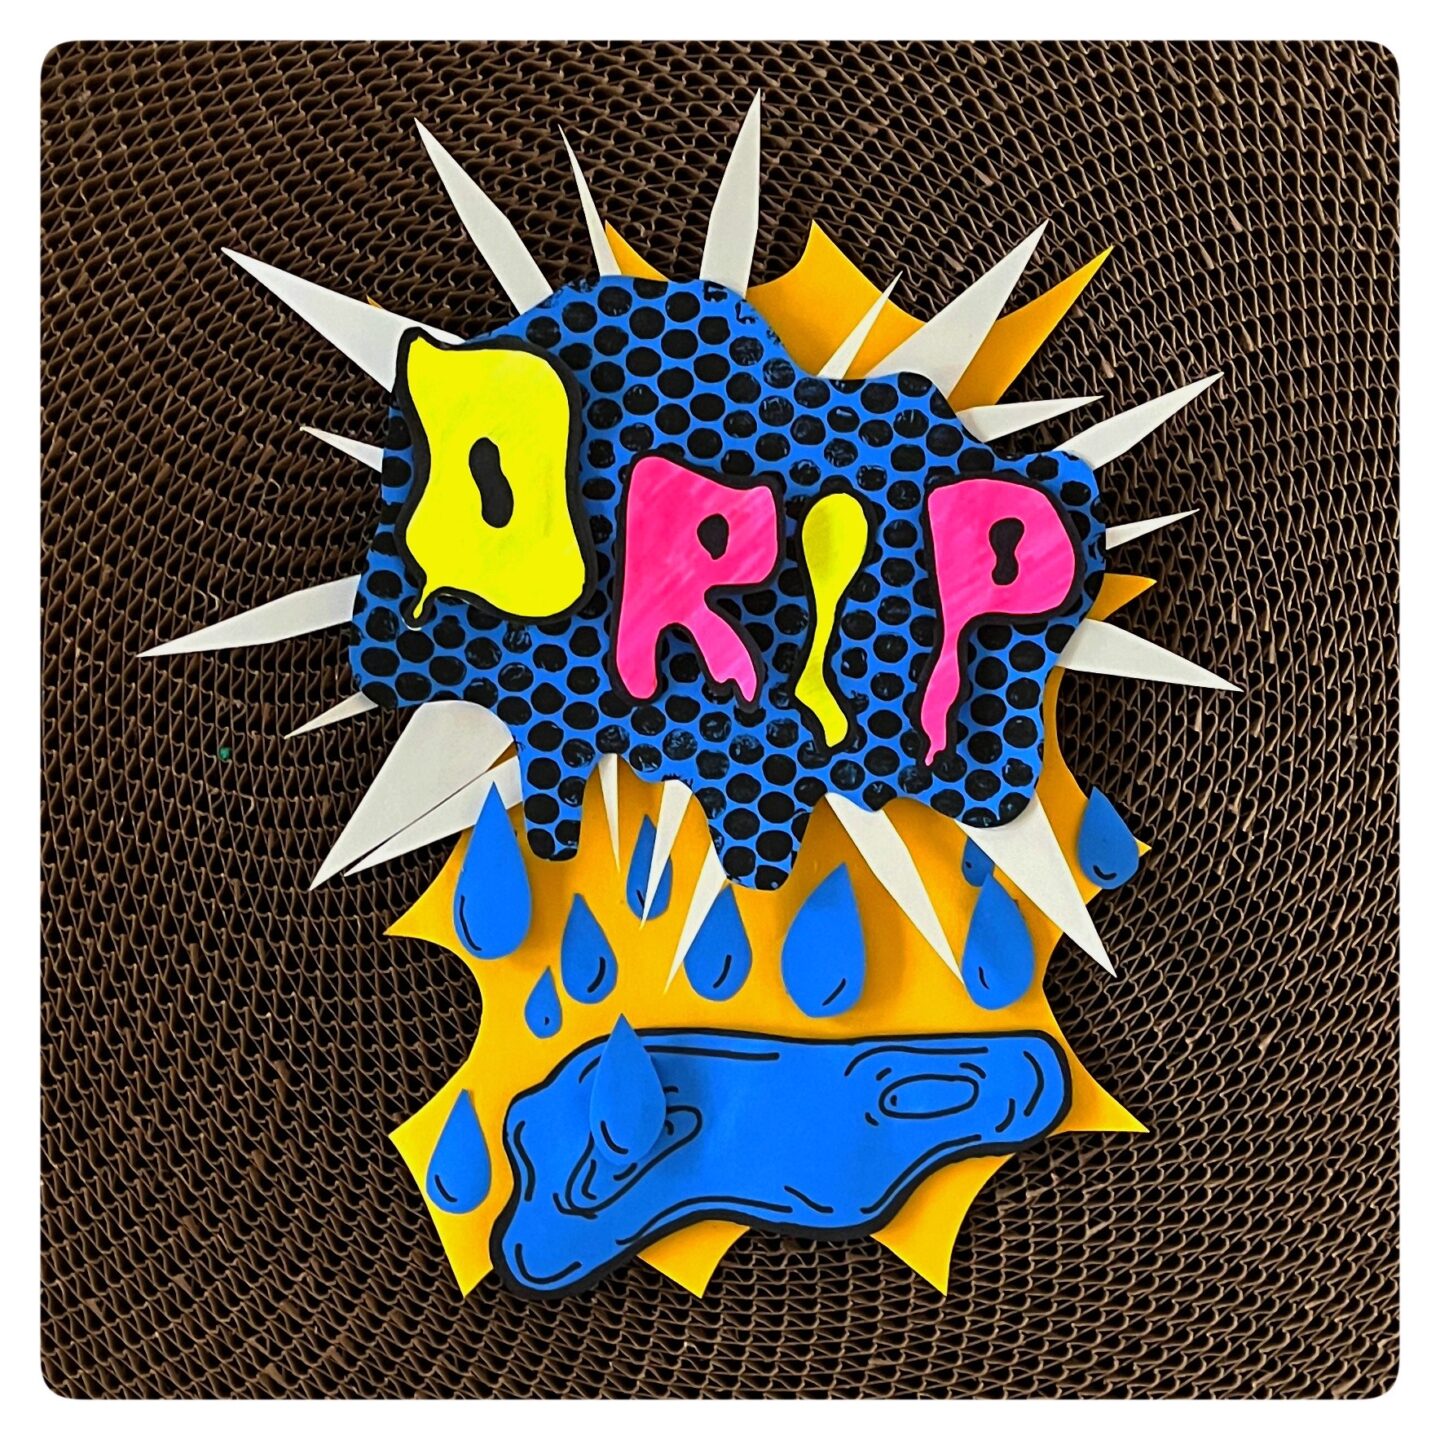
Picture reading through a comic book or graphic novel. The illustrator will often use Onomatopoeia words to show action. Think Splat, Wham, Pop, Boing, Sizzle, Drip, Ring... you the the idea.
Step 1:
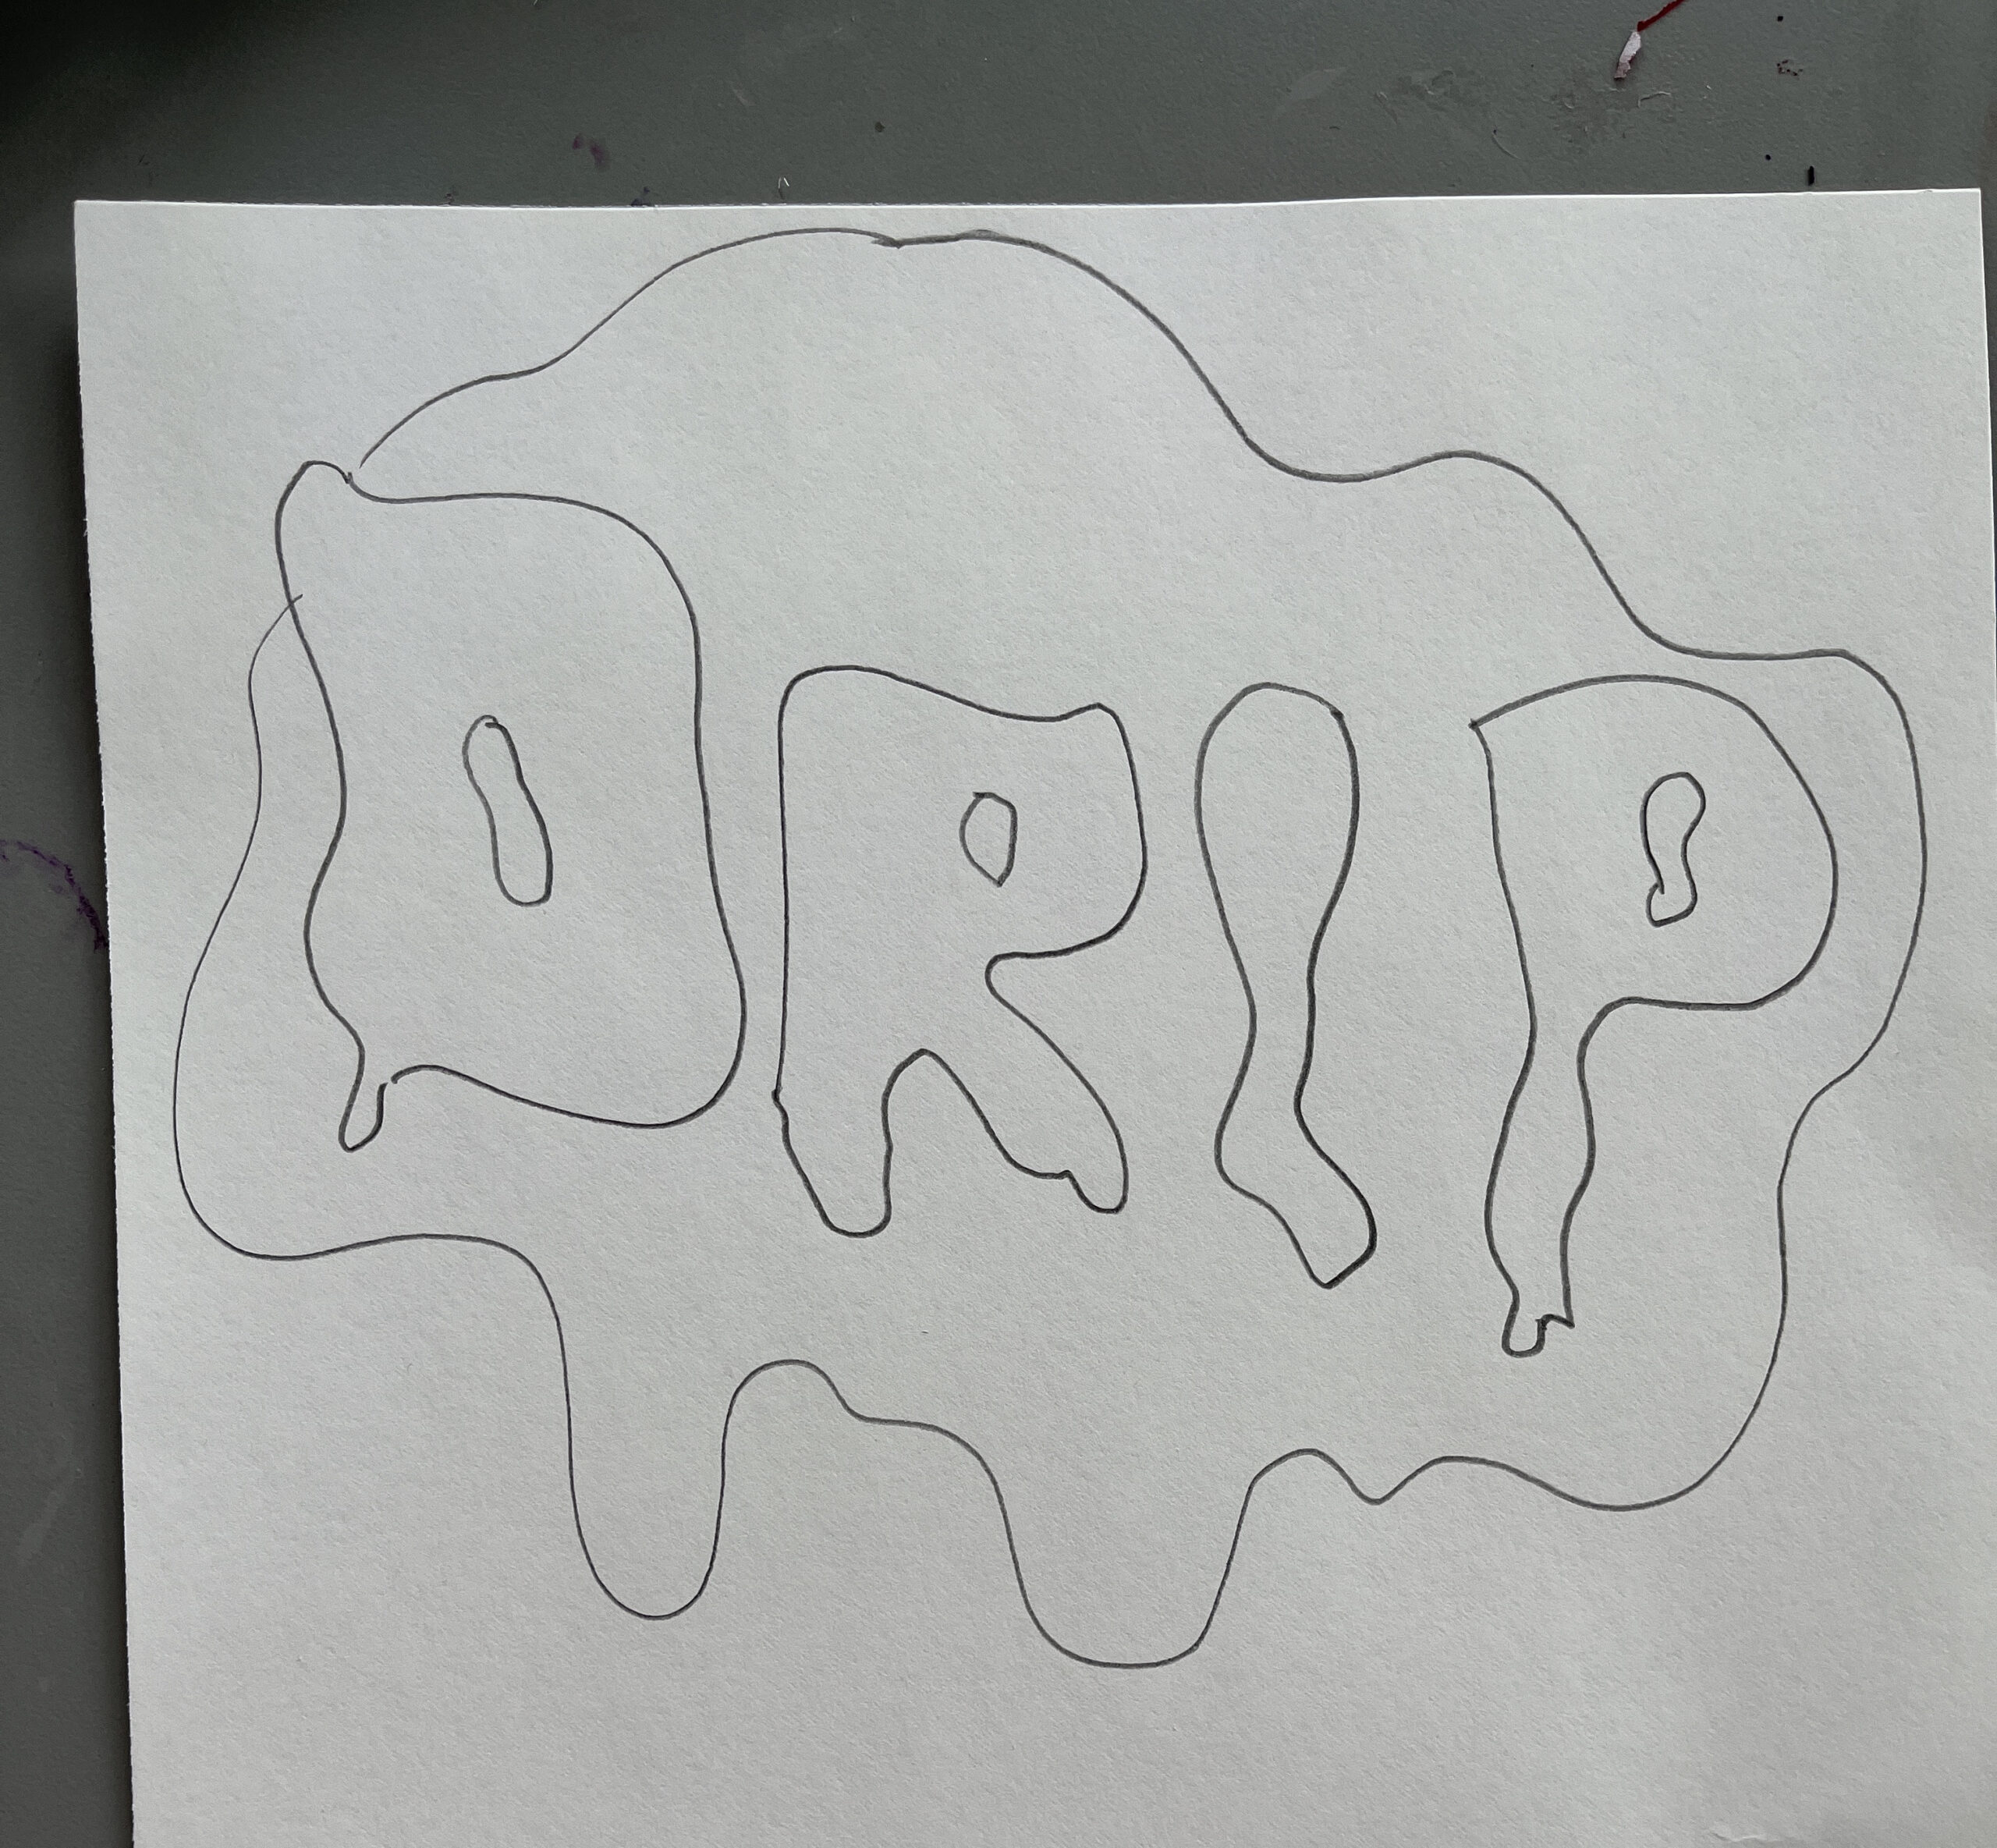
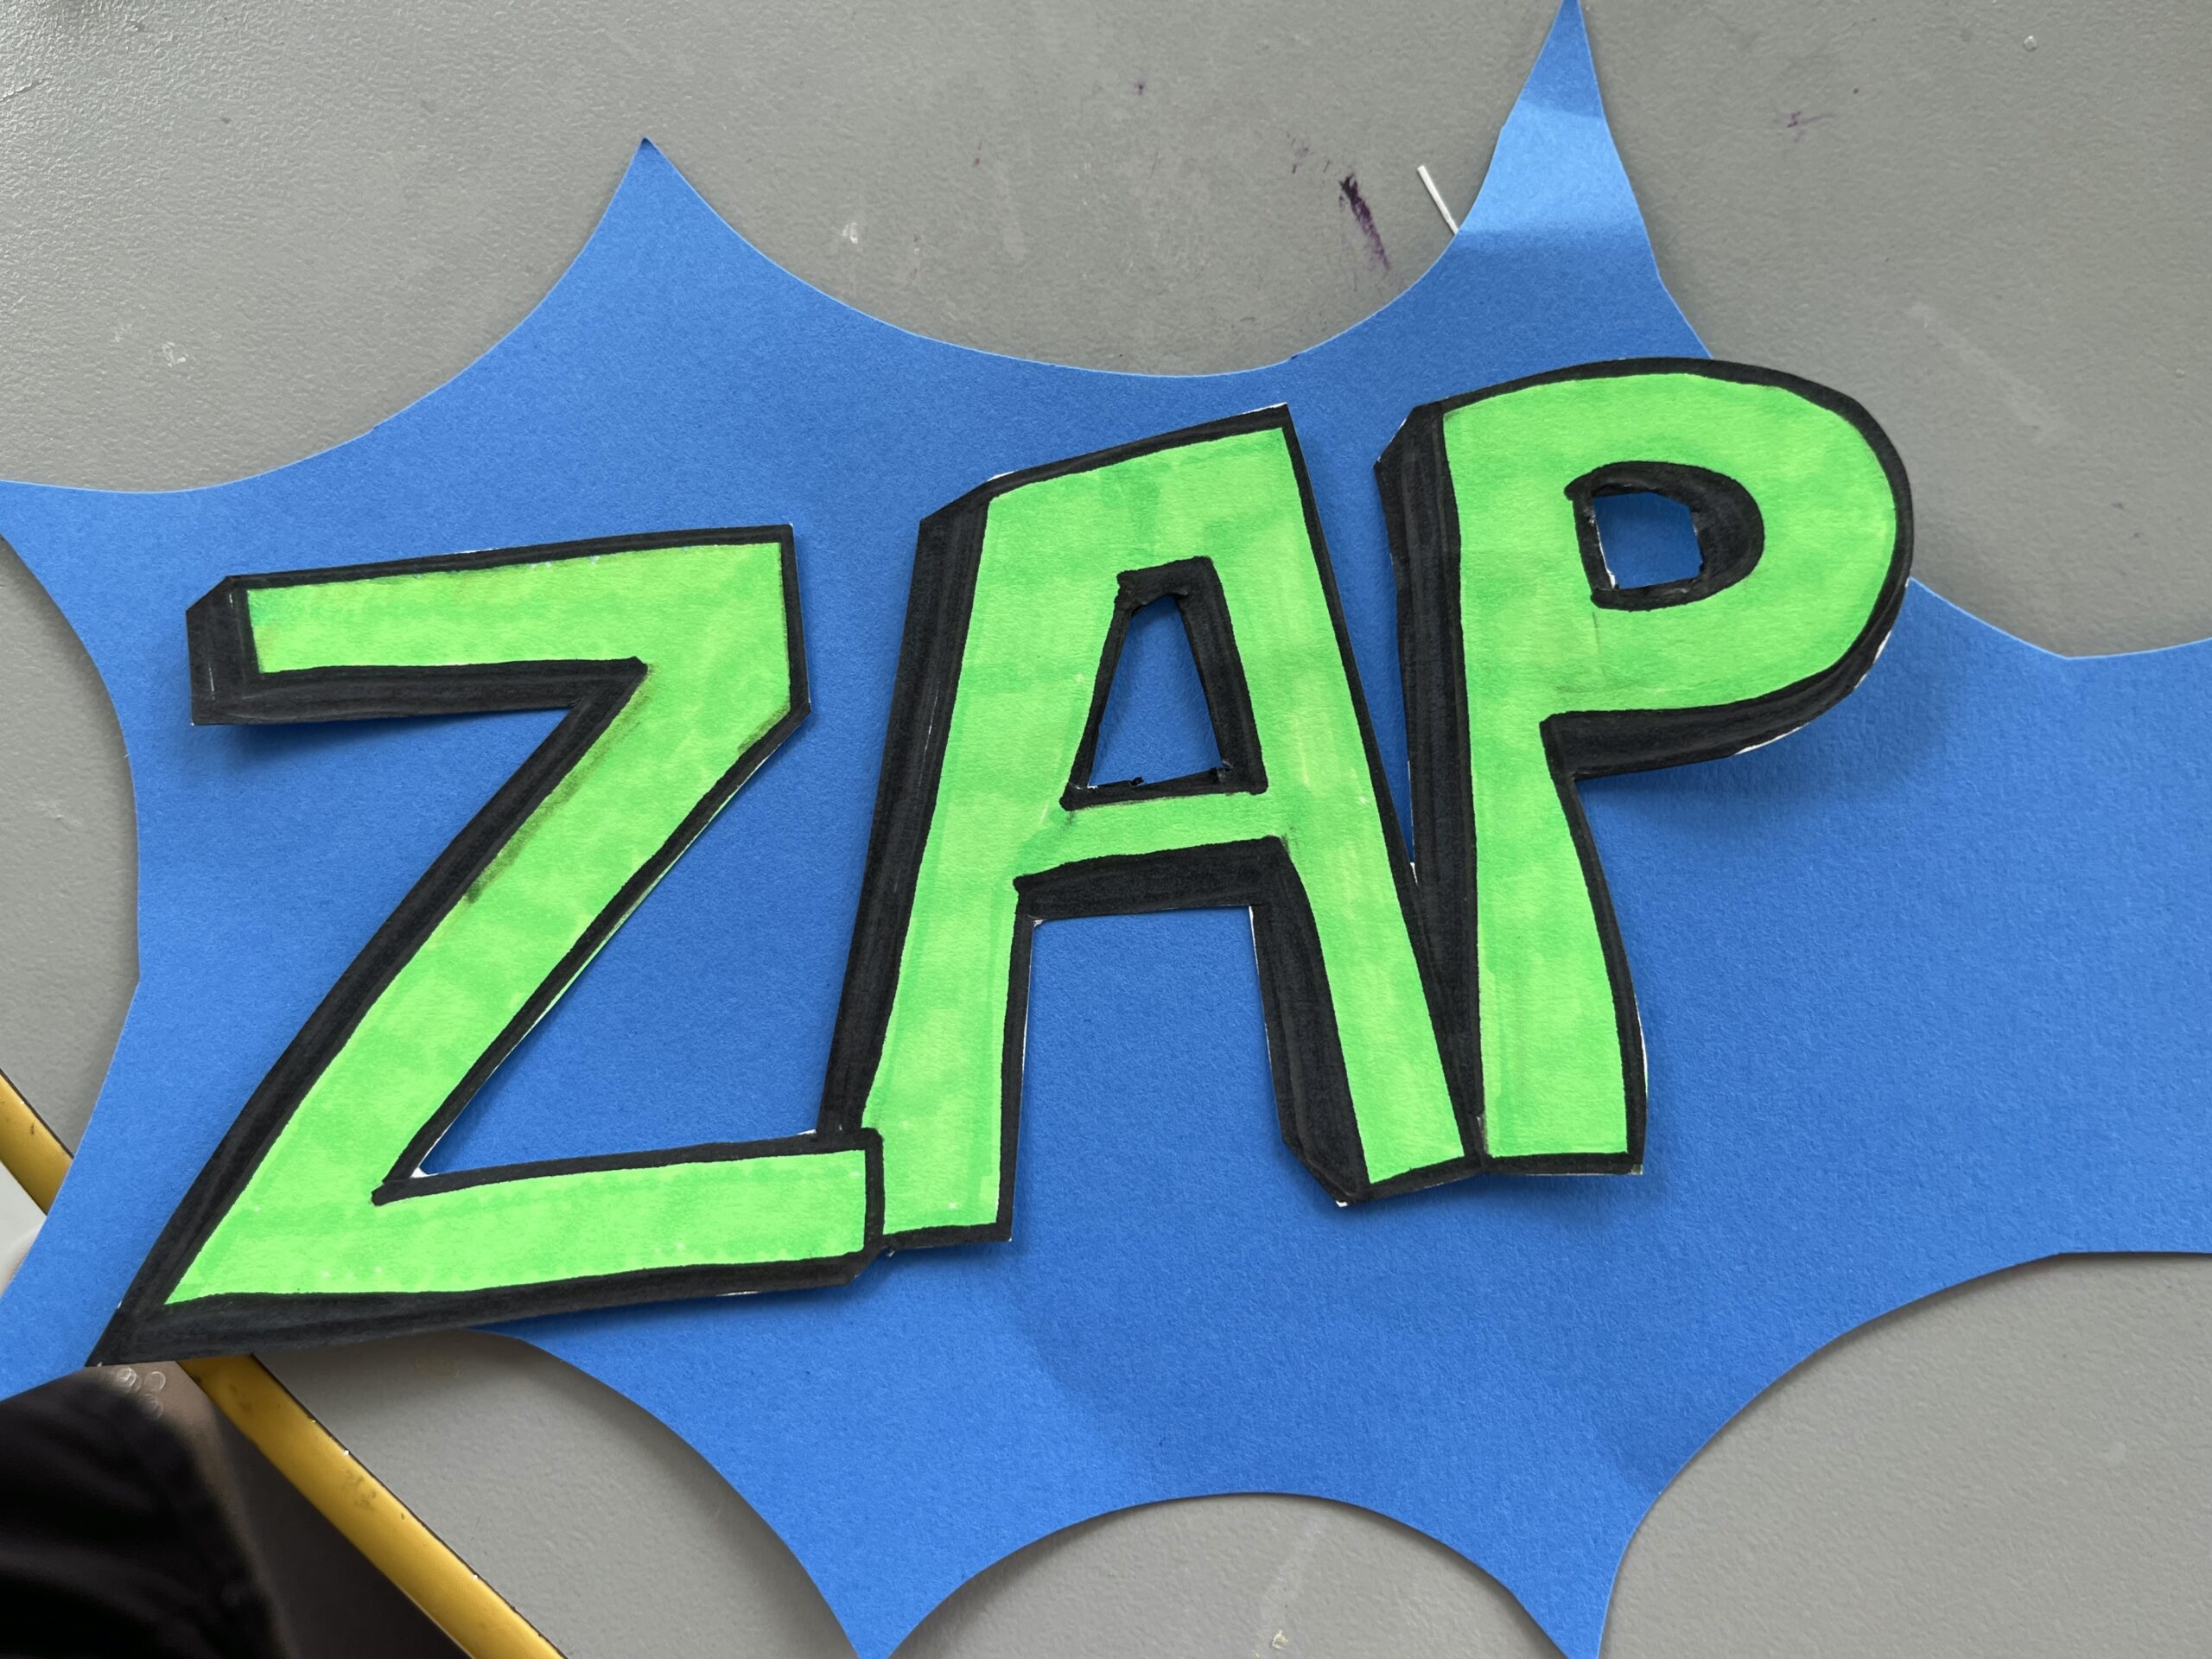
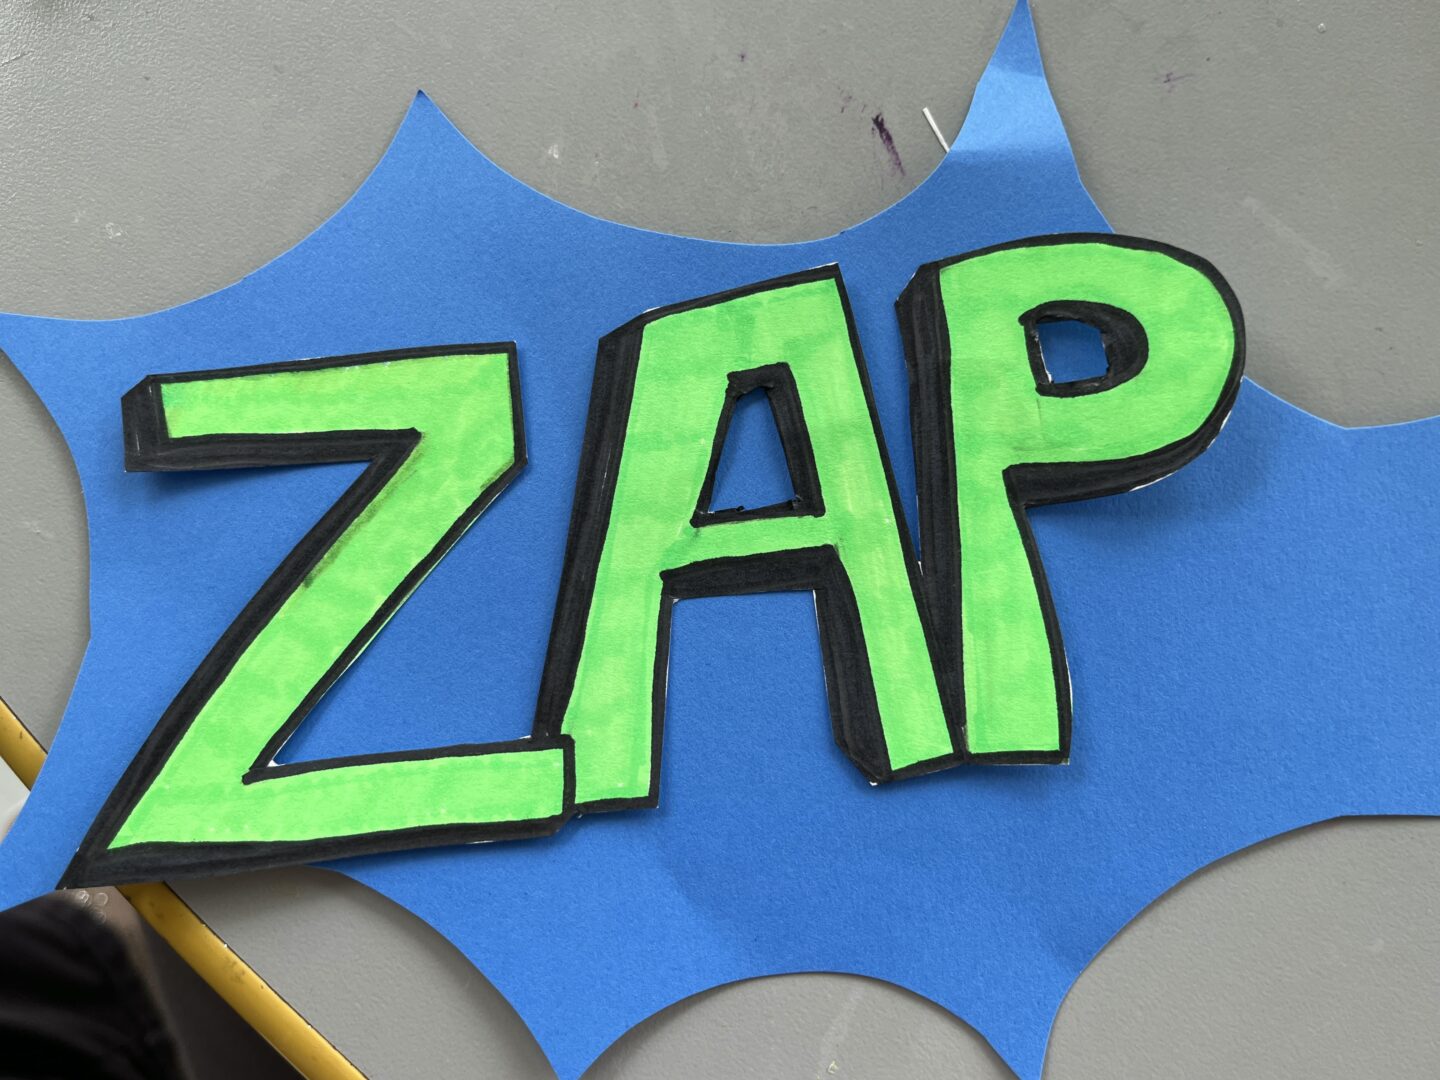
Choose a word you would like to draw. Now, close your eyes and imagine what that sound would "look" like. On your paper, with your pencil, draw out your word. Pressing lightly allows you to easily erase if you want.
Step 2:
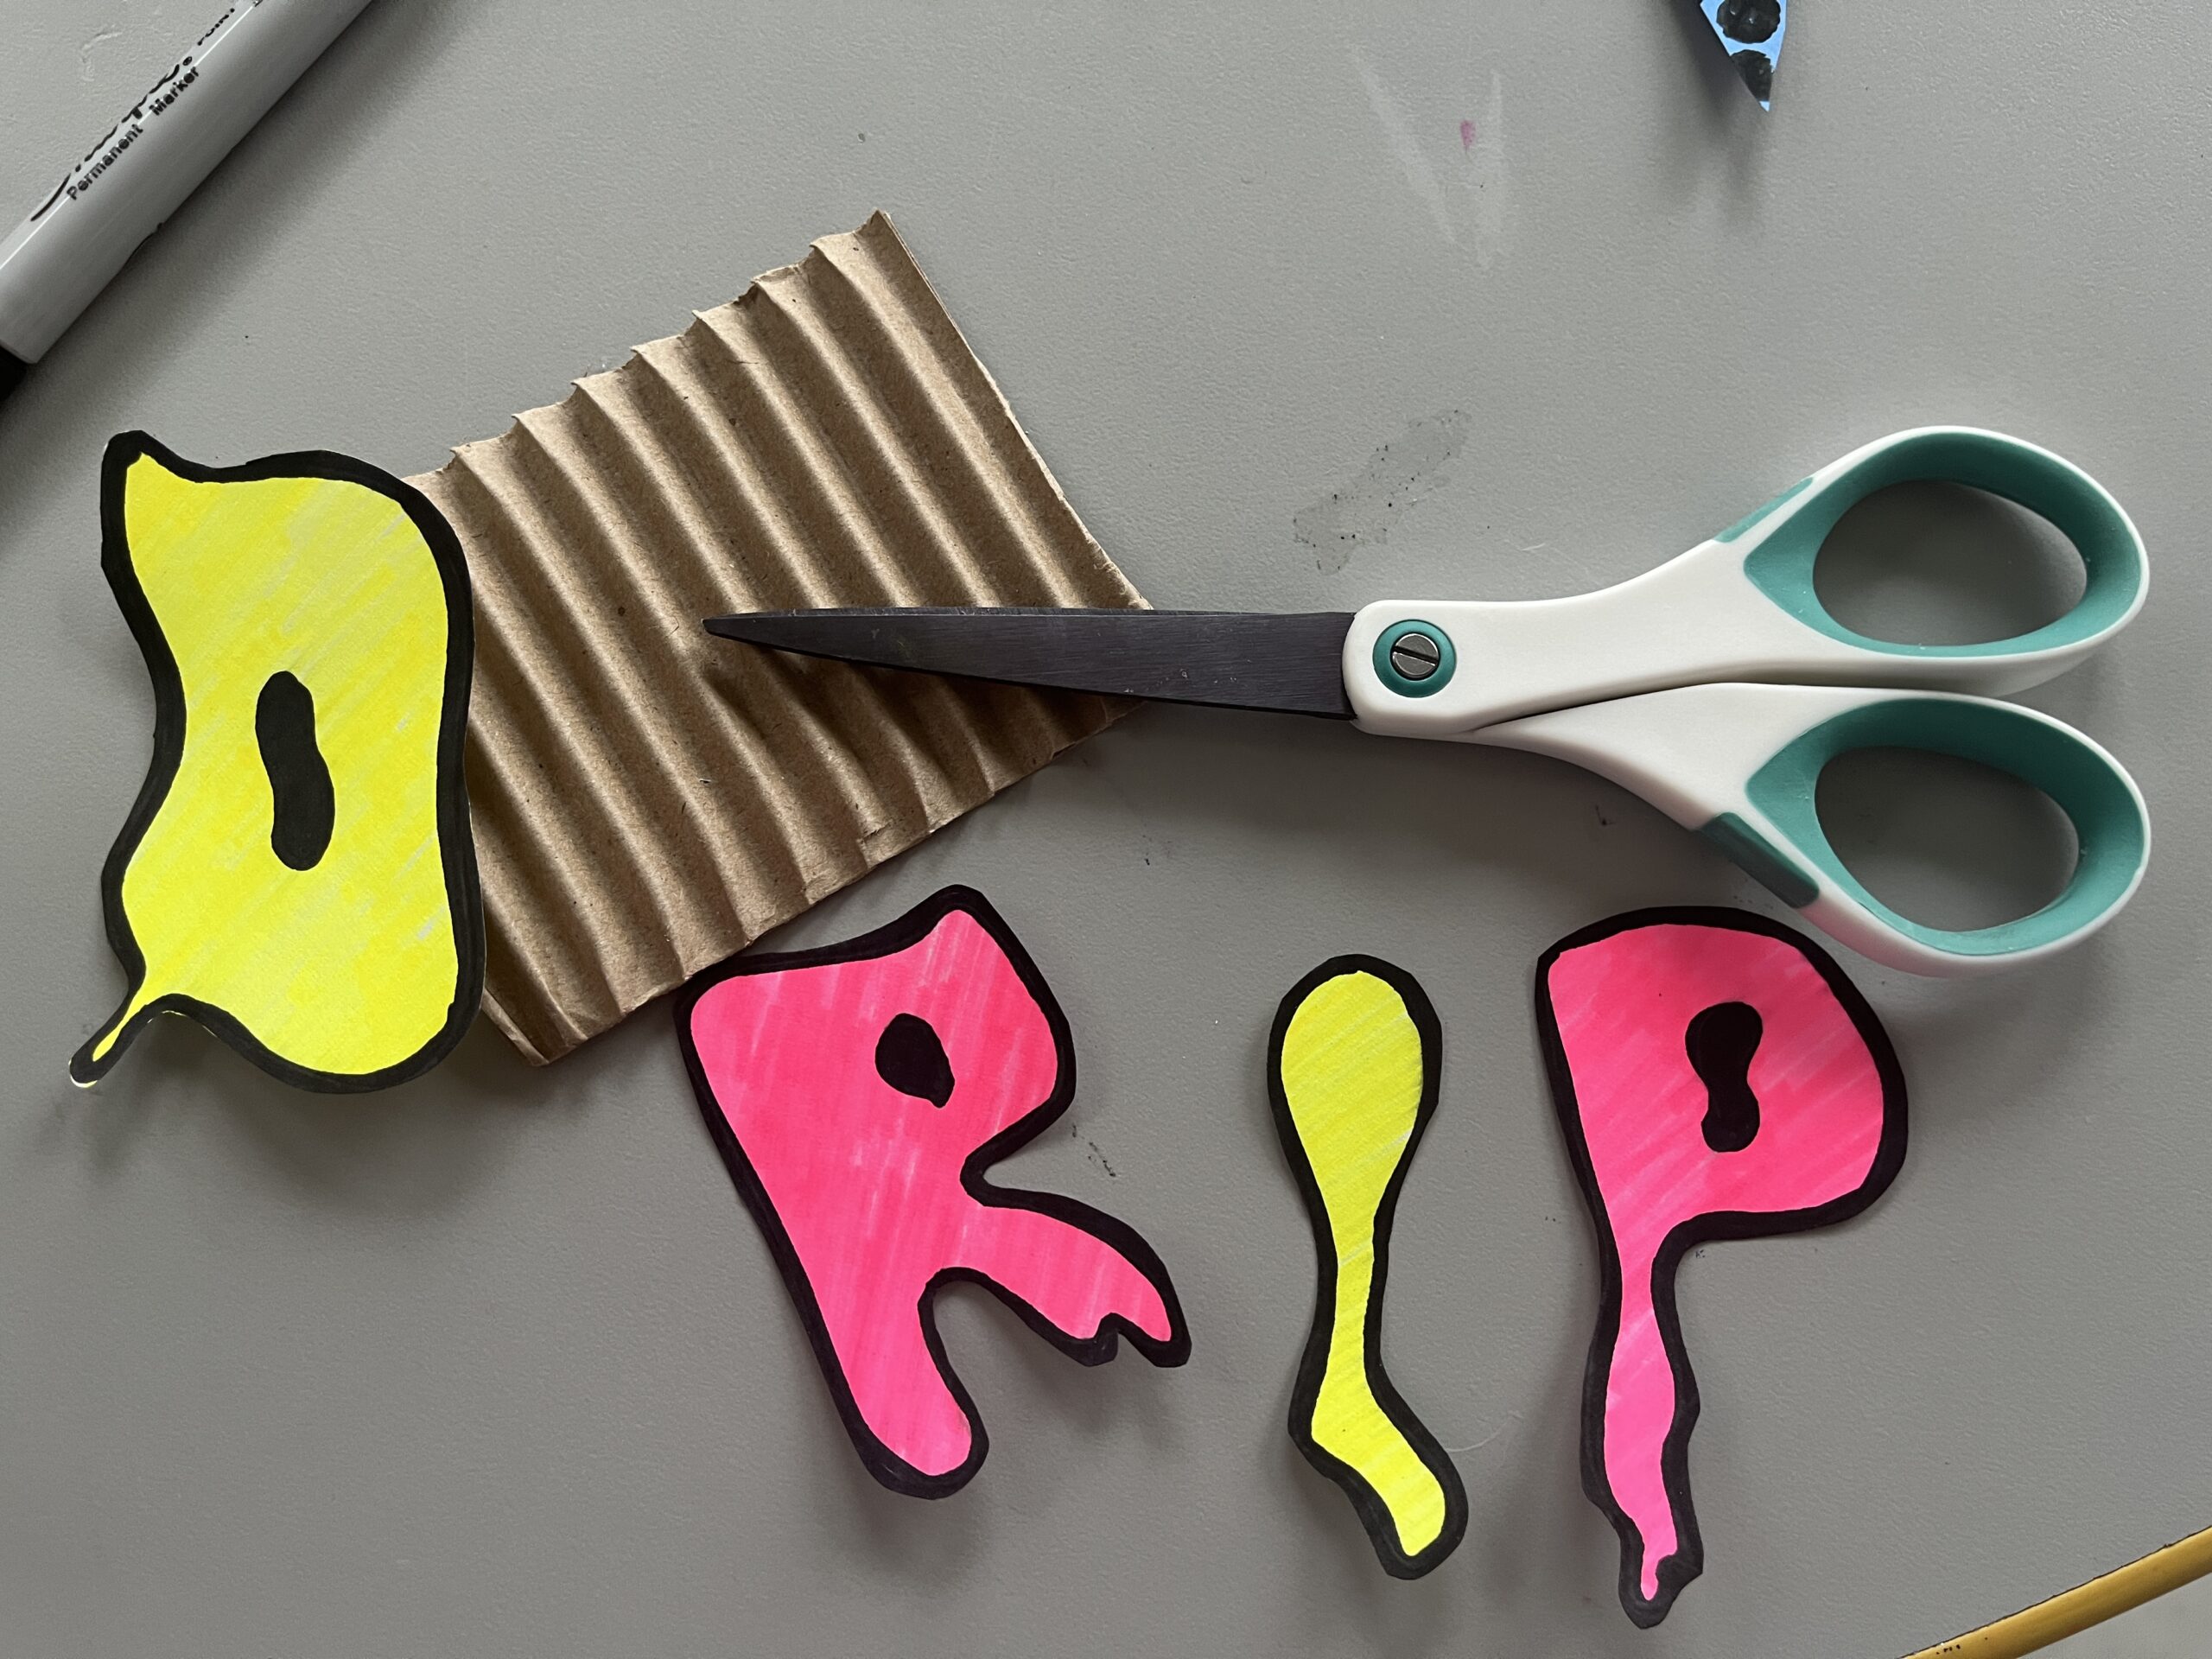
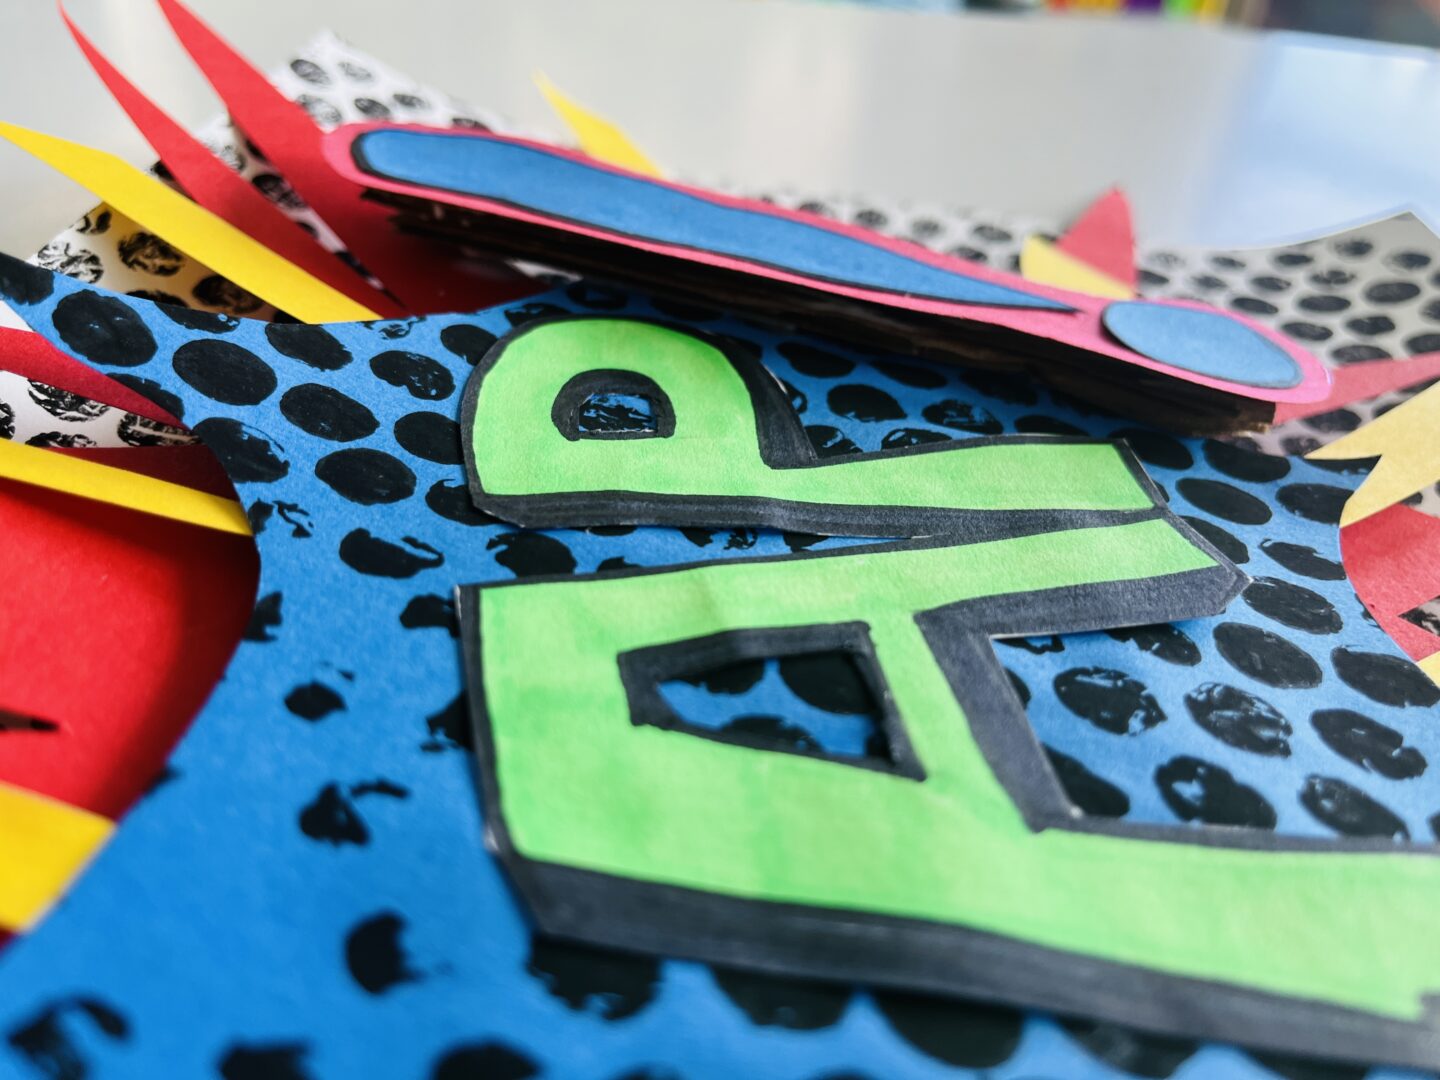
Your letters can be overlapping or separated. Using markers, color in your letters.
Then outline with black marker and cut out your letters or word.
Step 3:
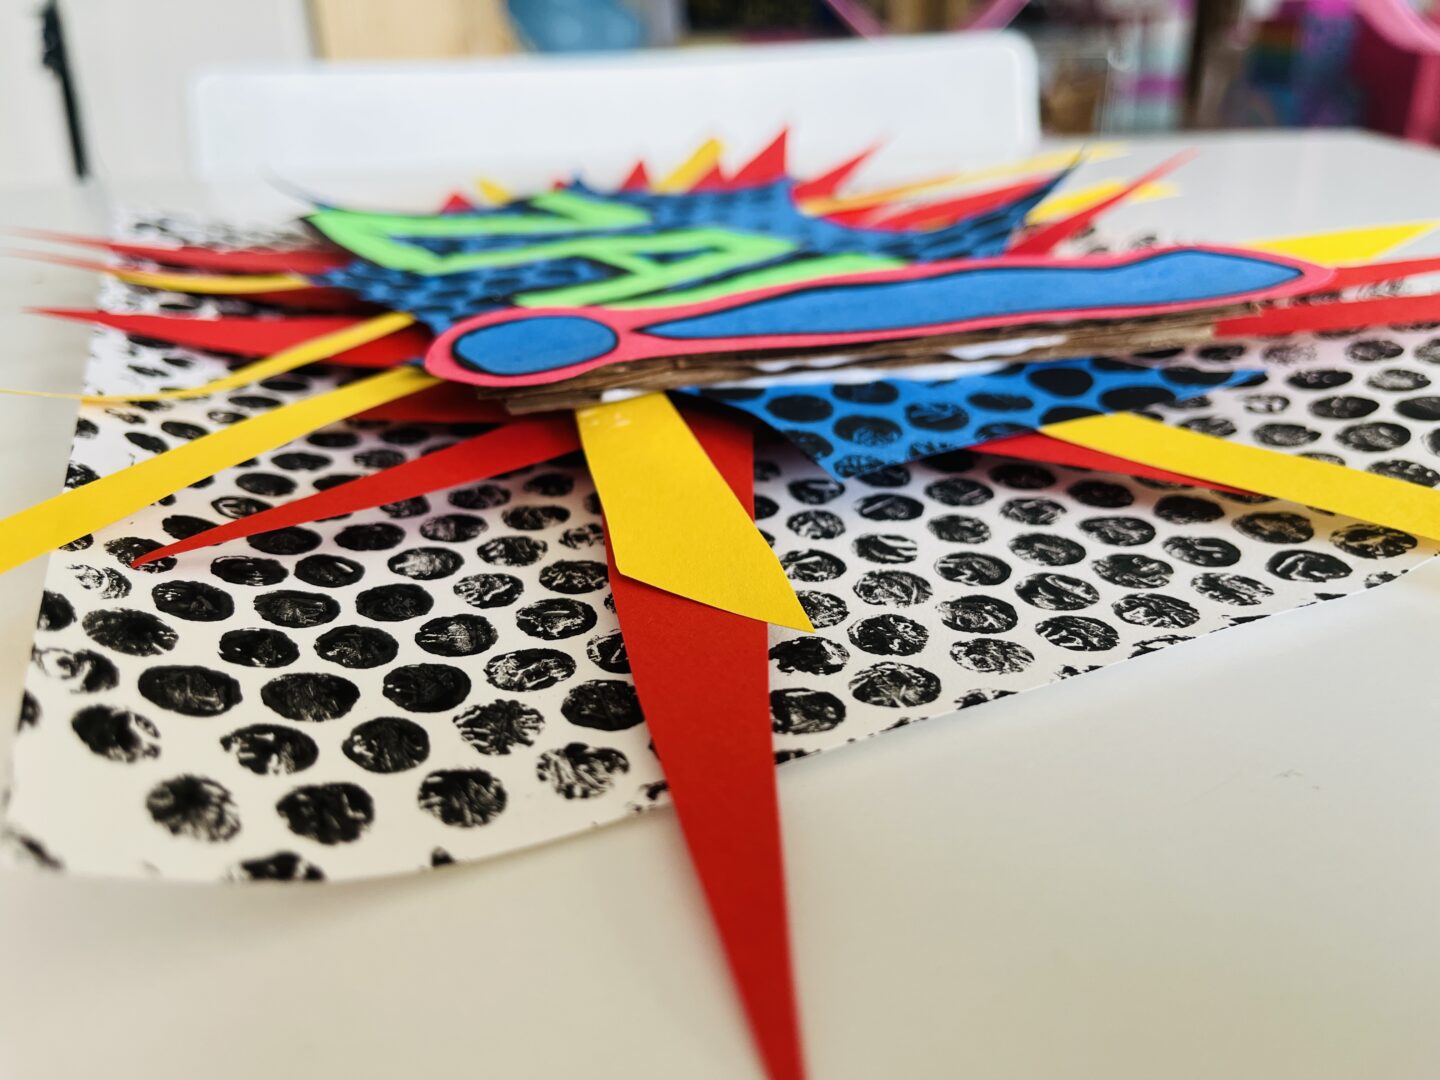
Cut our next layer of colored construction paper. Add any scraps of paper to the community bin so that others can use them also. You will get to add multiple layers of construction paper and cardboard to create depth to your artwork.
Step 4:
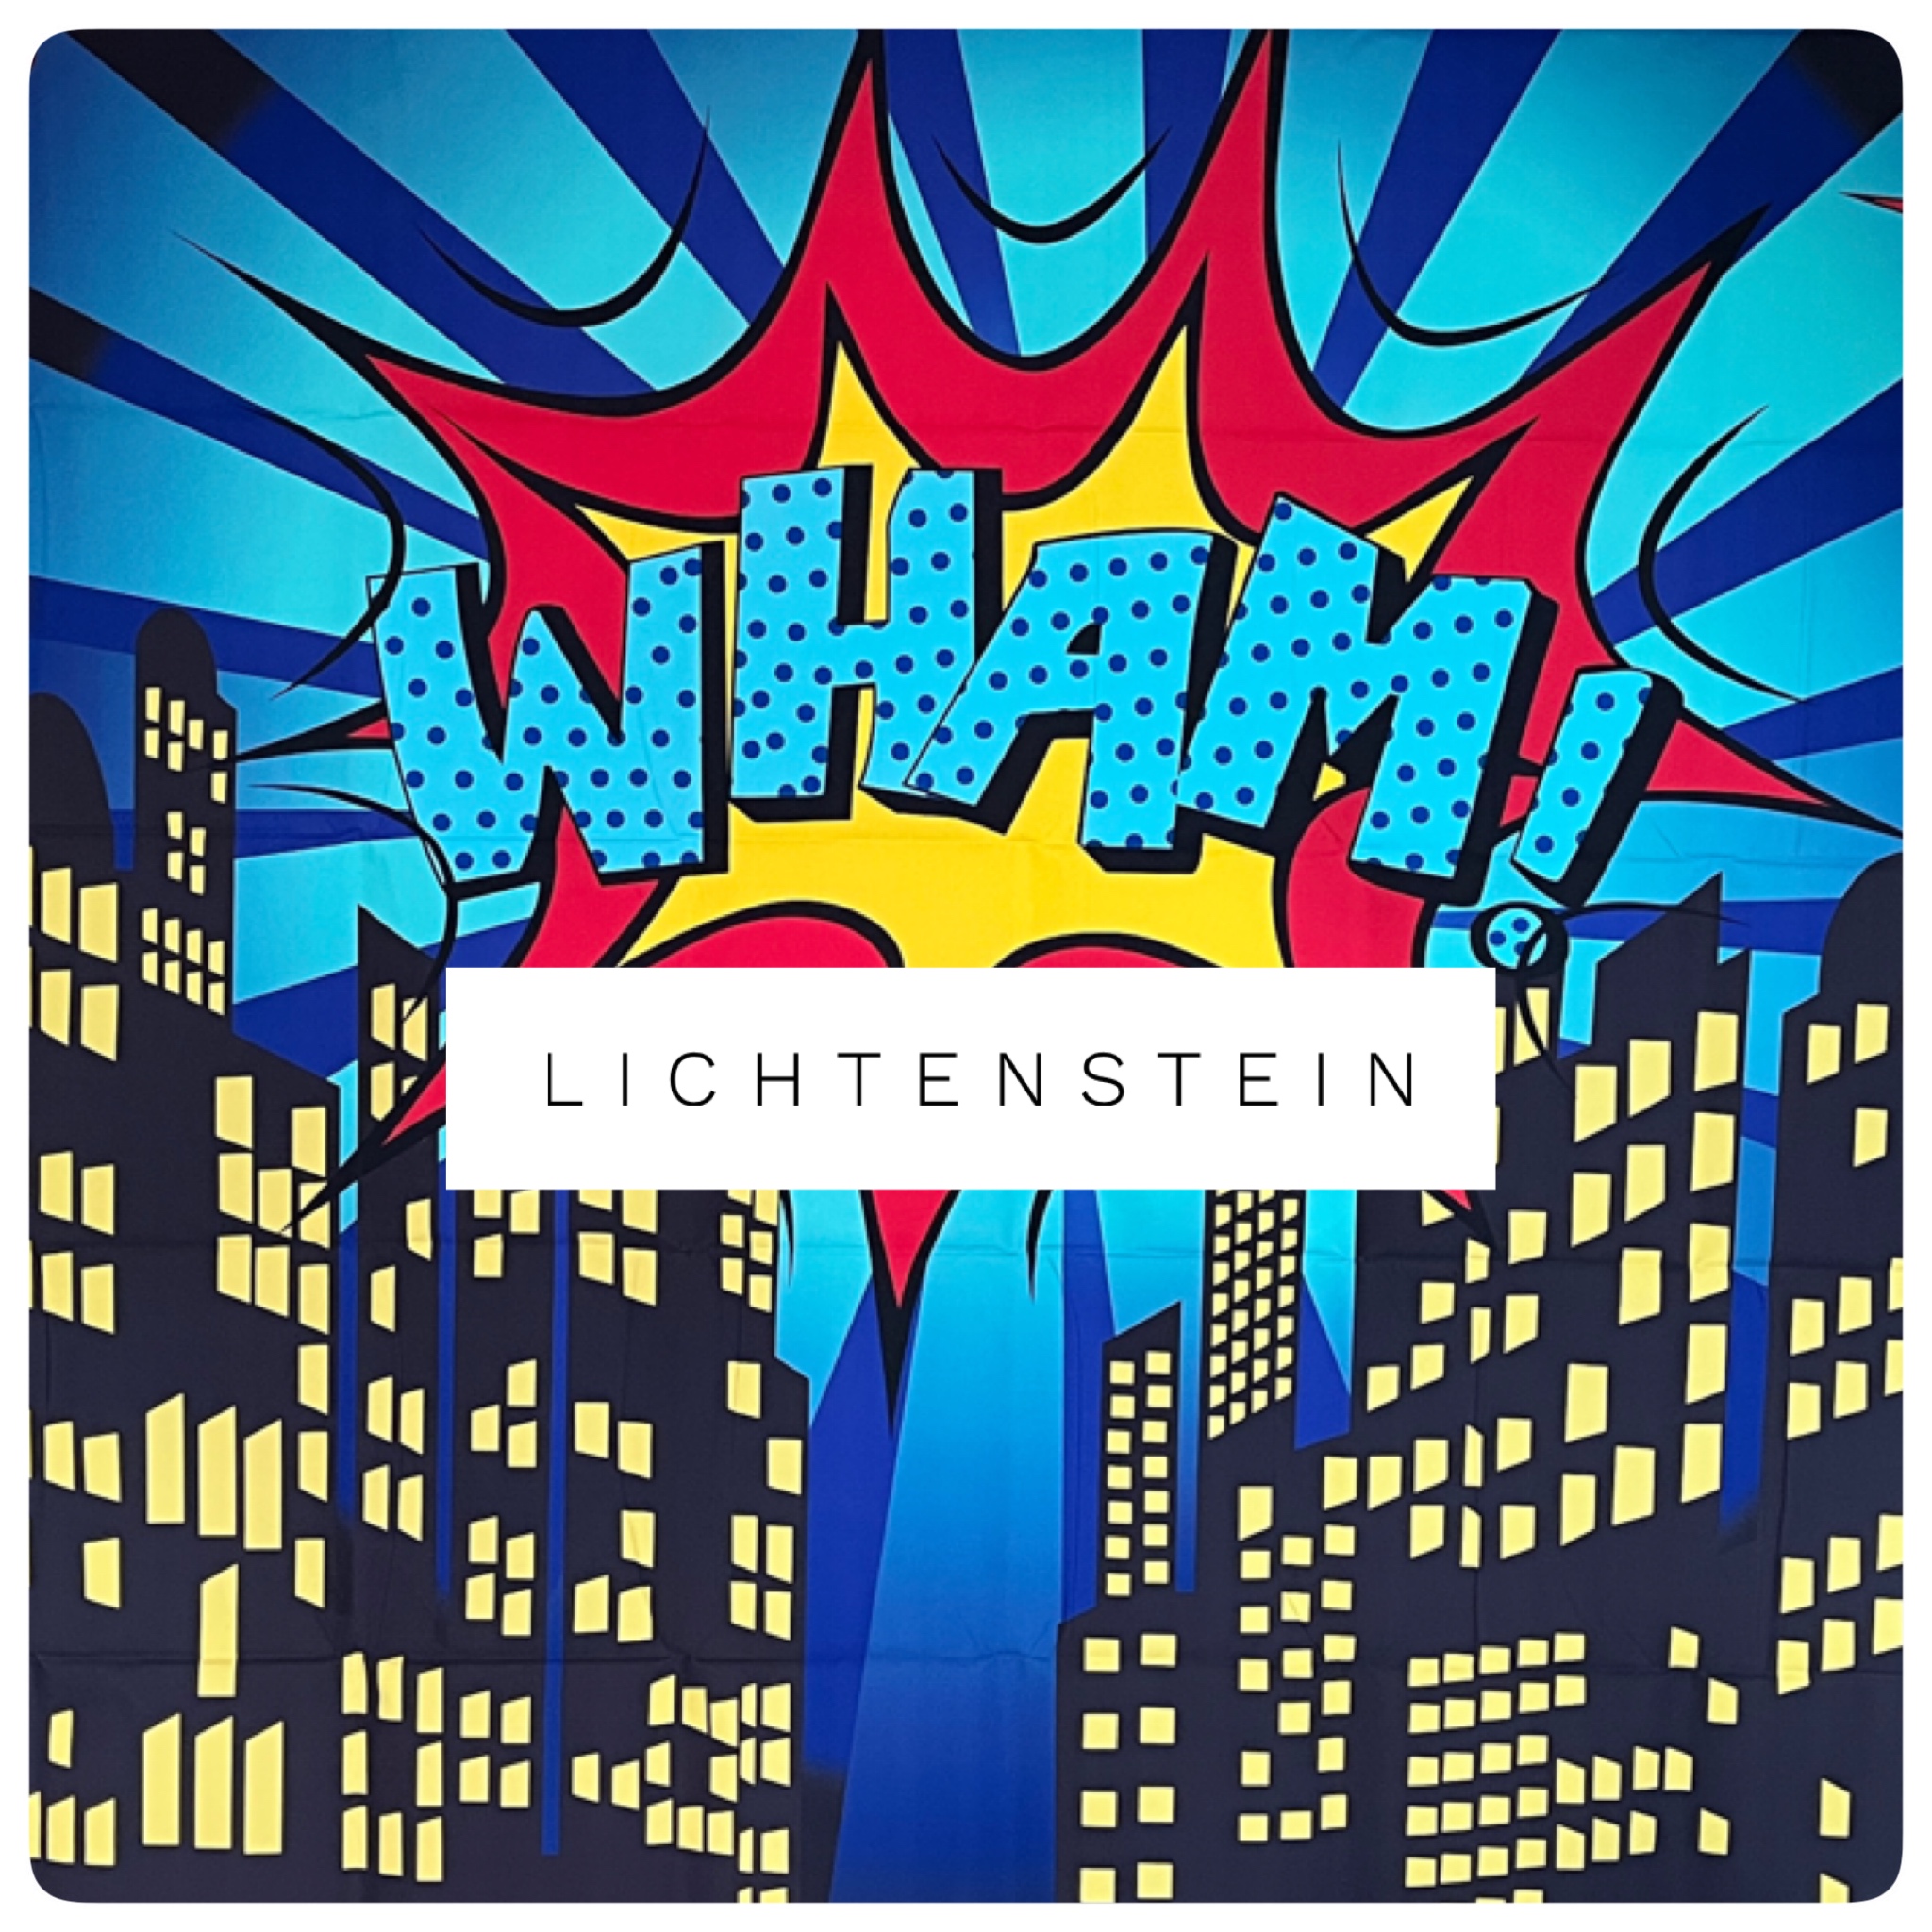
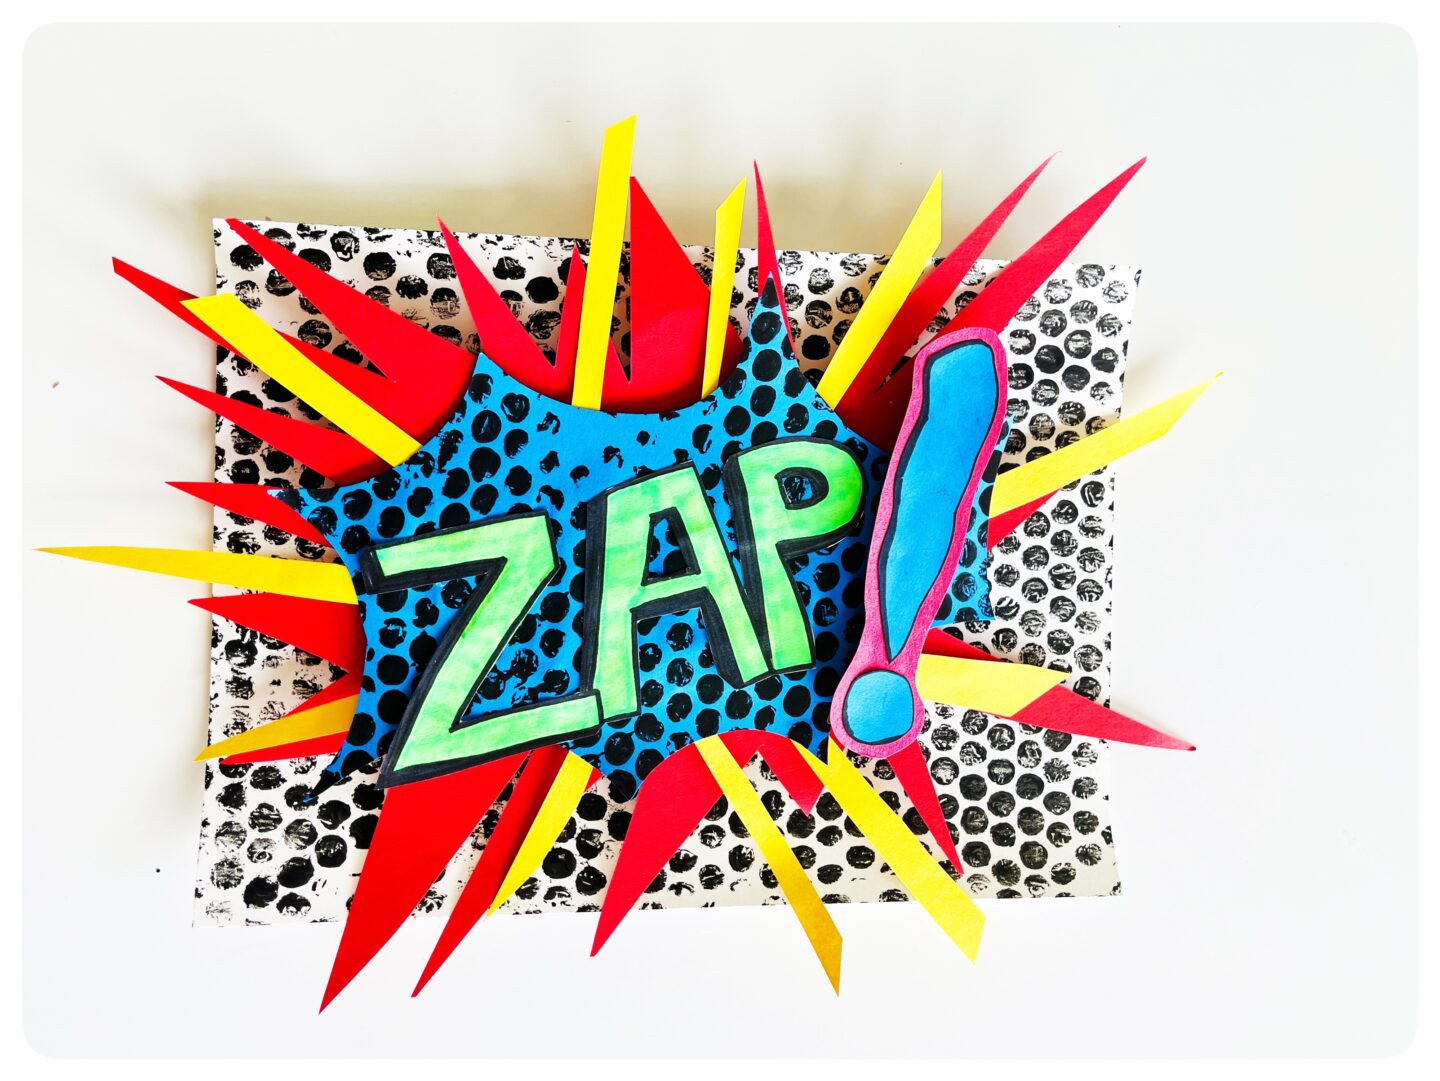
In Roy Lichtenstein's art, he used the Ben Day process, a printing technique creating dots in his art. You get to do the same using...
Bubble Wrap!
Choose a background layer you want to add the dots on.
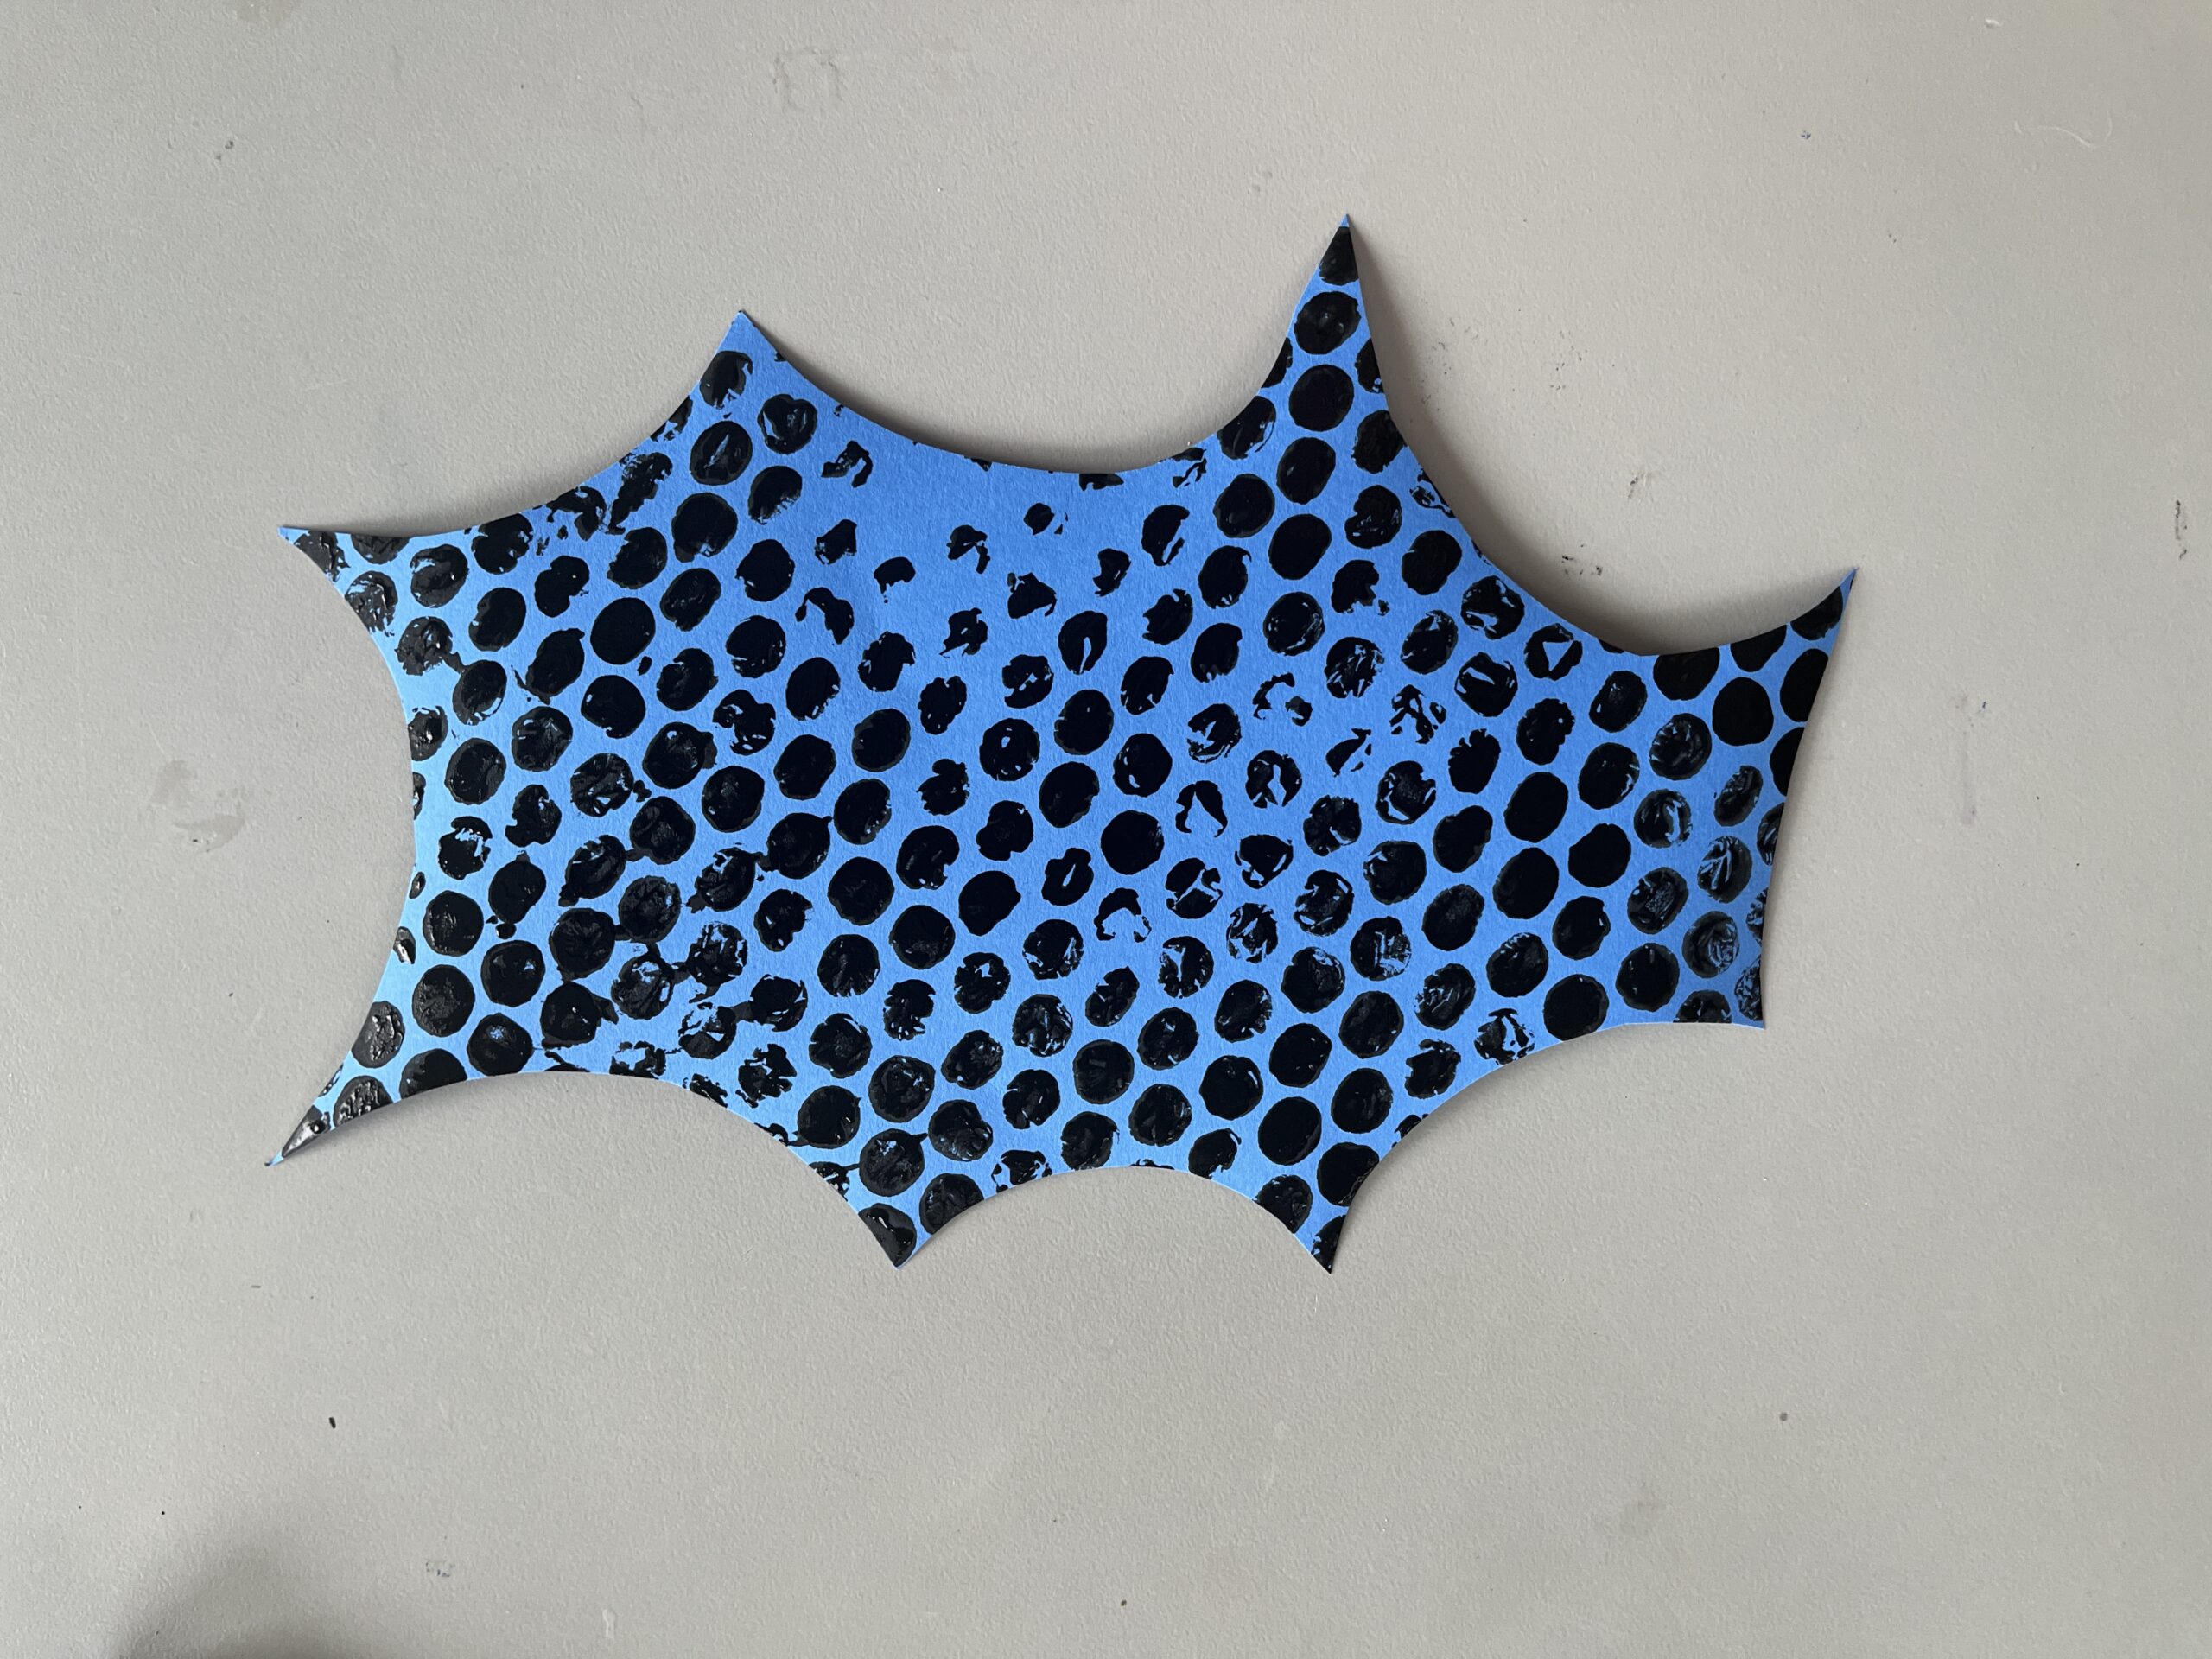
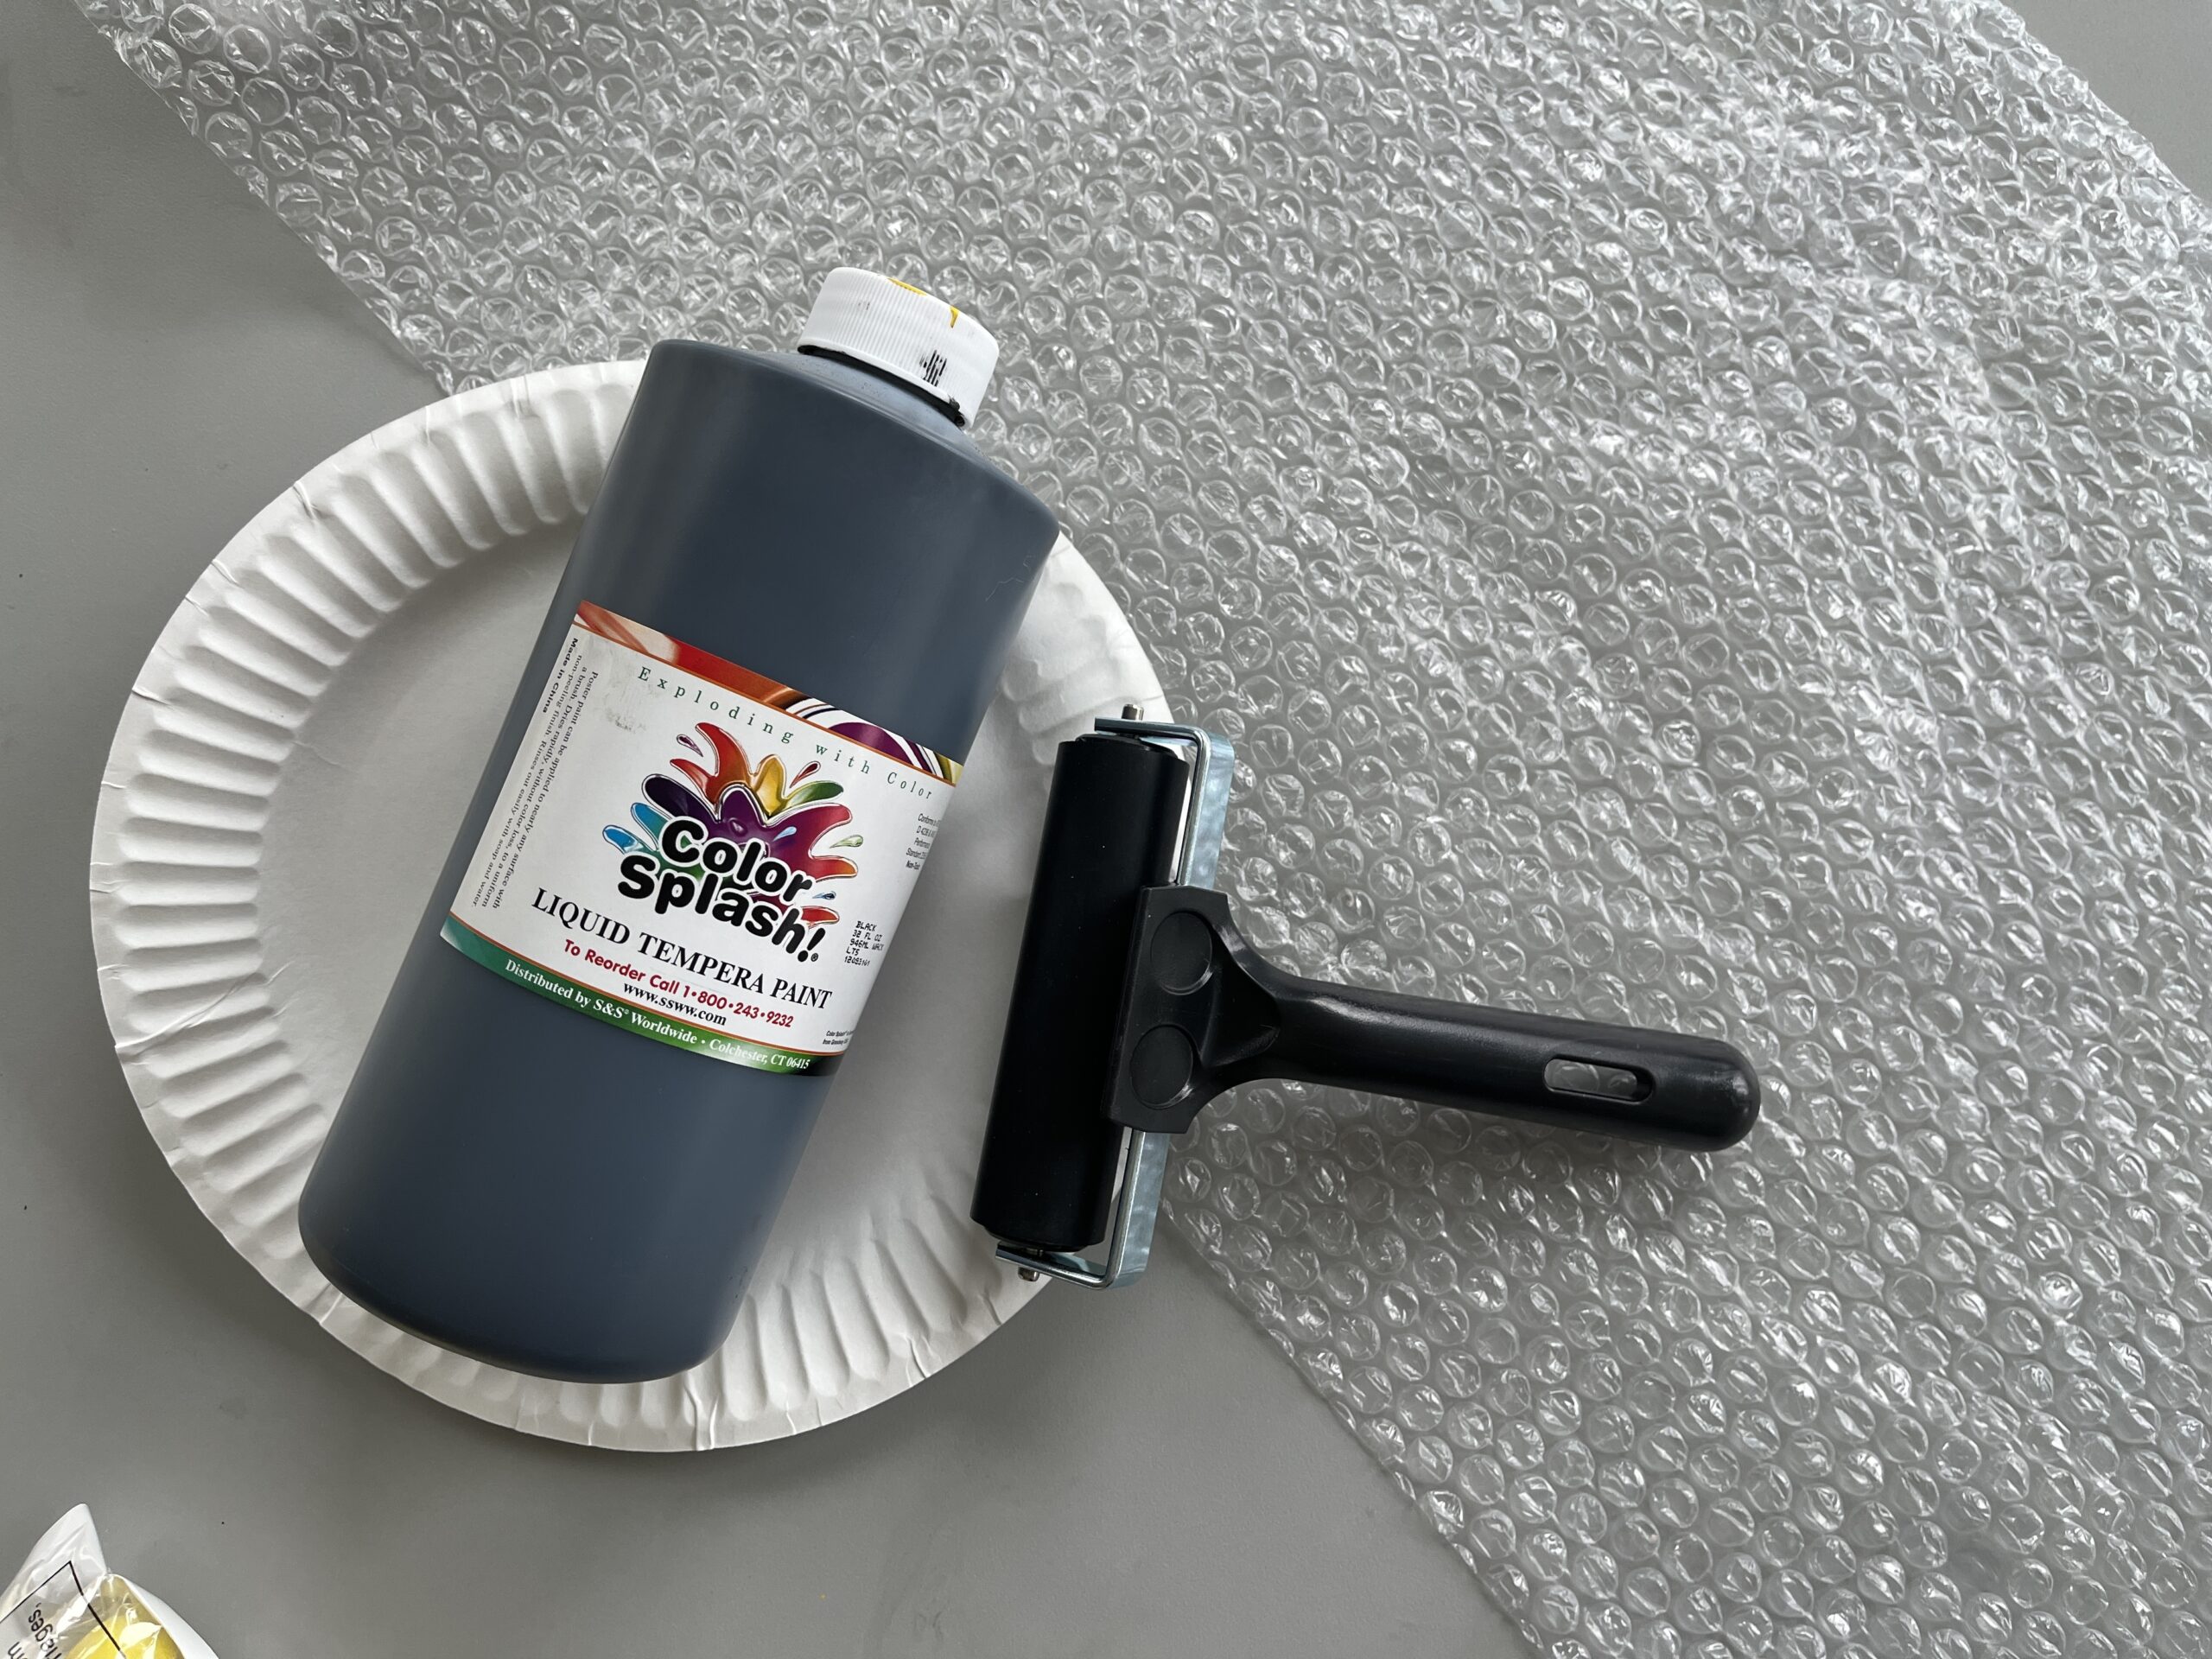
Using your Brayer, roll paint onto your bubblewrap, pressing lightly so the the color stays on top of the bubbles.
Press your paper down on top of the paint, then remove.
Step 5:
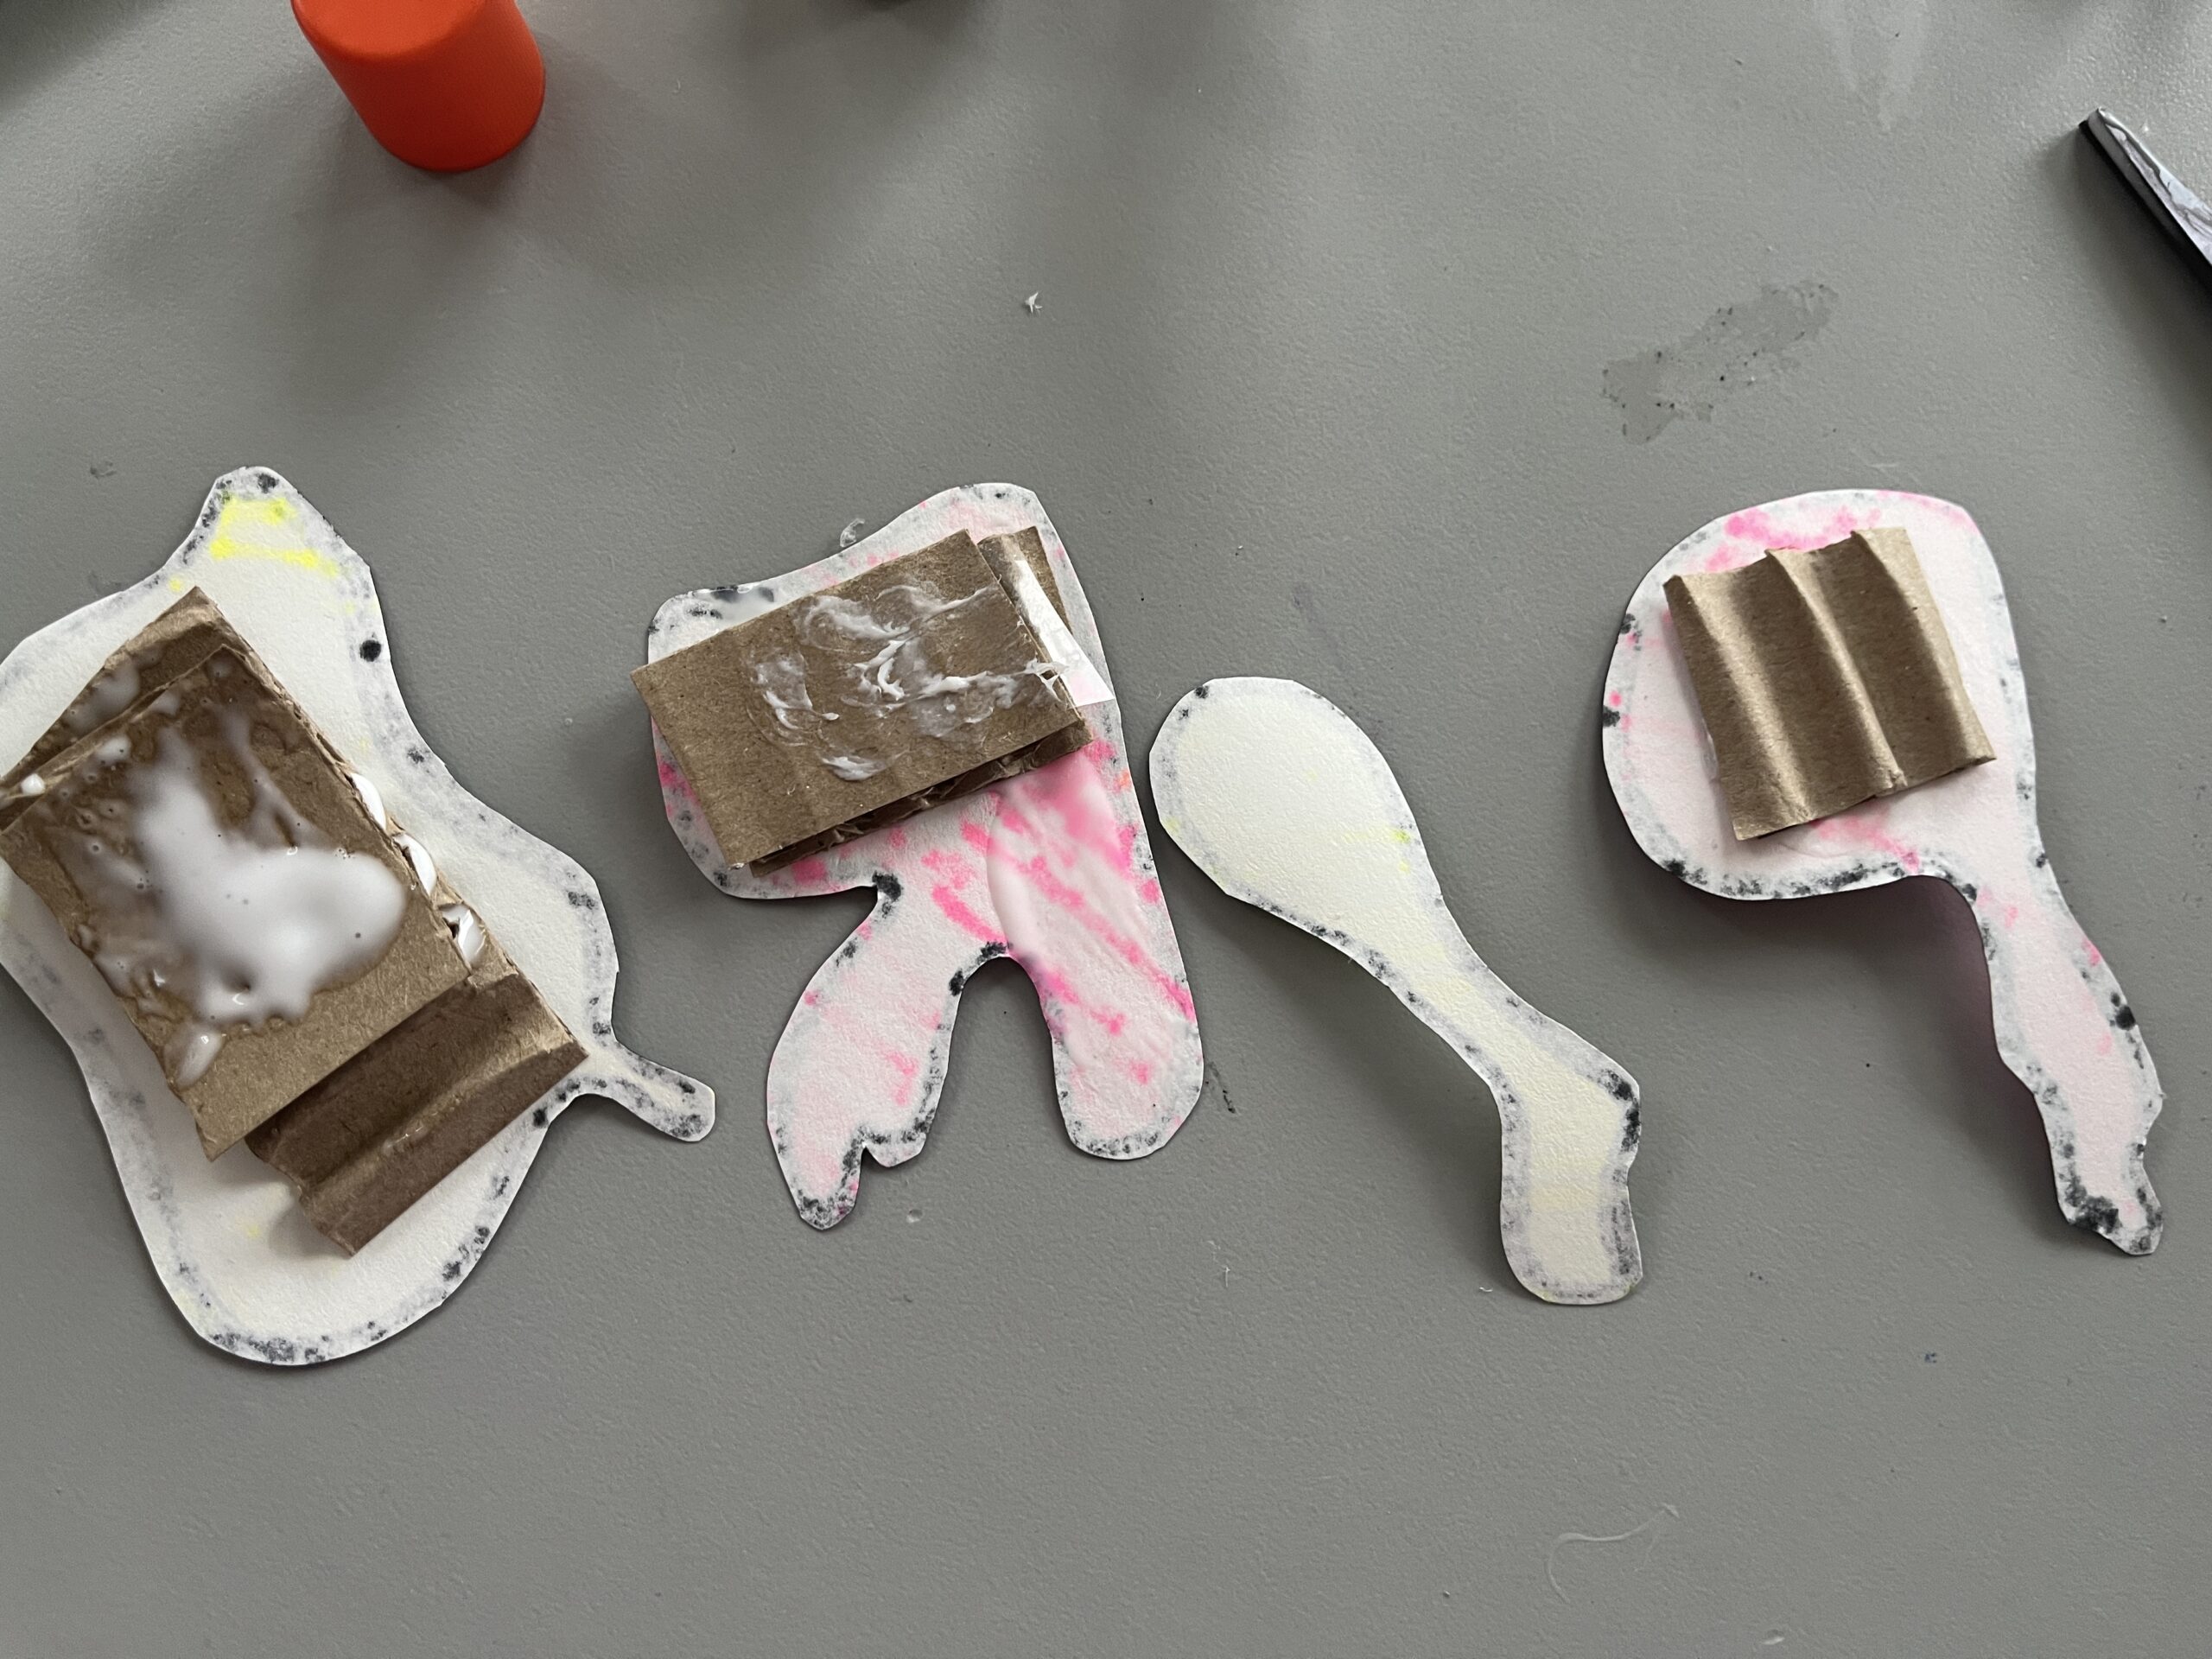
To create depth to your creation, you can add pieces of corrugated cardboard, securing with glue.
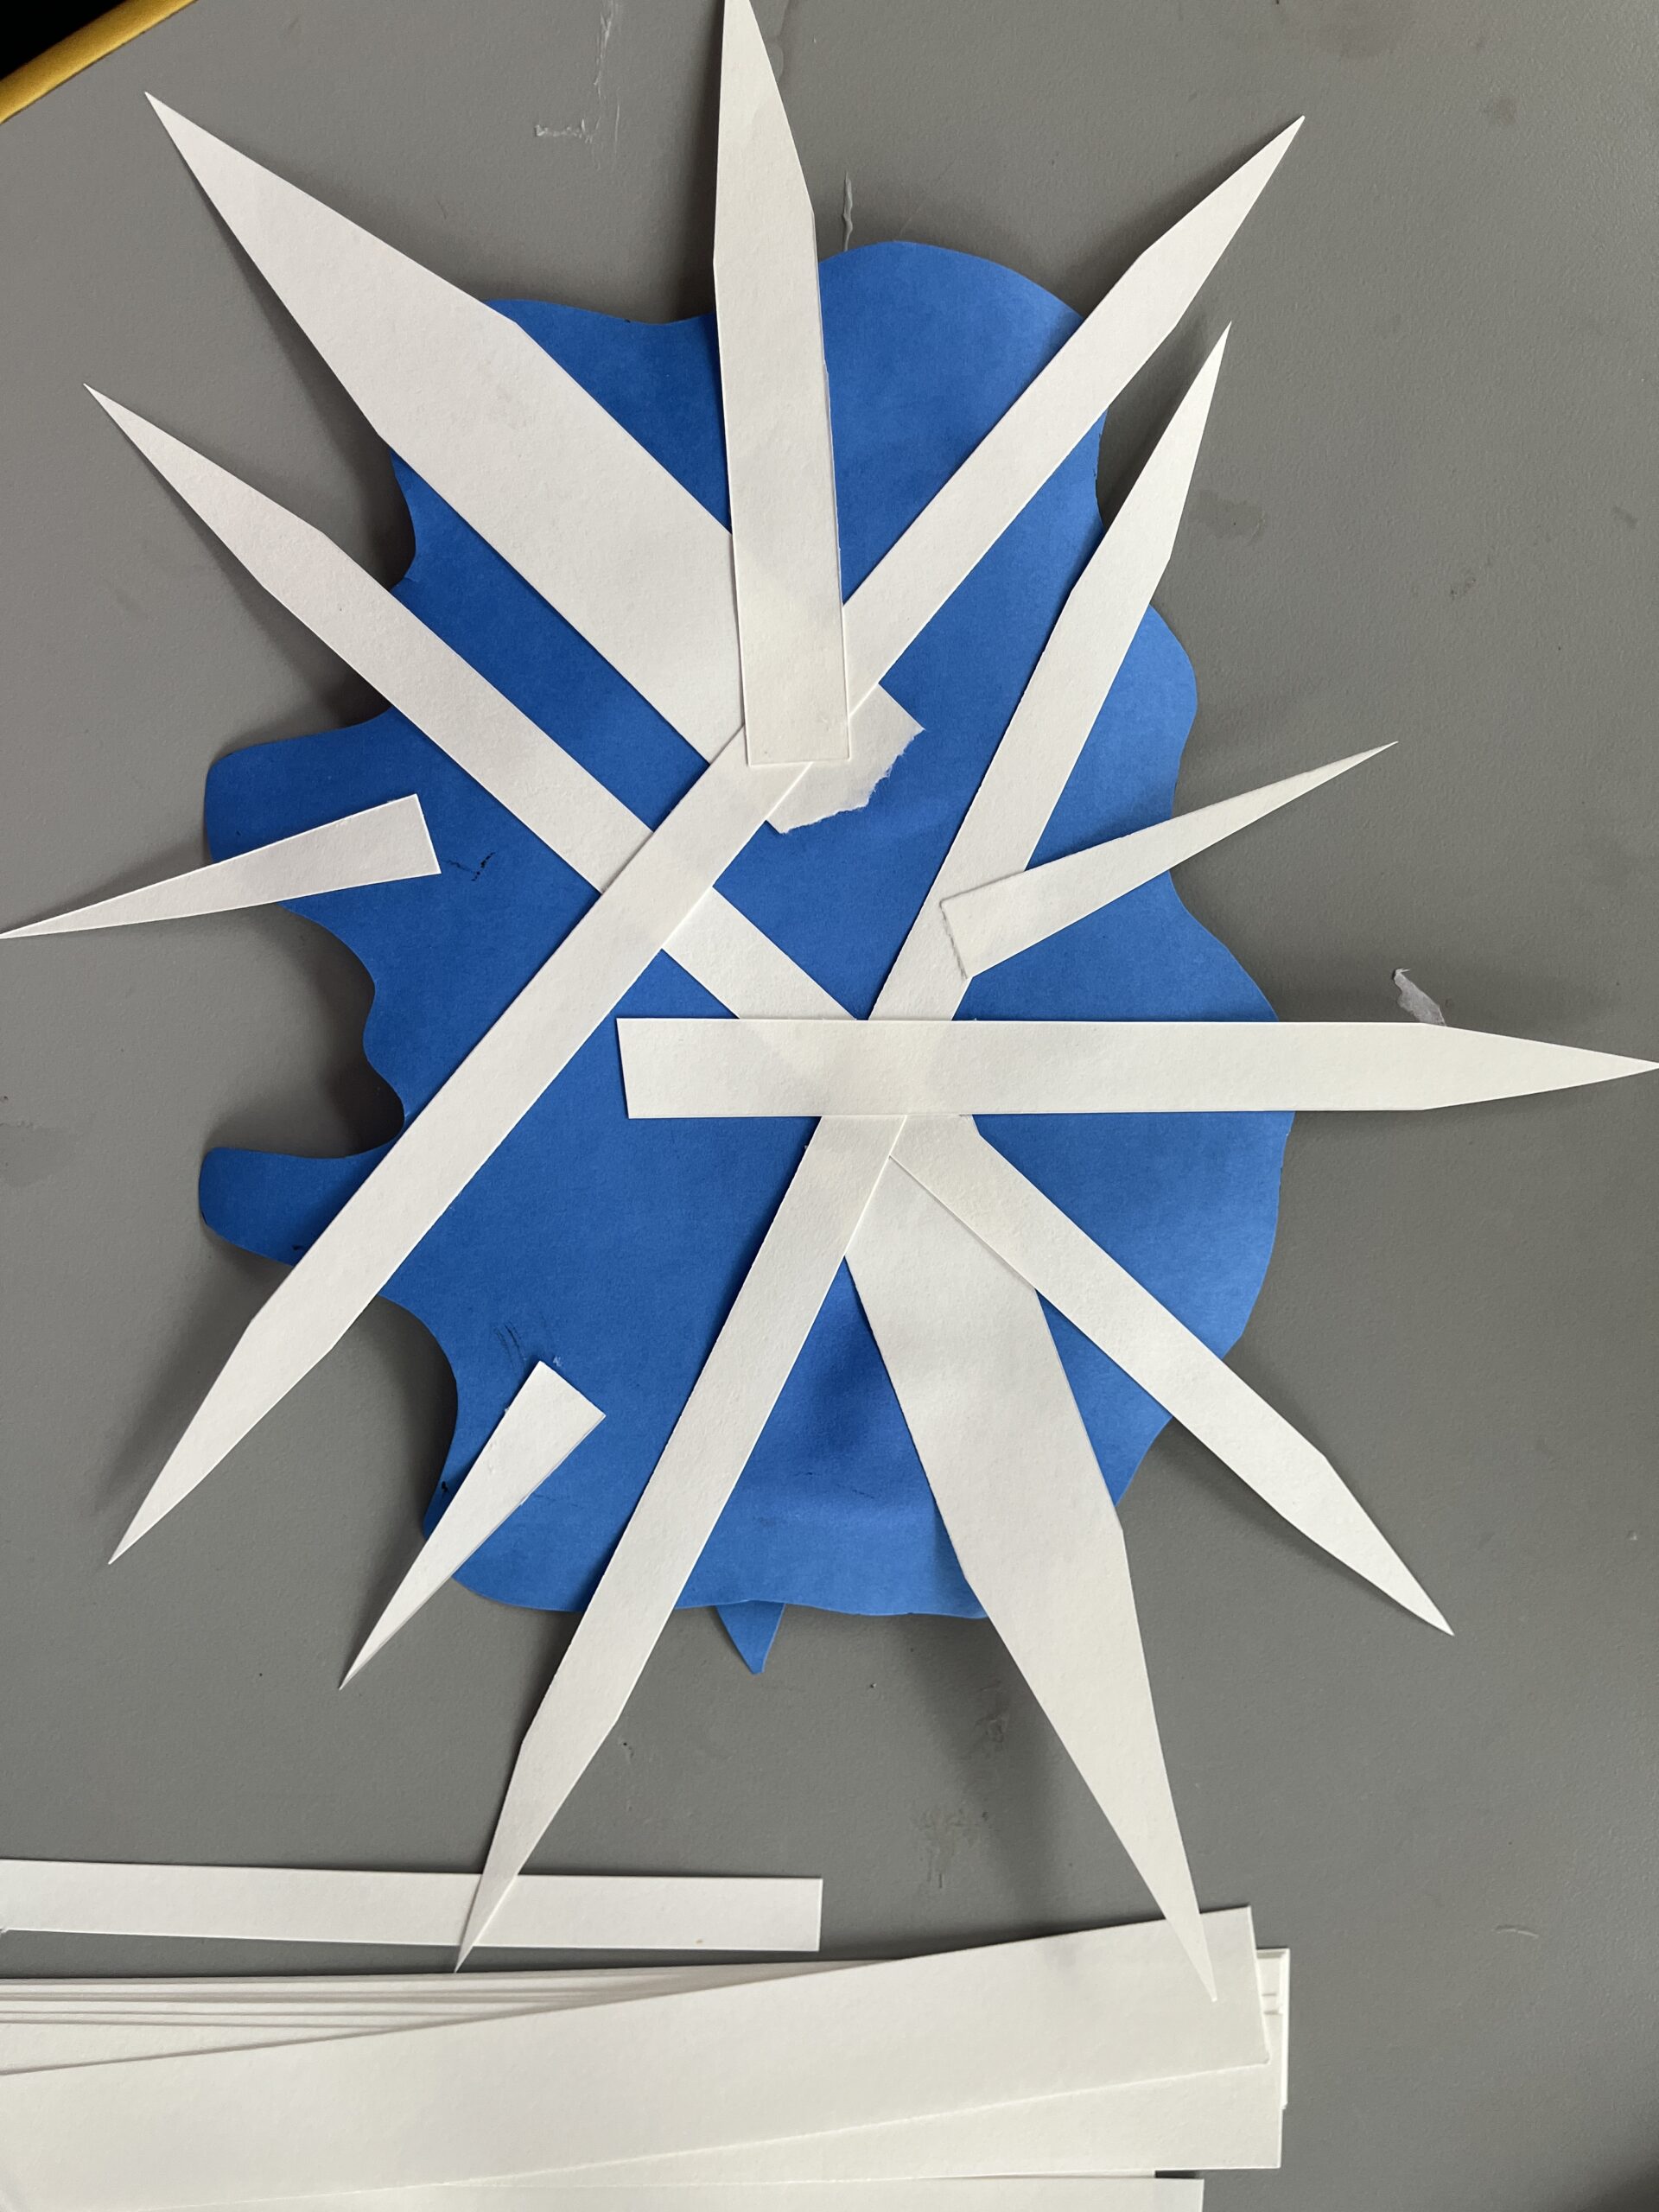
Step 6:
Continue to add layers. Remember to use any scrap pieces of paper woman already have in our bins. You may also add lines to create designs.
A line can be wavy, zigzag, curly, curvy, dashed, spiral etc.
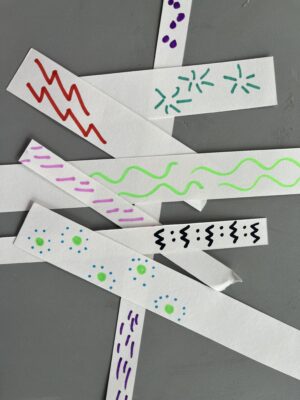
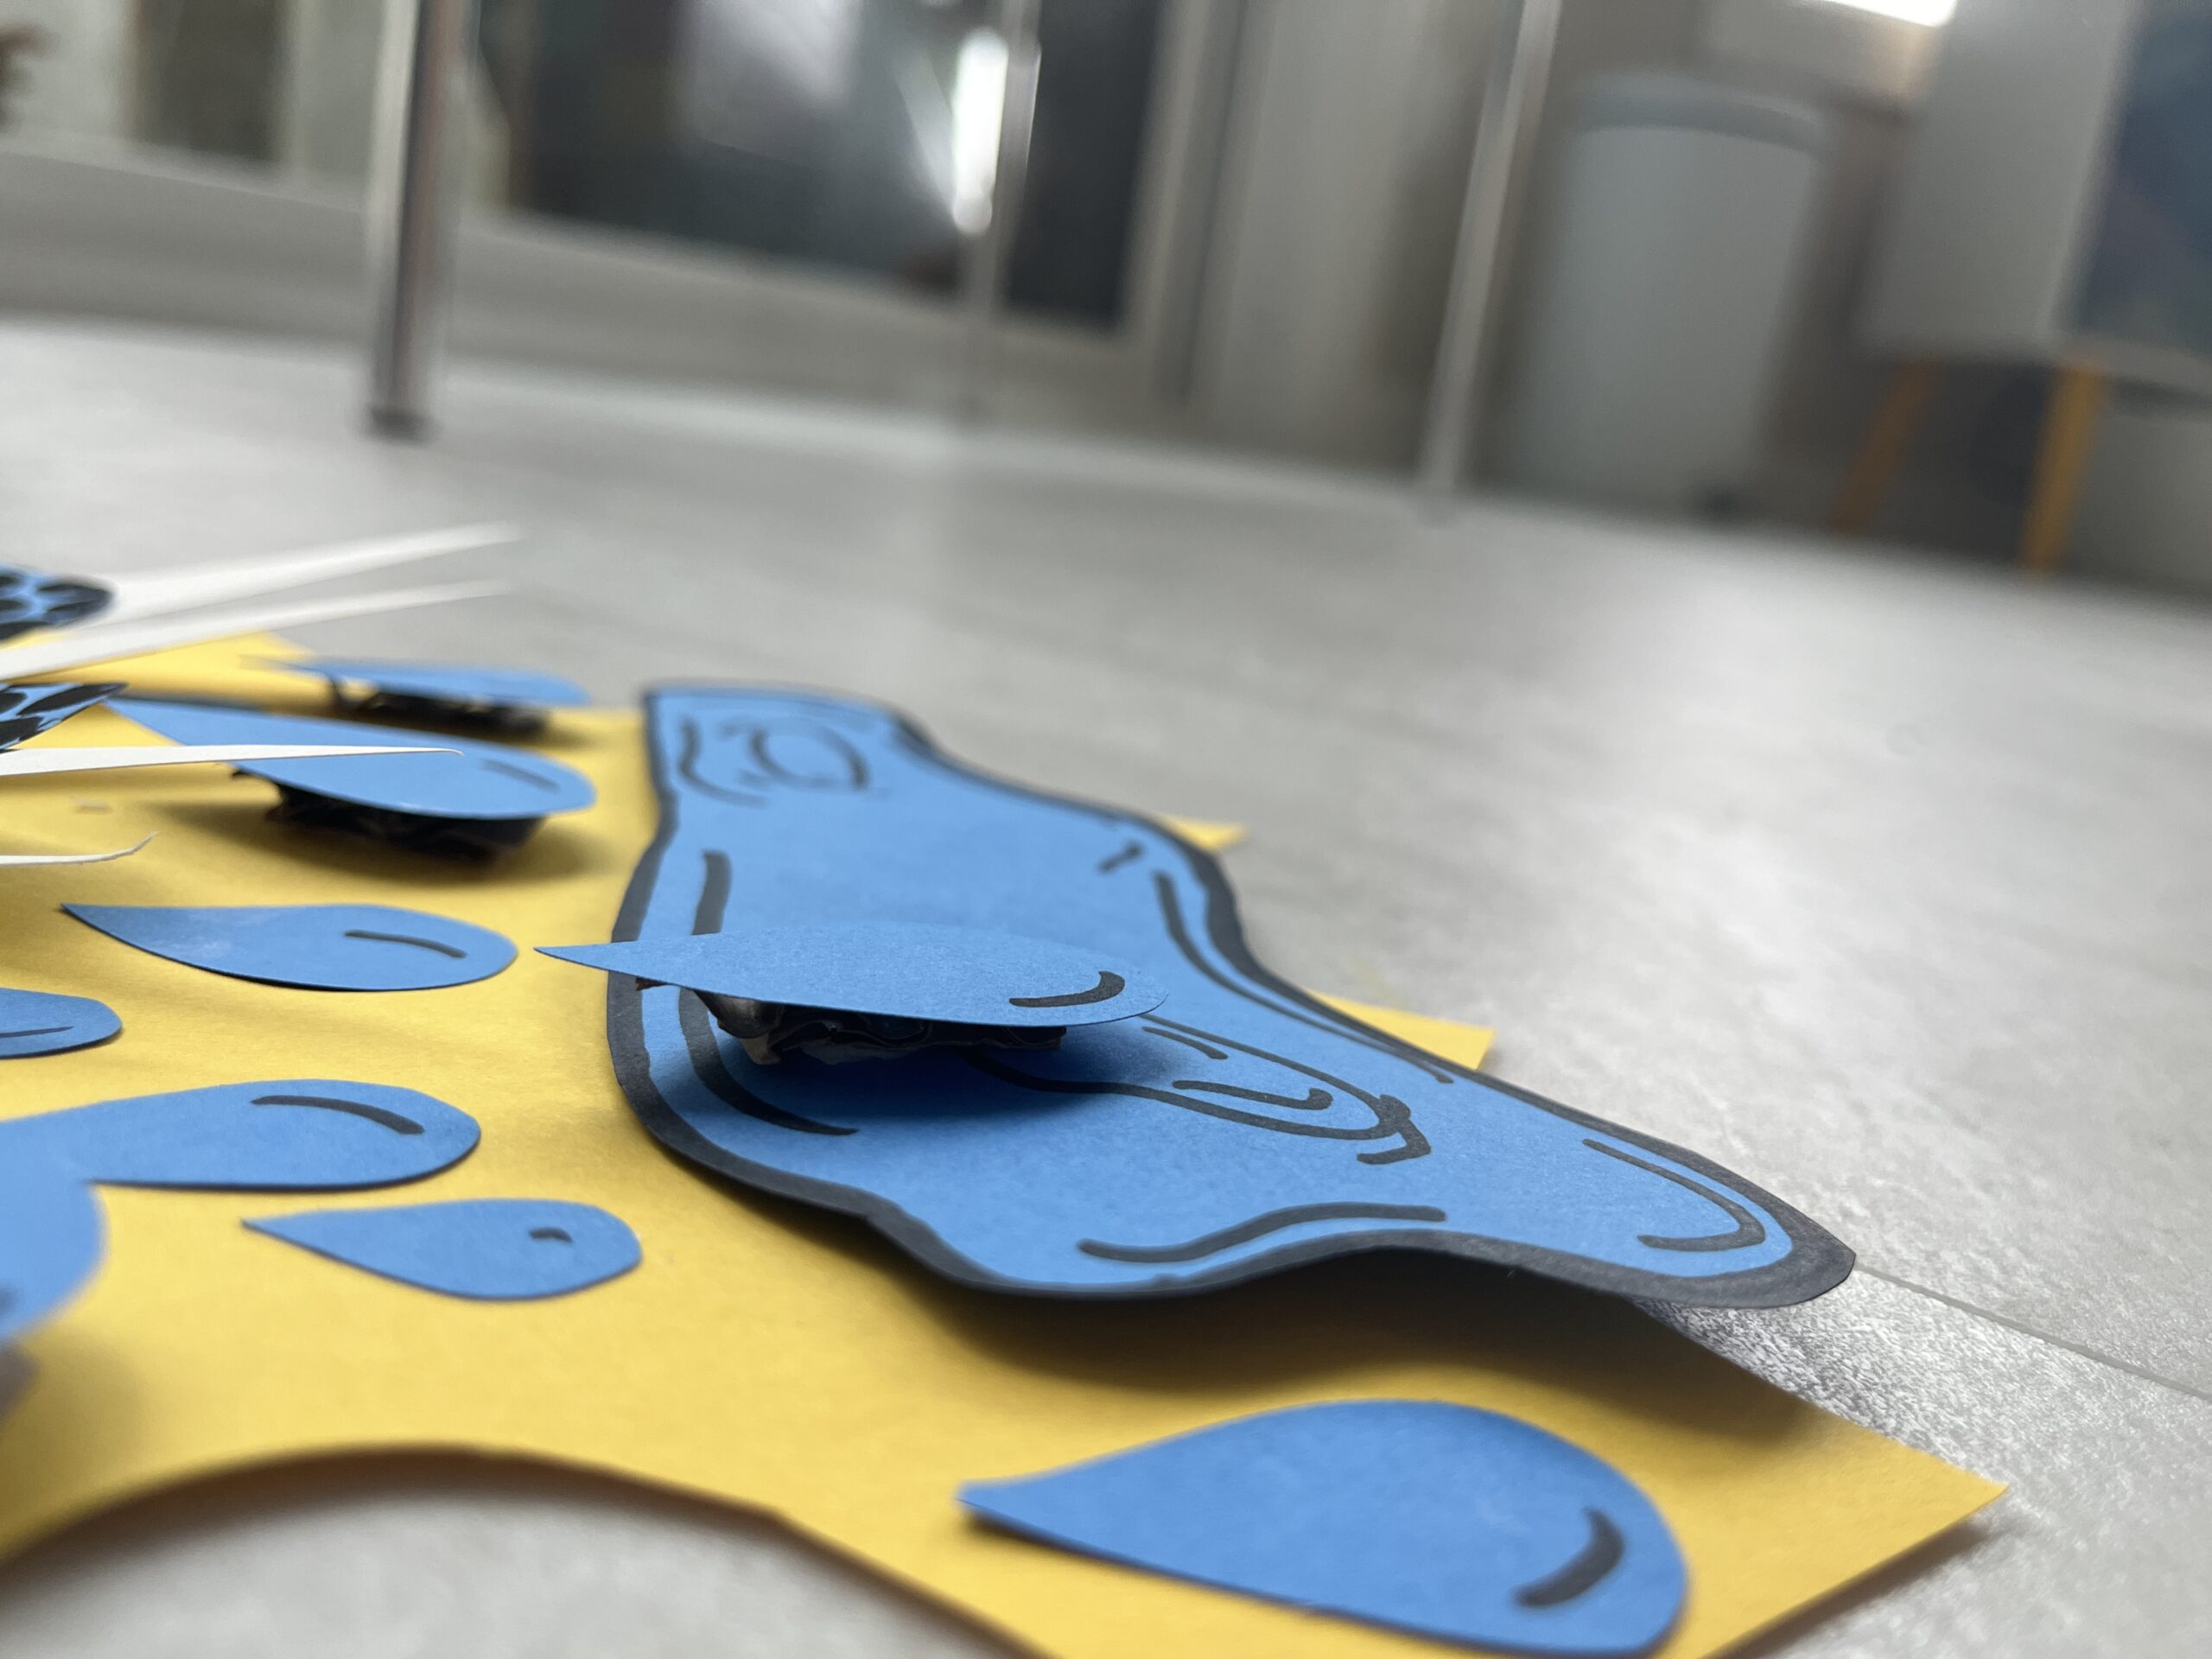
Step 7:
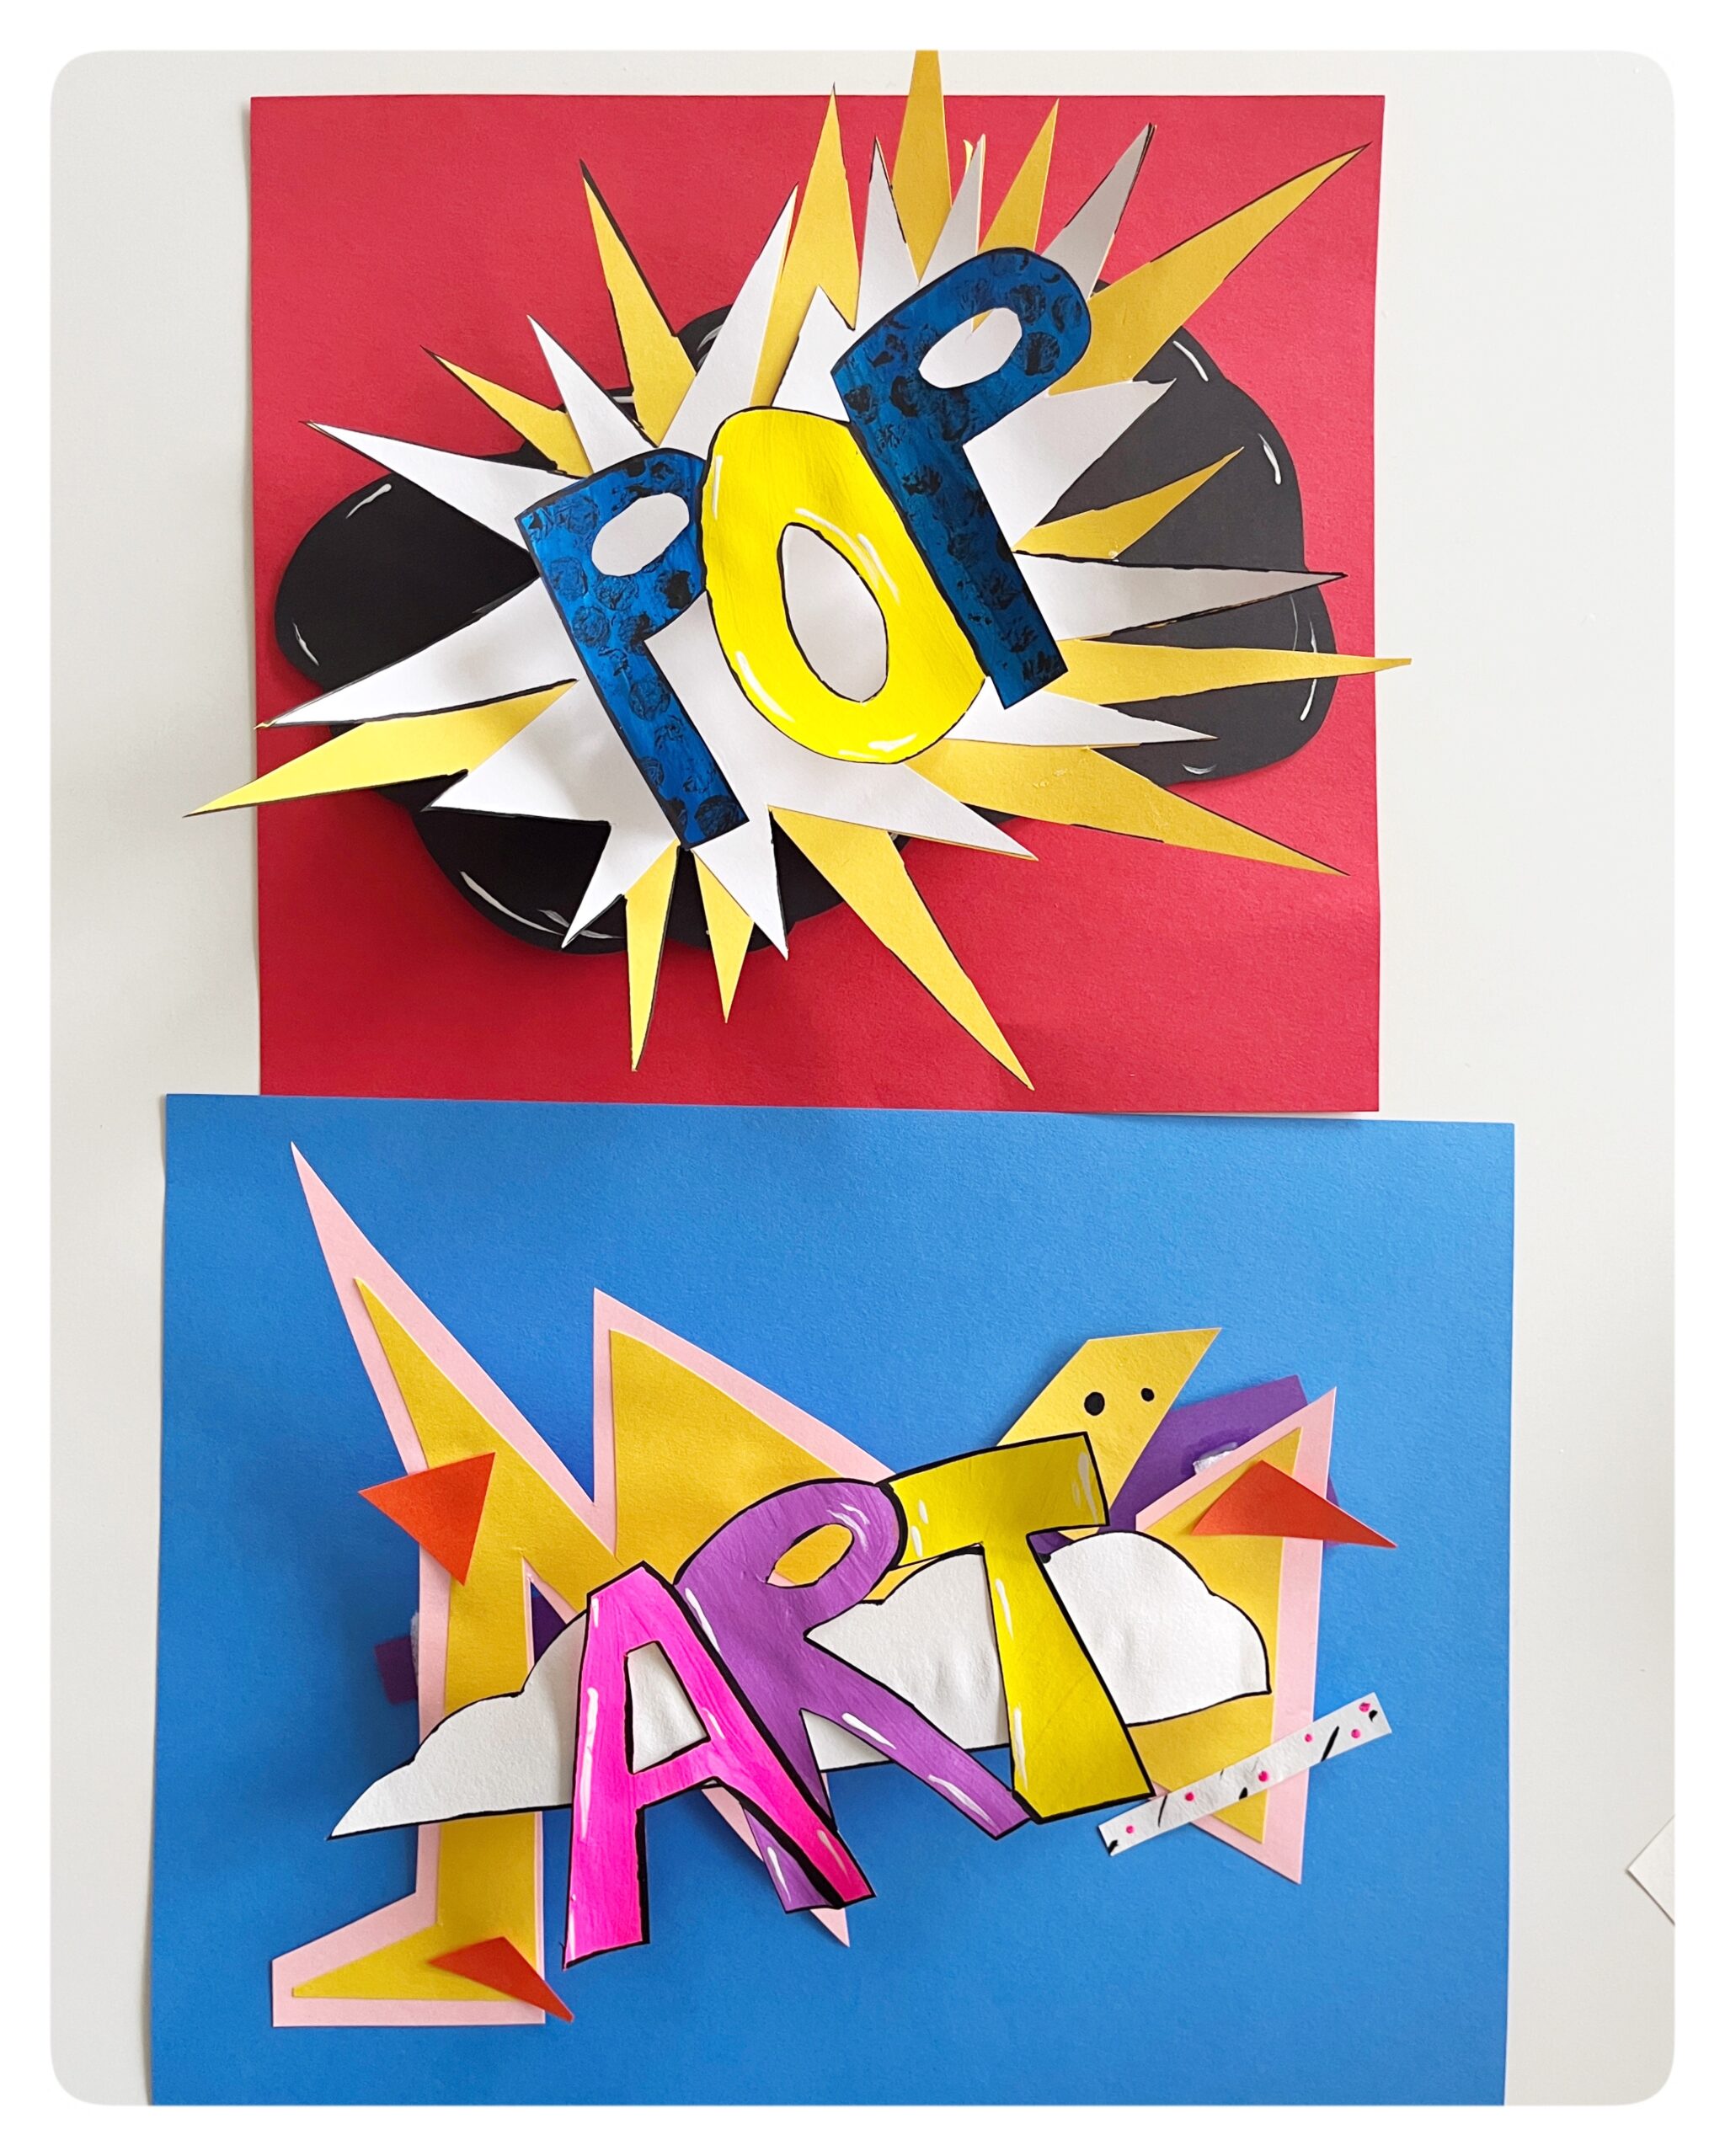
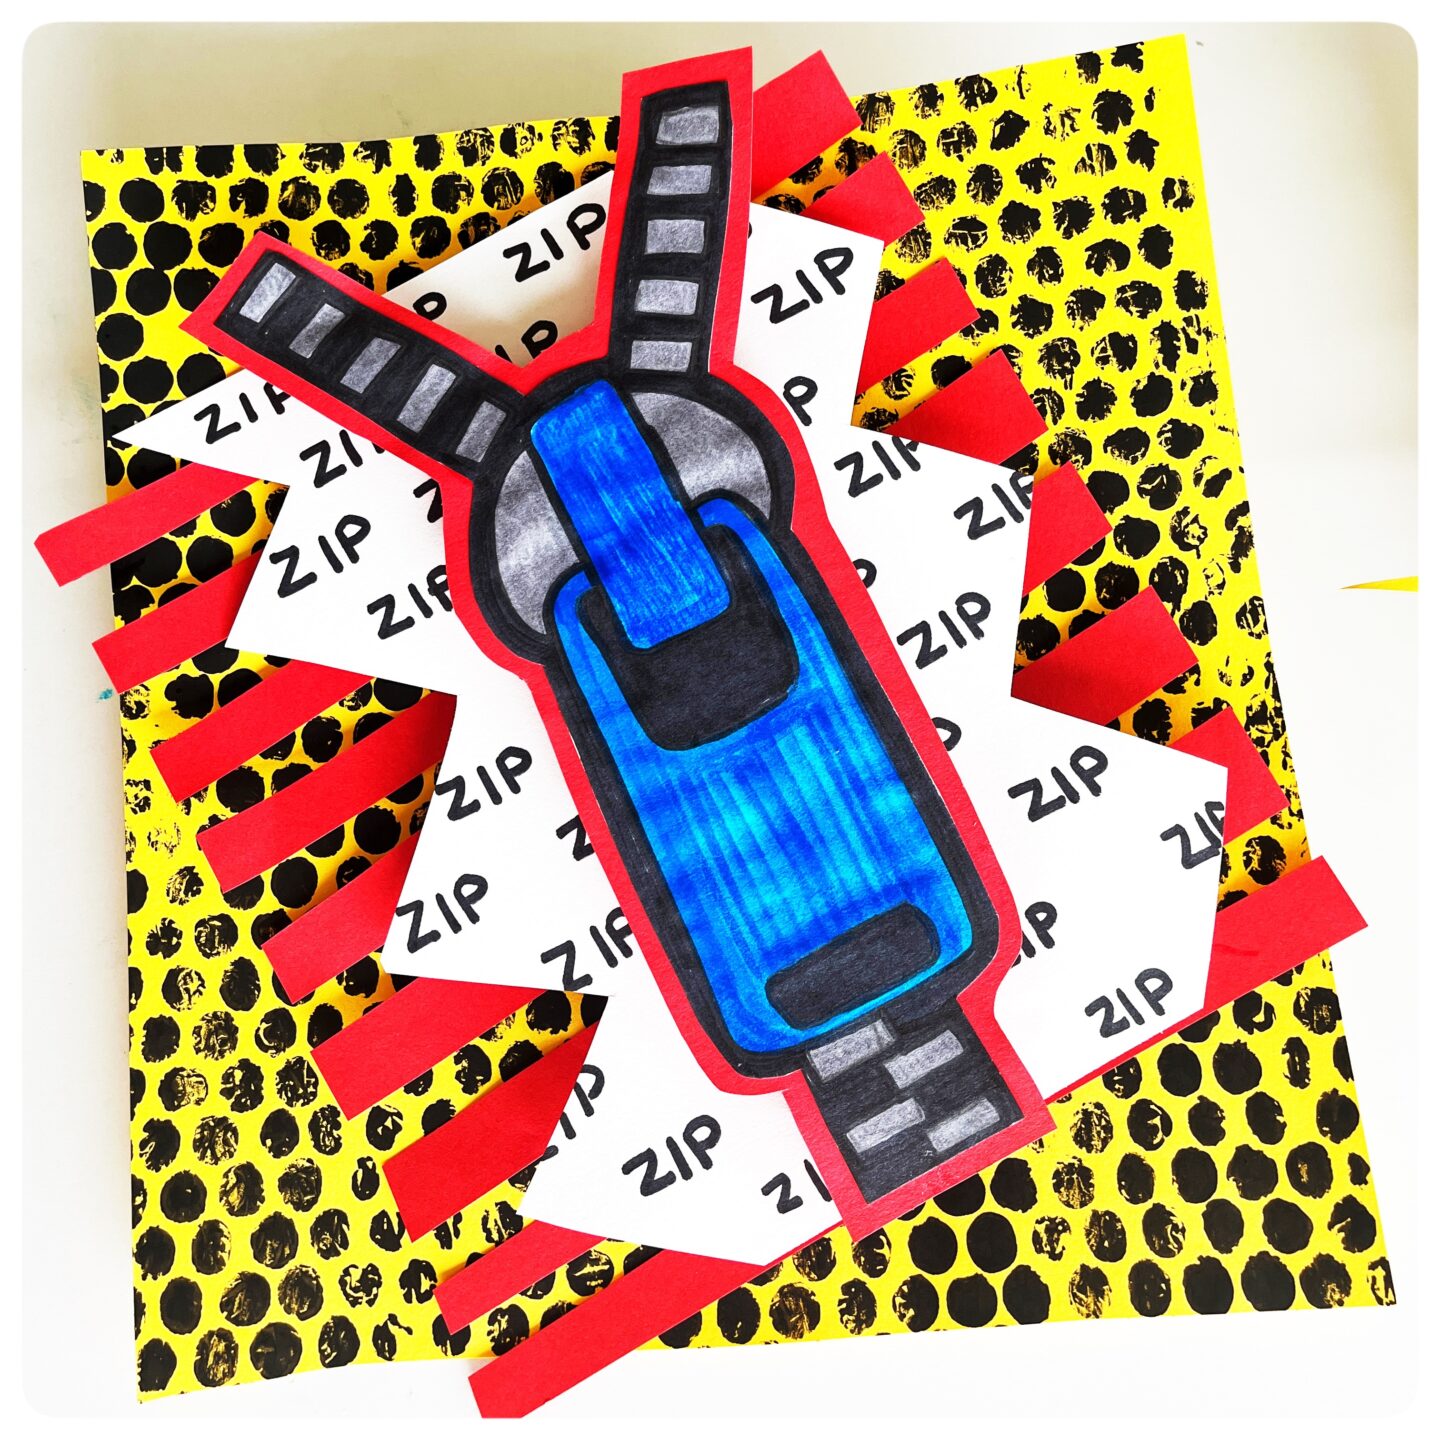
Continue to add layers to your design and you've just finished your very own Lichtenstein inspired Onomatopoeia comic art.
Check out our video tutorial
Share your Projects:
Check out more of our Art ideas here and don't forget to tag us on social when you try these out #how2playtoday
Check out our Instagram page and stories for more ideas of How 2 Play Today with your children.
Sensory Table:
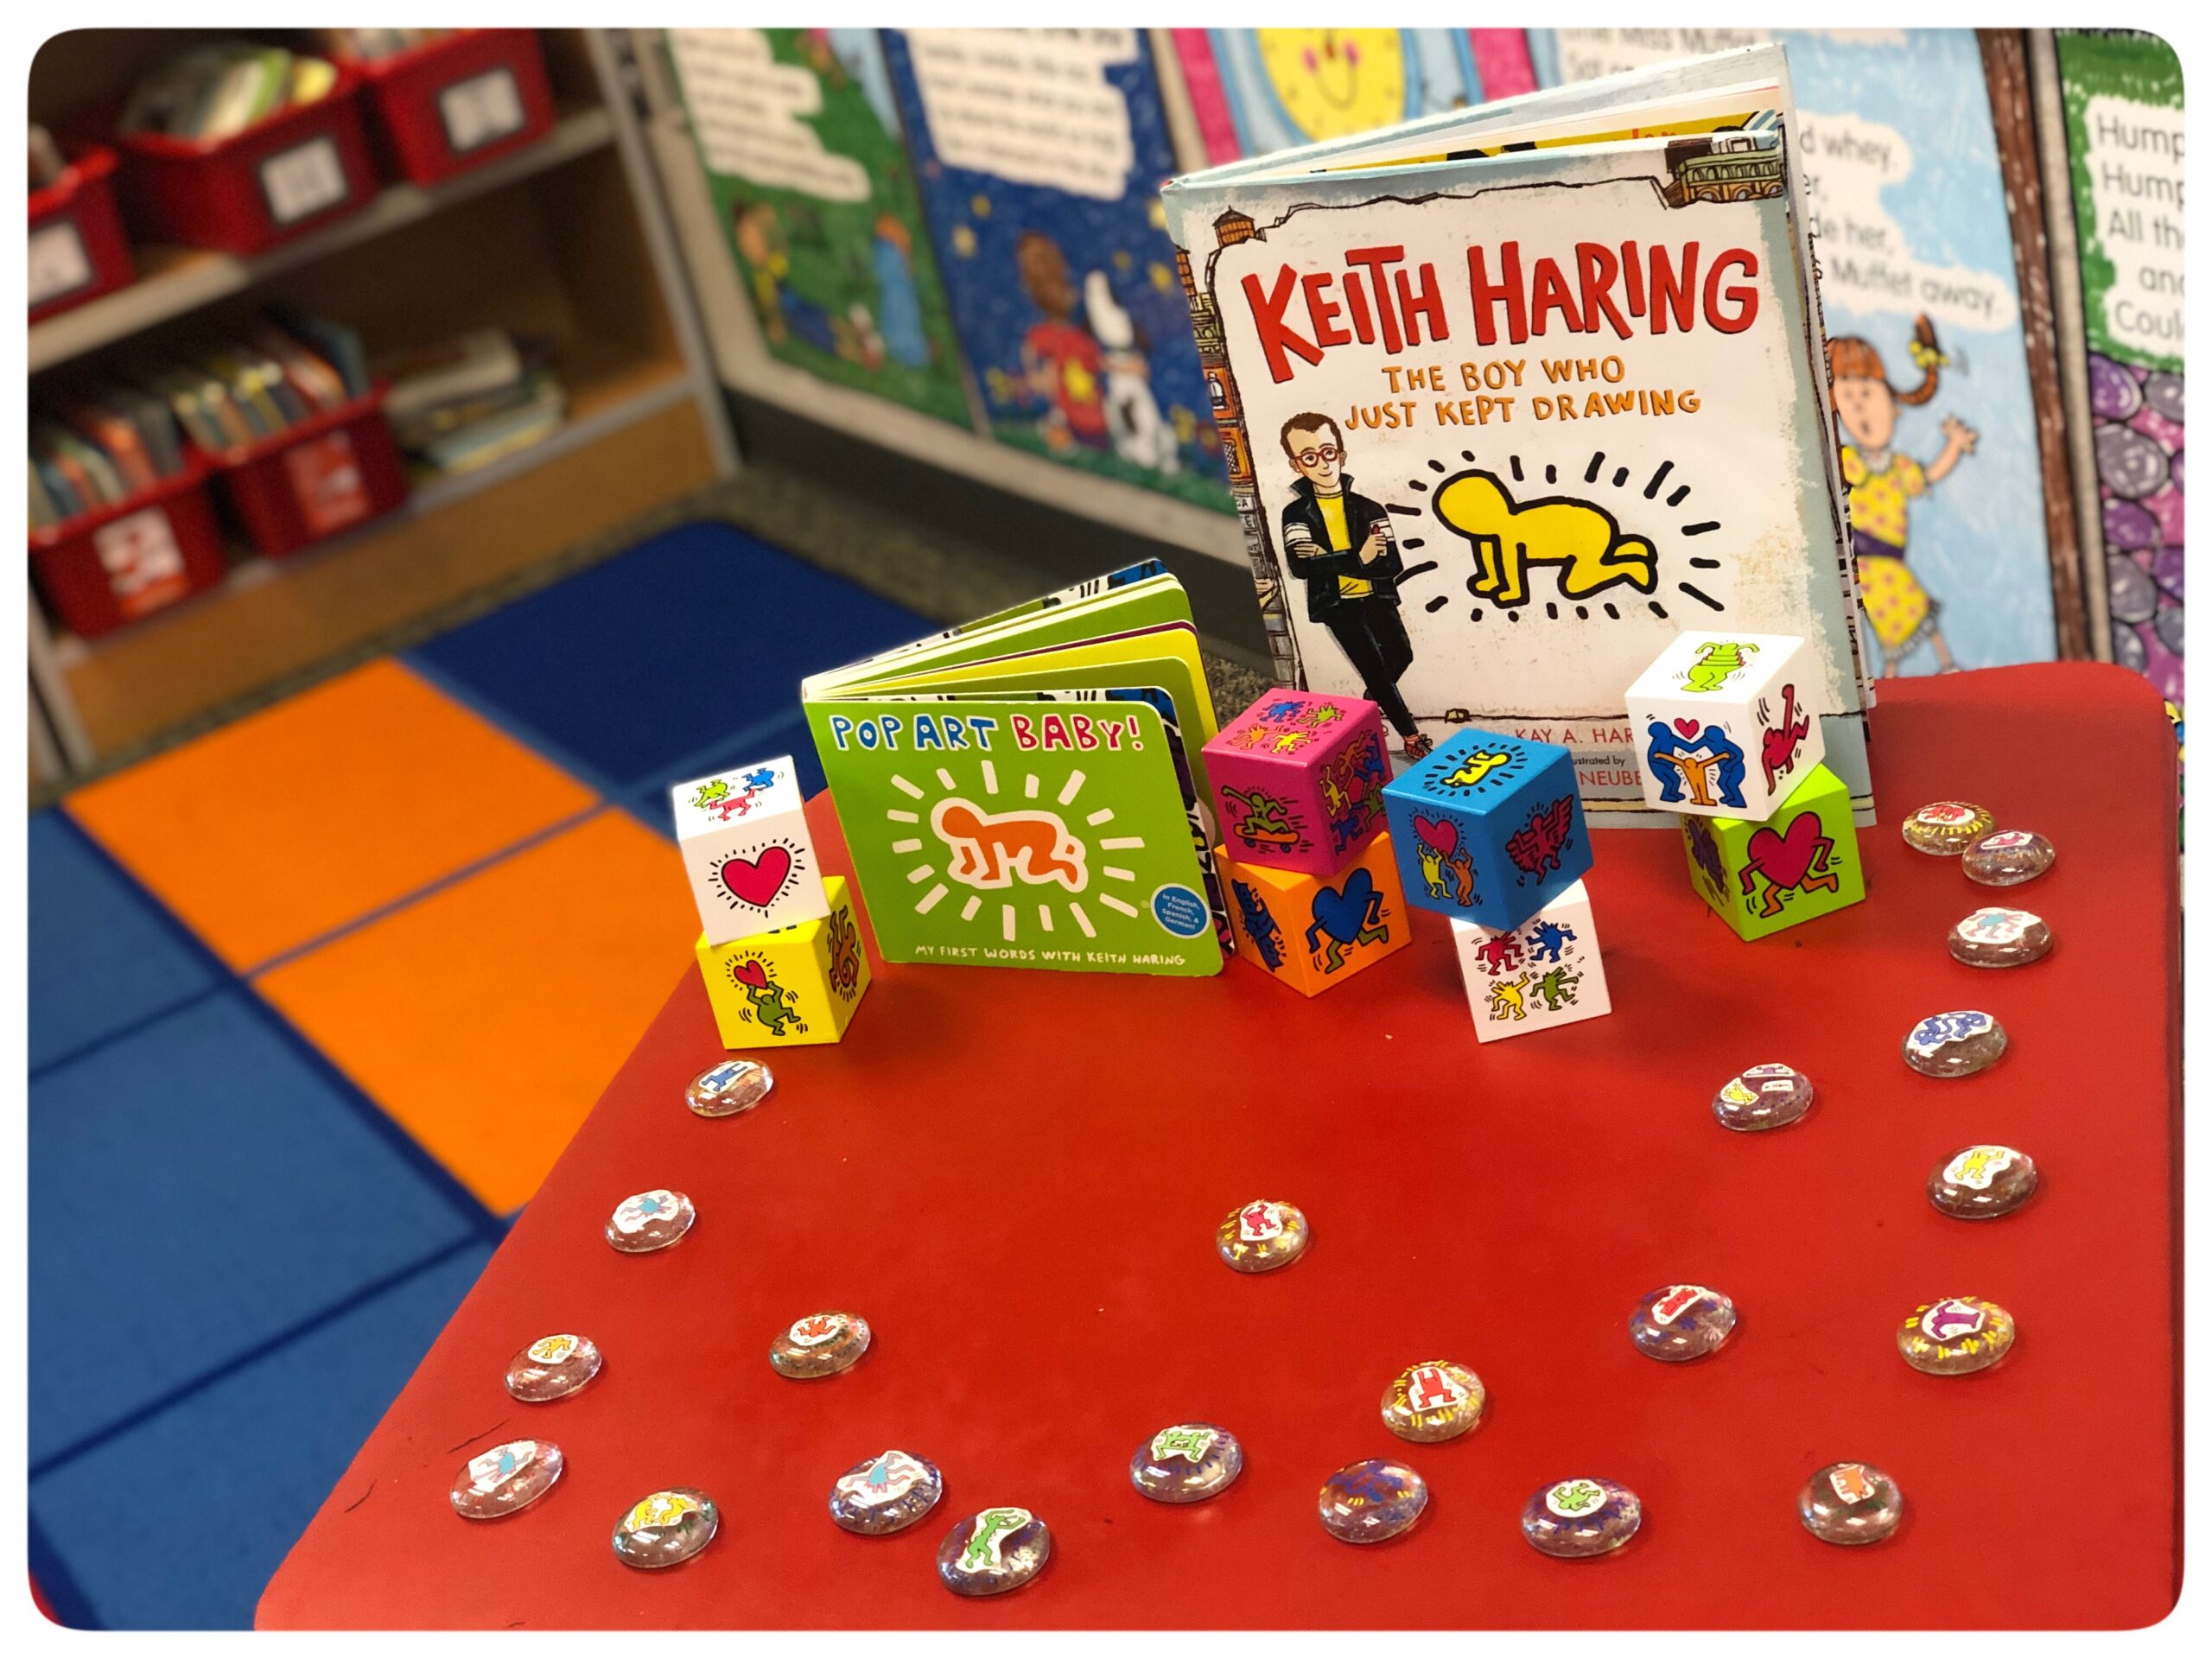
I'm a huge advocate for sensory play even at the elementary school level. This is an example of the table we set this table up in the back for students to explore while studying Keith Haring. If they wanted to take a break, needed their art to draw or if they finished early, they can just go to the back of the room.
![]()
