Objective:
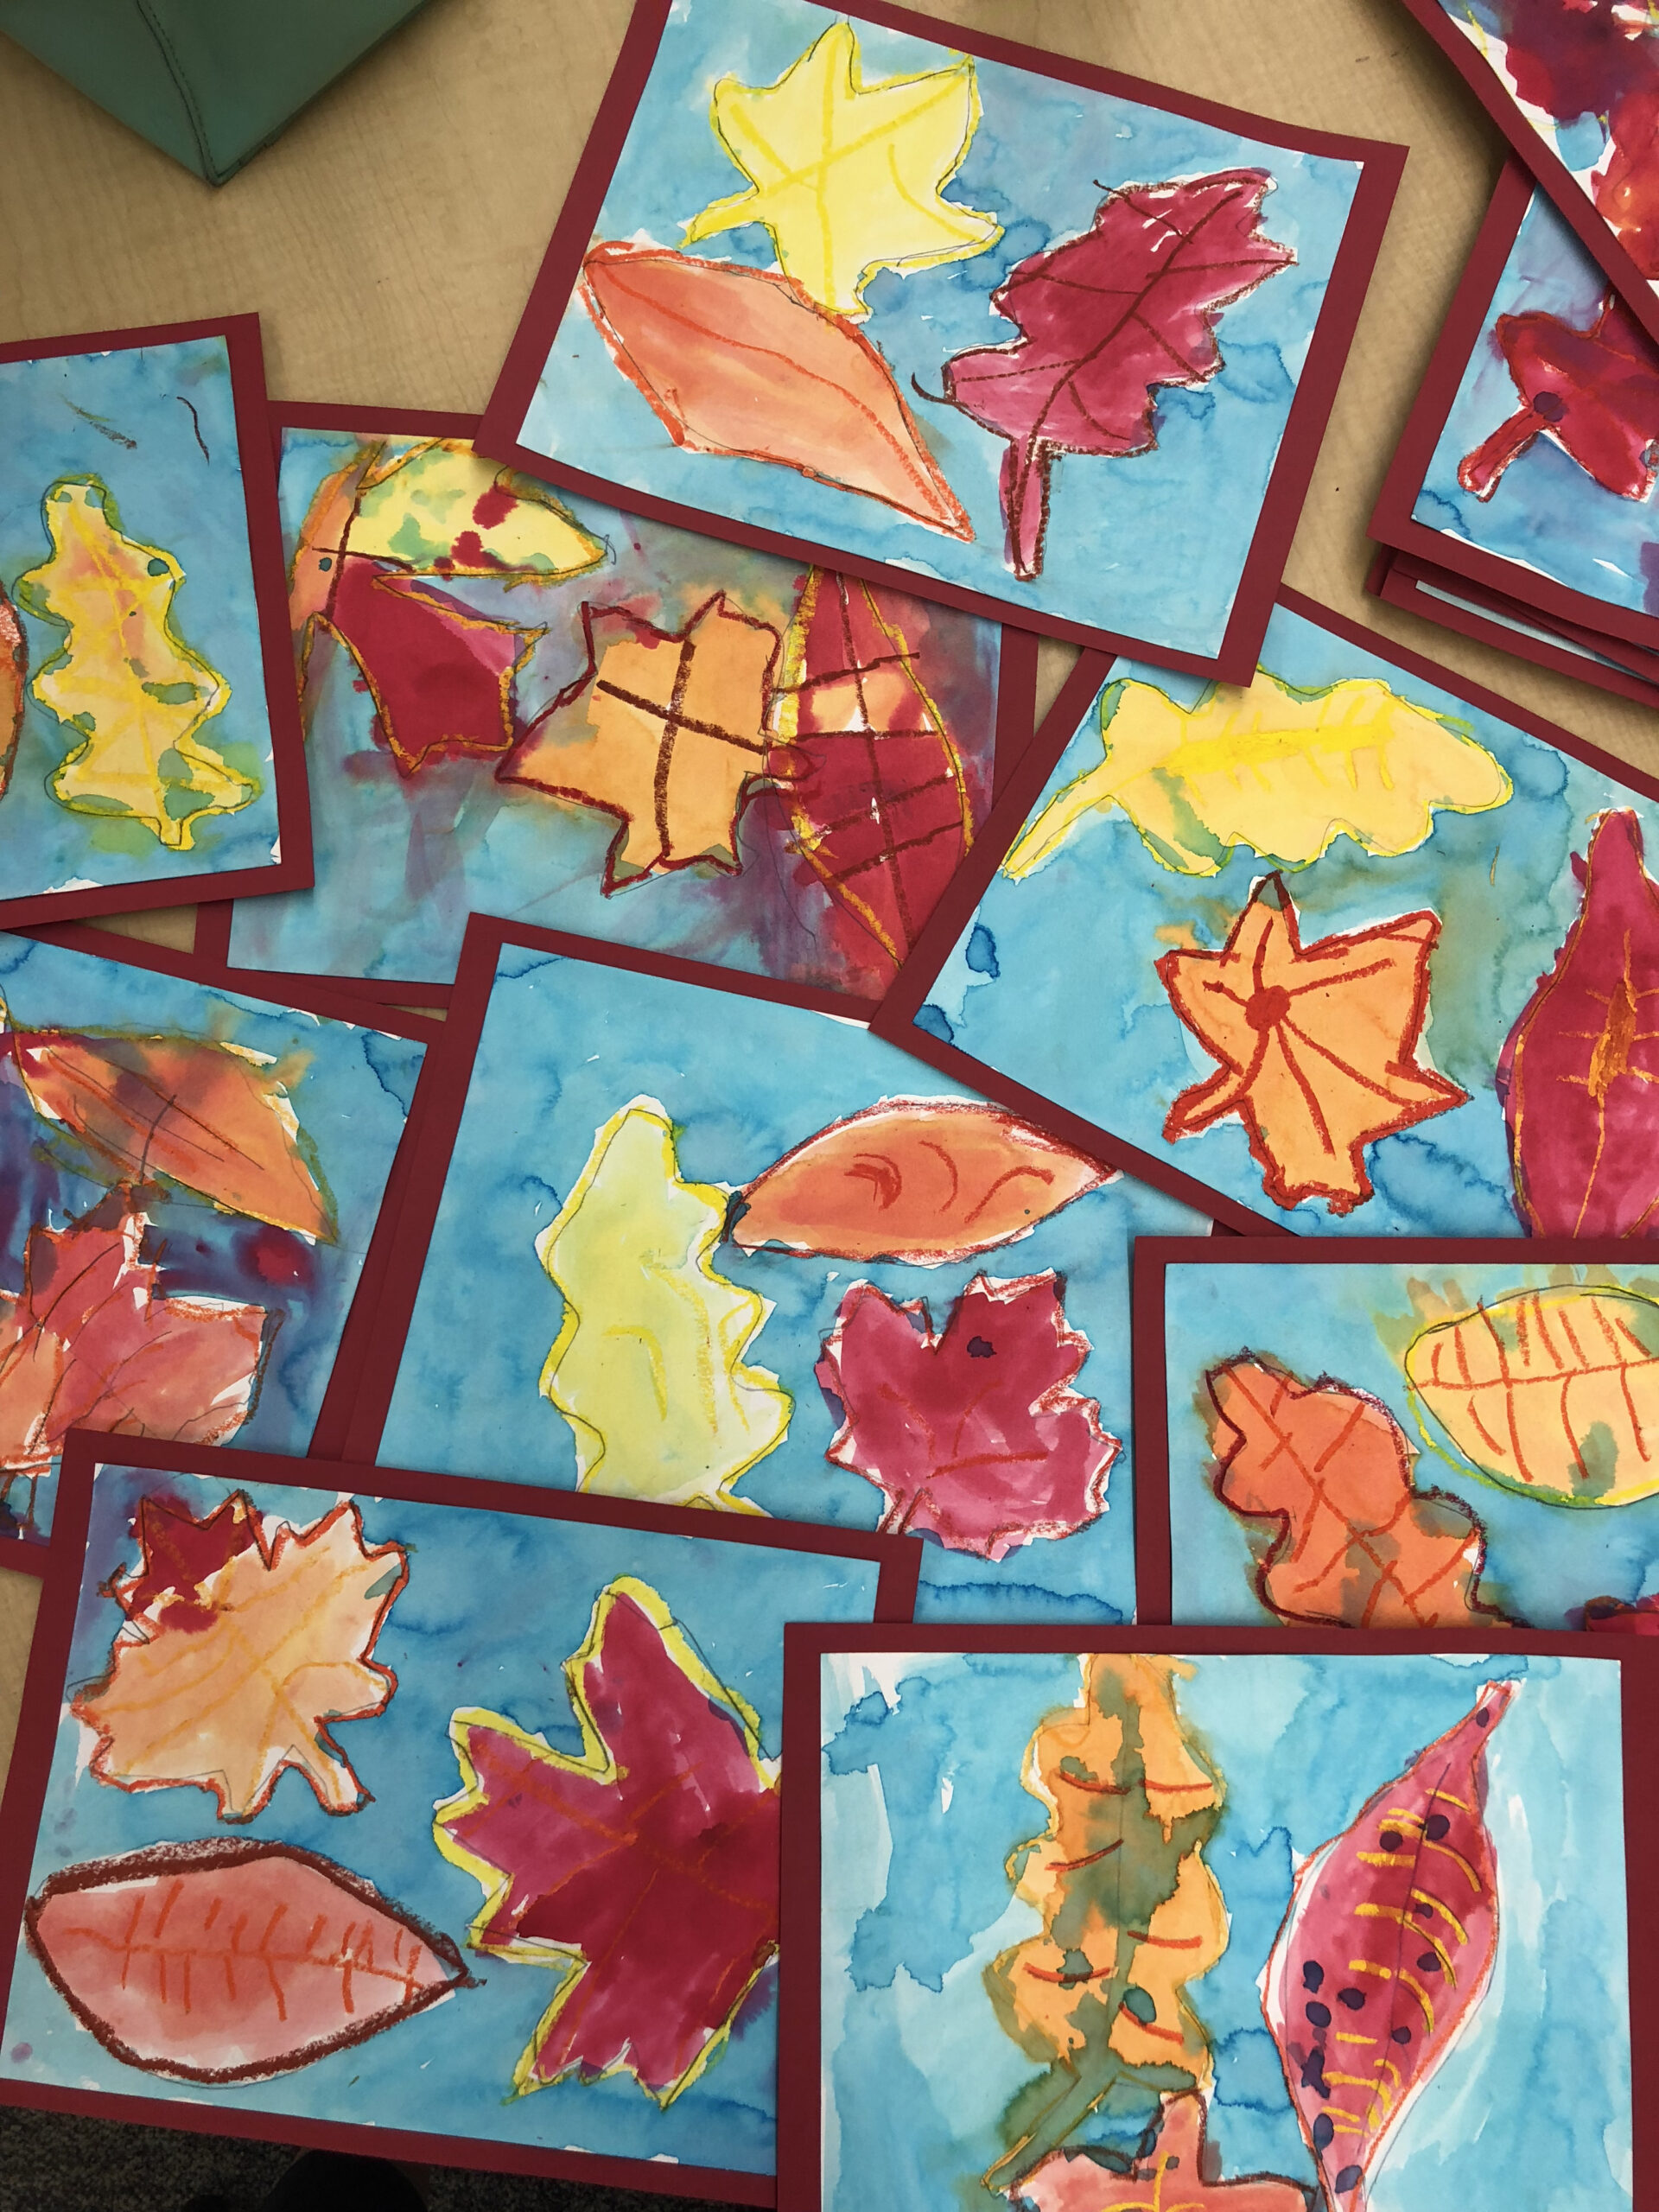
Creating ways to explore Autumn while learning about Parts of a Leaf & Warm Colors.
Skill Development: Art Education
Minimum Age: Elementary
Messiness: Medium
![]()
Materials
- White Mixed Media paper- cut the 9x12 down to 8x11
- Construction Paper
- Oil Pastels: Red, Orange, Yellow
- Watercolor: Red, Orange, Yellow, Blue
- Large Paint Brush
- Something to protect your table like an Art Tray or Newspaper
- Water to rinse your paintbrush
Books to Read
- There Was an Old Woman Who Swallowed Some Leaves.
*Reading enhancing the learning environment
Step 1:
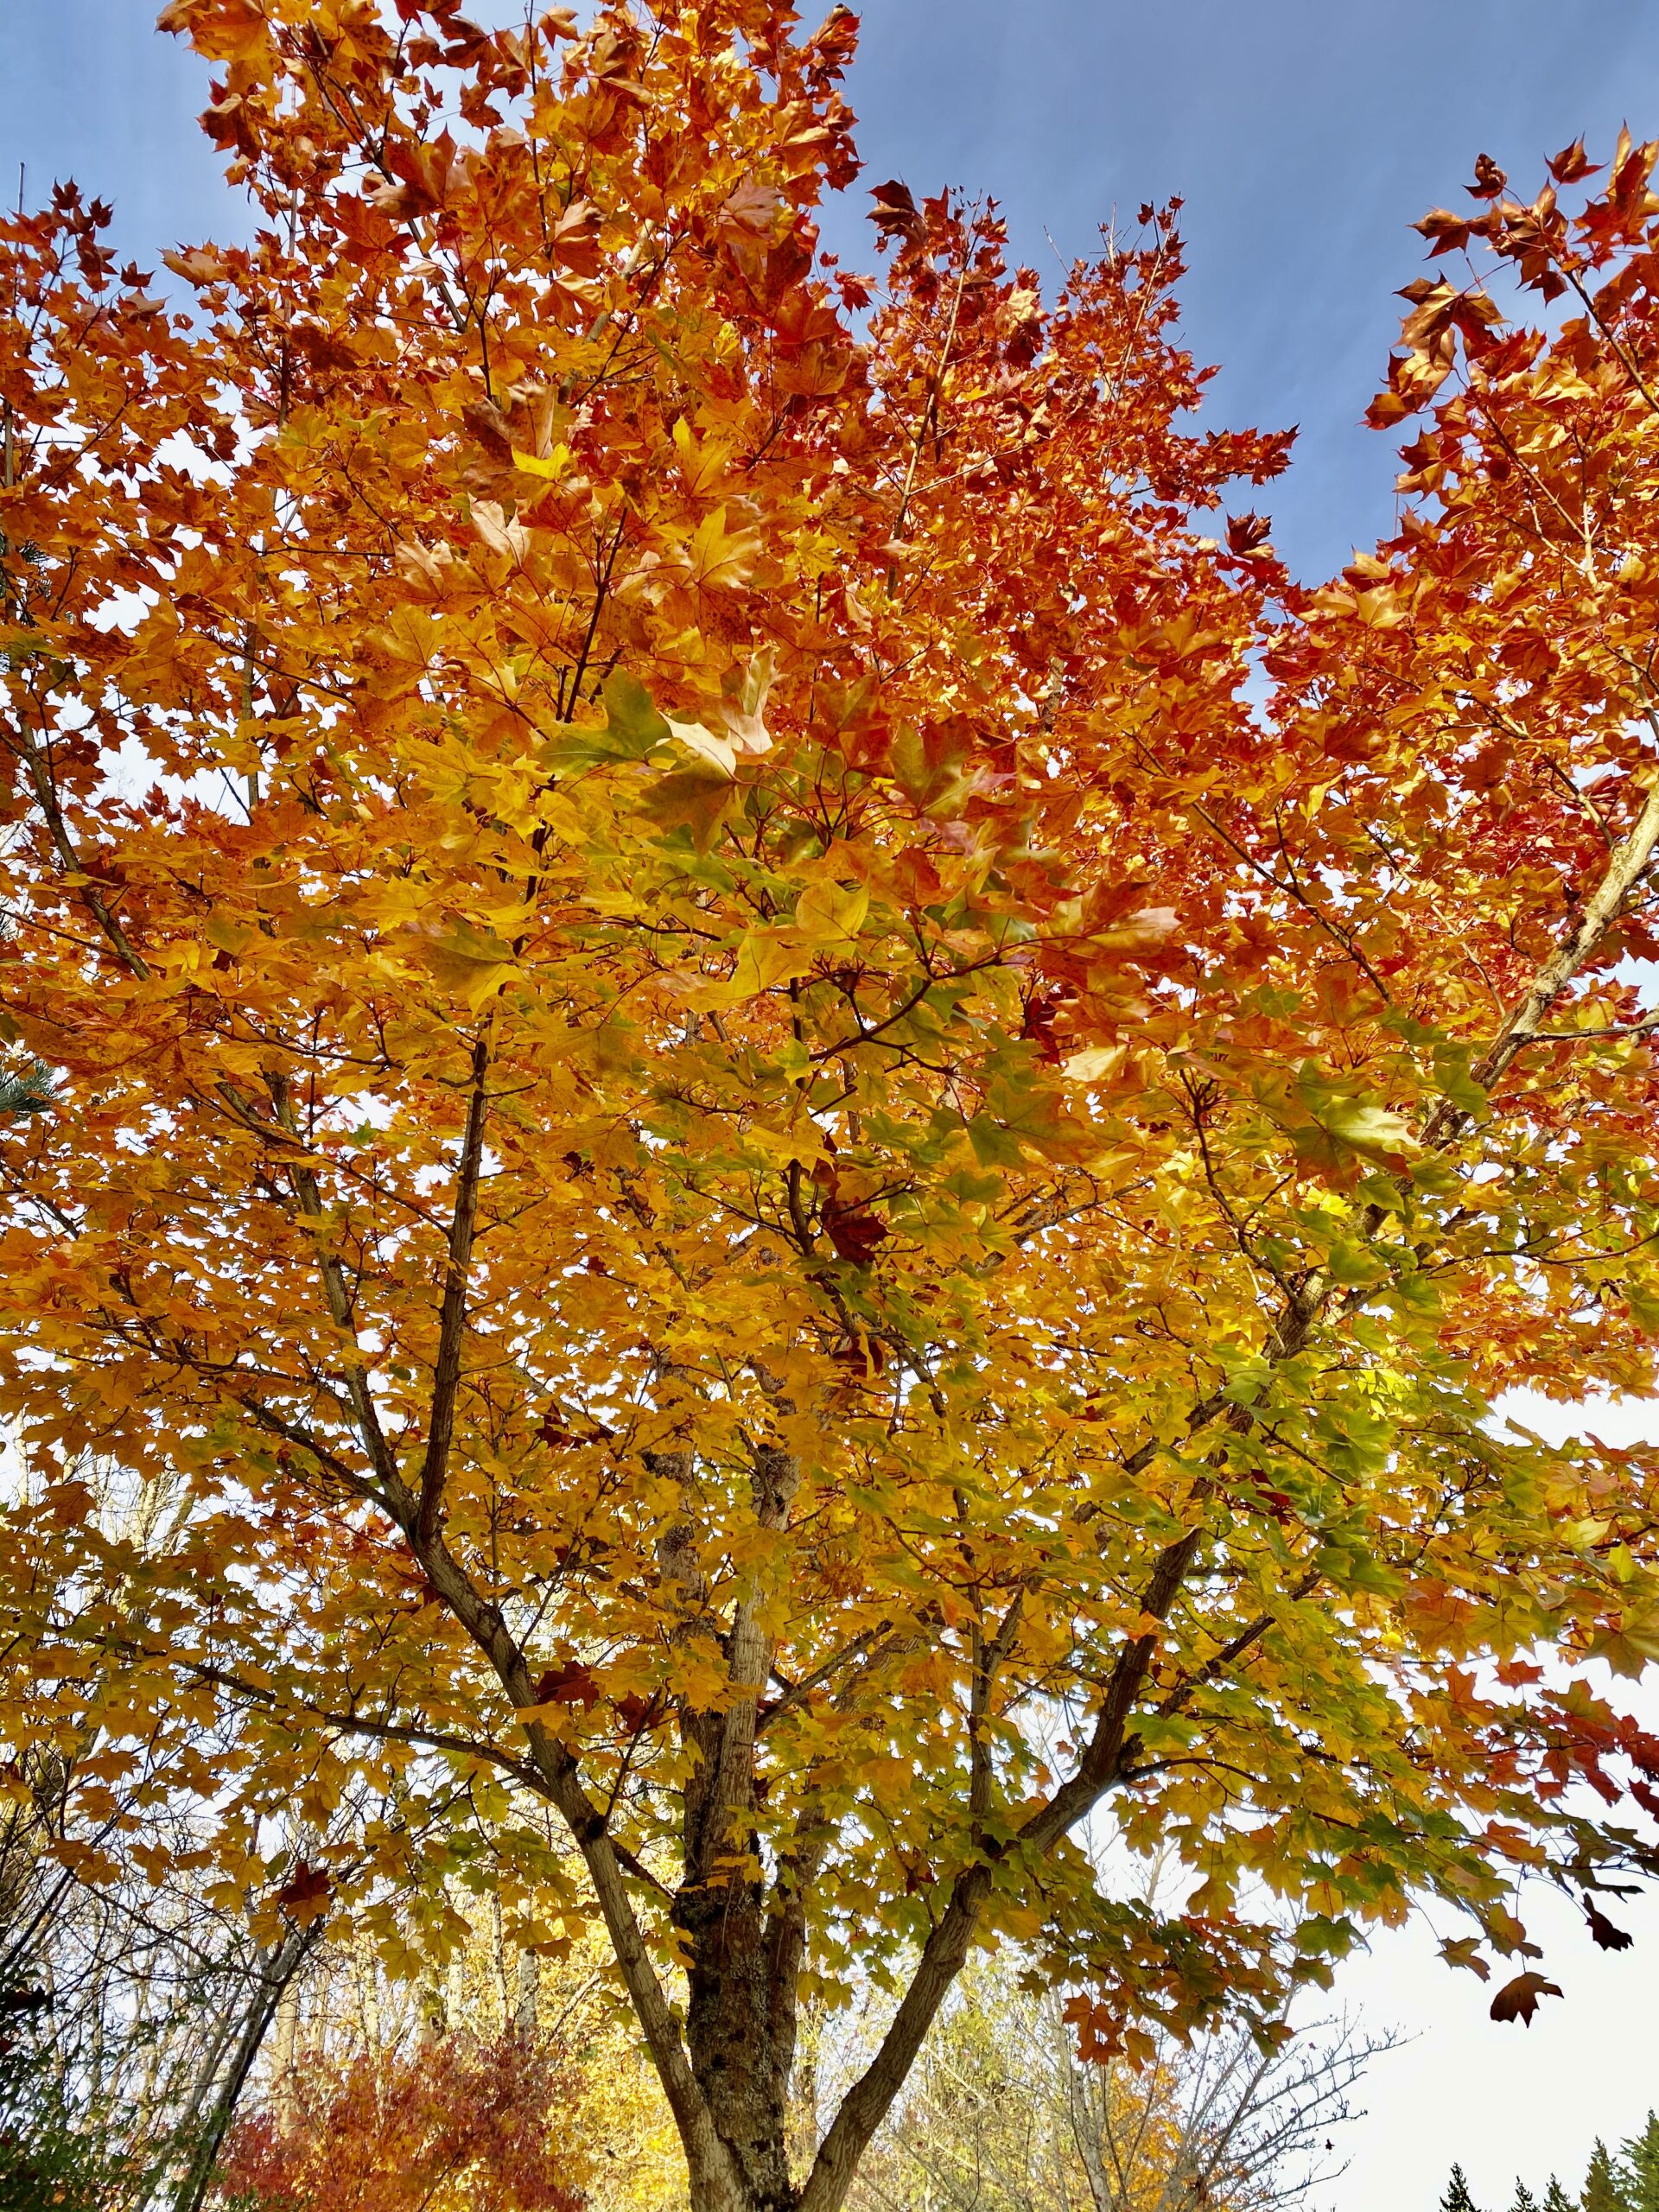
Close your eyes. Imagine you’re lying down outside in the brisk air with the sun shining down on you. Above you are beautiful Autumn trees with their warm colored leaves. Warm Colors are Red, Orange, and Yellow. Cool Colors are Green, Blue, and Purple.
Now, let’s create some Falling Leaves.
There are many different shapes of leaves. You could even go outside and pick up some that have fallen as inspiration.
Step 2:
How many leaves do you want on your paper? For our example, we will be drawing 3 leaves, but your creation is as unique as you are, so you get to choose.
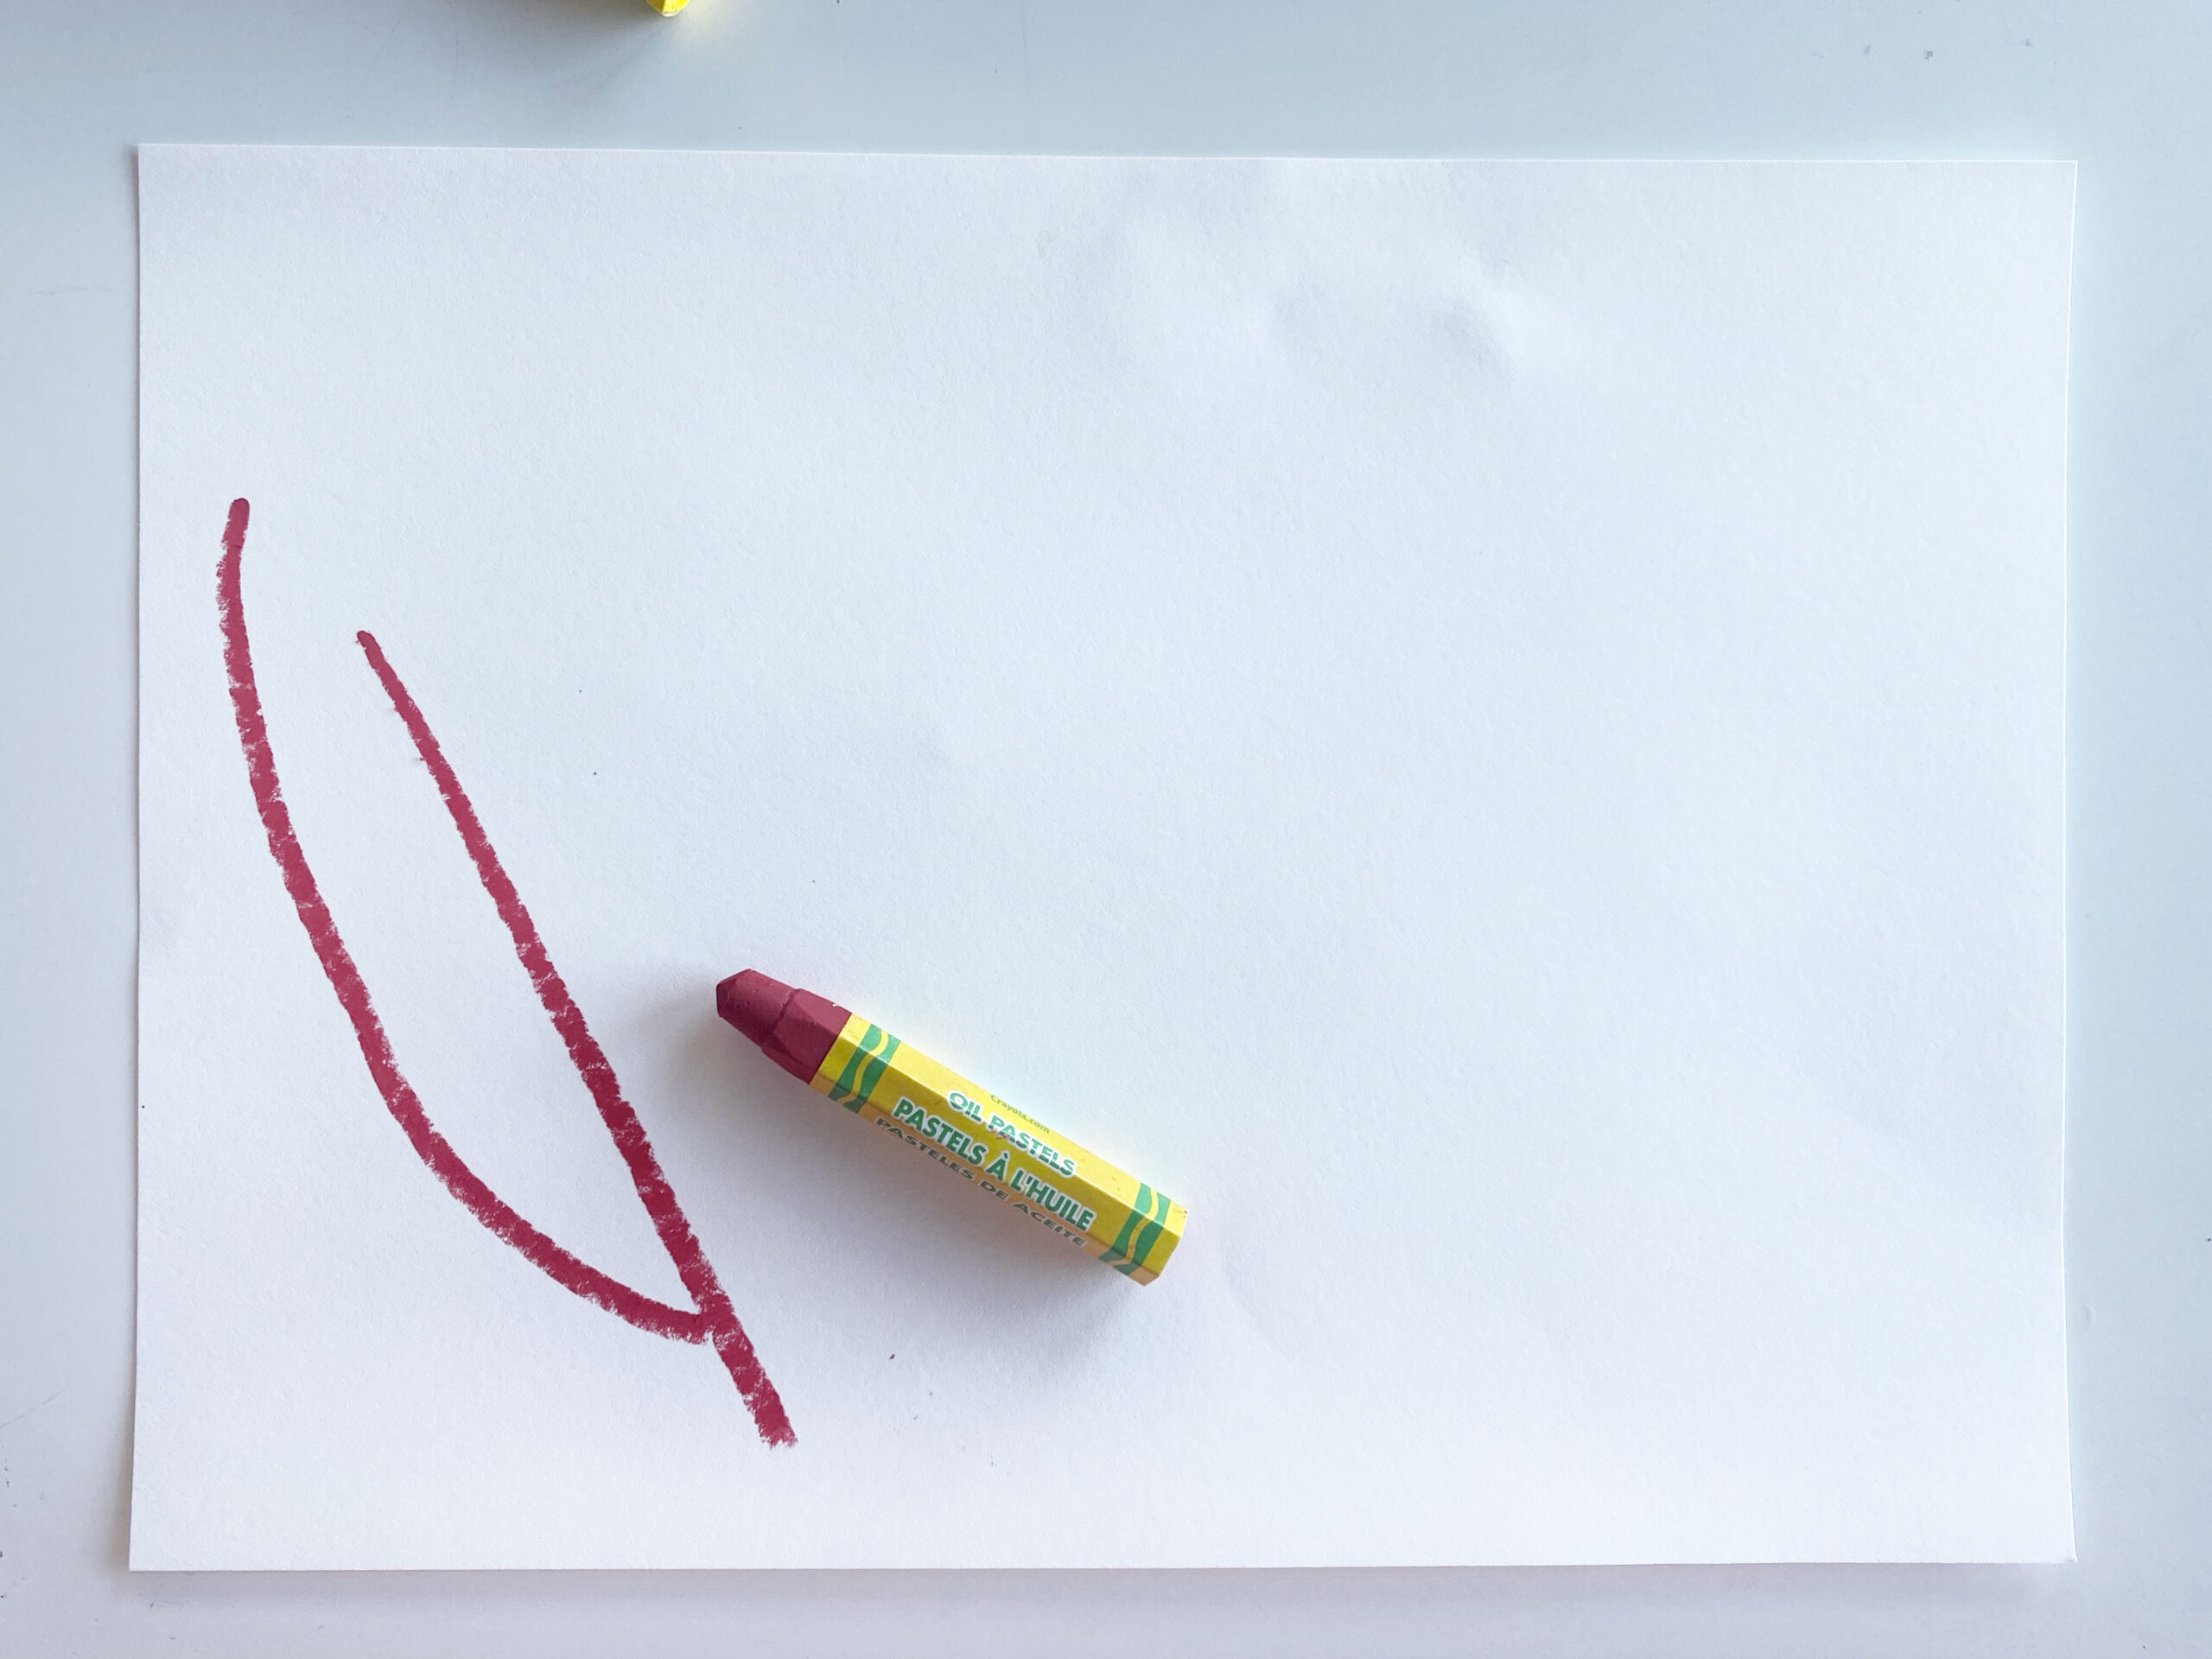
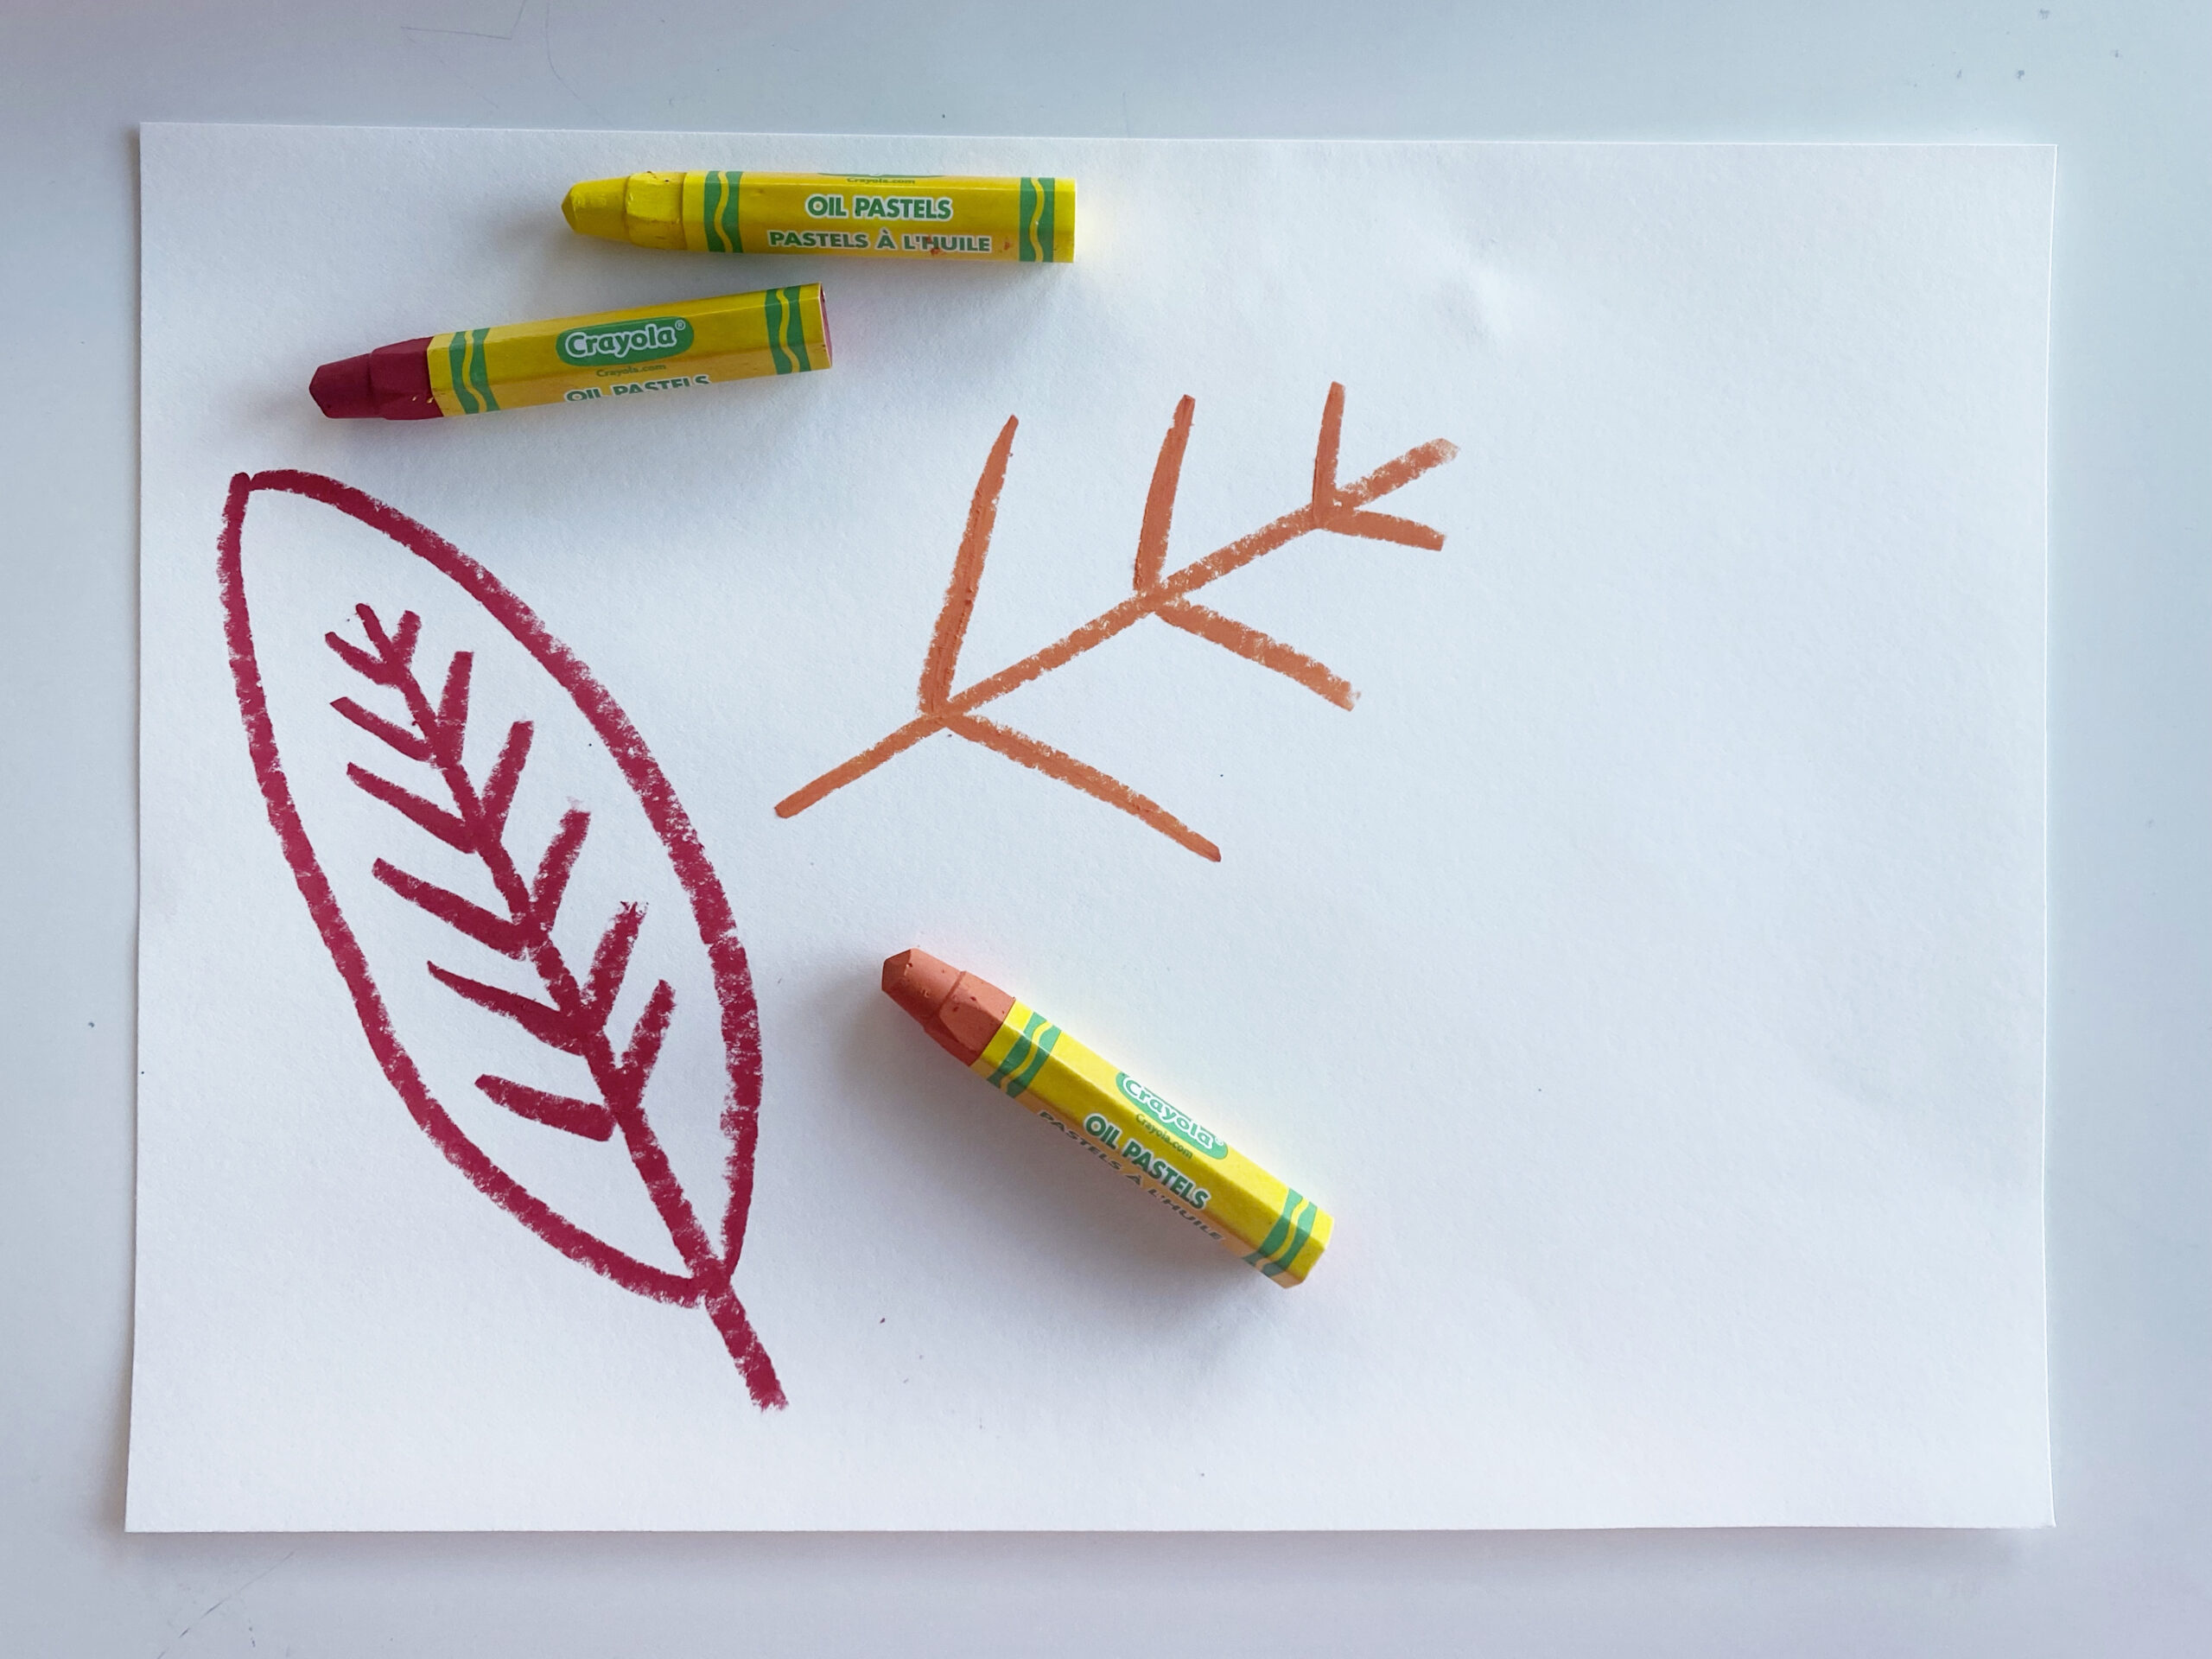
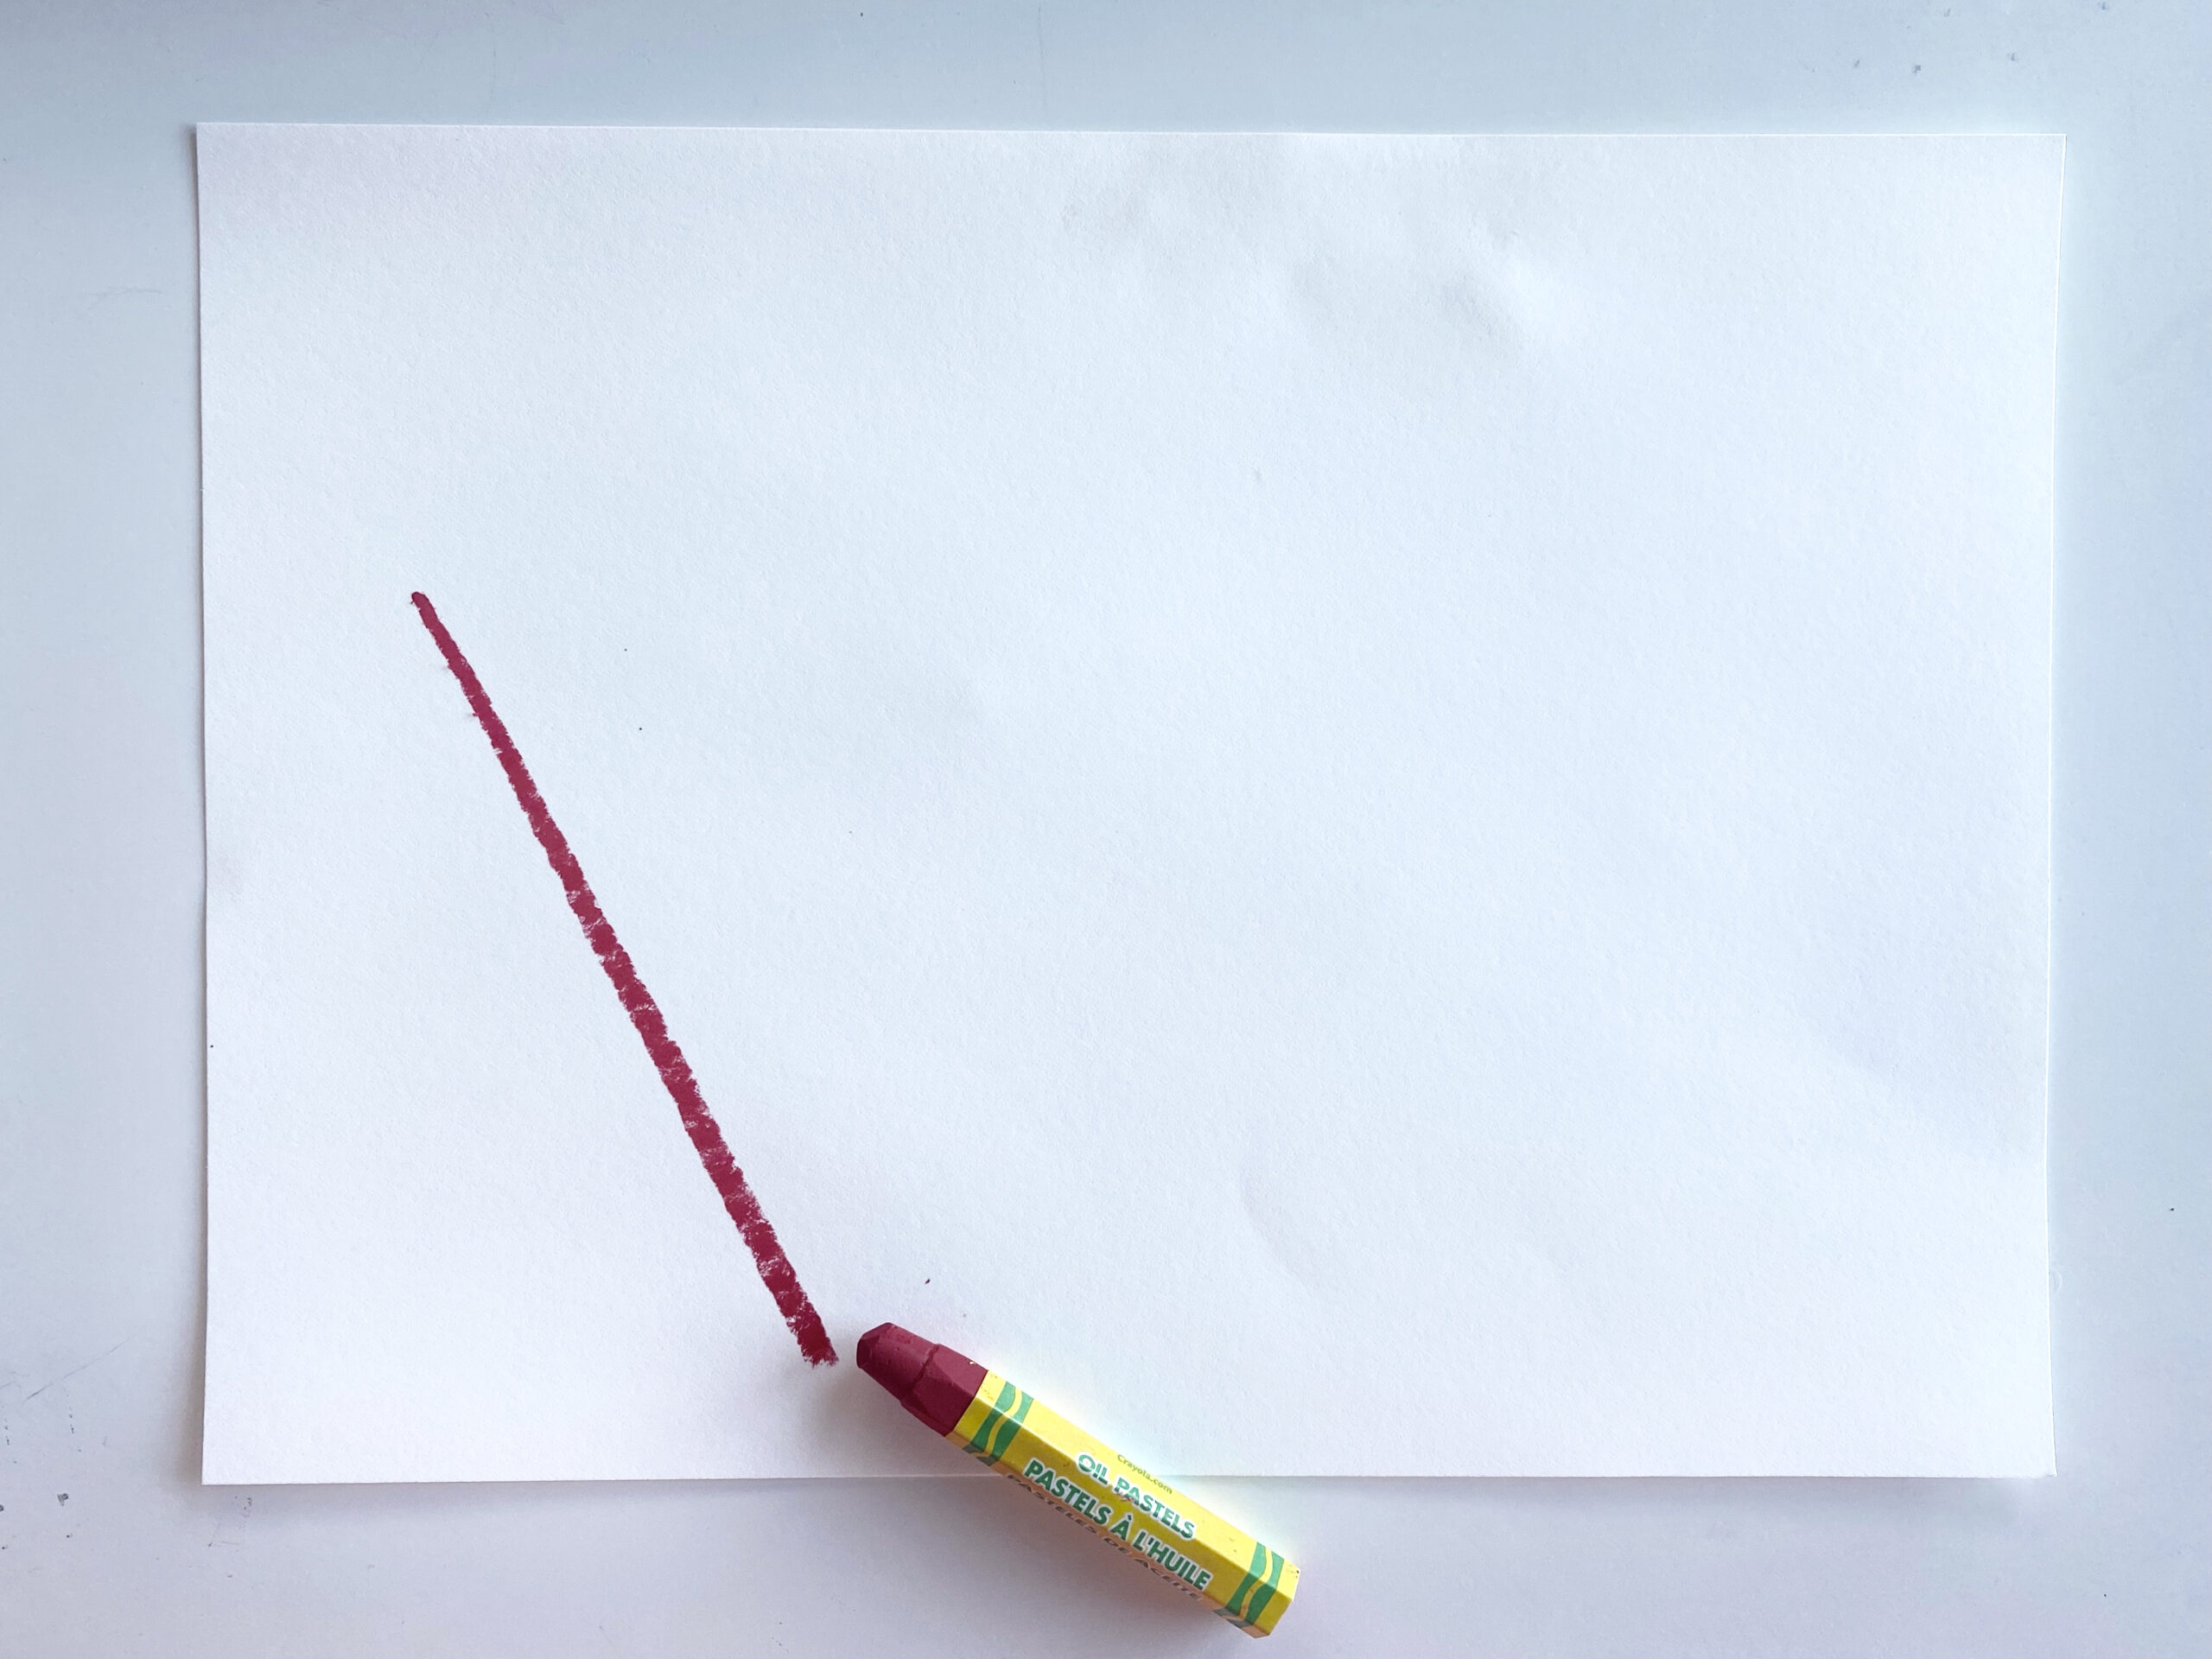
Using one of your oil pastels, start by drawing a line. If you prefer to start by using a pencil, remember to draw softly.
Step 3: Drawing a Willow Leaf
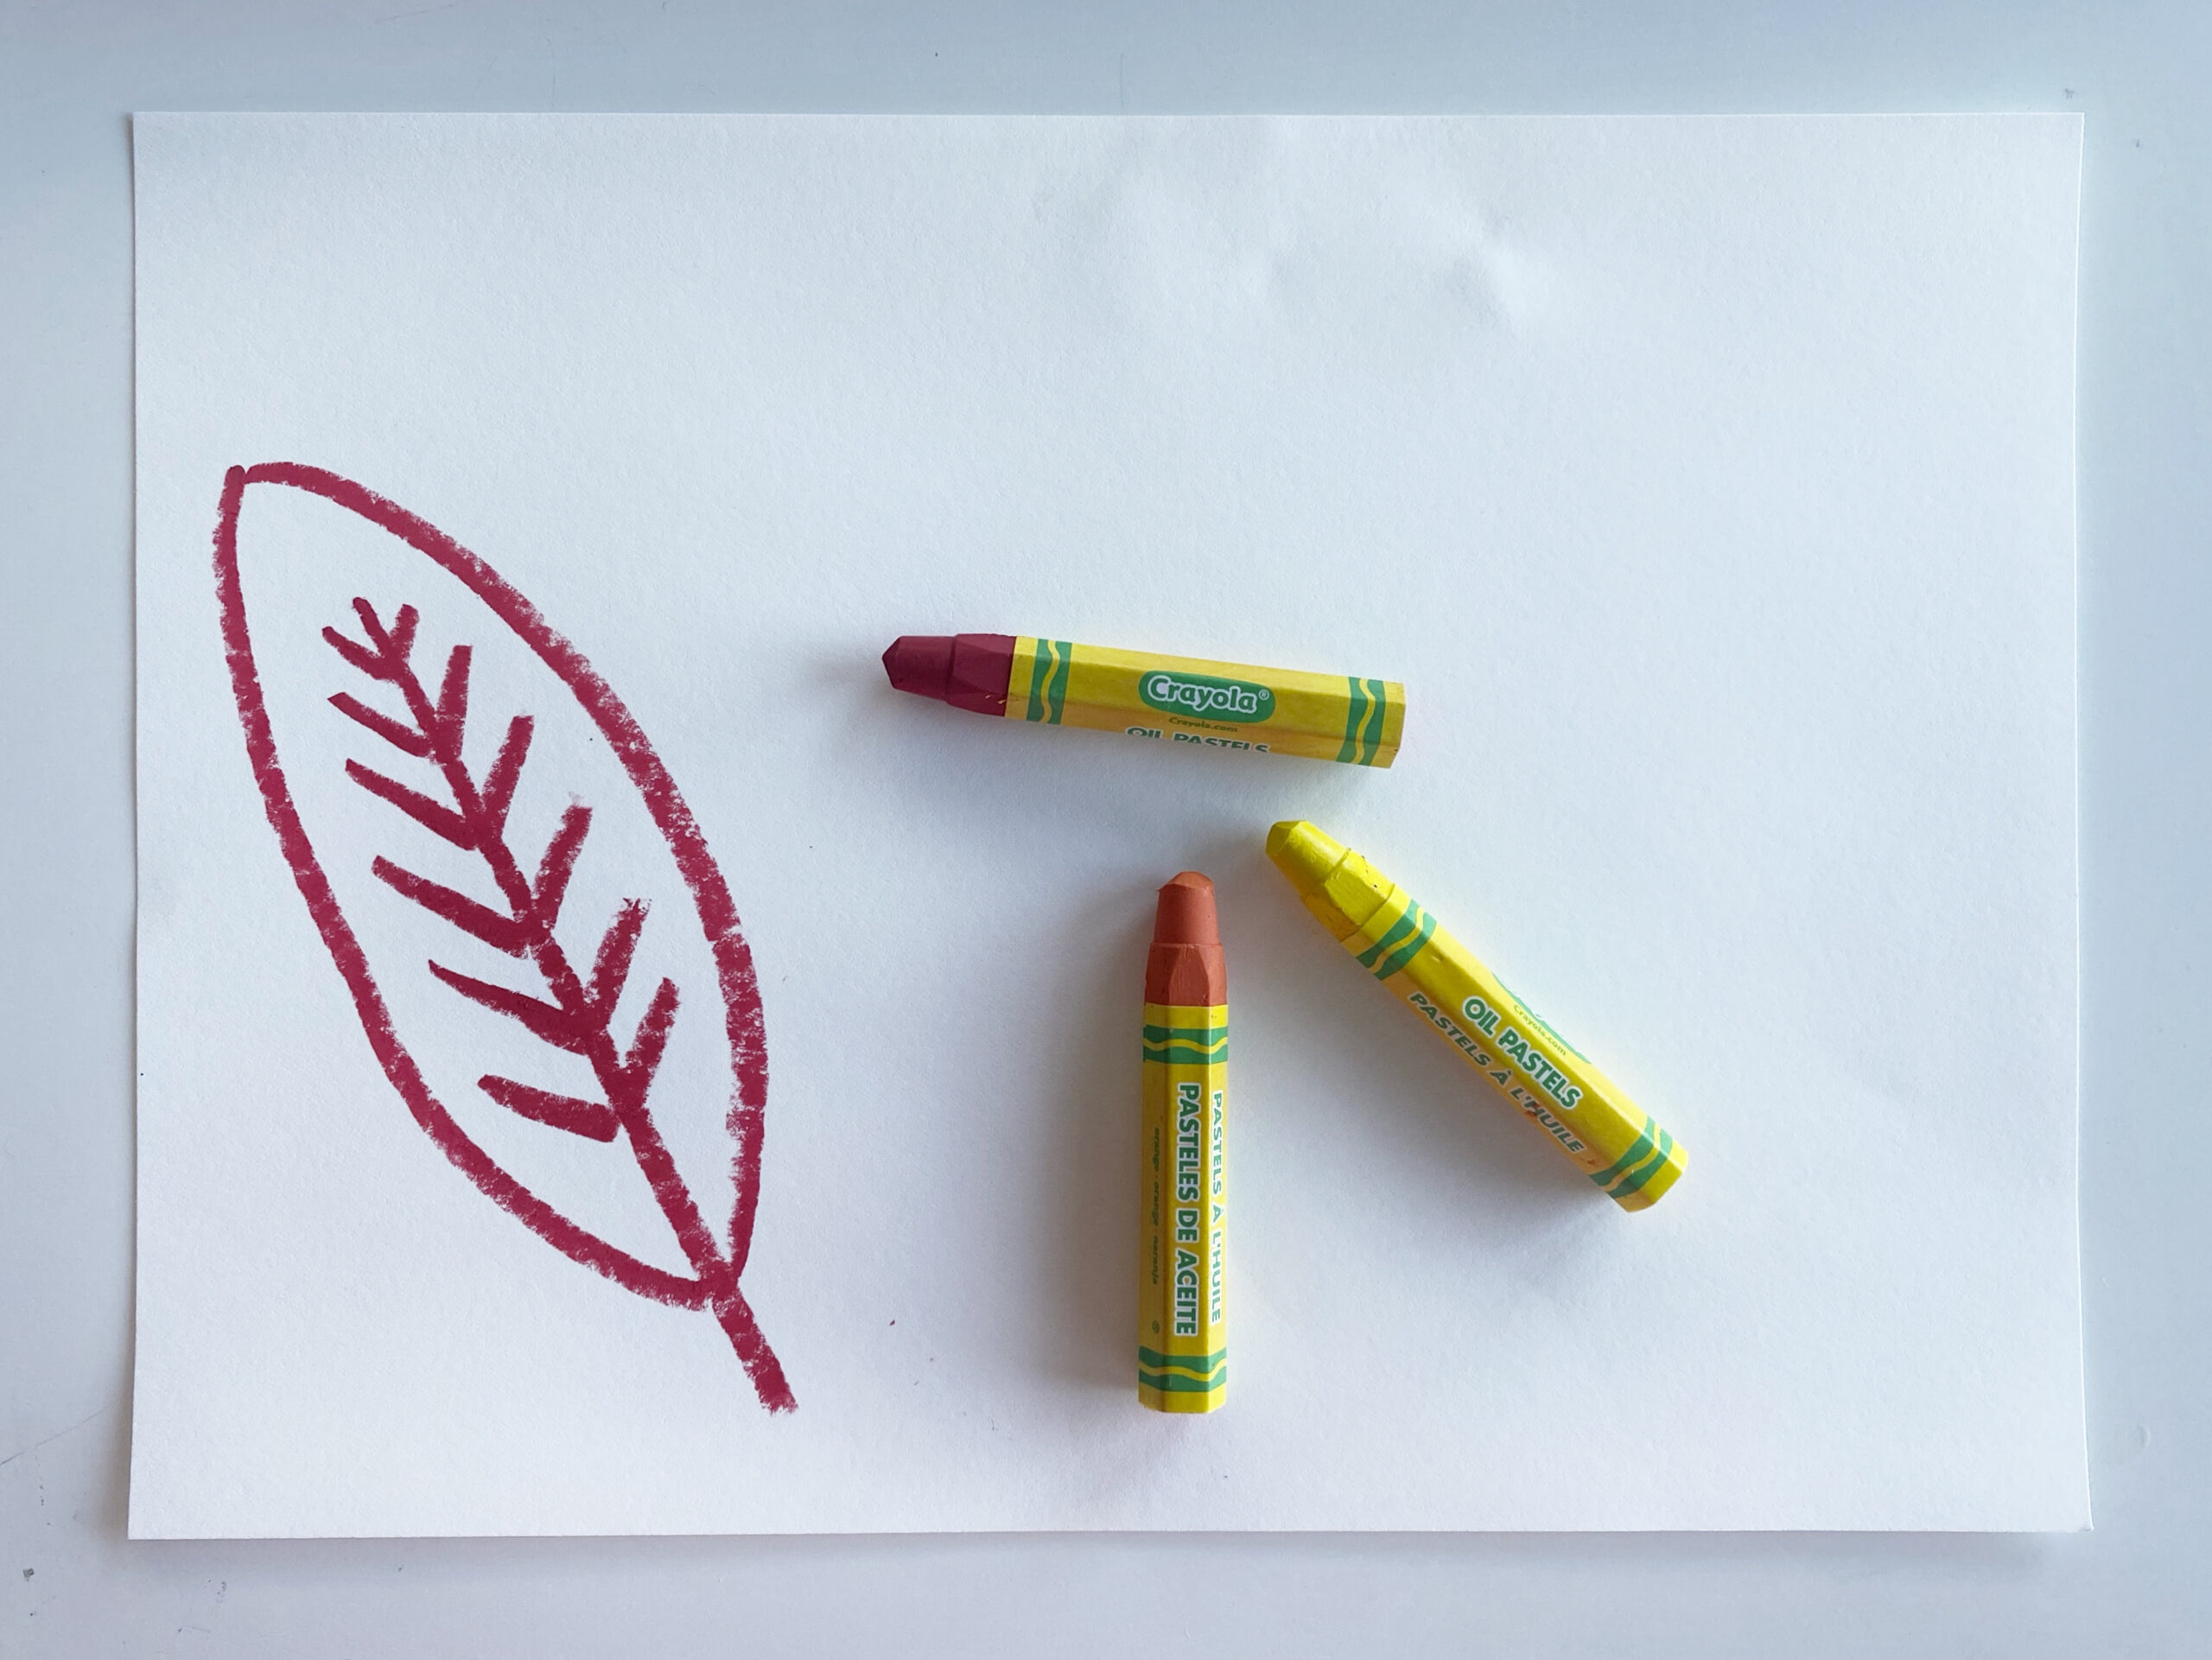
Next draw the outside of the leaf. Start at the Tip and draw down like you are creating an oval. Make sure to leave a line at the bottom of your leaf called a Stipule.
Step 4:
Go in and add the Veins of the leaf.
If you had used a pencil, now you can trace back over it with your Oil Pastel. If your pastels break, and they will, that’s ok! They will still work when they’re in tiny pieces to make sure to keep them.
Step 5: Drawing an Oak Leaf
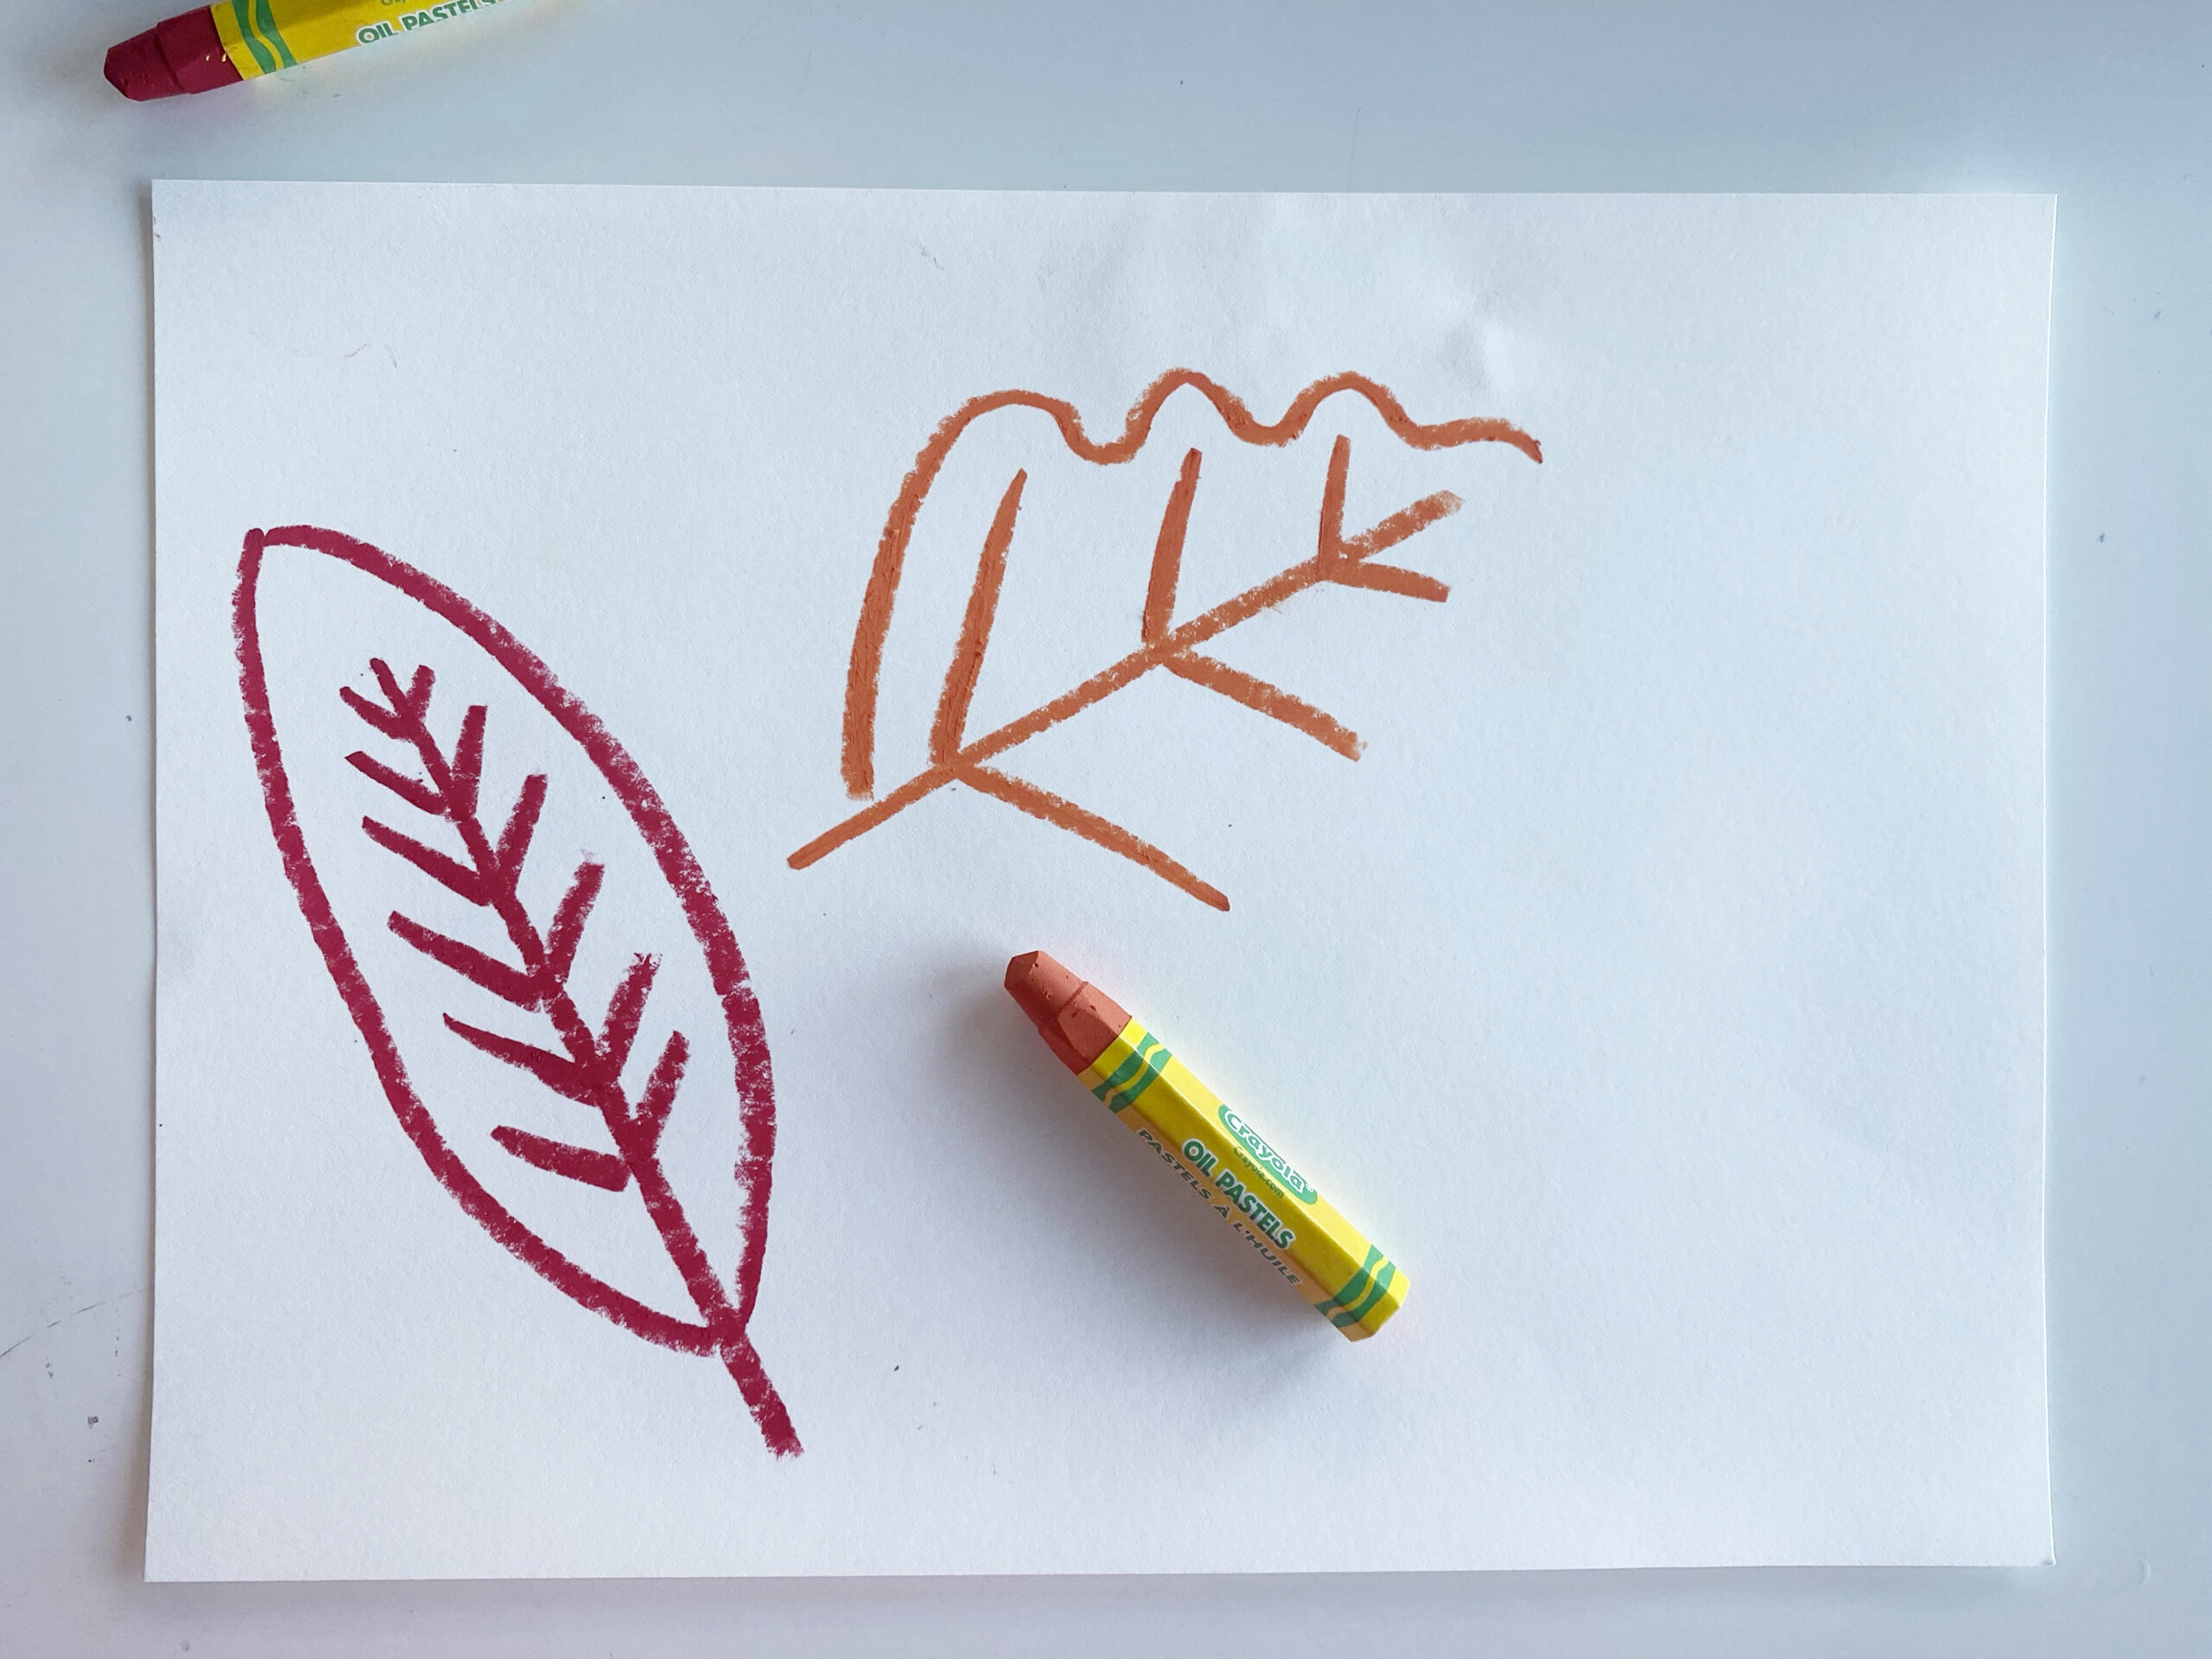
Now you are ready to draw another leaf. Will you draw the same shape of a different one? Which warm color will this one be?
Create your stem just like in Step 2. Then add a few Veins. The veins will closer to the bottom will be longer and get smaller as they get closer to the tip.
Step 6:
Start at the tip and draw an outline around your veins.
Repeat on the other side.
Keep creating your leaves. Some leaves can even look like they go right off the edge of the paper.
Step 7:
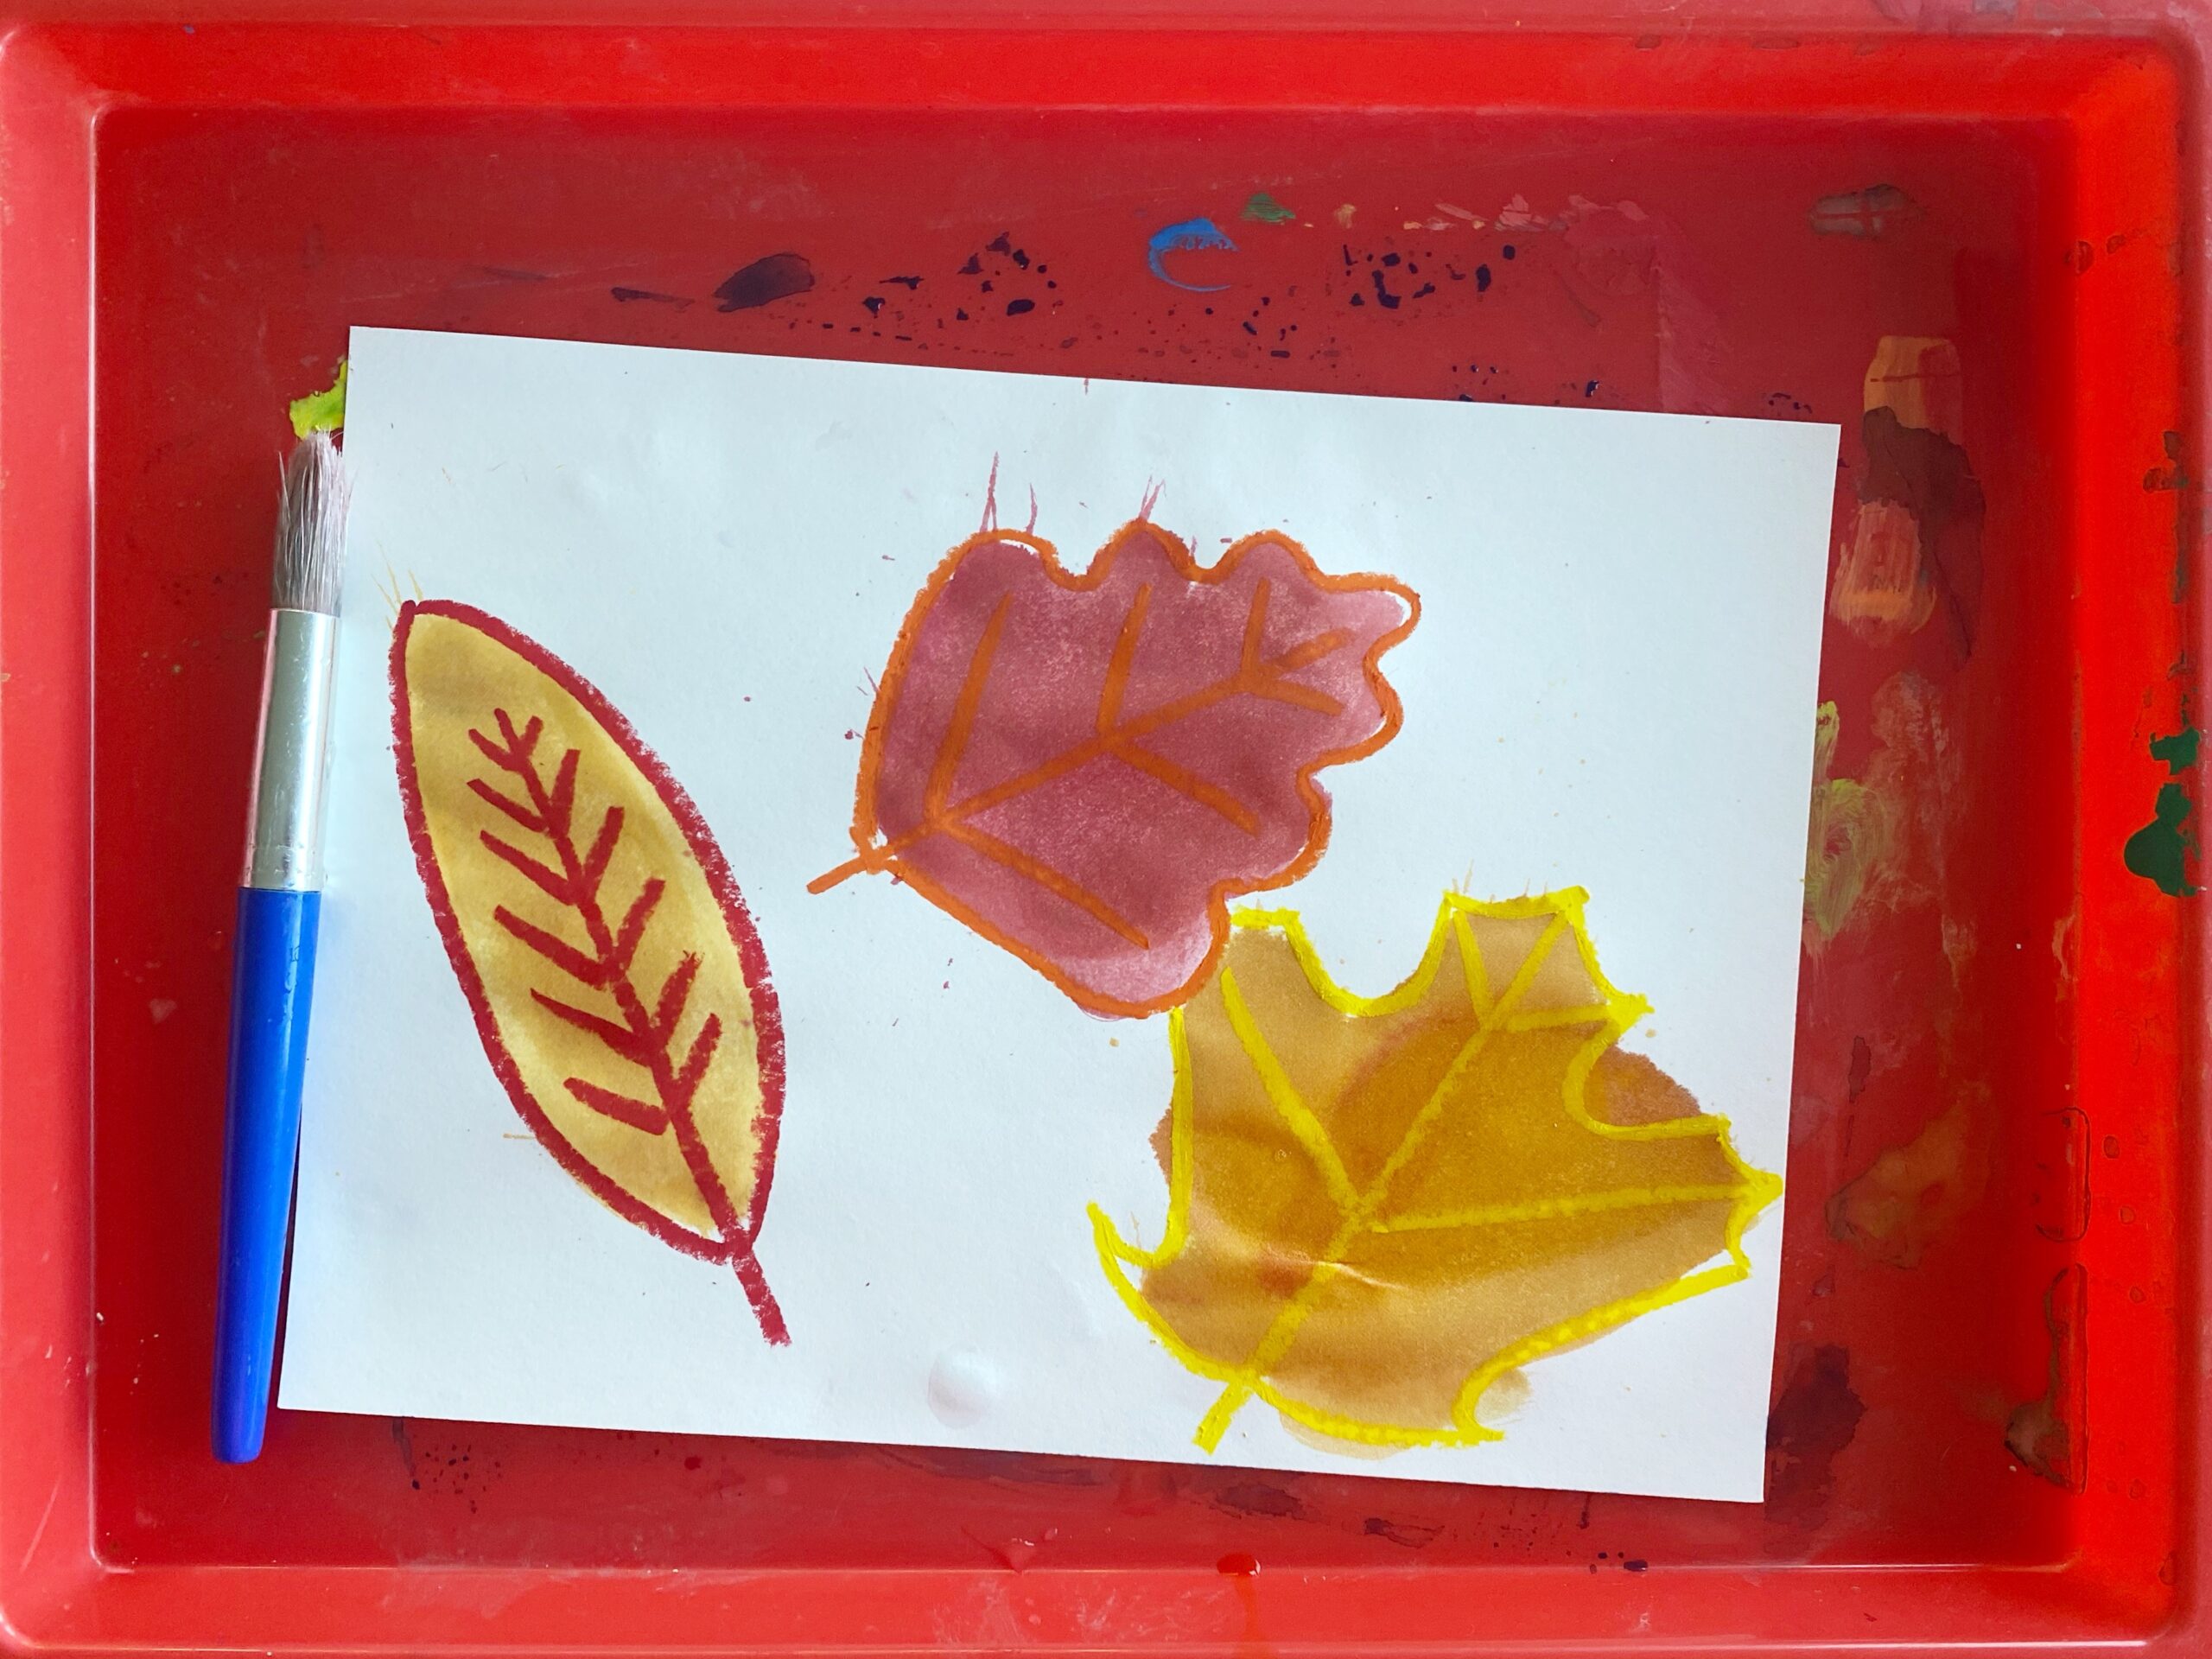
Protect your workspace by using an art tray or newspaper under your paper. Using your Warm Colored Watercolor, paint inside of your leaves.
It’s a good idea to rinse your brush in water between each color.
Step 8:
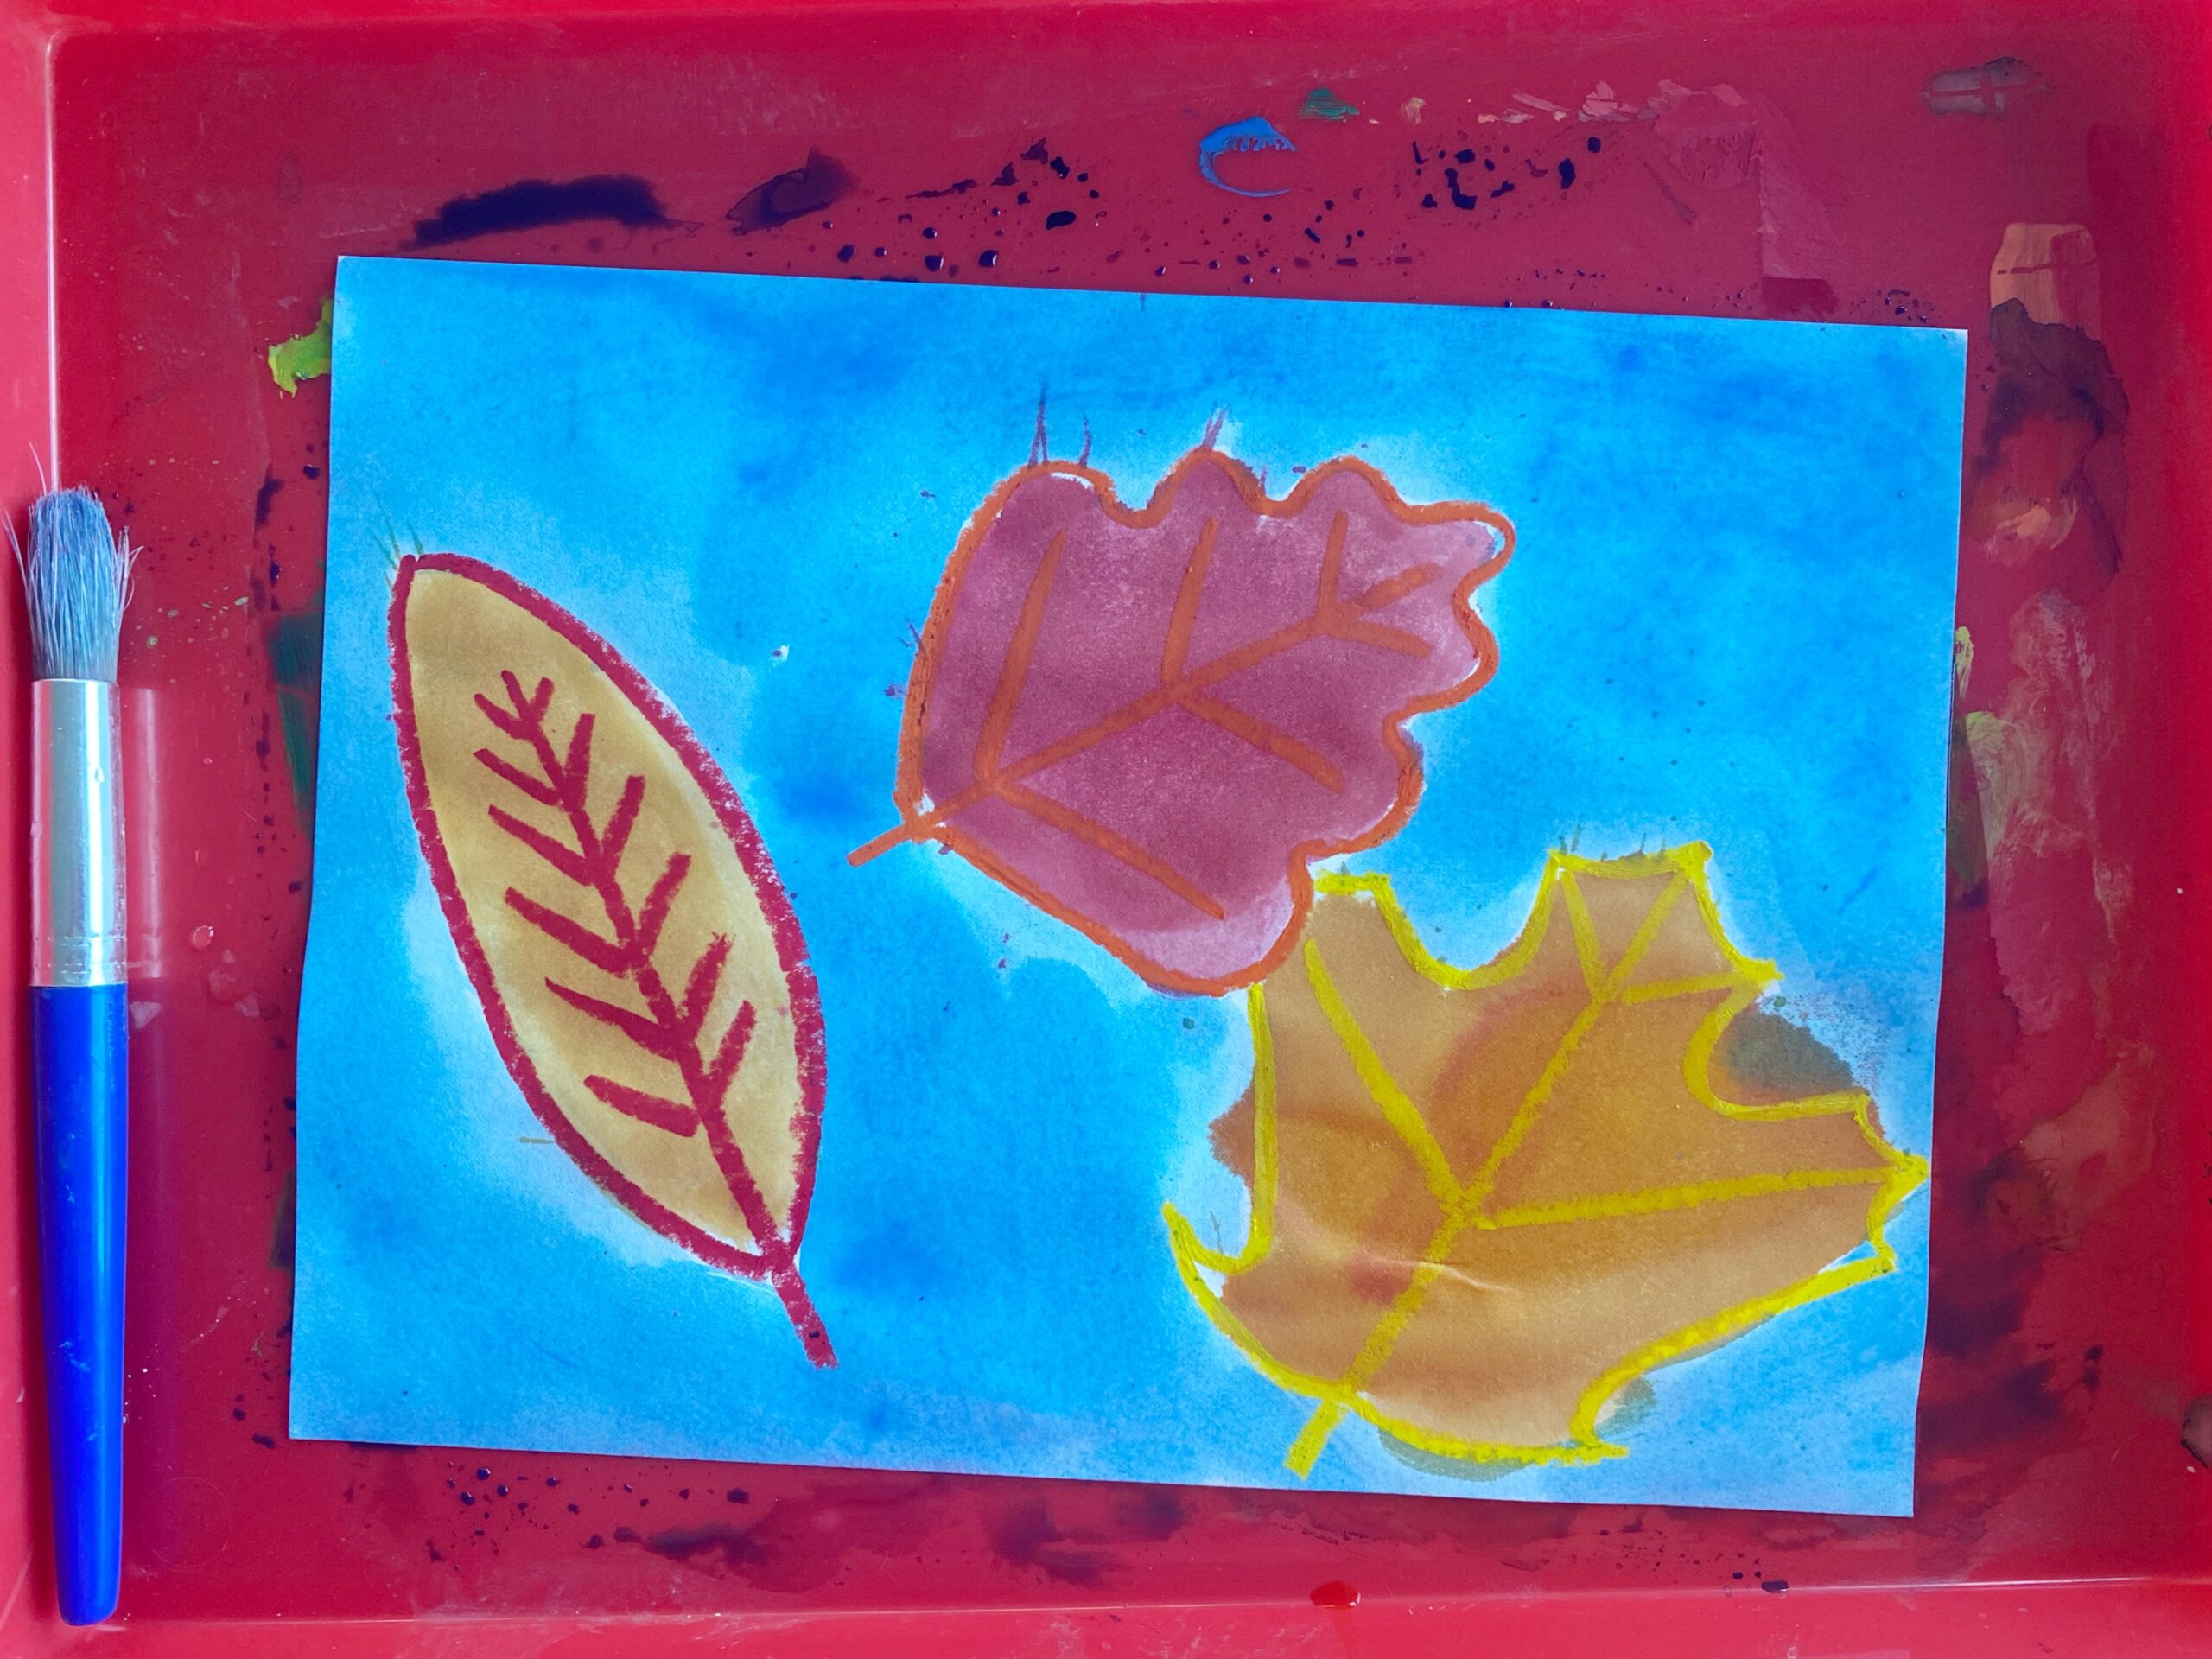
Using your Blue Watercolor, paint around the leaves, covering your paper.
Once your Fall Creation is dry, you can glue it onto the Construction Paper and it’s ready to be hung on display.
Share your Projects:
Check out more of our Art ideas here and don't forget to tag us on social when you try these out #how2playtoday
Check out our Instagram page and stories for more ideas of How 2 Play Today with your children.
![]()

