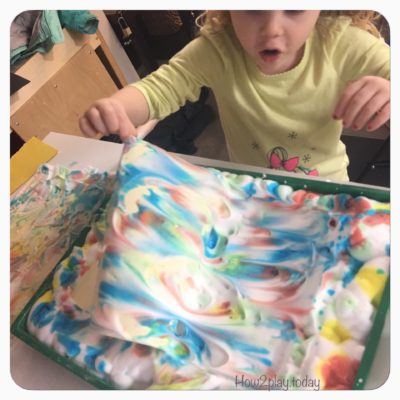
DIY Marbled Painting.
This fun arts and crafts project starts out as a great sensory play where you can teach about mixing colors. The final product is a great piece of art that you can hang, make into a card or gift tag and so much more.
This post contains affiliate links which keeps this blog going but does not add any cost to you
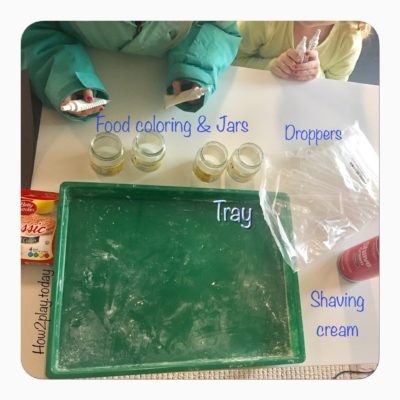
1. Gather all of your items.
2. We used gel food coloring so we mixed it with a little water. We like to reuse products from around the house so we used old baby food jars as our mixing jars.
What You'll Need
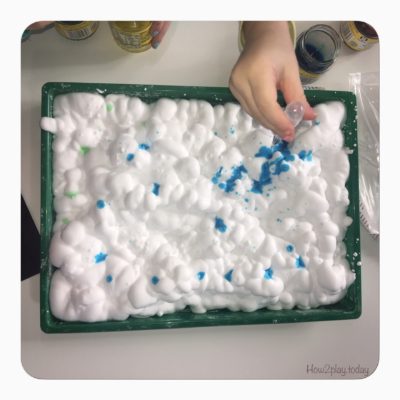
3. Spray the shaving cream into the container.
We use non-fragrance for sensitive skin because I like to allow them to play in the shaving cream and I don't want to worry about it irritating them.
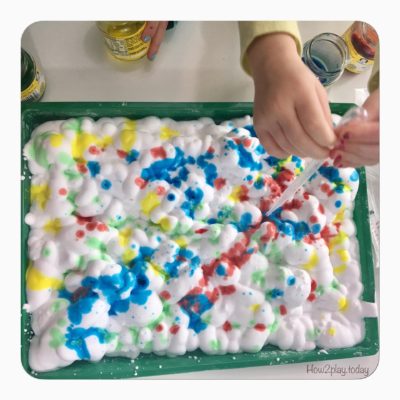
4. The kids then used the liquid droppers and started dropping colors all around. At first, they were careful about dropping only a few drops here and there but as they soon discovered, it's more fun with more colors and it's good if the colors mix.
This also provided a moment to talk about how different colors appear when mixing colors together. "What happened when you dropped the blue onto the yellow paint?"
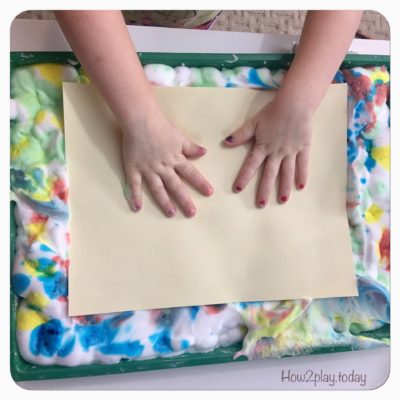
5. Using a piece of construction paper or card stock, press firmly down on all of the areas of the paper.
We first tried with a darker piece of paper but discovered that the lighter the paper, the better it works.
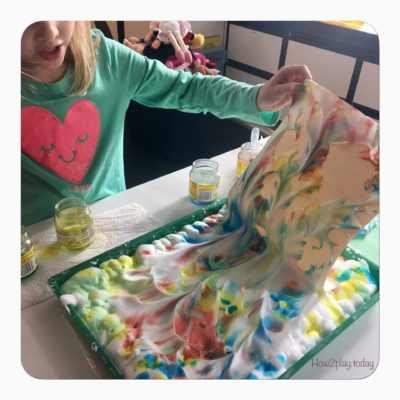
6. The kids pulled their paper back and I loved watching their expressions.
How We Did It
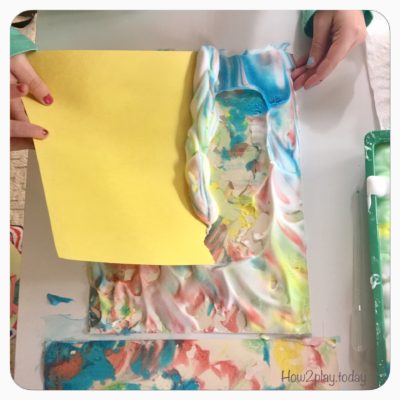
7. Scrape the shaving cream off of the paper.
We used another piece of card stock paper. You could also use a ruler.
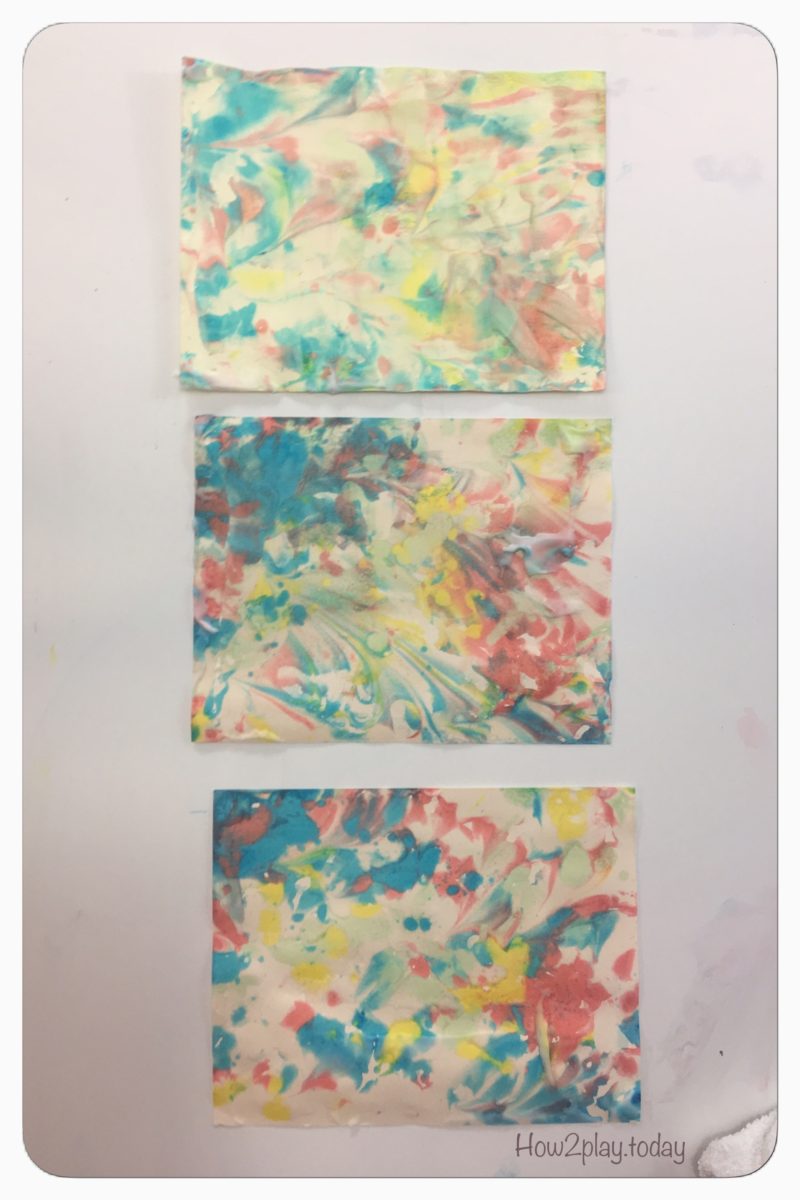
8. Let the papers dry.
You can now hang and enjoy their art work. These pieces of art can also be used for a card to a friend or even into a gift tag for a birthday present. We plan to use these for our salt letters.


