This post may contain affiliate links which keeps this blog going but does not add any cost to you
Objective:
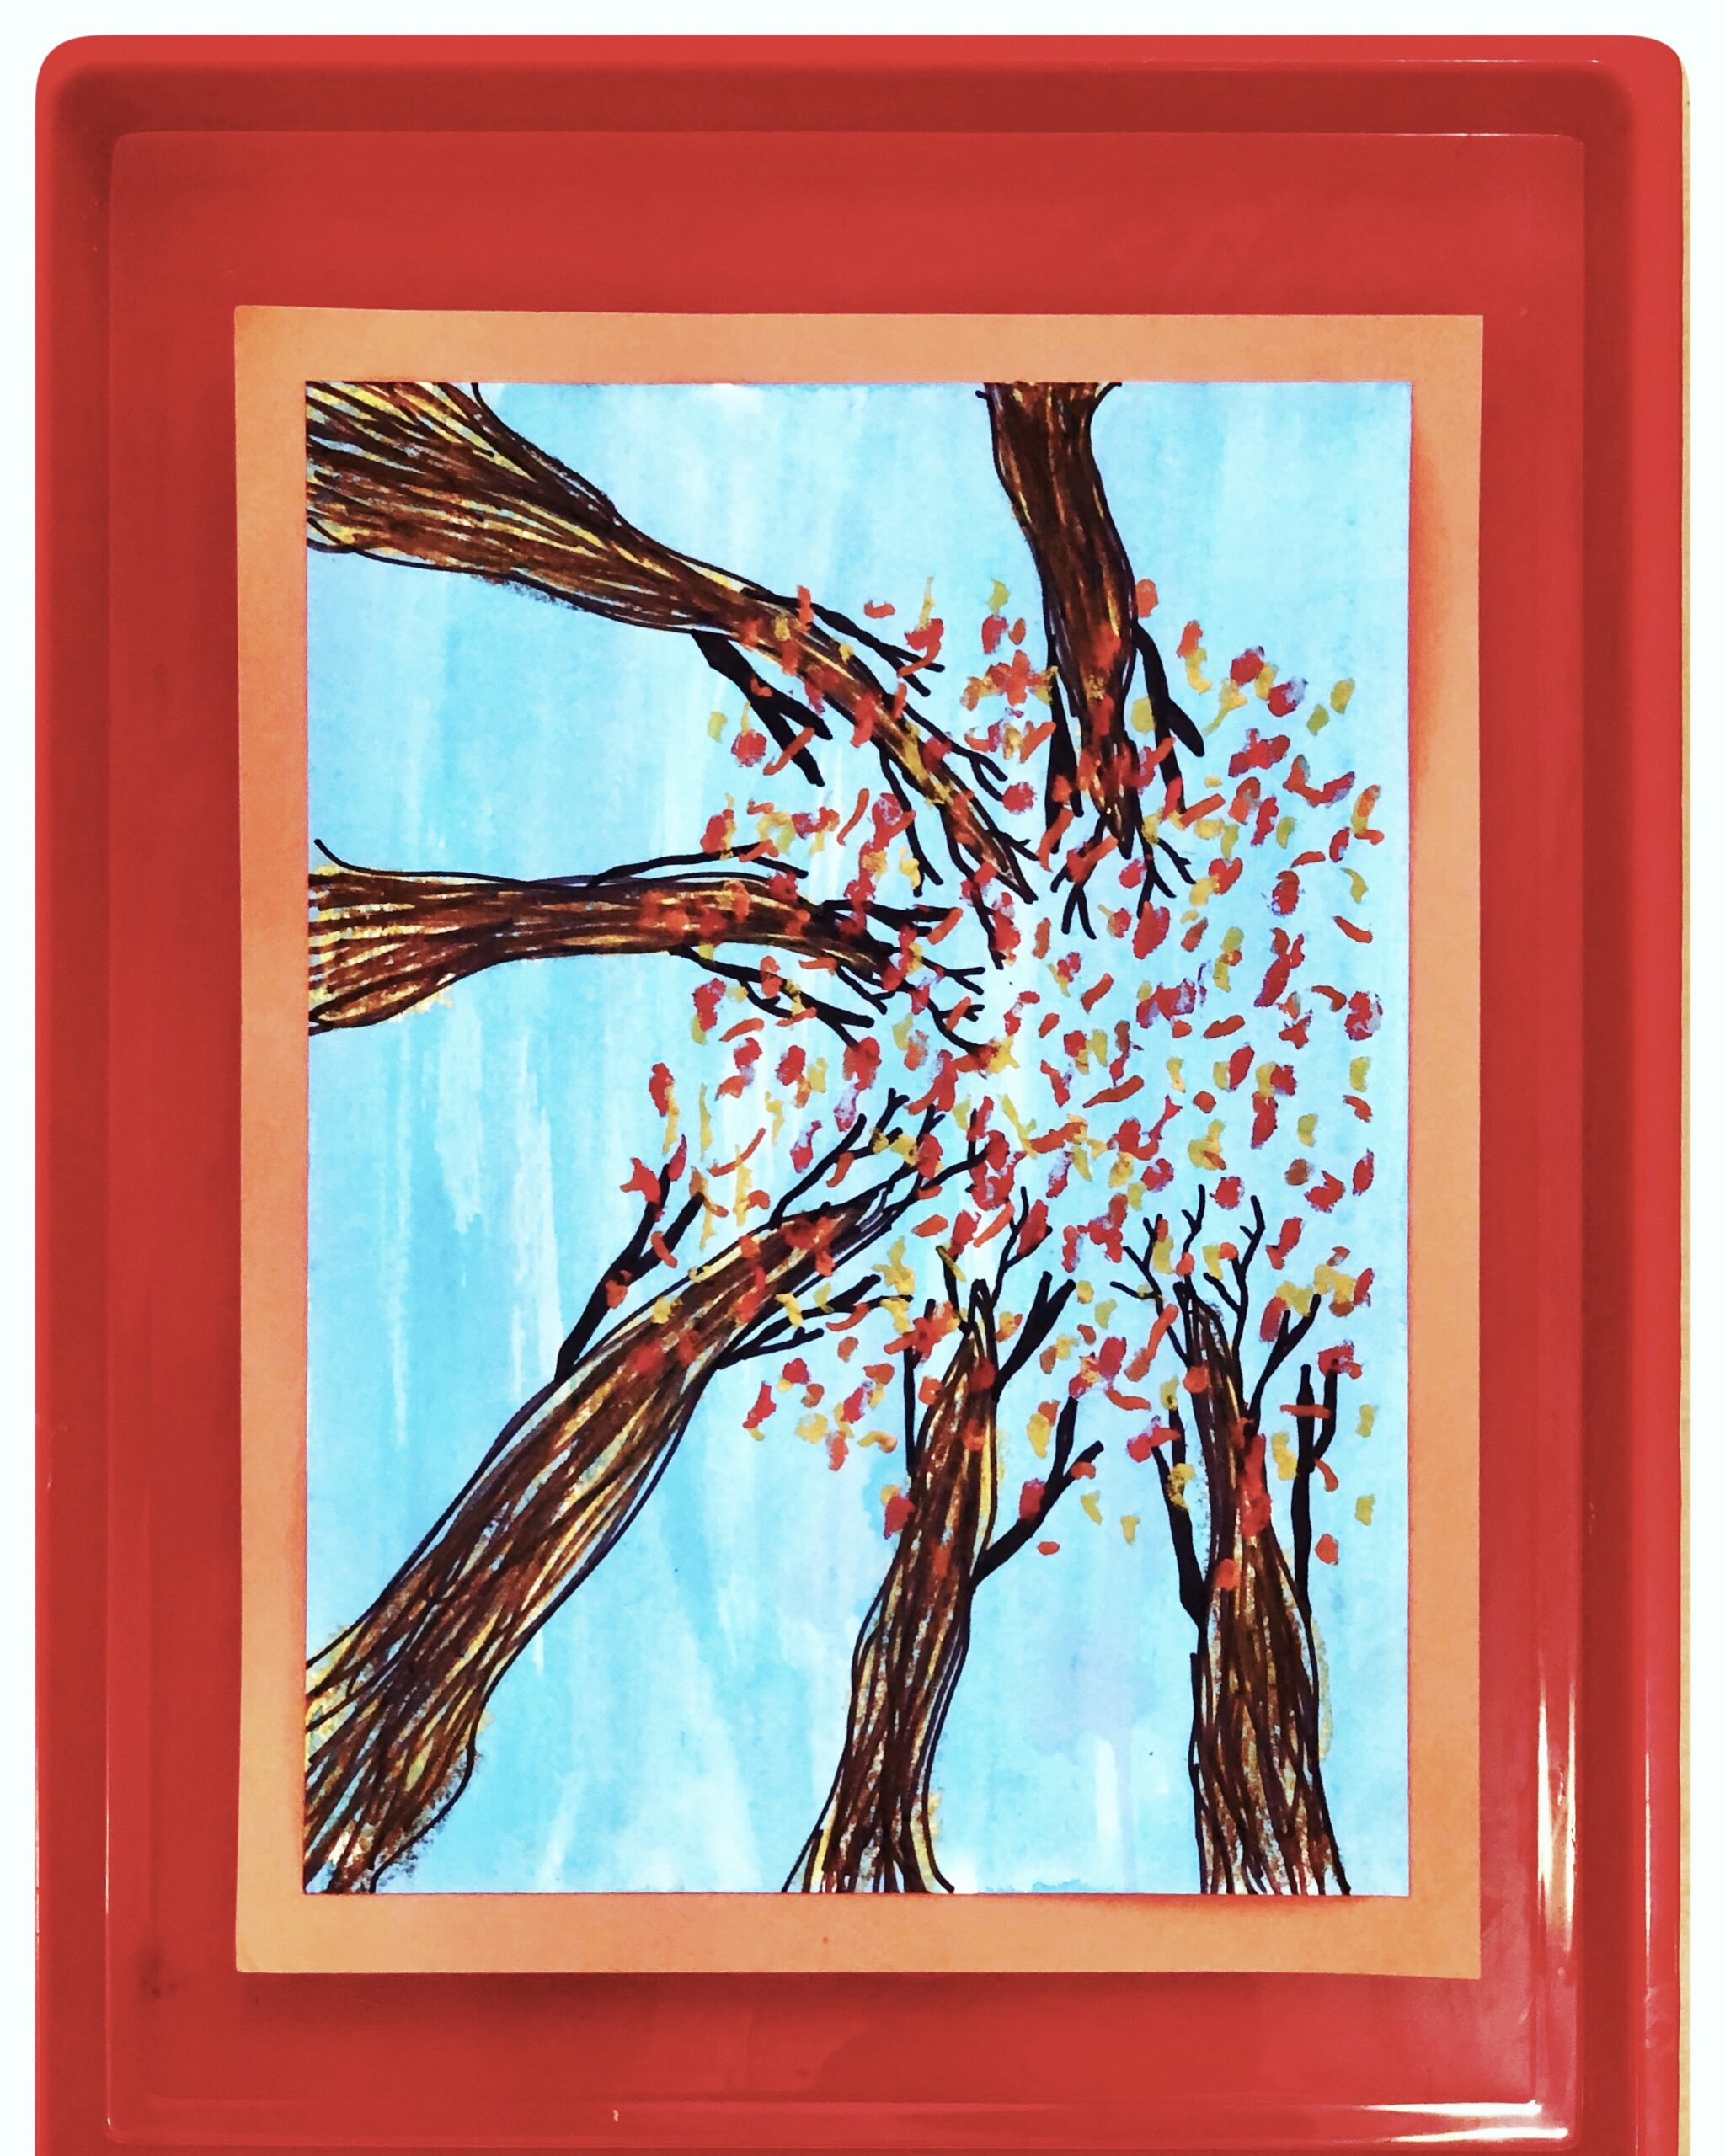
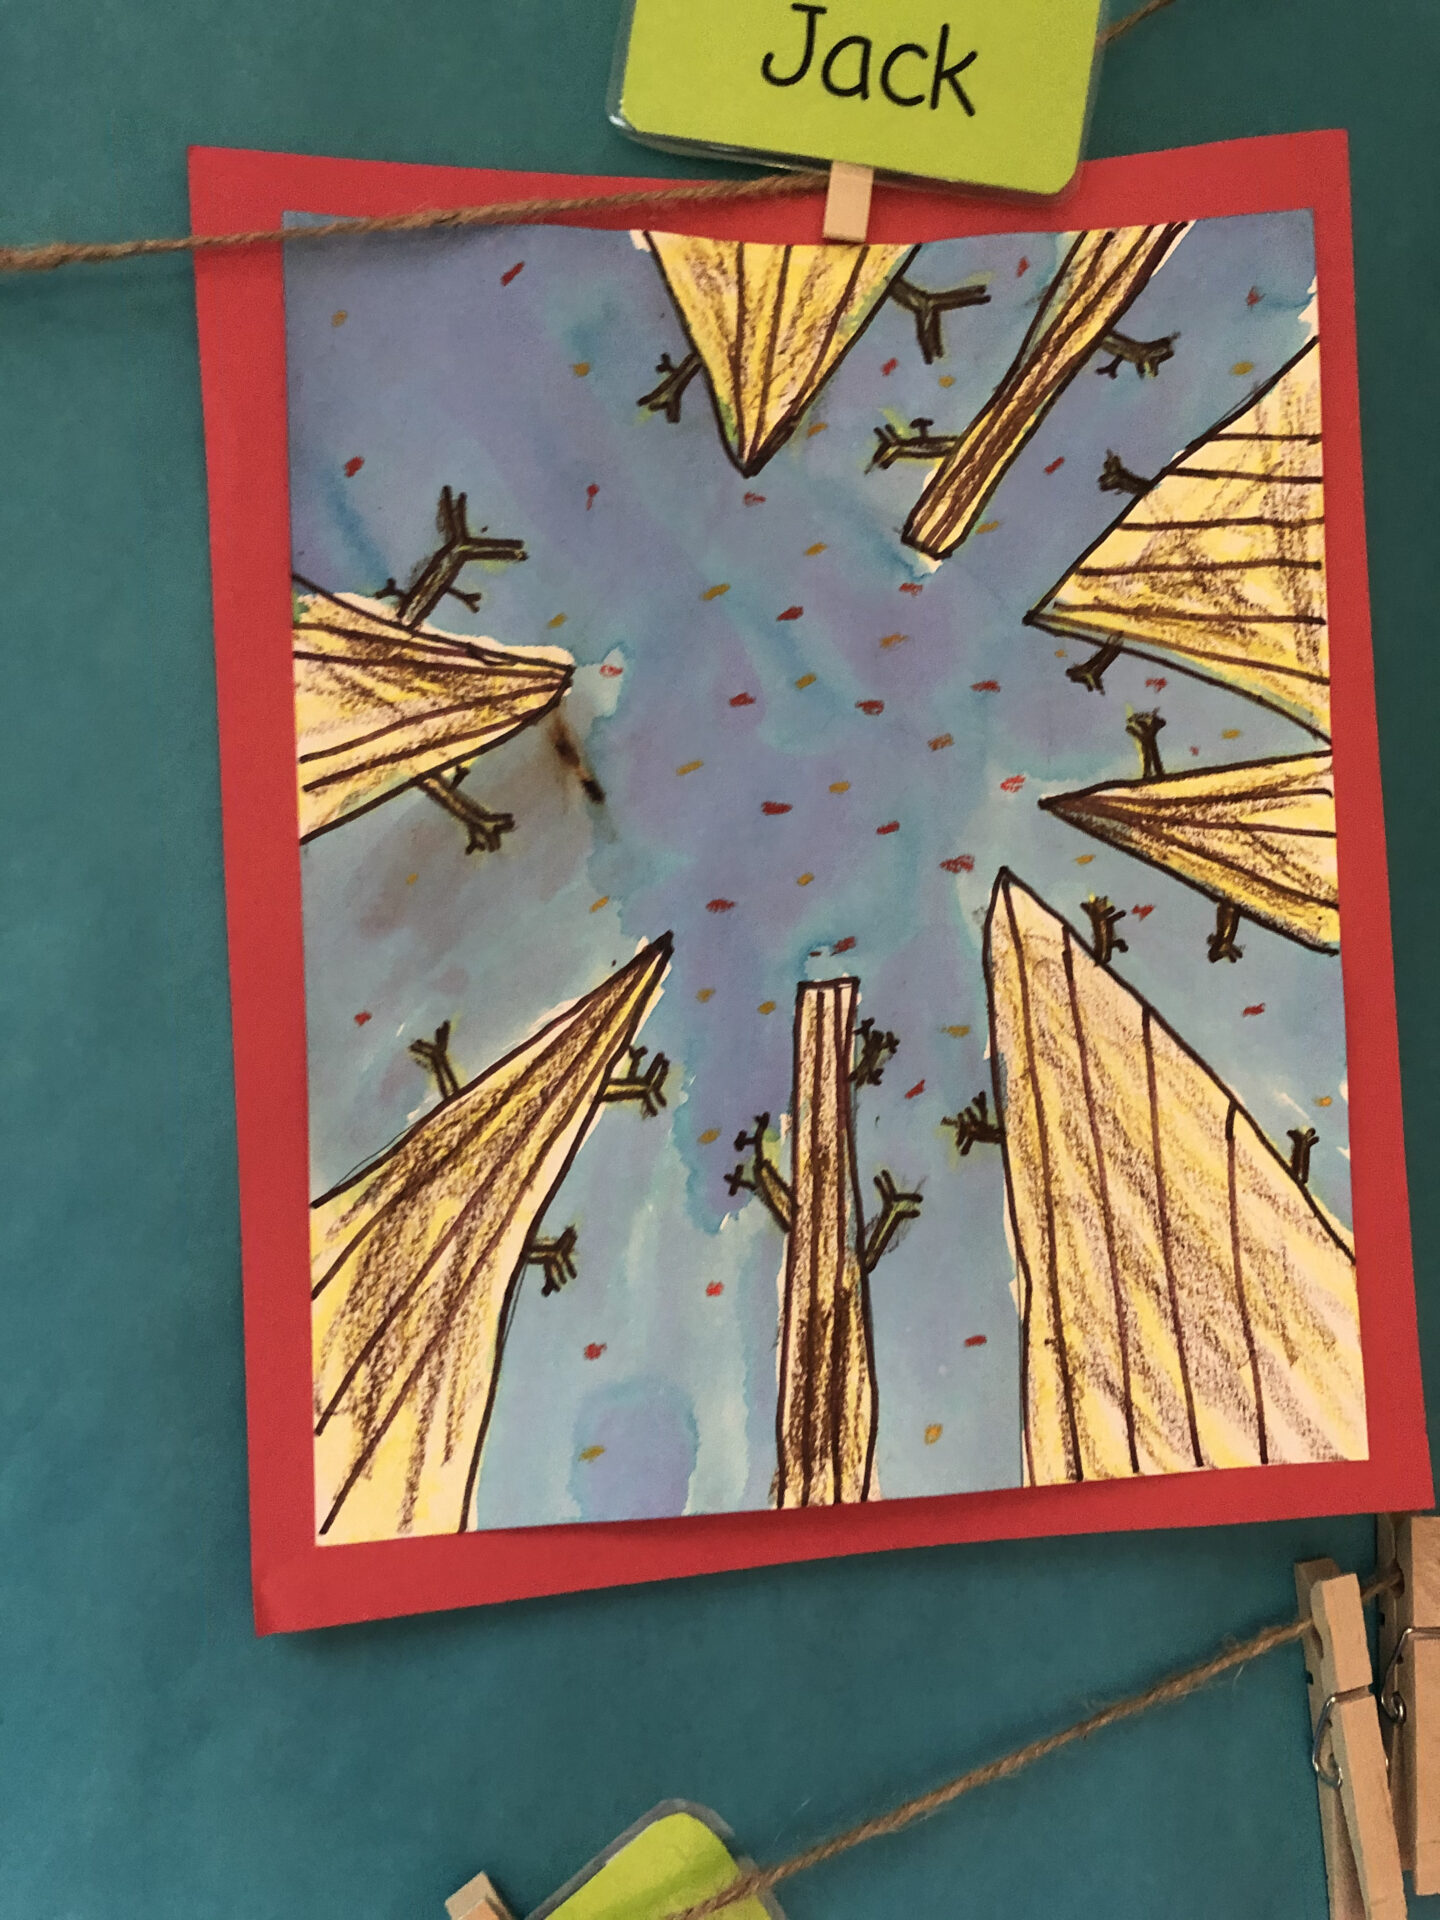
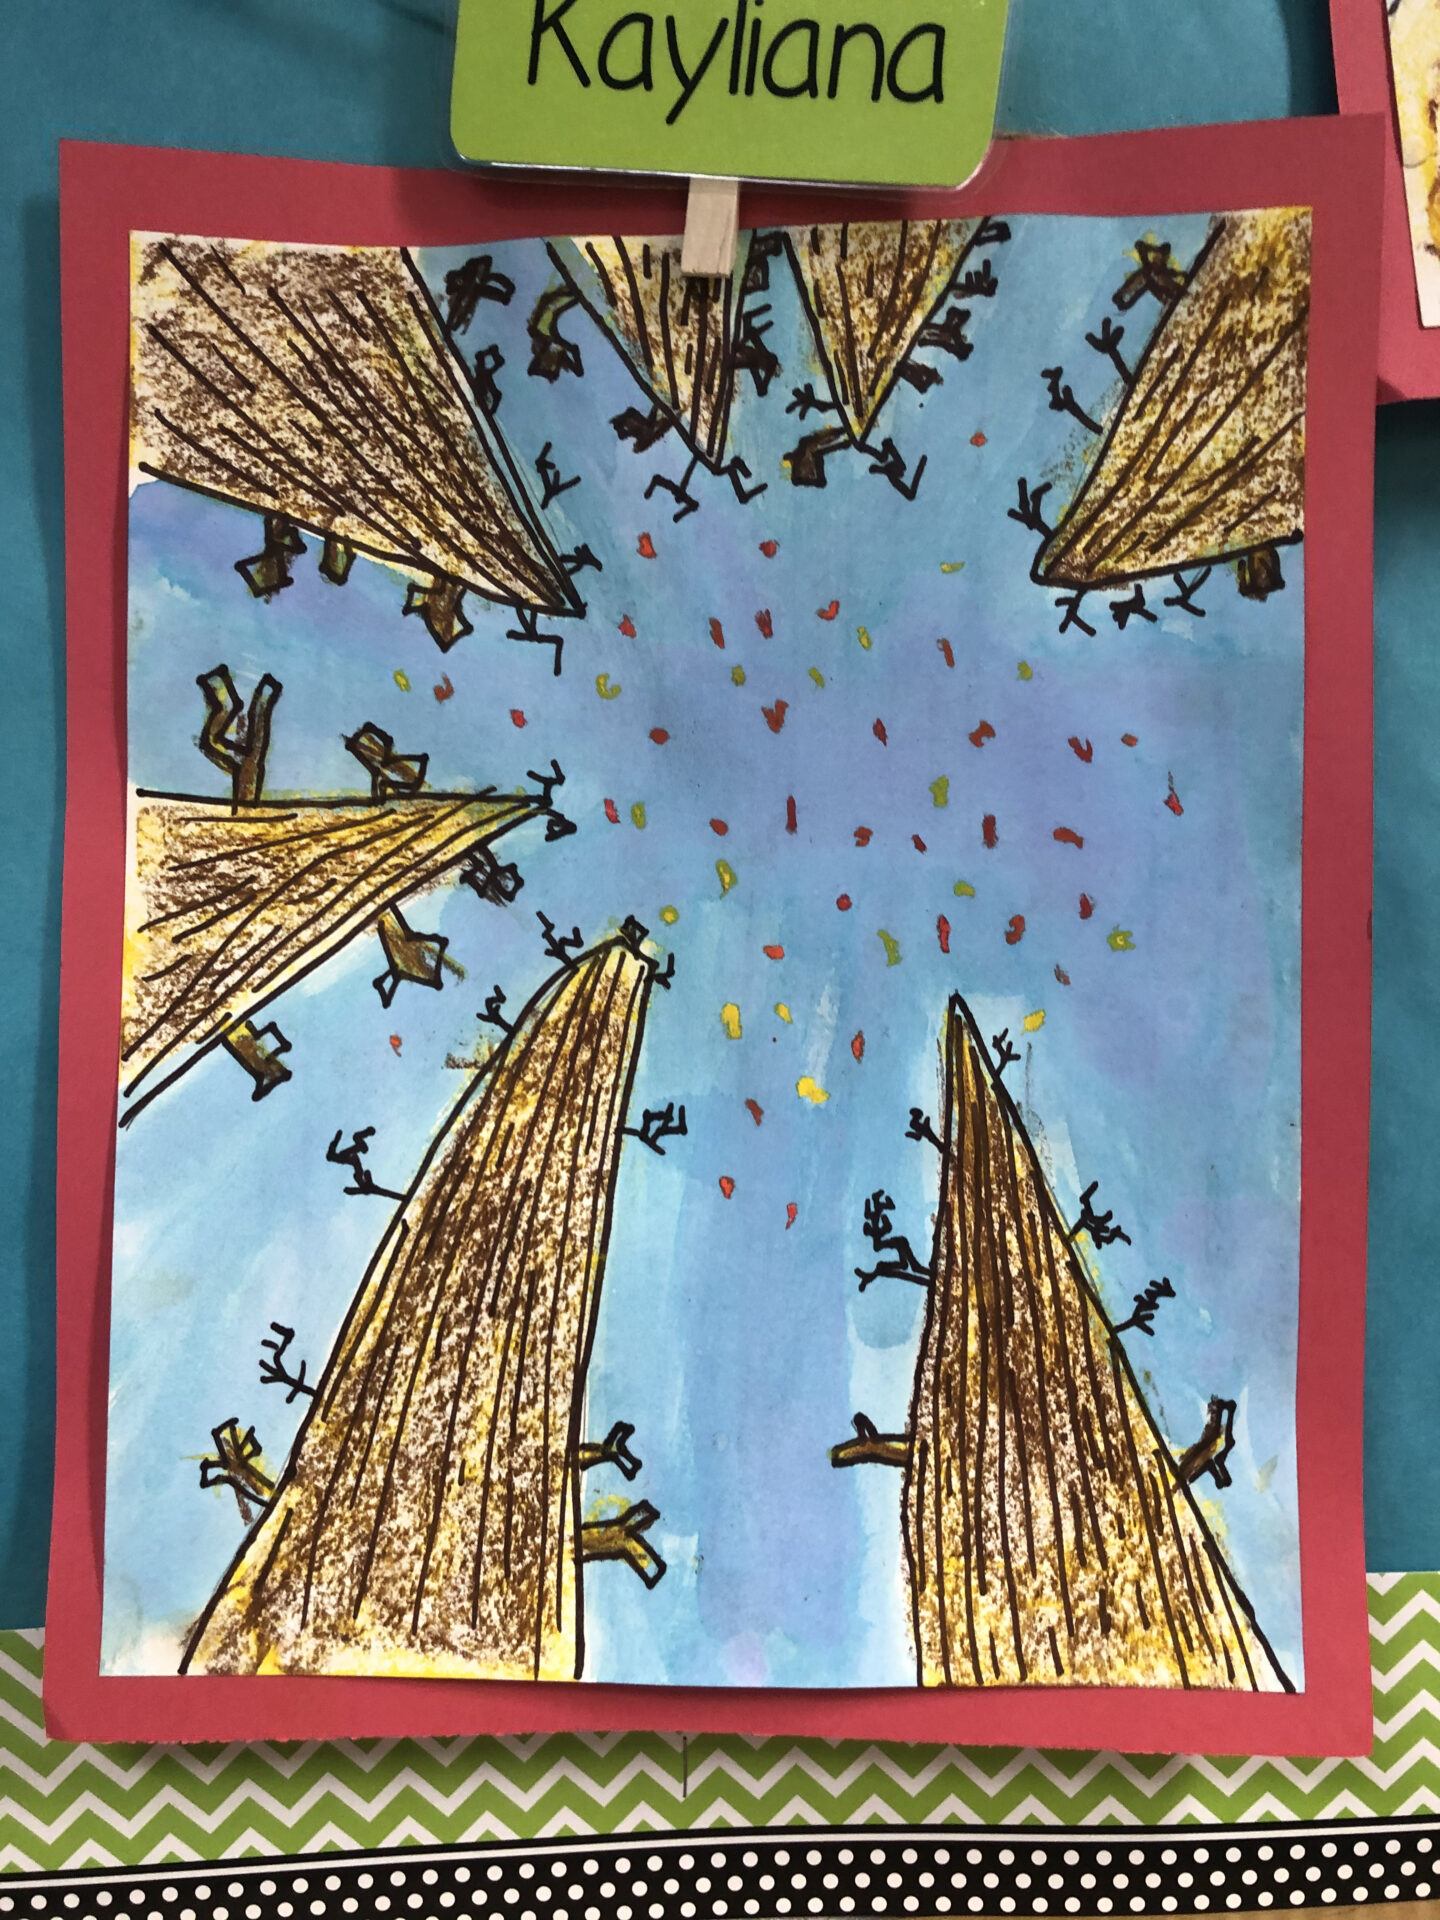
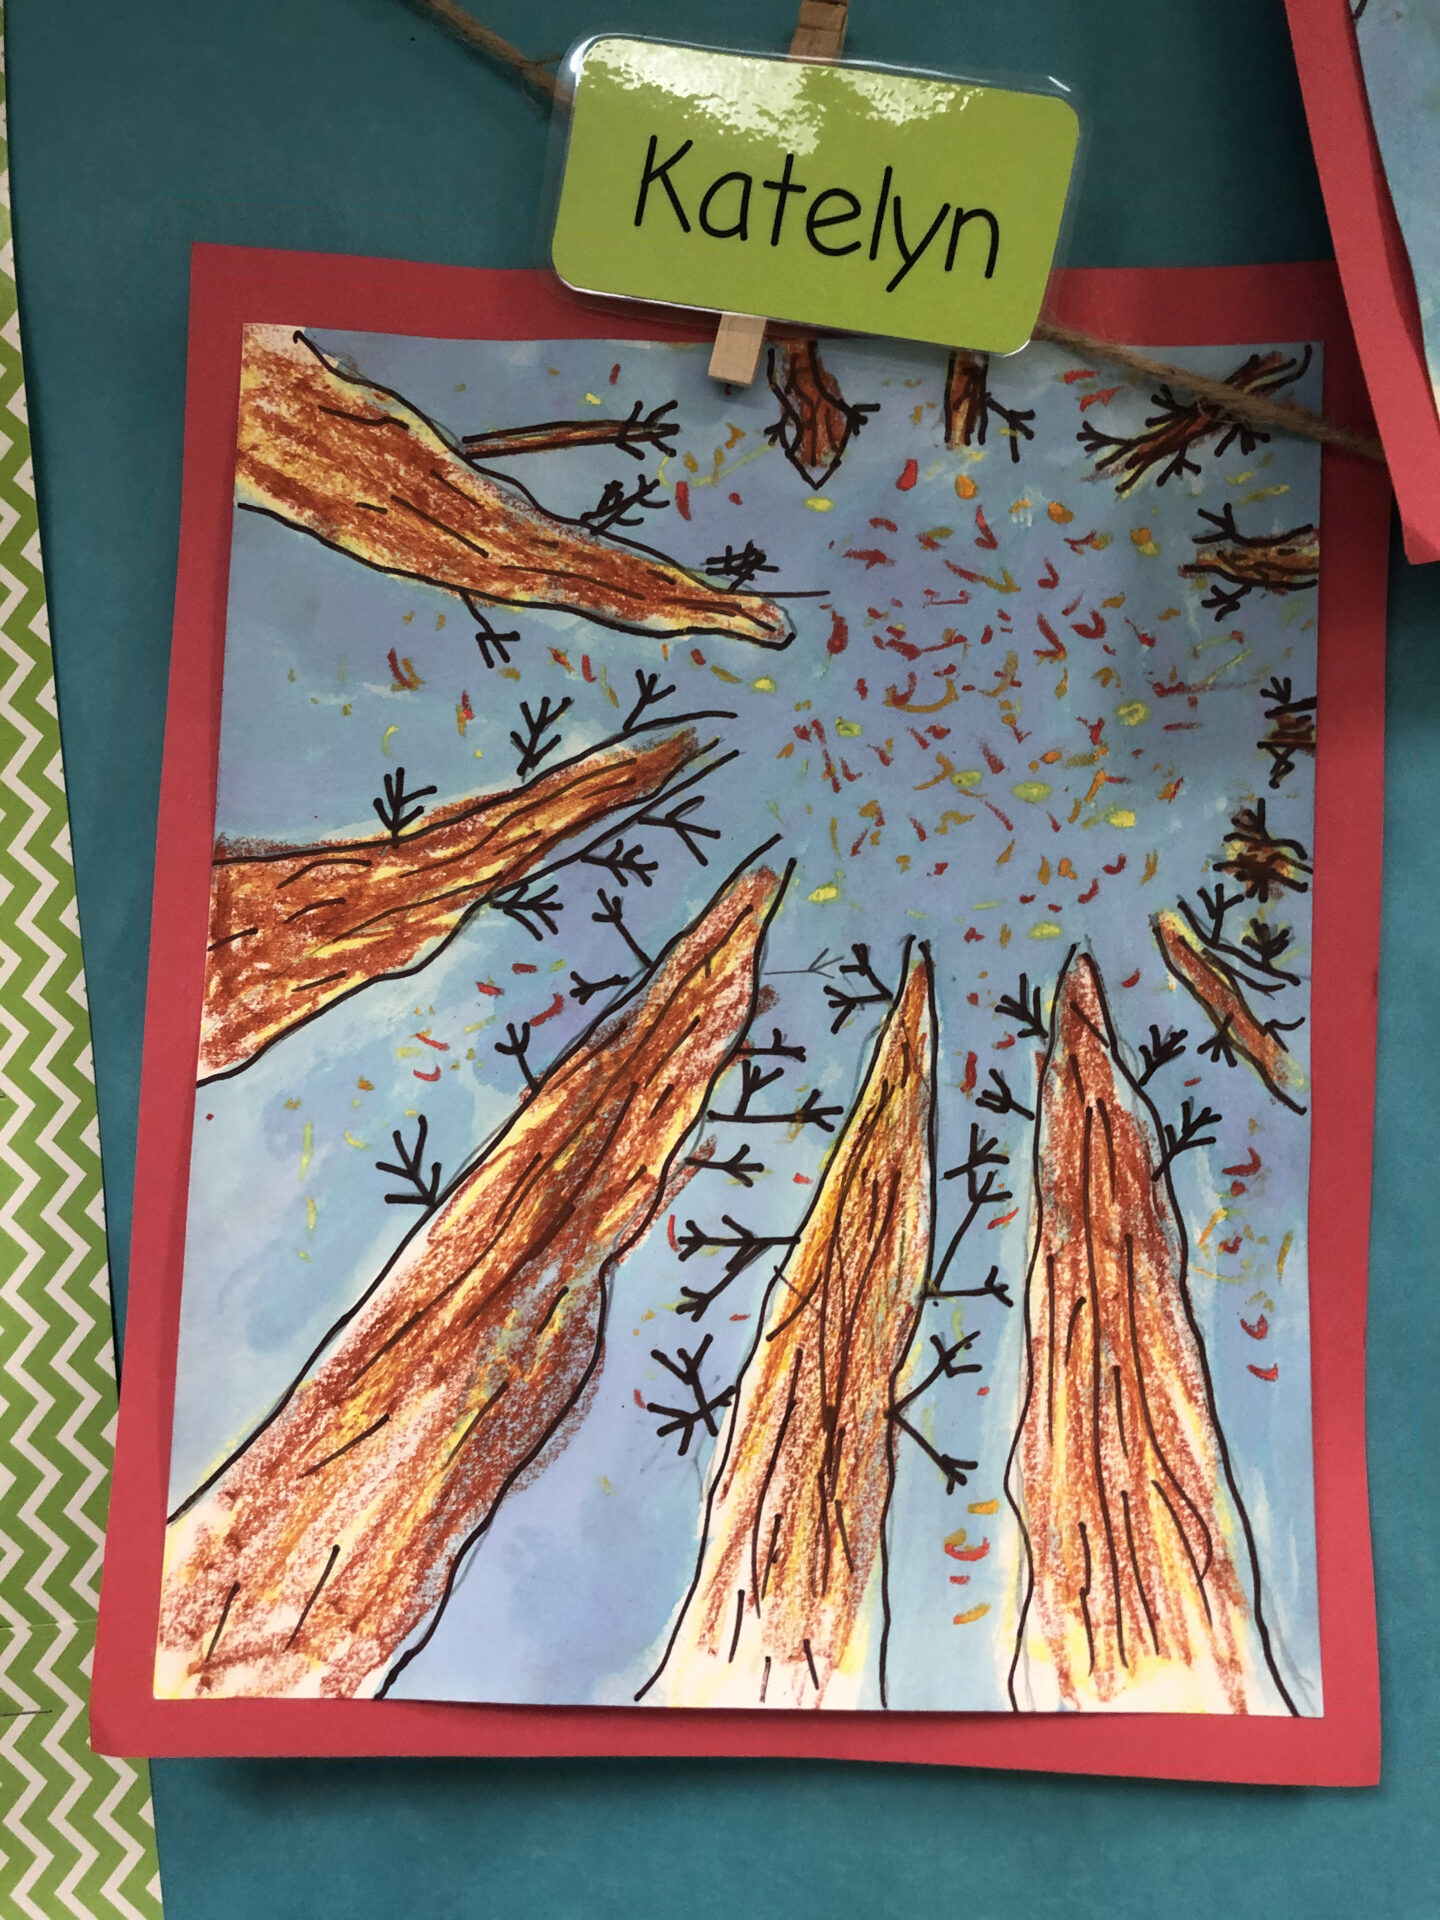
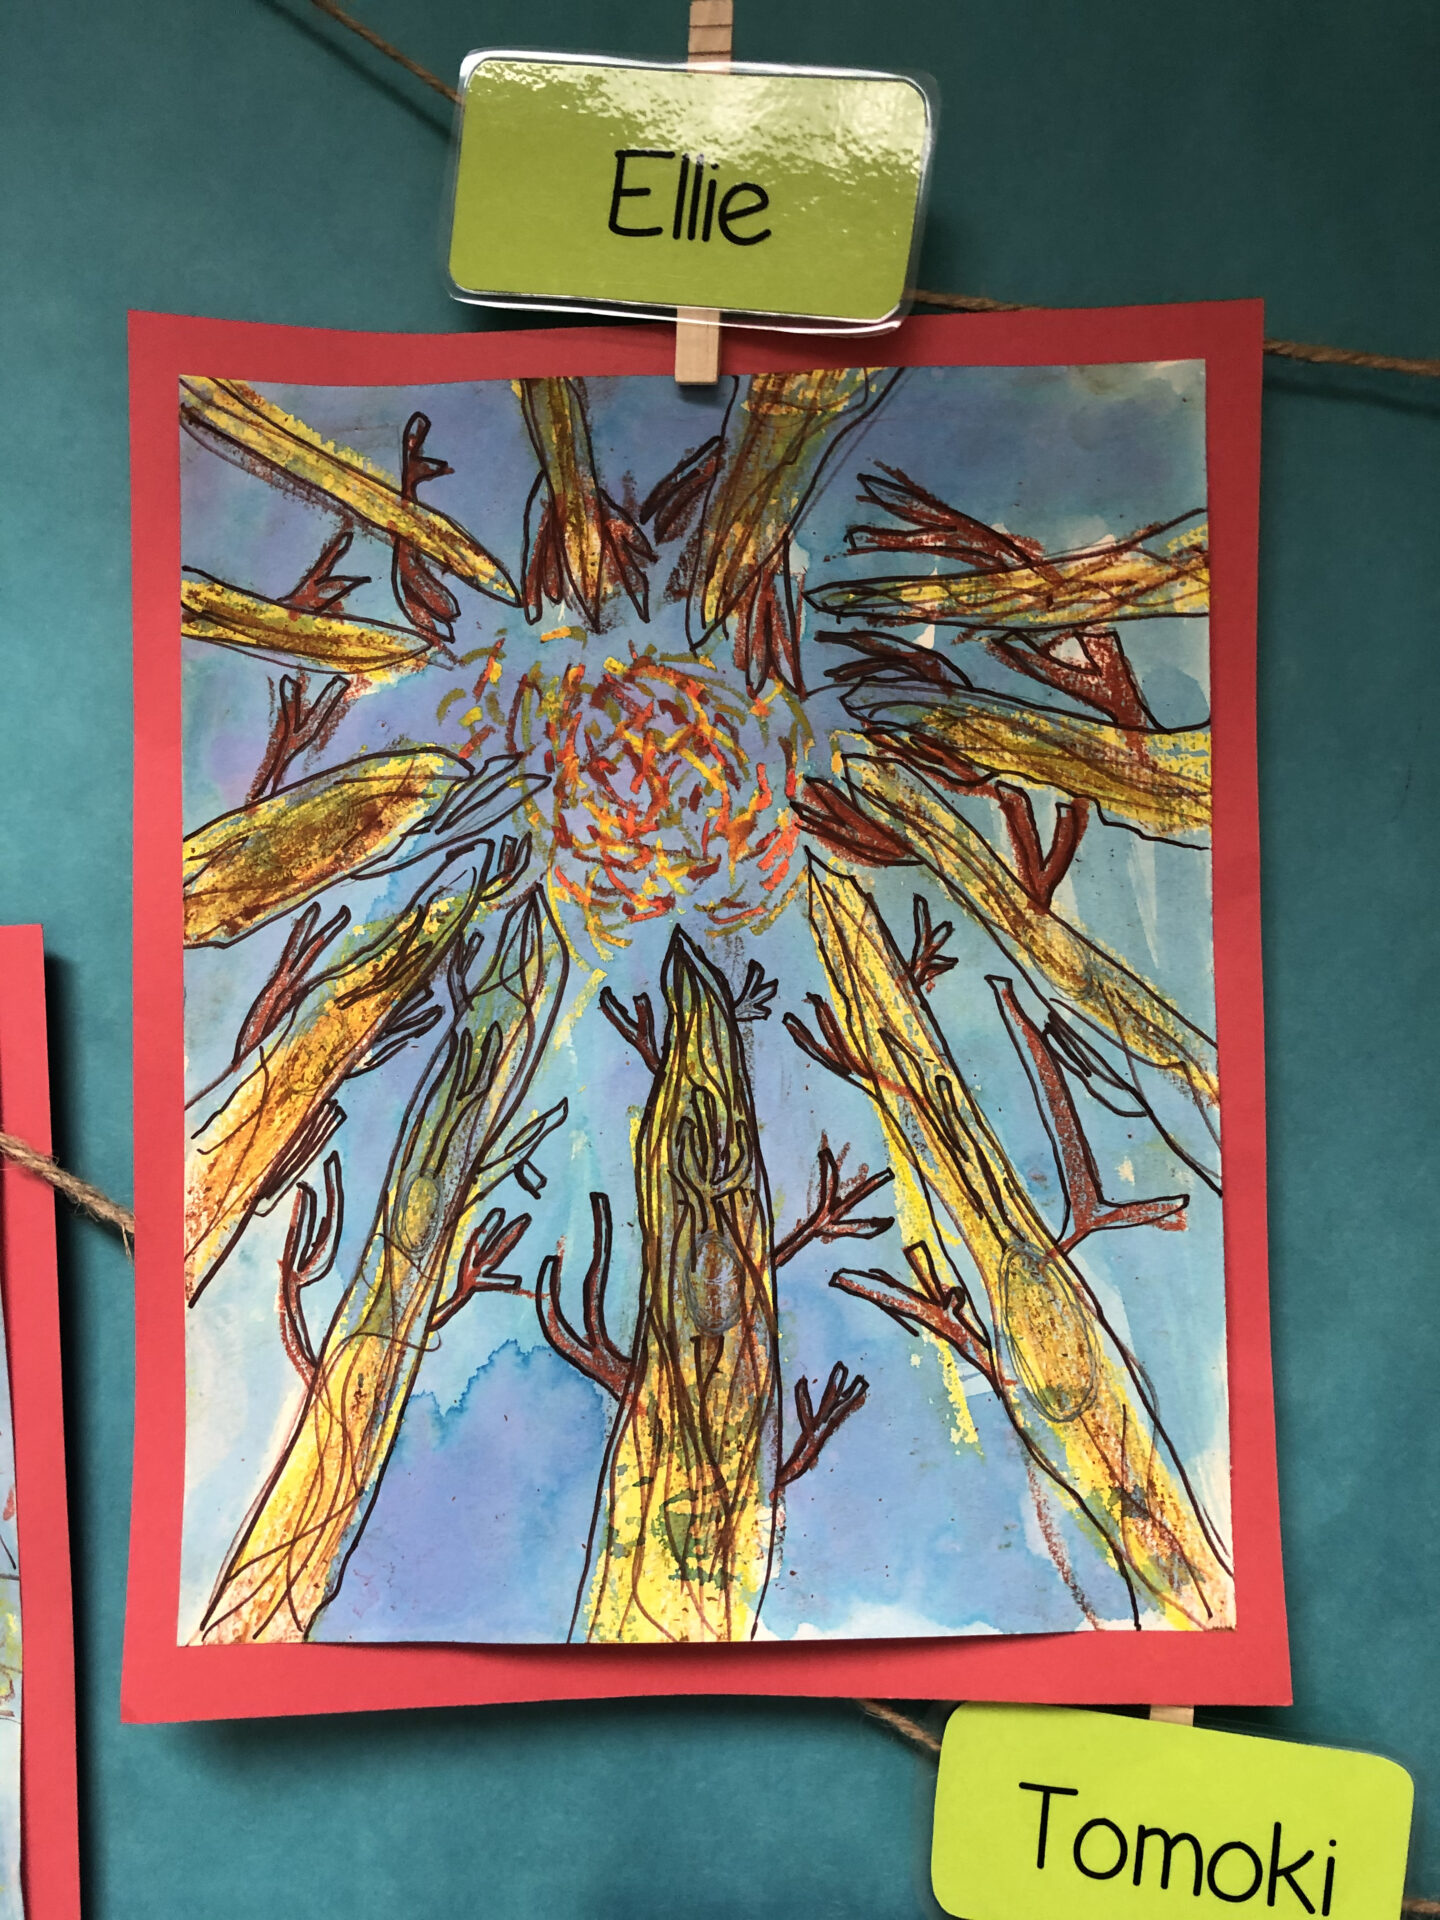
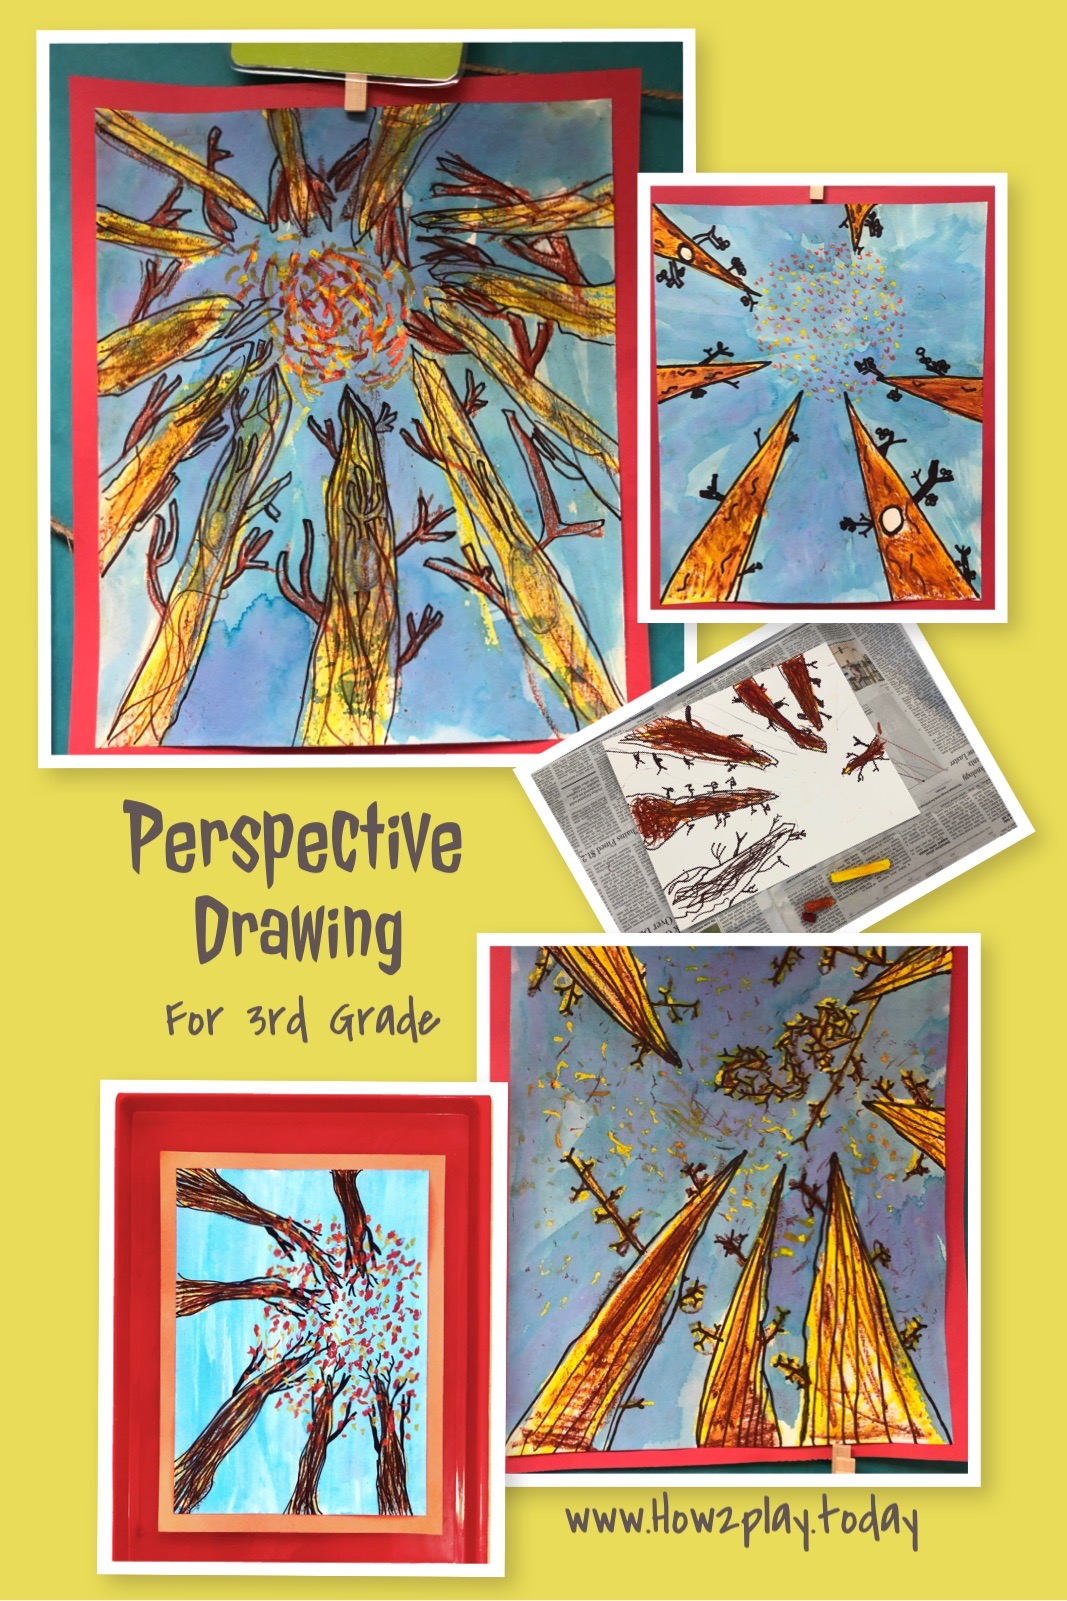
Creating ways to explore Perspective Drawing
Skill Development: Art Education
Minimum Age: Elementary
Messiness: Medium
Click here for Printable PDF
![]()
Materials
- White Mixed Media paper- cut the 9x12 down to 8x11 (keep that extra piece for step 4)
- Brown Sharpie marker
- Oil Pastels: Red, Orange, Yellow, Brown
- Liquid Watercolor: Blue
- Round template: 4” diameter
Books to Read
- There Was an Old Woman Who Swallowed Some Leaves.
*Reading enhancing the learning environment
Credit: This learning plan was created based on the great YouTube video by Audra Spradley with a few changes
Perspective Drawing in Autumn
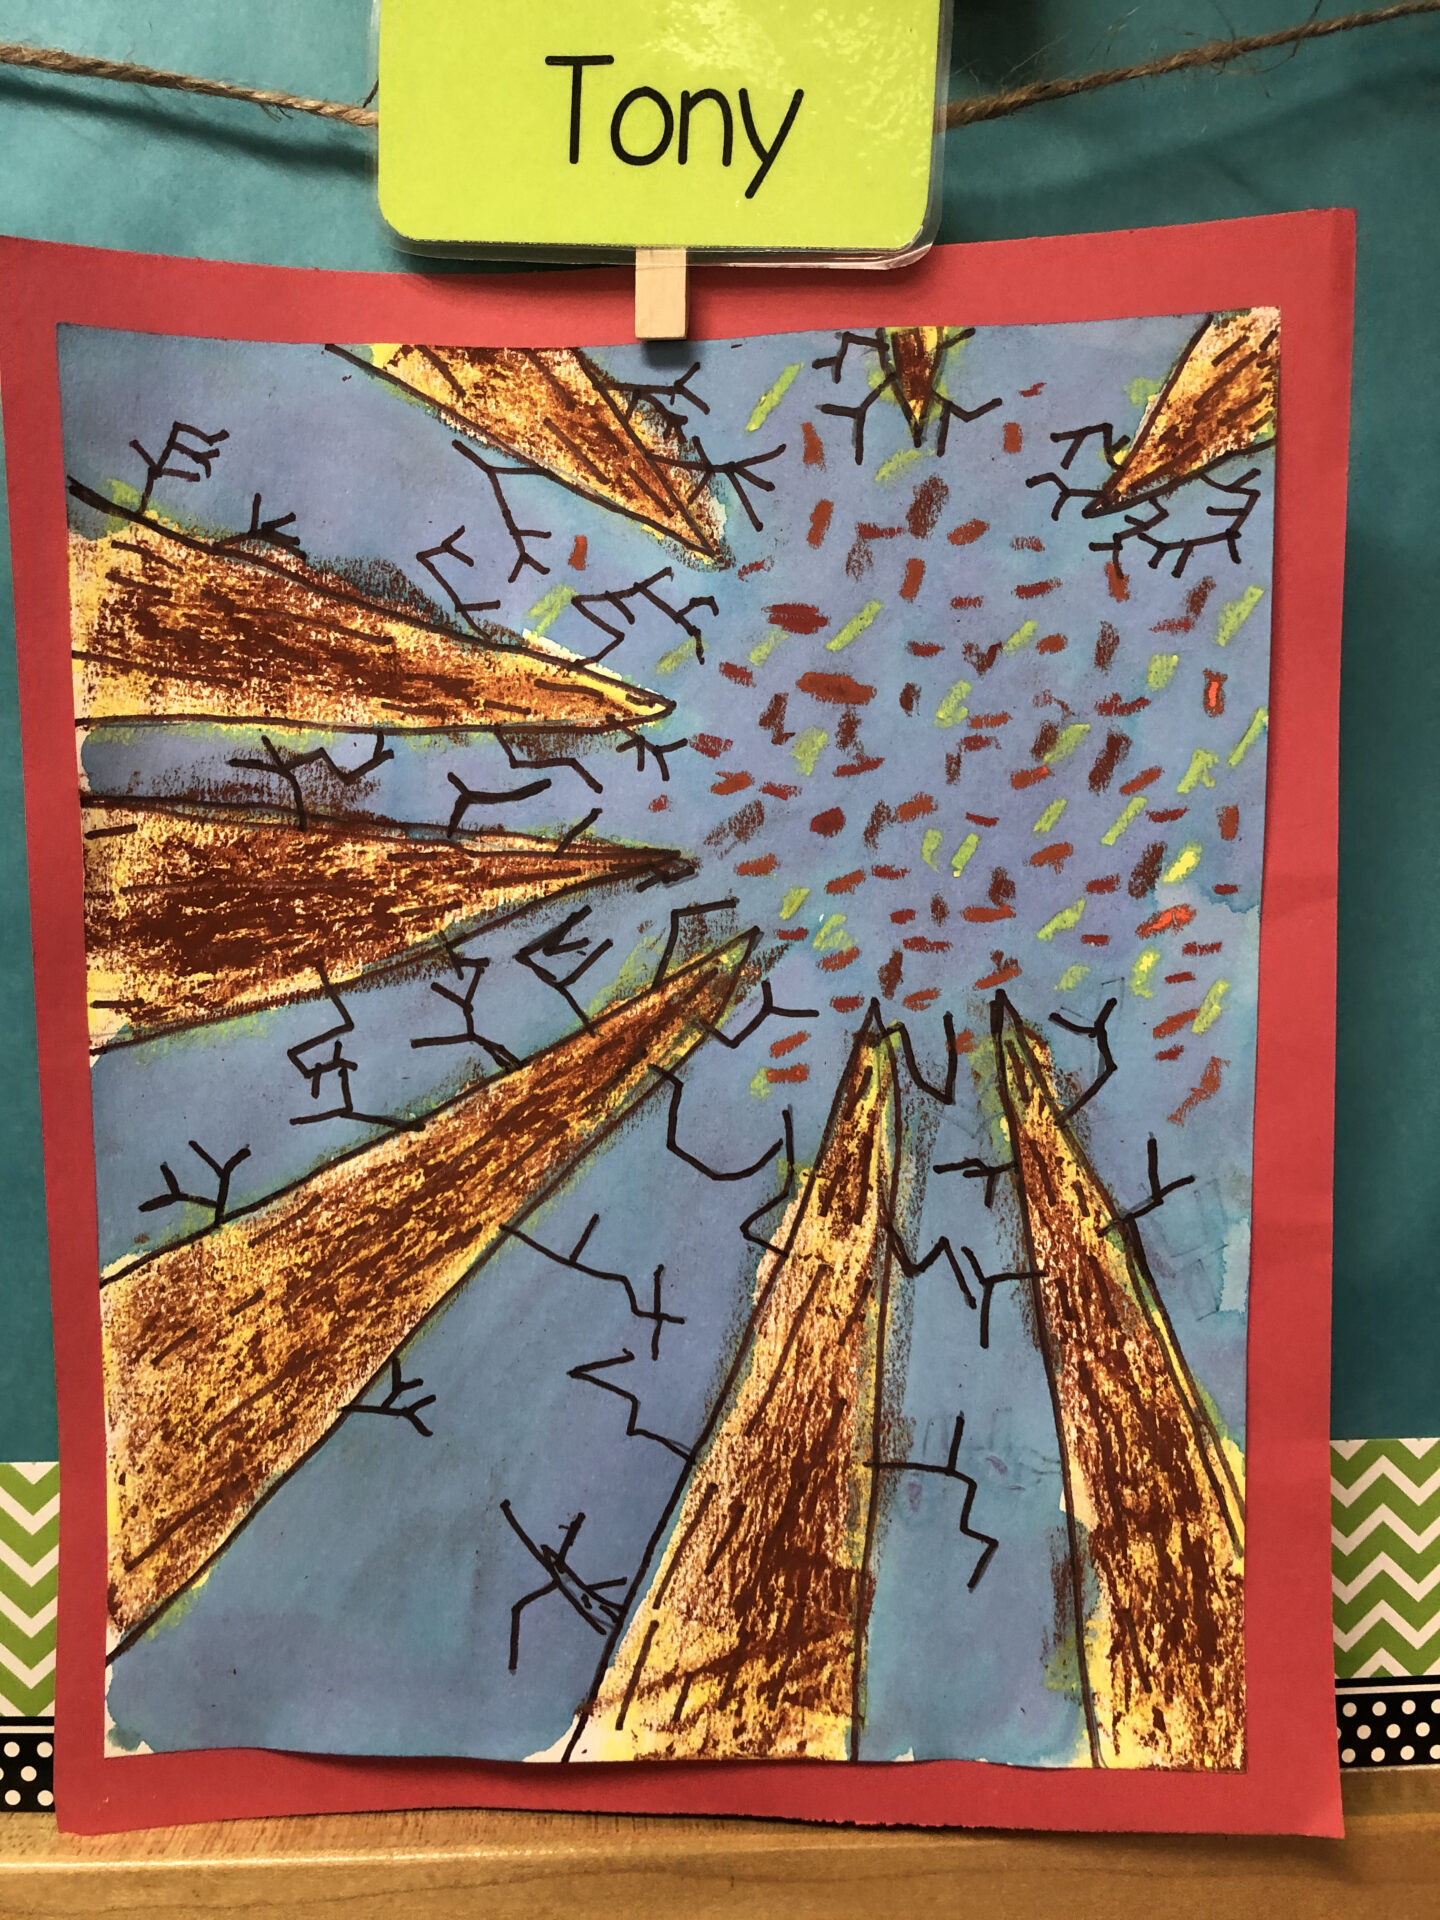
Today you'll be creating ways to explore Autumn while learning about Perspective Drawing {giving a three-dimensional feeling to a flat image}
It’s Autumn and right now our daylight is shorter, it’s colder outside, and the leaves are changing colors. Chlorophyll makes leaves green. The lack of light outside causes the leaves to change to Red, Orange, Yellow, & eventually brown. We will use these colors in creating our Autumn inspired trees.
Step 1:
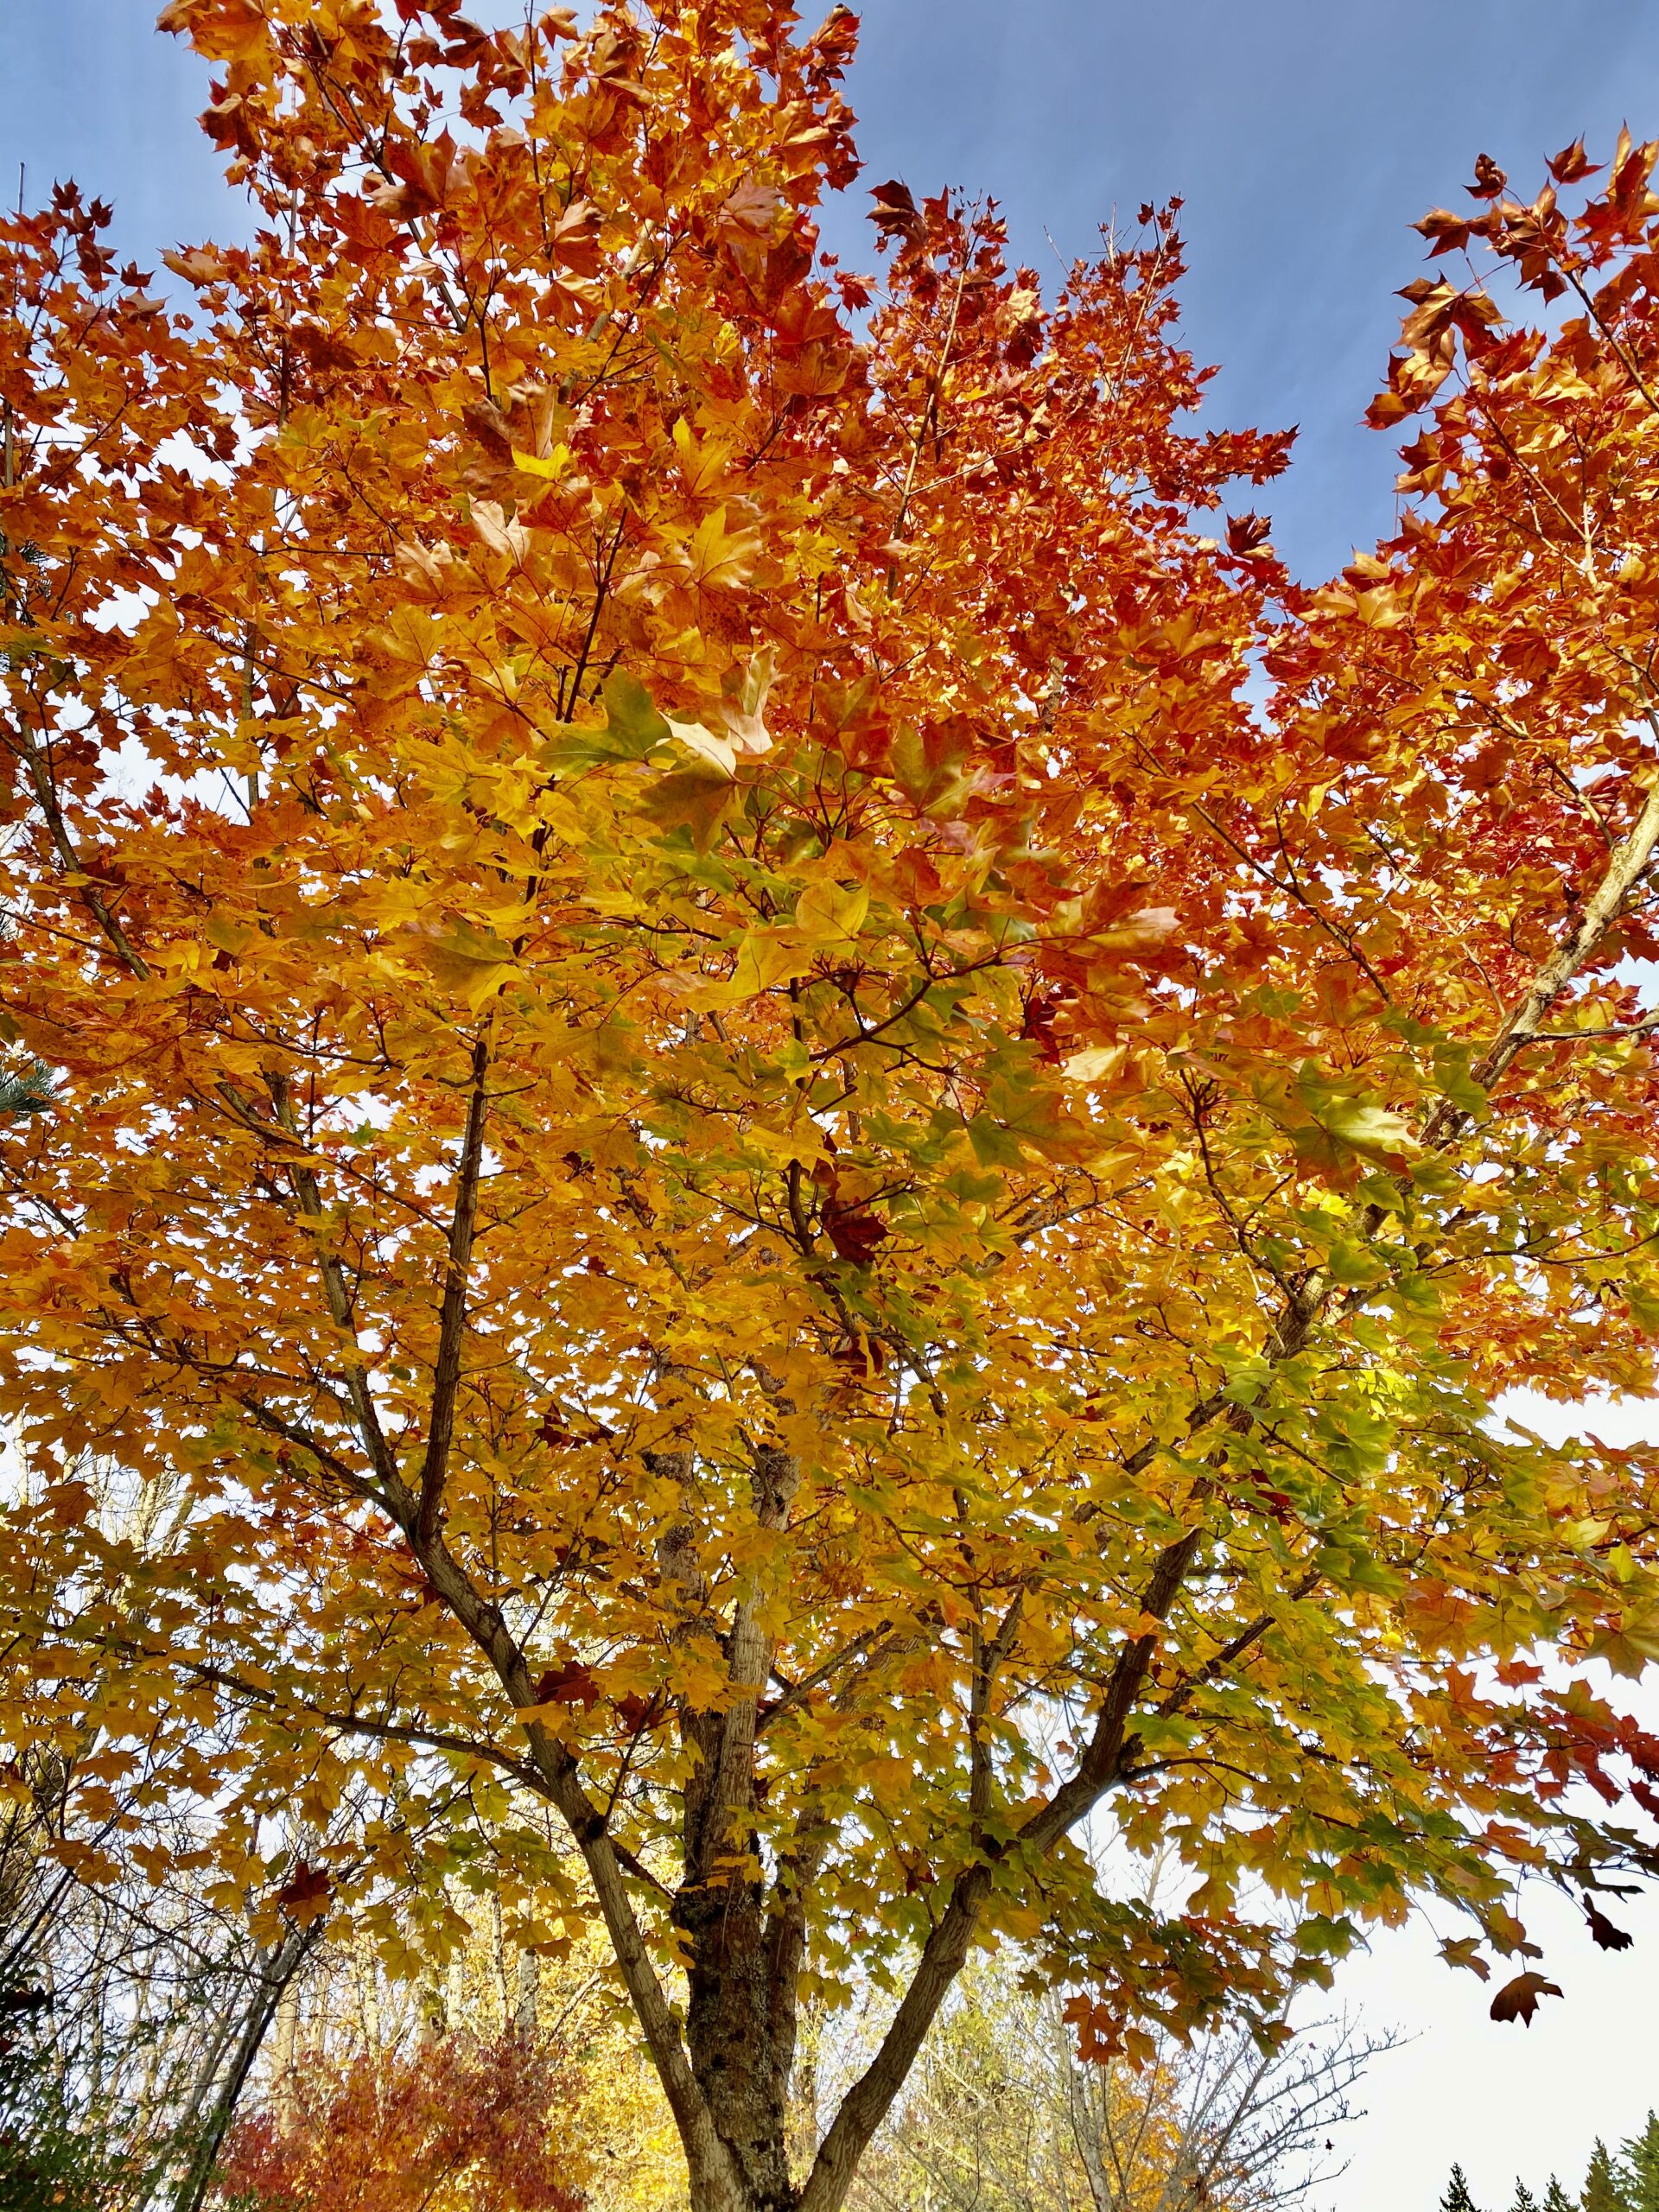
Close your eyes. Imagine you’re lying down outside in the brisk air with the sun shining down on you. Above you are beautiful Autumn trees with their warm colored leaves. Maybe some are even falling down on you as the breeze blows.
What do you see? How does it make you feel?
Now, let’s create that scene.
Photo Credit: Beth Sidell – Beth’s Photography and Design
Step 2:
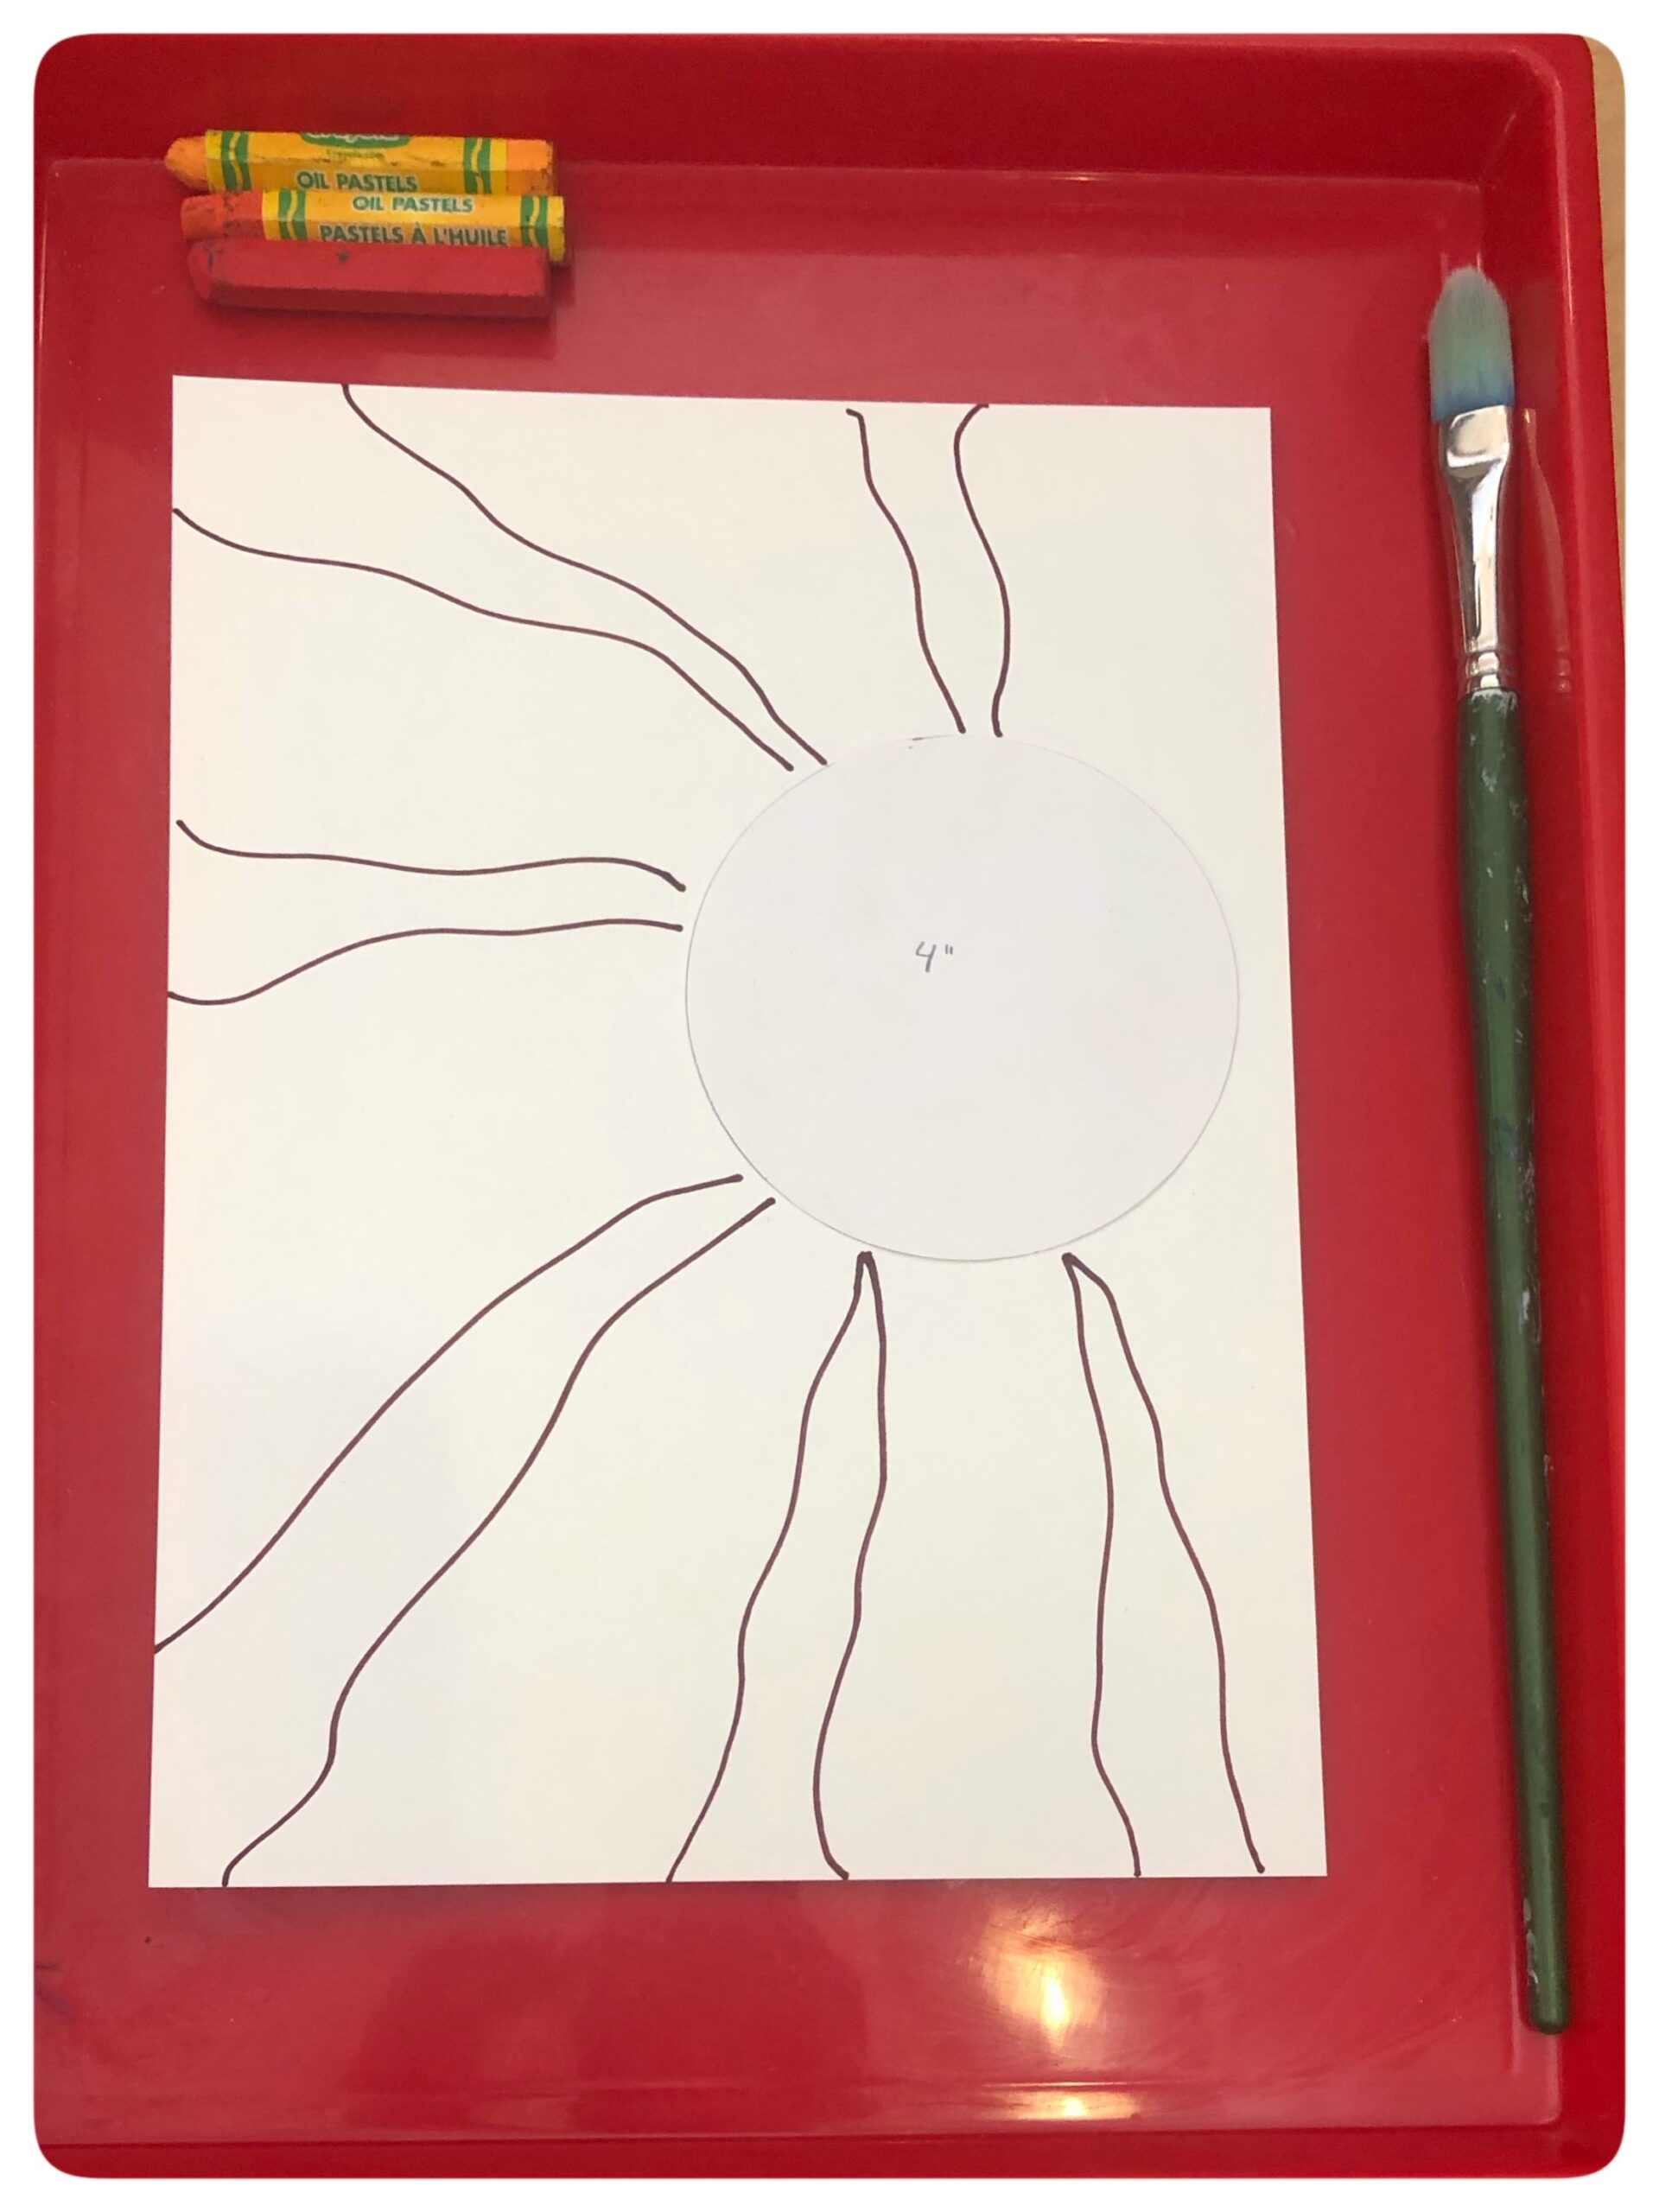
Arrange the mixed media paper in Portrait layout. Place the white circle template where you want your tree leaves to be.
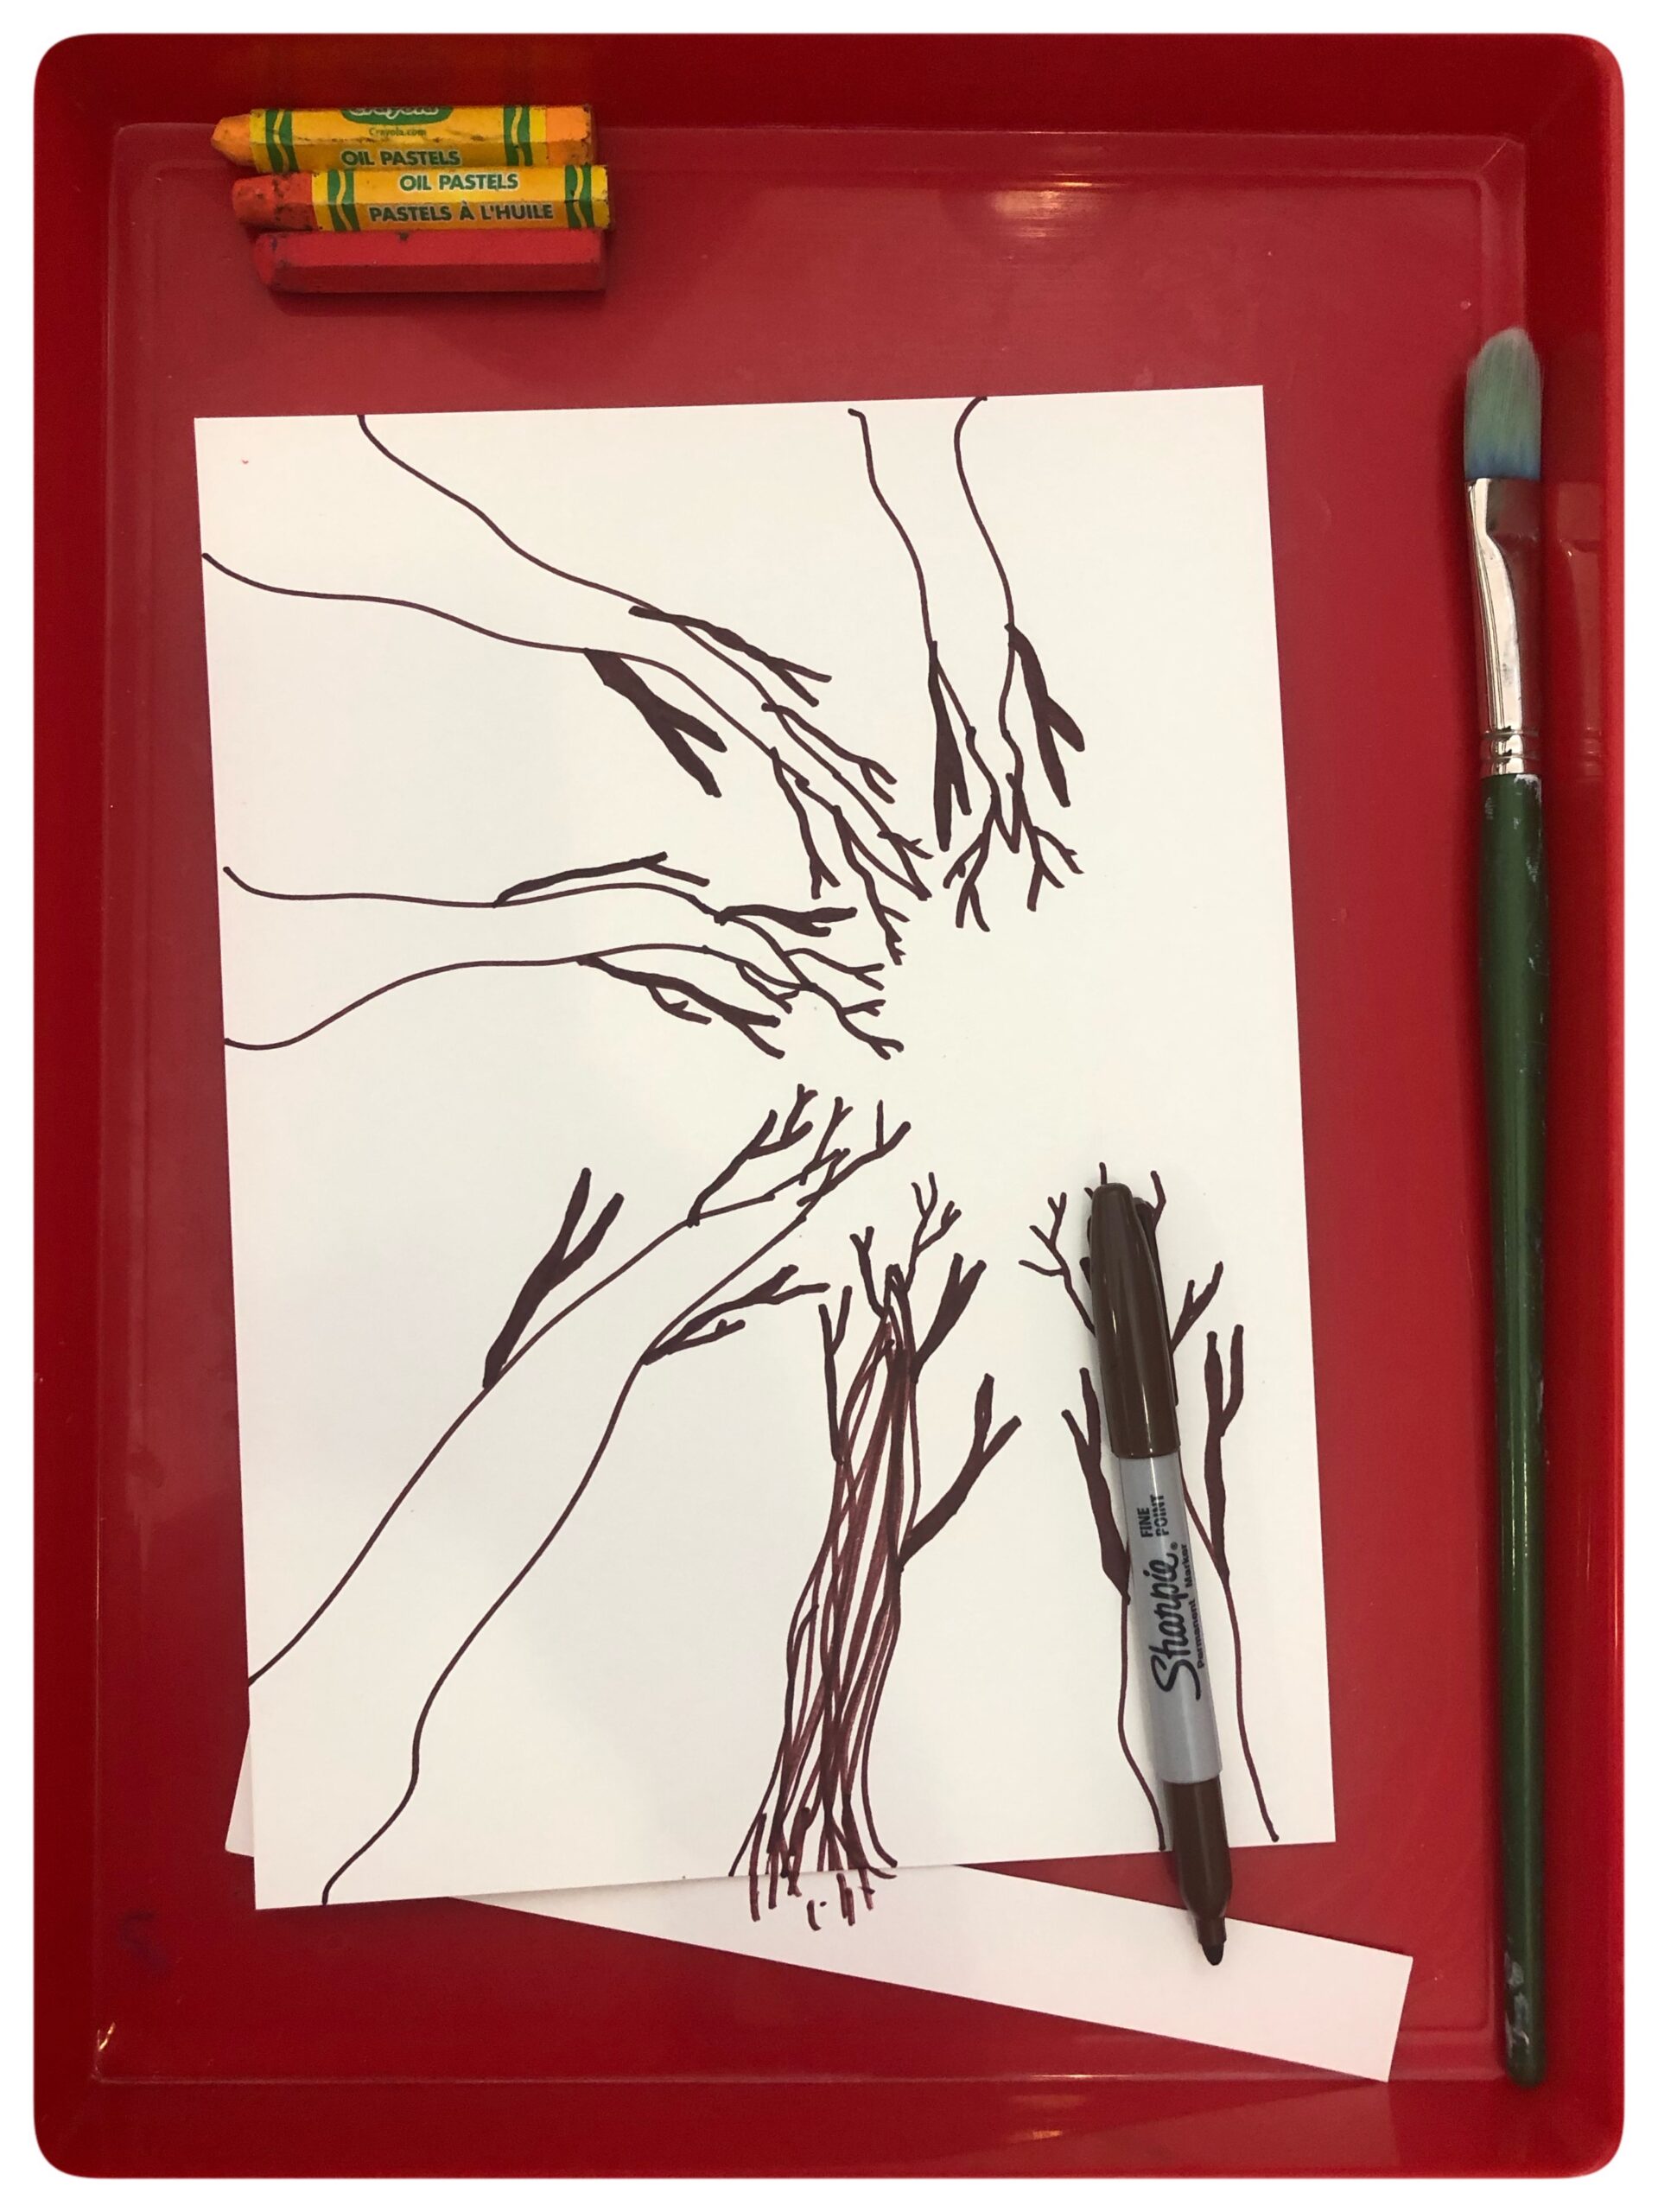
Using your brown Sharpie, begin on the edge of the paper and draw your tree trunks toward your Perspective Point (template).
Step 3:
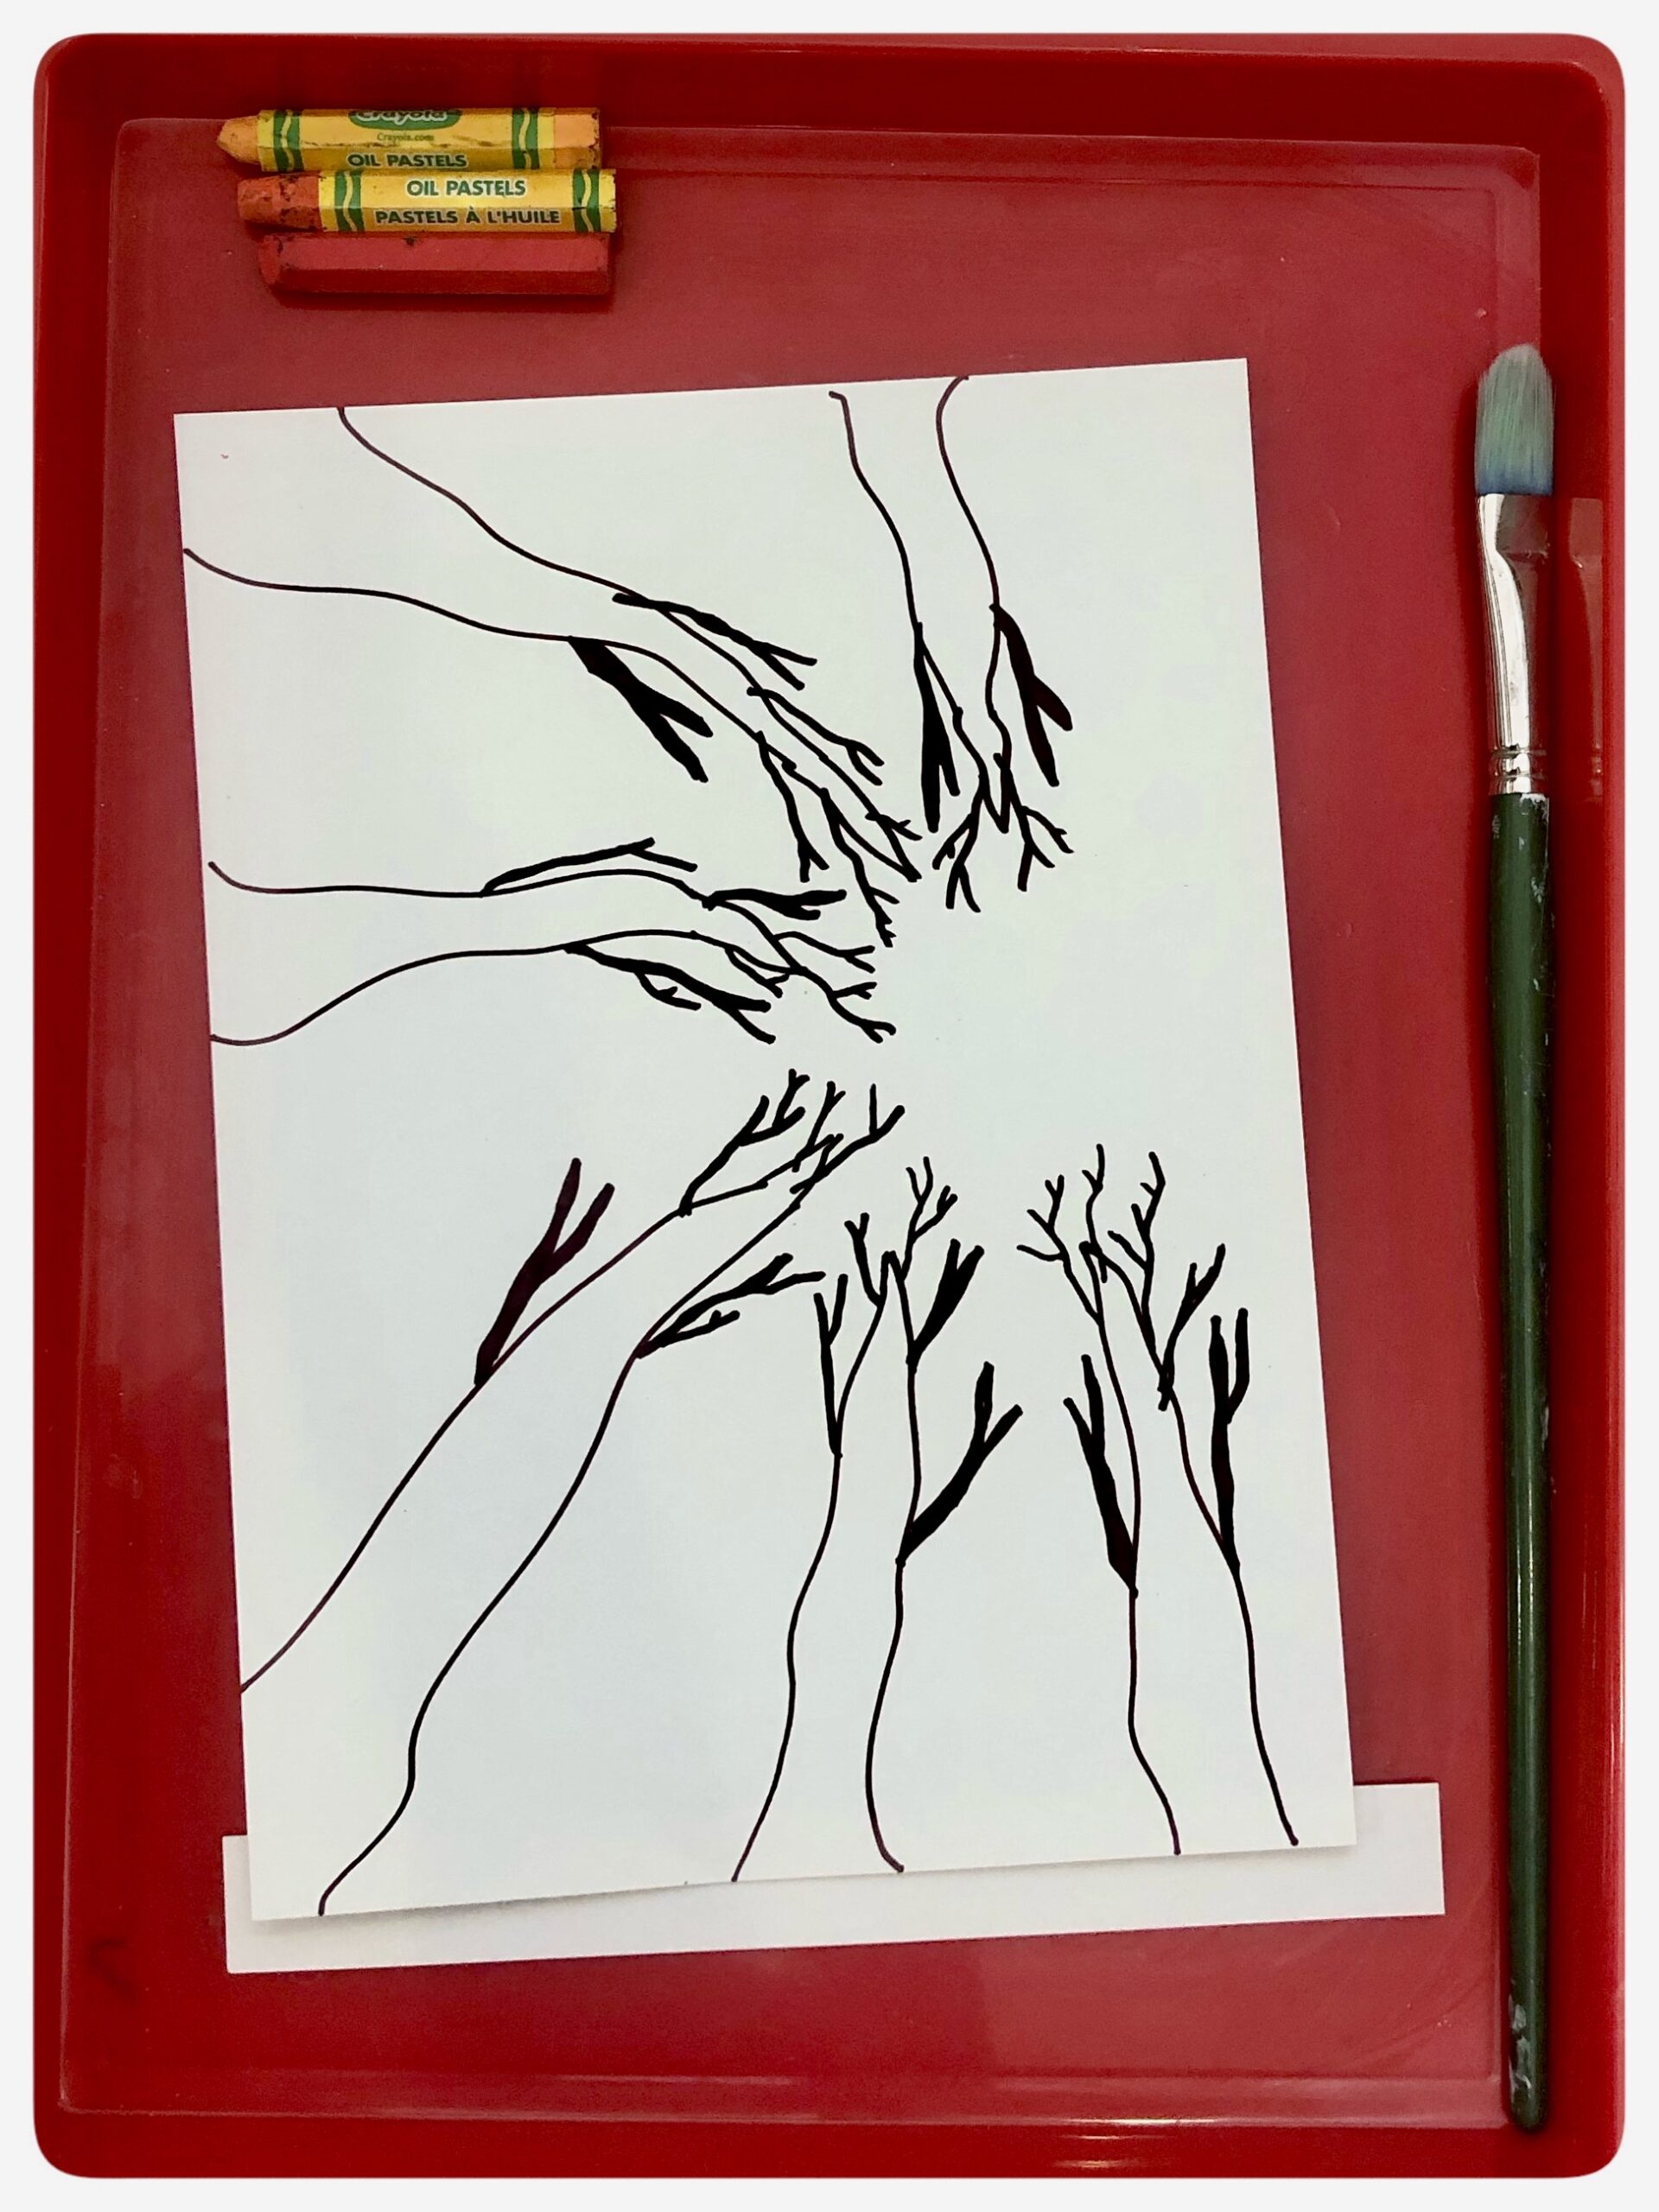
Remove the template and finish drawing the tops of your trees; they will meet in a point. Now begin to draw your branches extending and pointing towards your Perspective Point. A great way to draw branches are to draw Y’s. No need to make them straight; think of what you see in nature.
Branches closer to the ground (edge of paper) will appear thicker and get thinner as they reach to the sky.
Step 4:
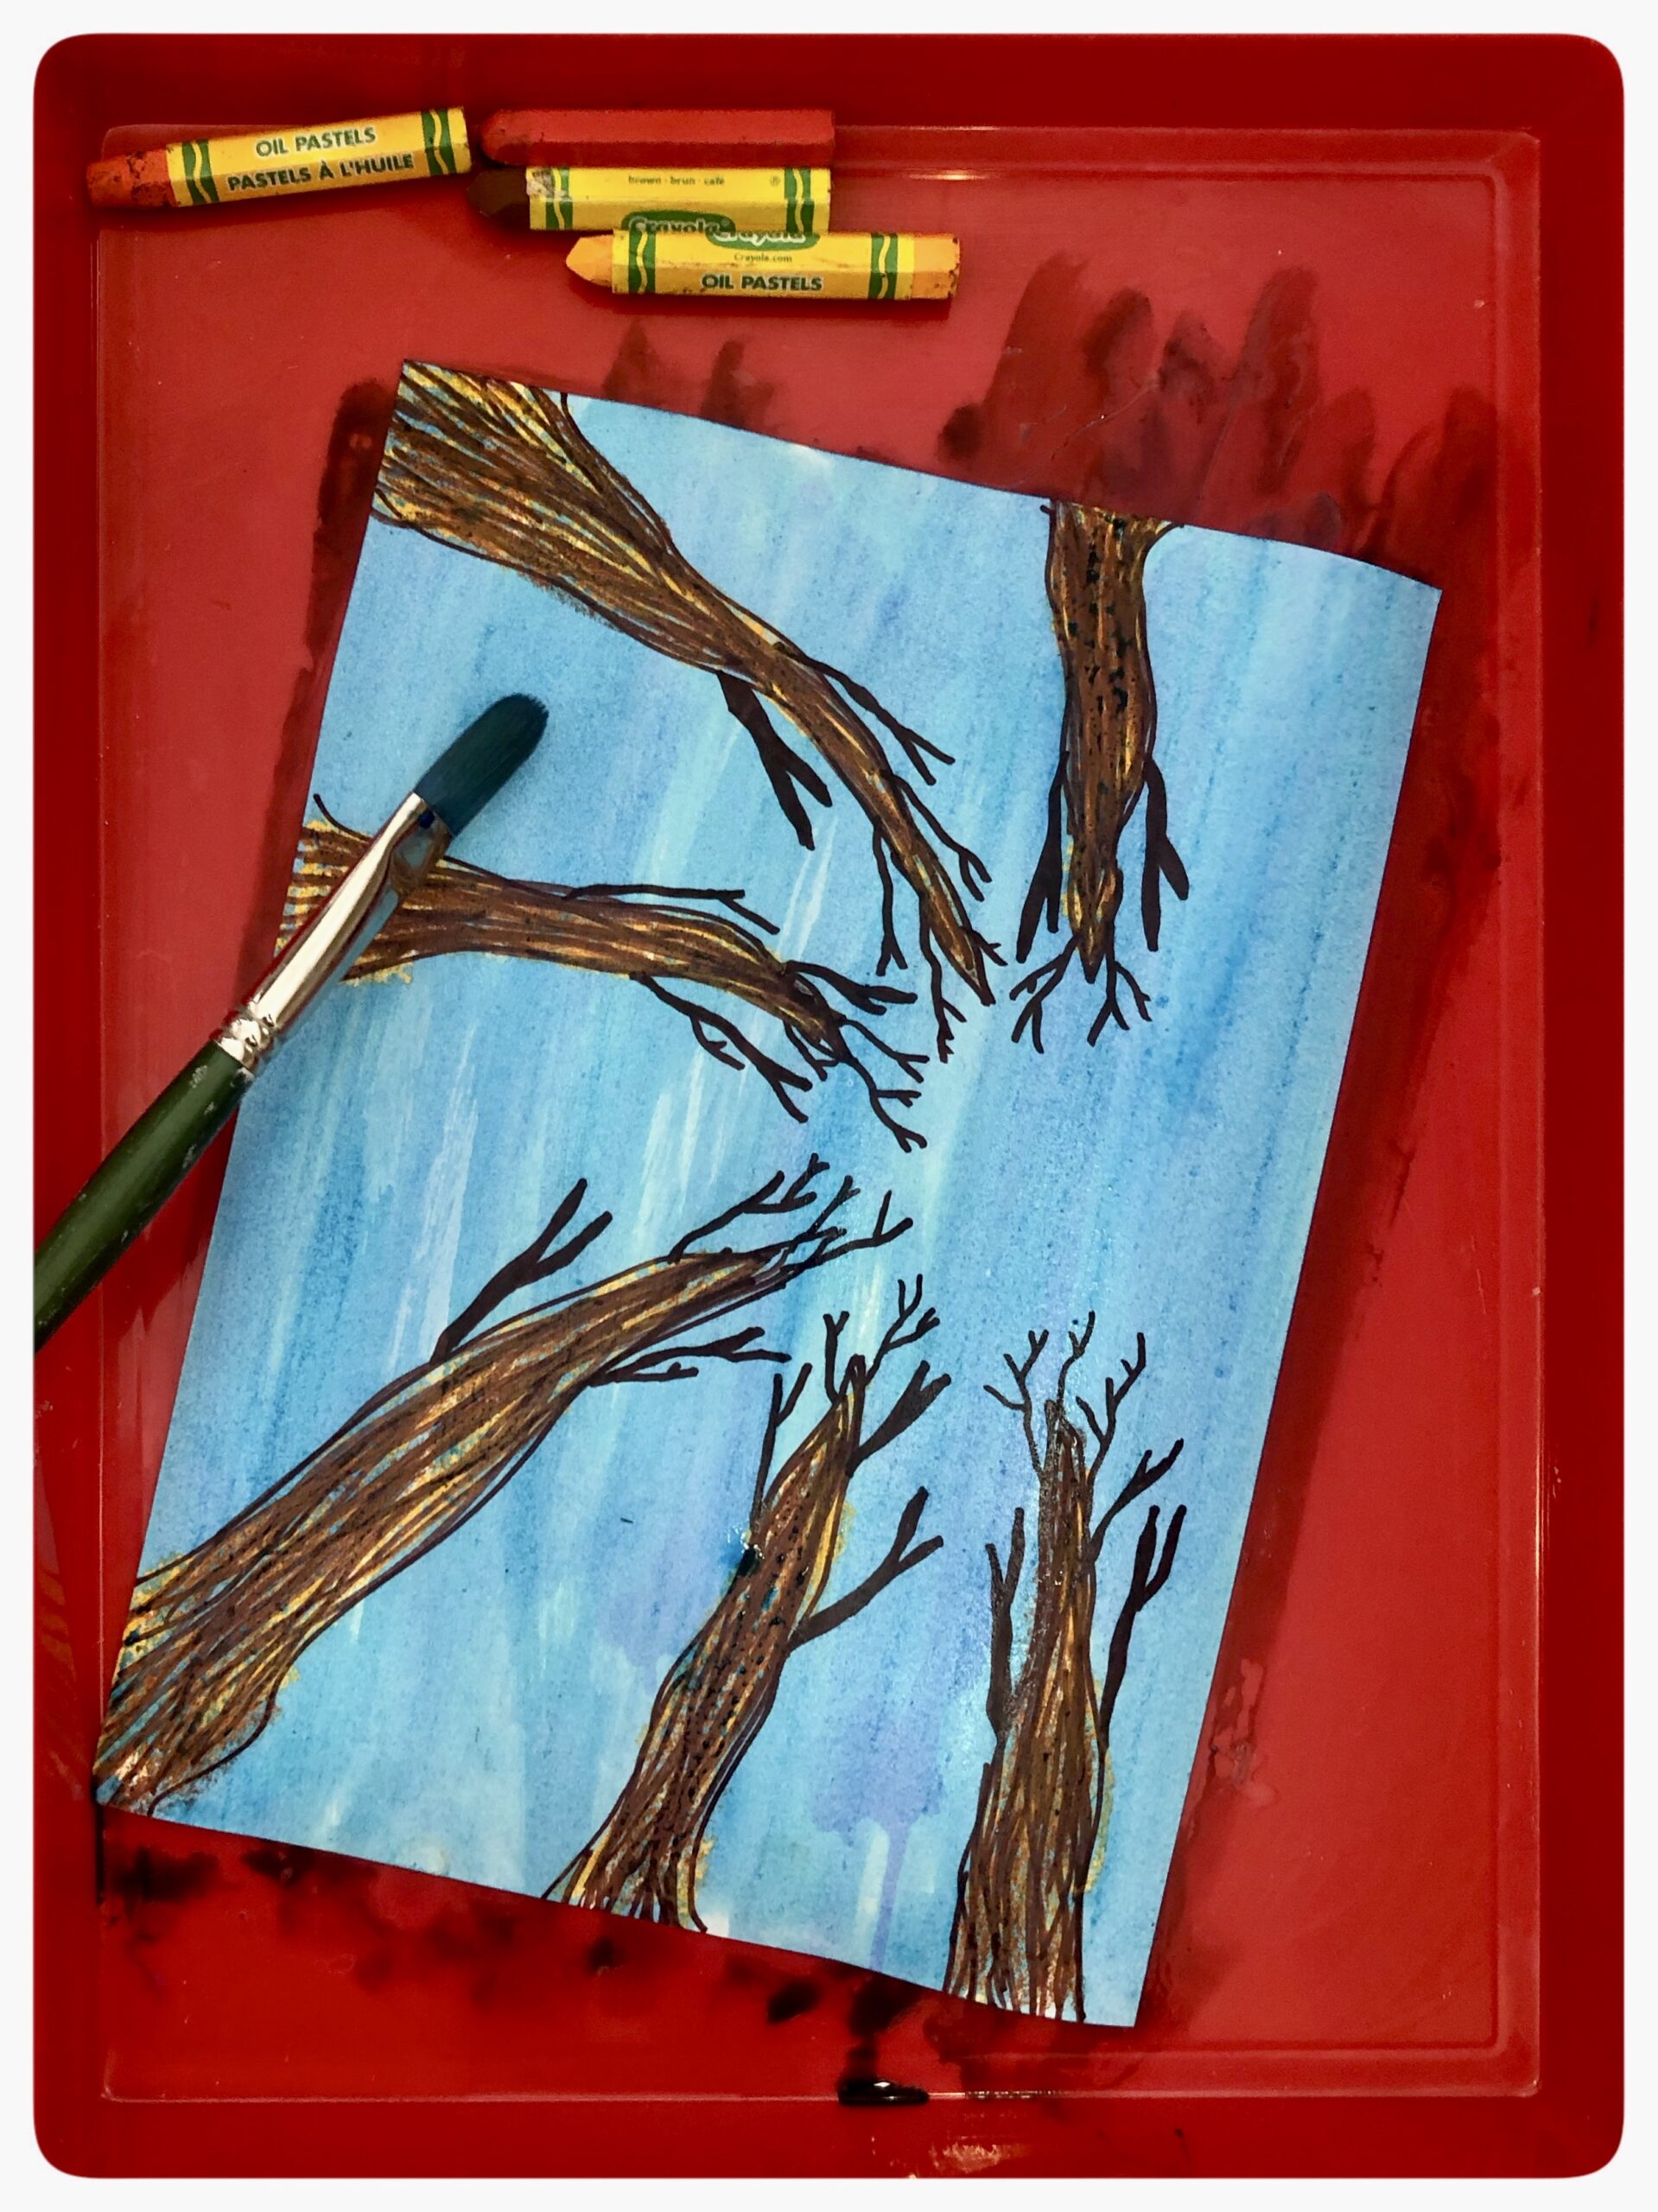
Using the extra piece of the mixed media that was previously cut off, place it underneath to keep table or tray clean. With your Sharpie, draw up and down the trees, creating your textured tree trunks.
Step 5:
Use your yellow and brown oil pastels and color in the tree trunks. With a larger paint brush, paint blue liquid watercolor over the entire paper. No need to over paint; it will need to dry before next steps. If using art tray, clean it off after this step or place newspaper under before mixed media paper.
Step 6:
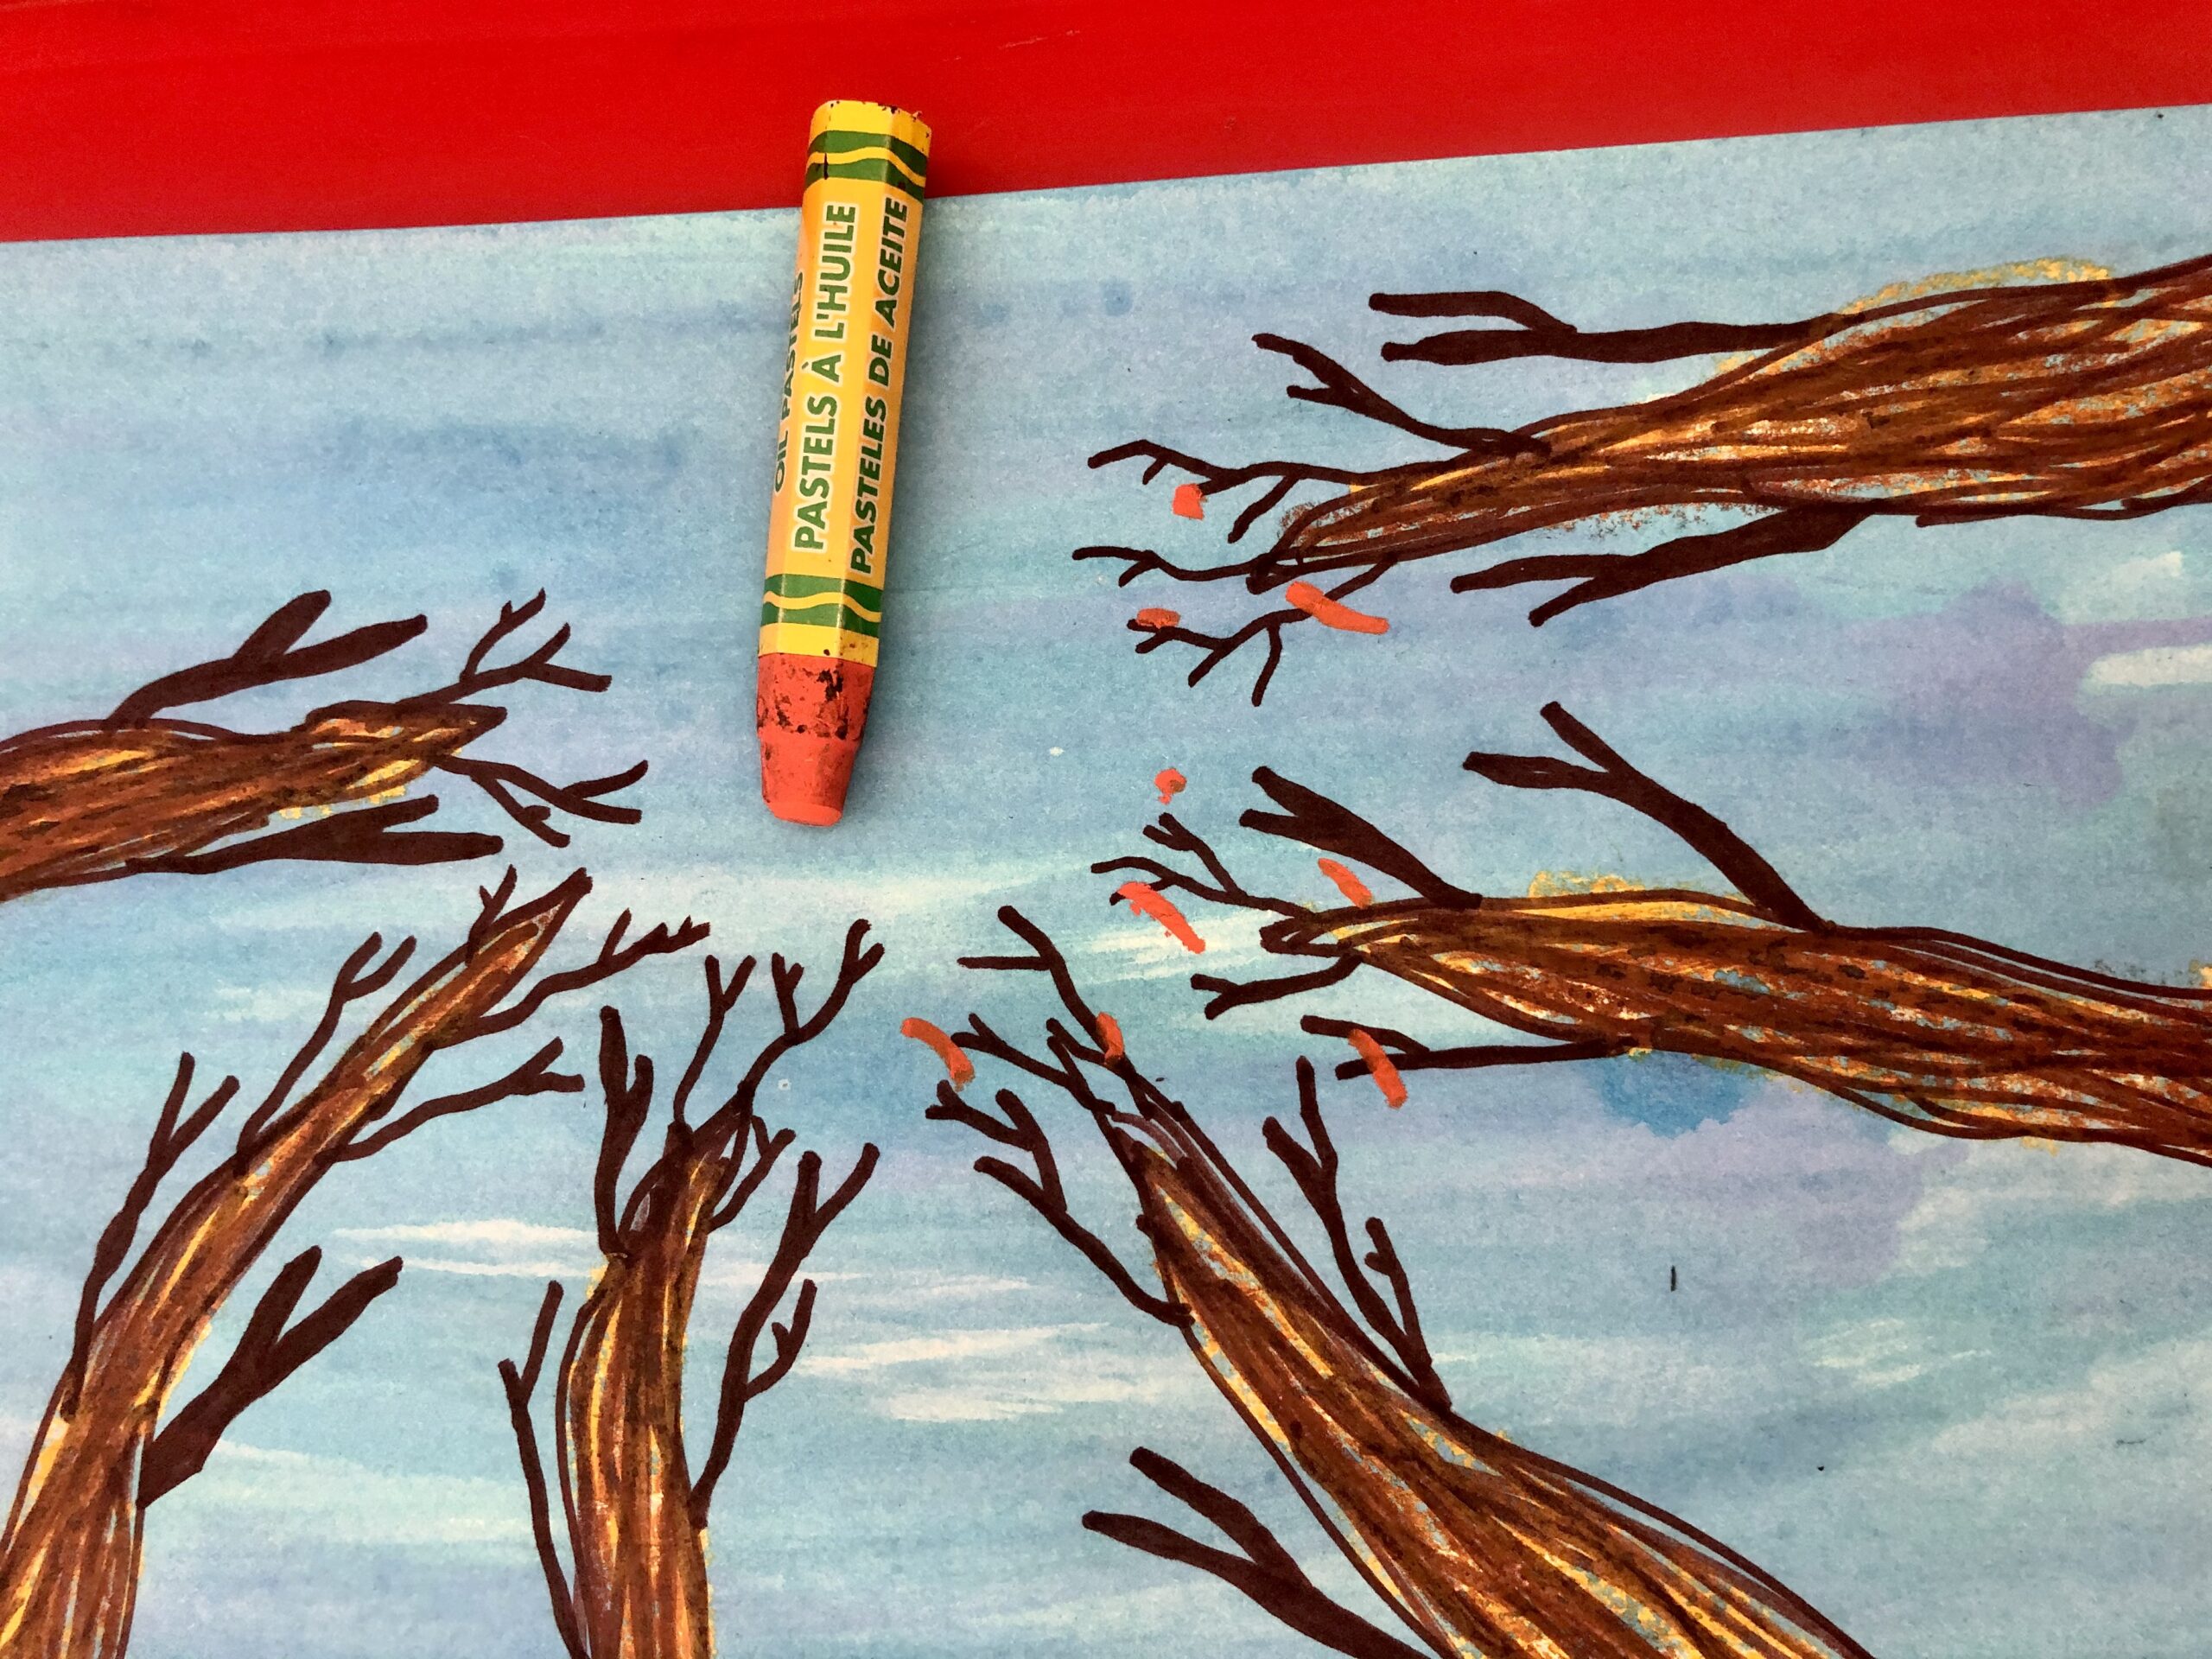
Once your paper is dry, use the Red, Orange, and Yellow oil pastels and make swooshes (twisting as you push down) around the branches and inside of your perspective point. You can add leaves falling (remember in step 1 how we imagined our image)
Share your Projects:
Check out more of our Art ideas here and don't forget to tag us on social when you try these out #how2playtoday
Check out our Instagram page and stories for more ideas of How 2 Play Today with your children.
![]()

