Objective:
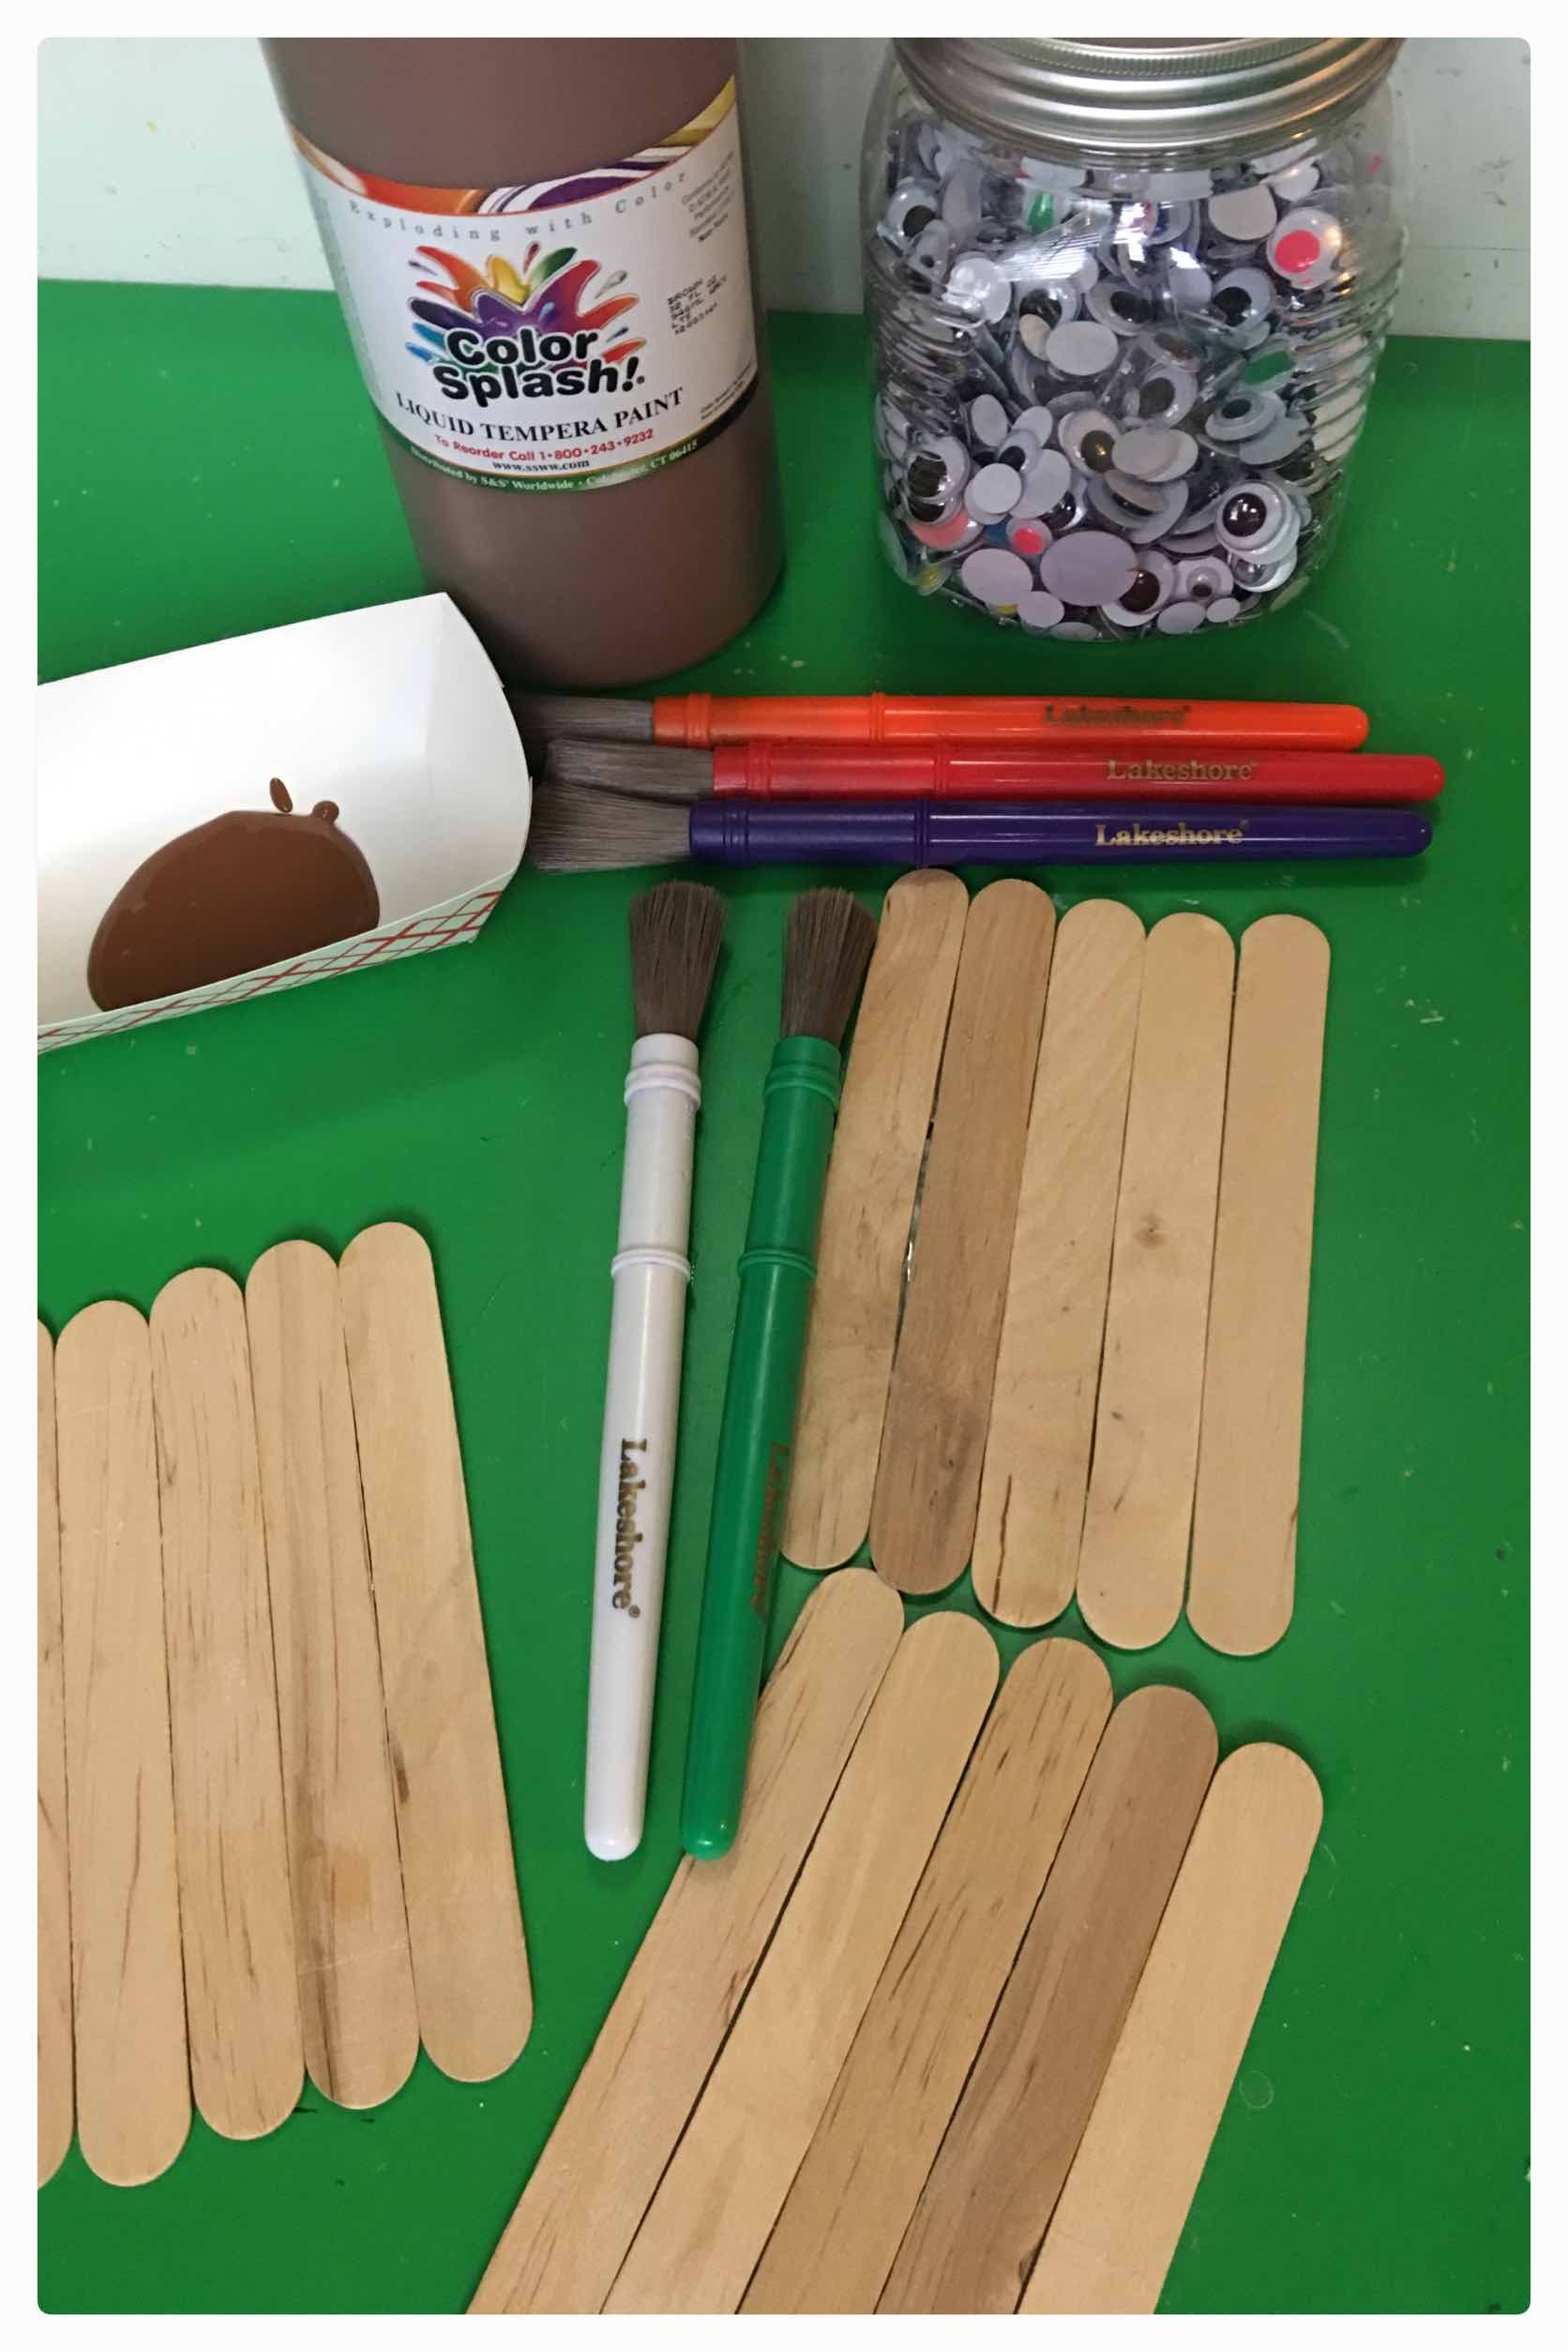
Creating fun craft projects for Thanksgiving
Skill Development: Arts and Crafts
Minimum Age: Preschool
Messiness: Medium
![]()
This post may contain affiliate links which keeps this blog going but does not add any cost to you
Materials
- Jumbo craft sticks
- Tempra paint: brown
- Google Eyes
- Felt pieces for the beak
- Elmer's glue
- Paint brushes
- Container for paint
- Smocks, art aprons, drop cloth
- Craft Feathers
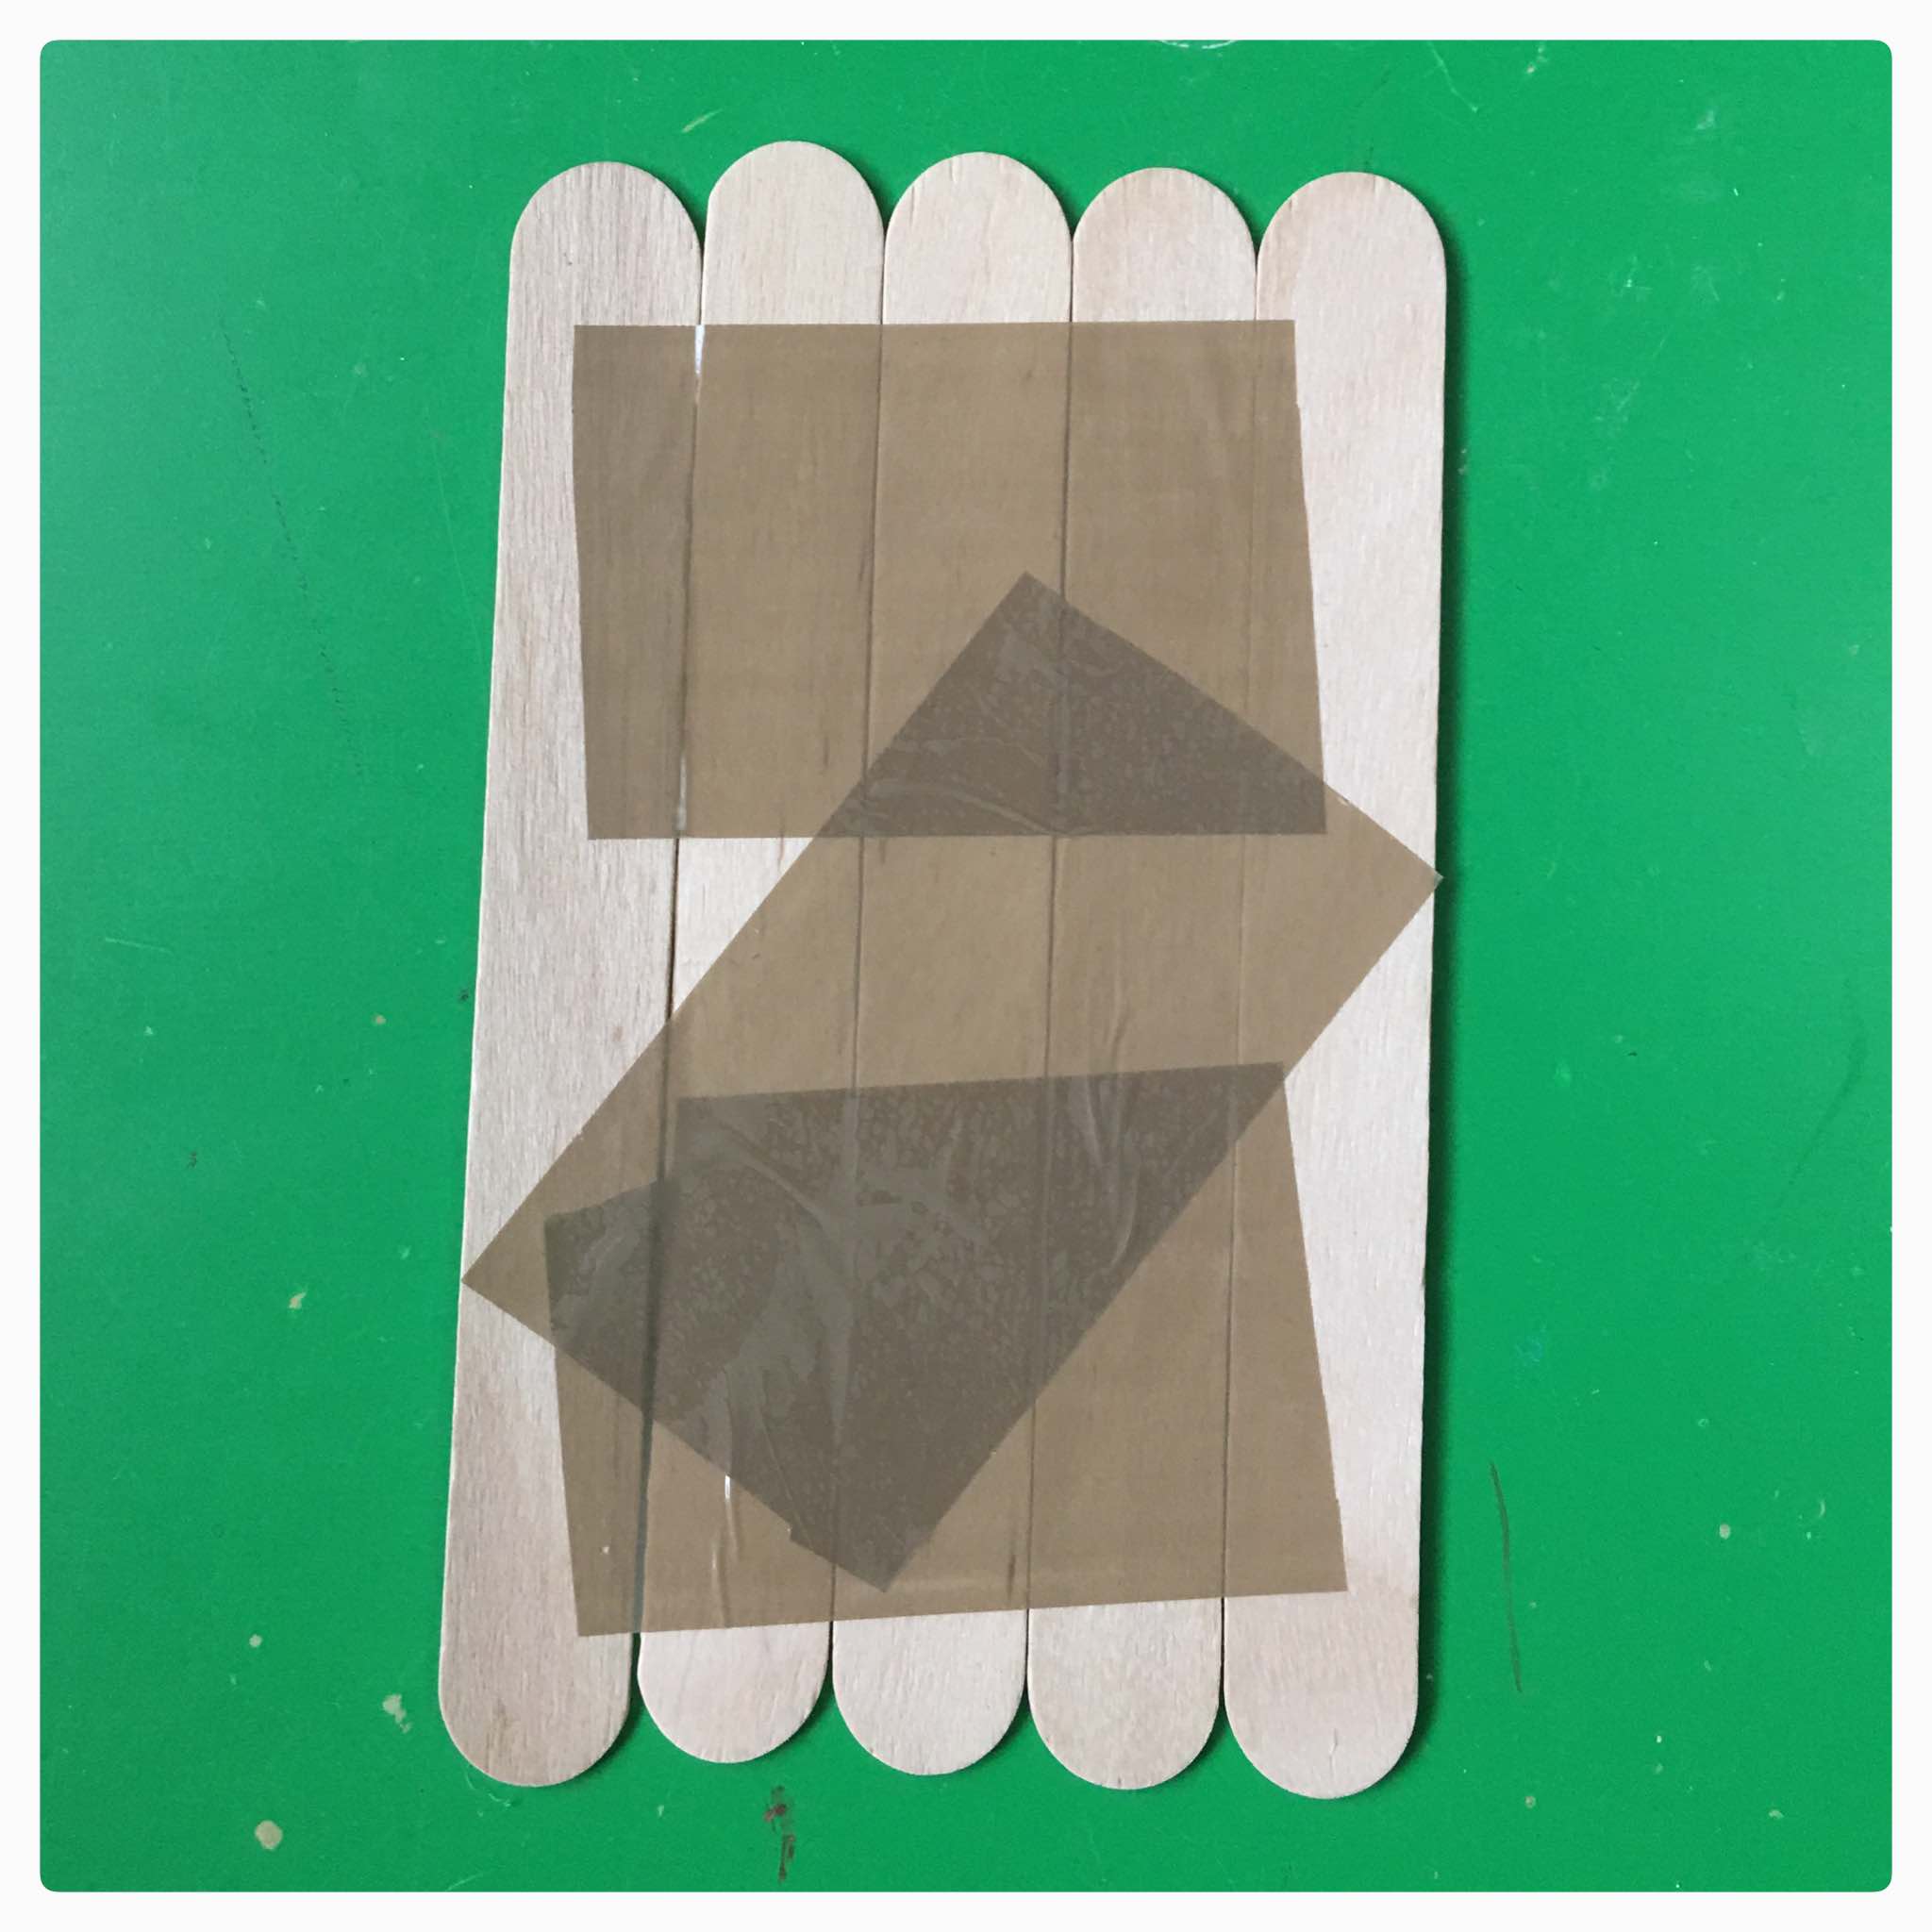
- Packing tape
Books to Read
- How the Crayons Saved the Rainbow
- My First Book of Colors
*Reading enhancing the learning environment
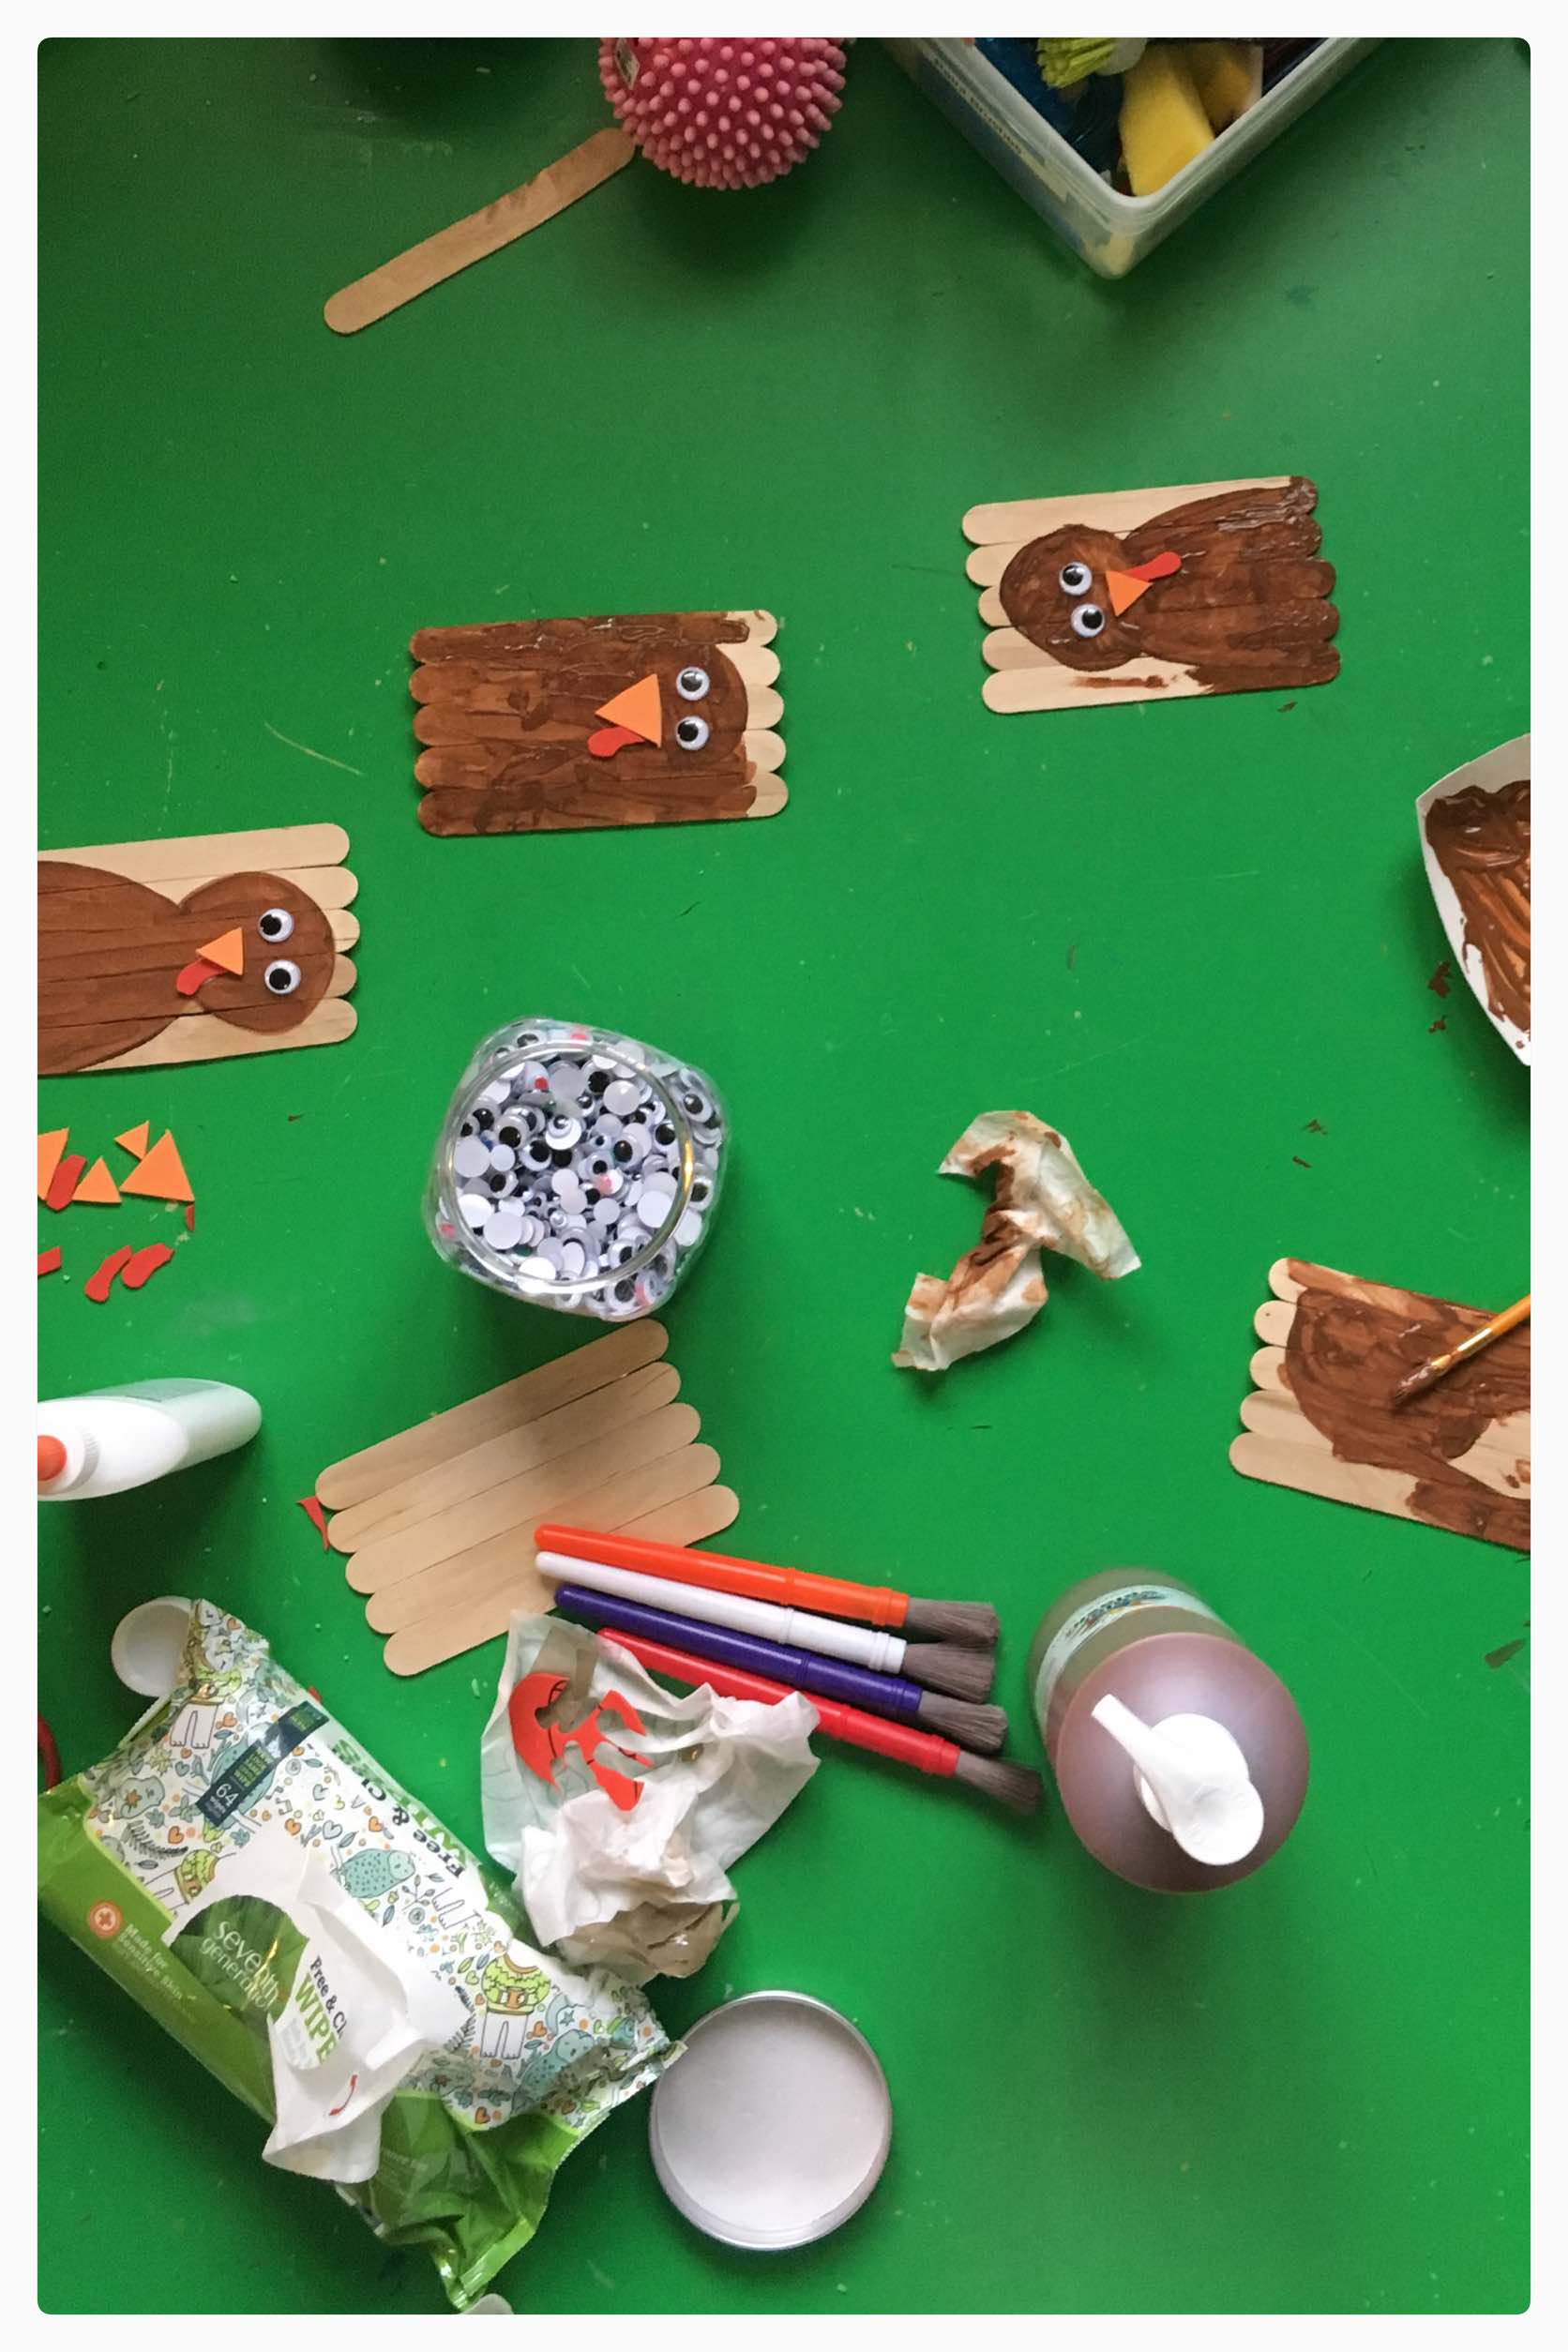
1.Gather all of your supplies. Setting everything up prior to introducing this to your child, helps for less mess.
Tip for not stressing about the mess:
- Keep baby wipes close by
- Prep the area with a drop cloth or old bed sheet to catch any spills
- Put your child in old play clothes that can get dirty and messy
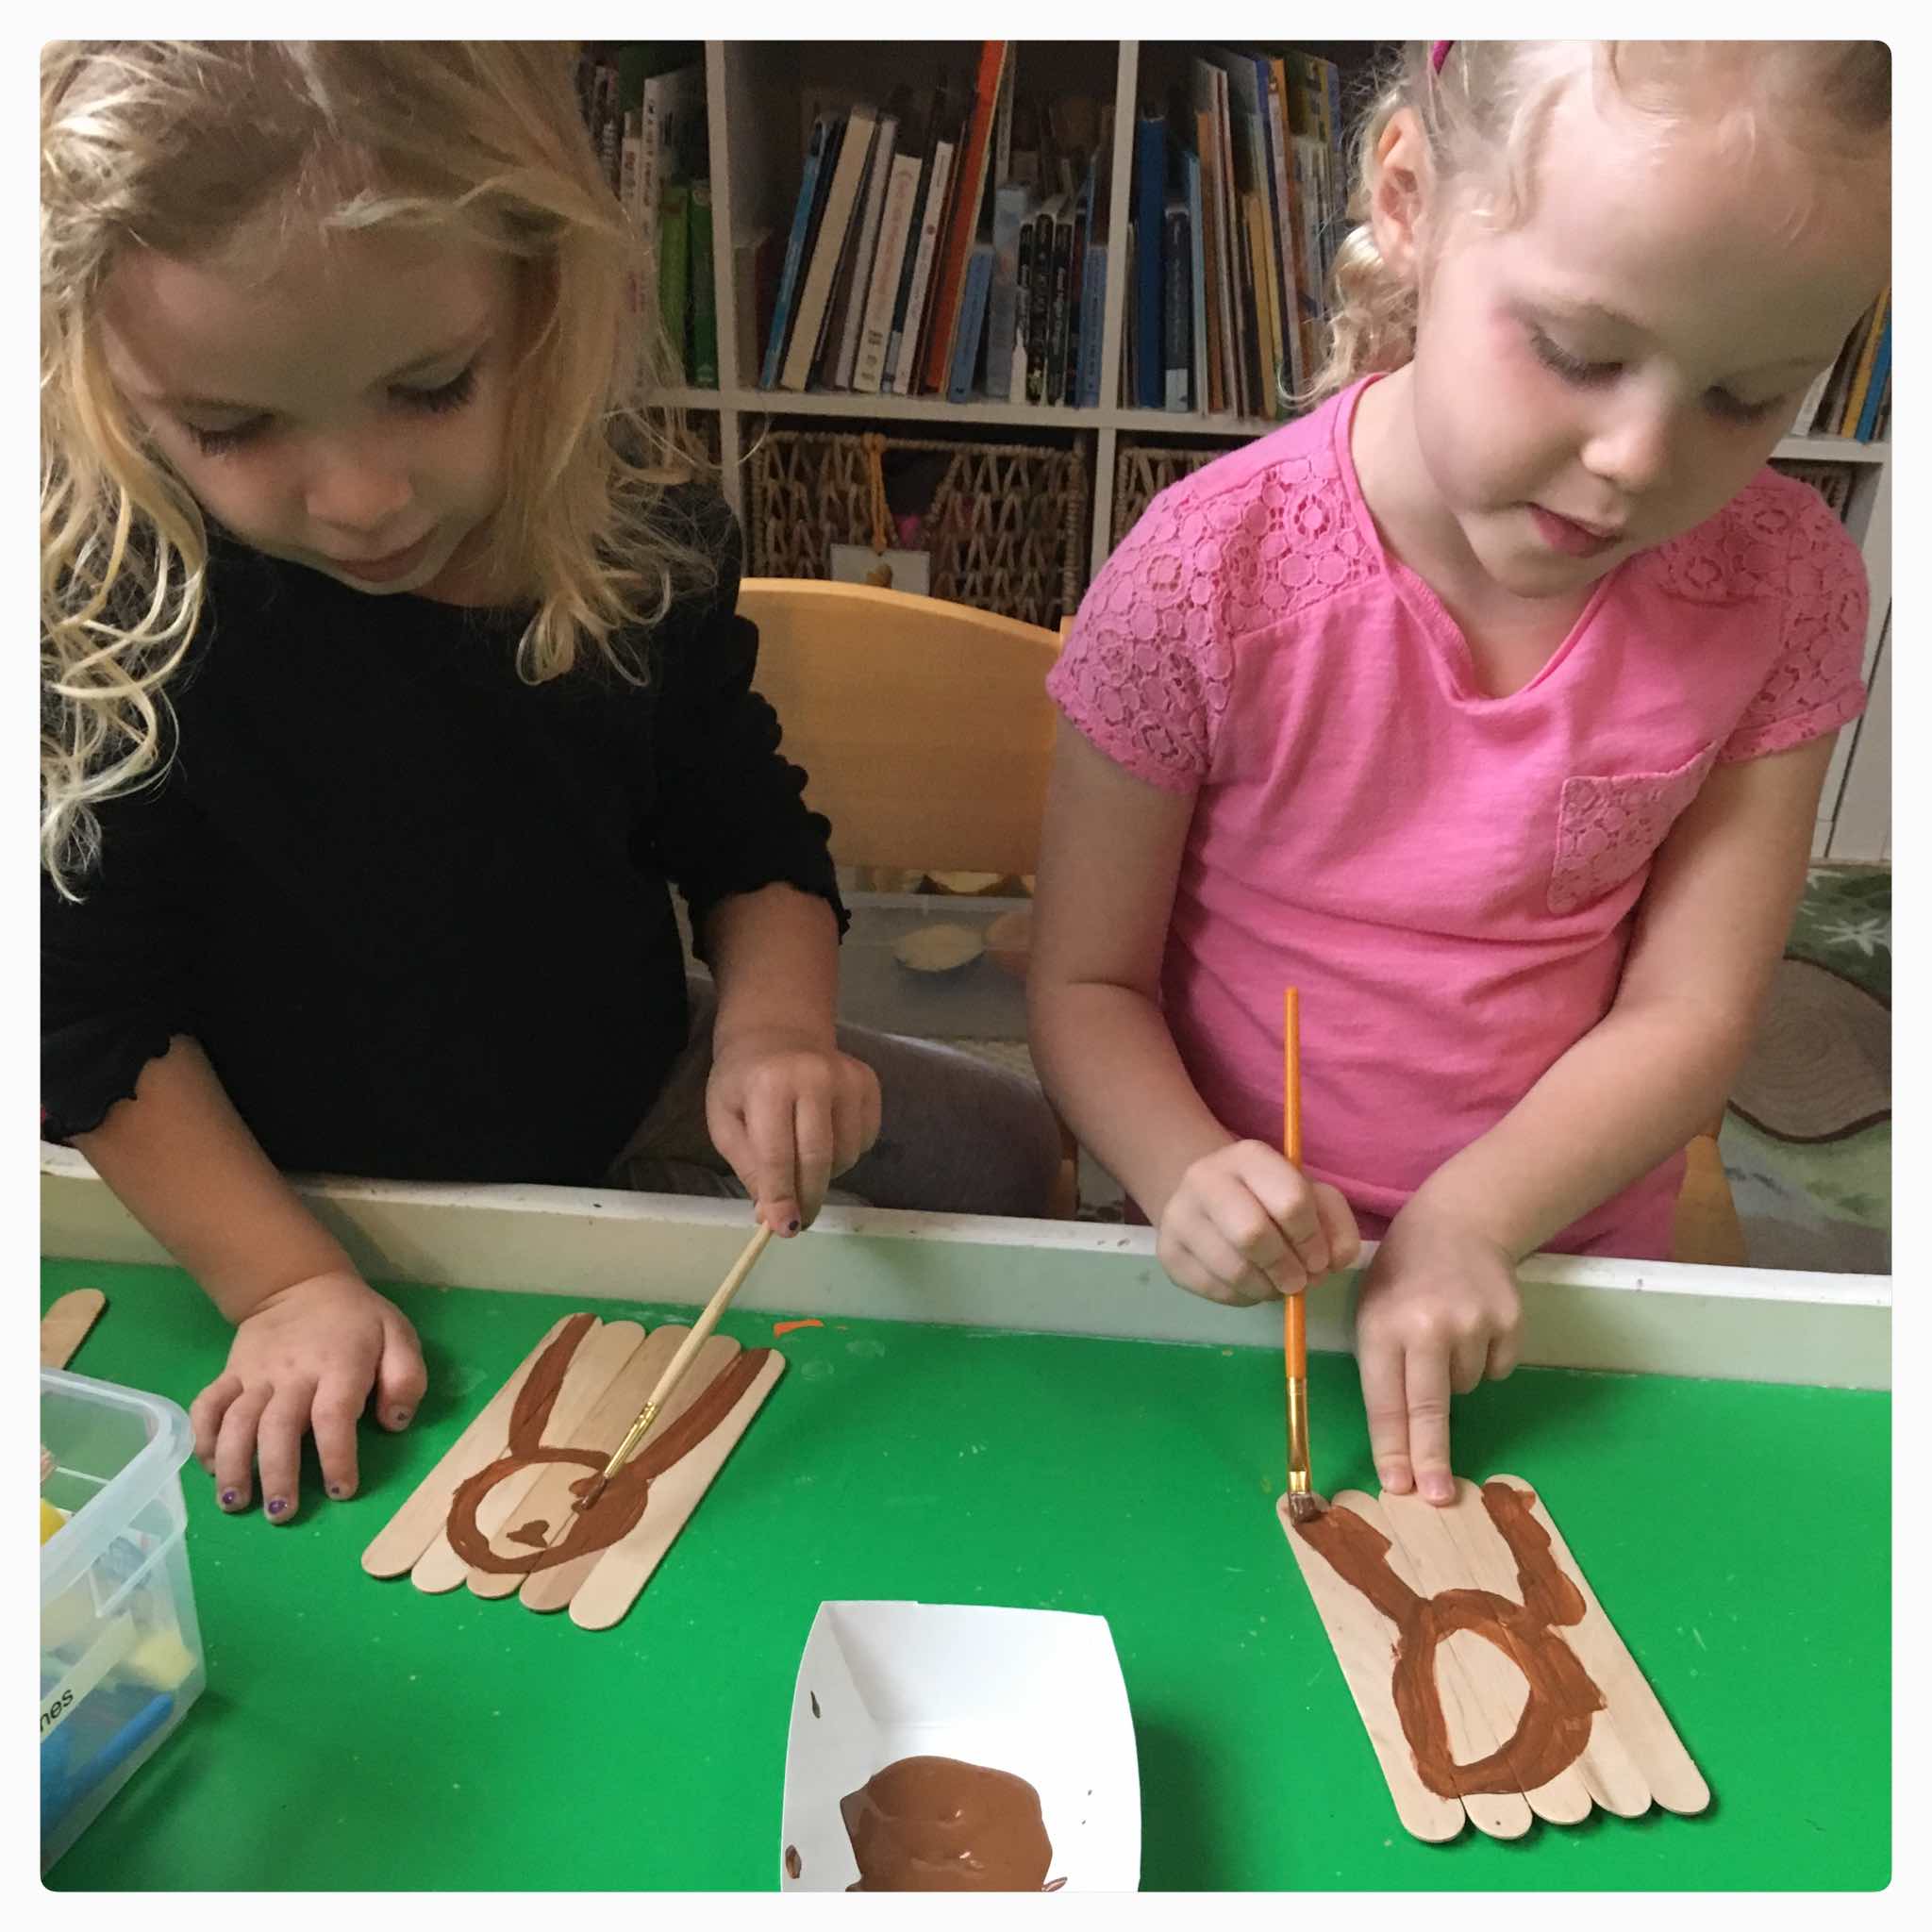
3. Let your child start painting.
Typically, I try to present process art or open-ended projects where we are not focused on the outcome. I tried to explain to them what a turkey might look like on these sticks but they had a difficult time so I helped them by drawing the head and body for them to get started.
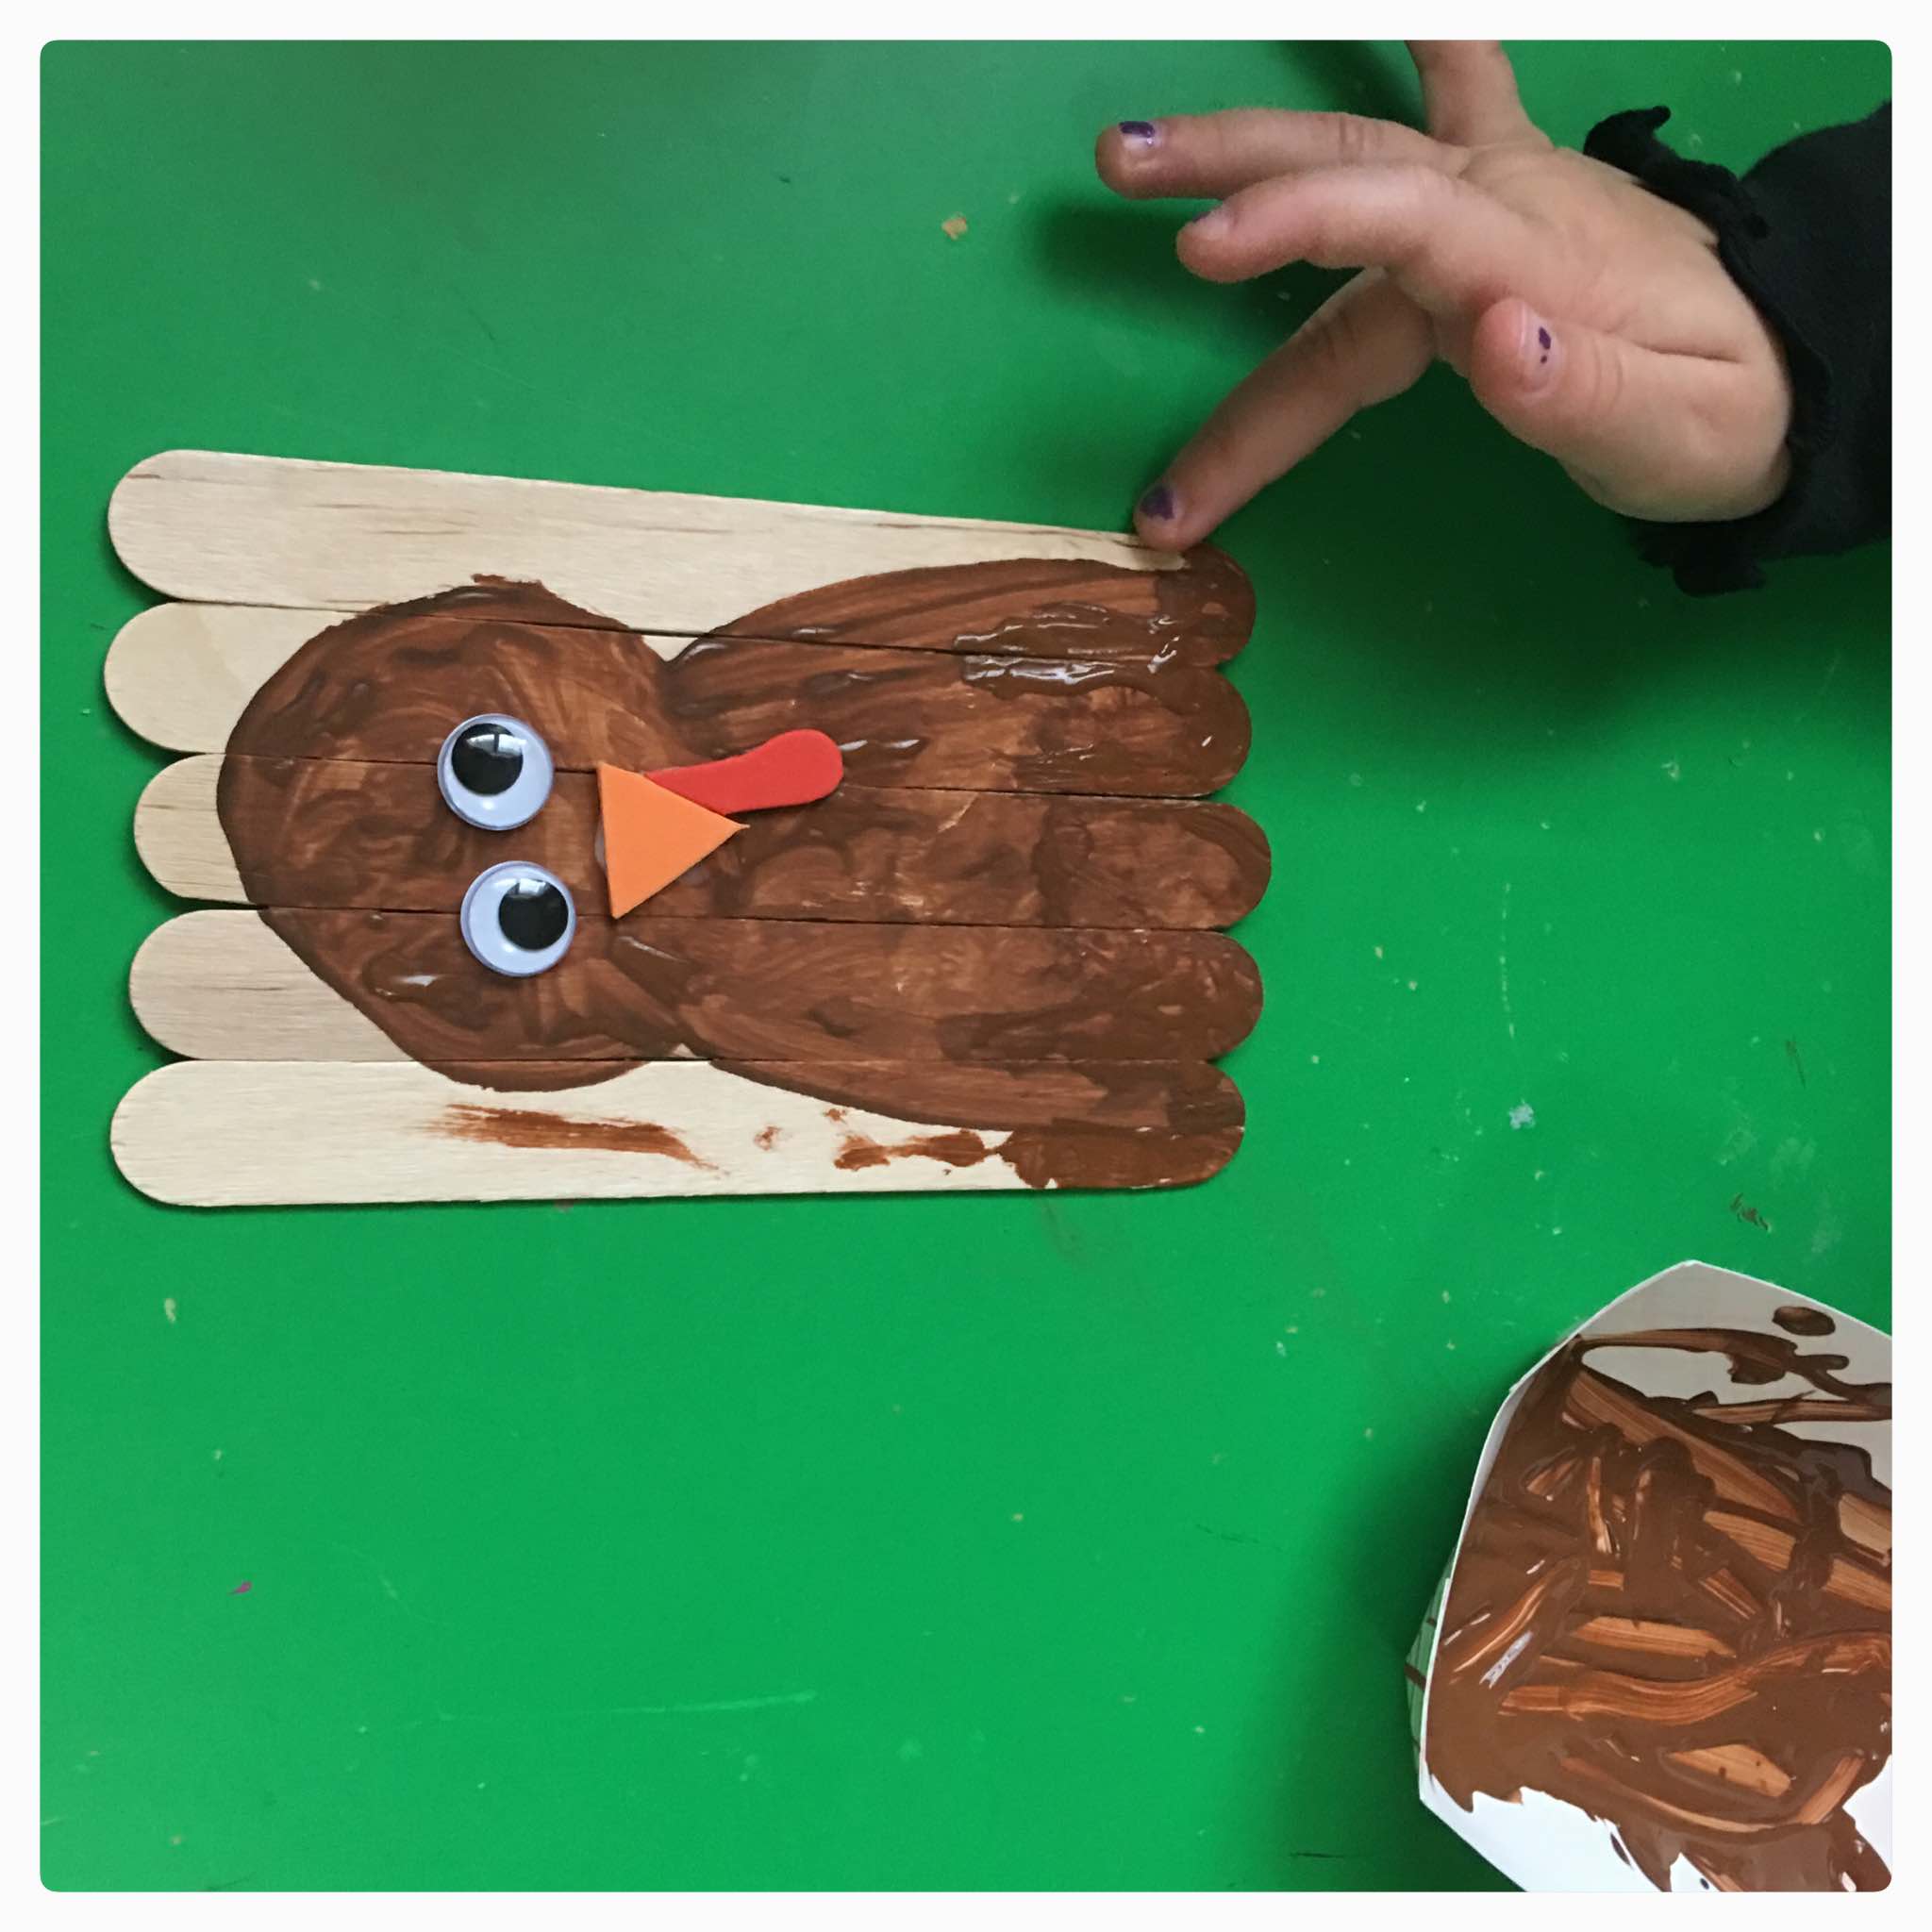
4. After the paint dries, allow your child to help glue the eyes and beak on.
These little were still too excited so our paint wasn't quite dry yet.
Remember to keep baby wipes with you for easy clean up! I'm pretty sure we have at least 3 of these packages open right now in our playroom. I have these delivered every month from Amazon Prime and we don't even have a baby in our home anymore.
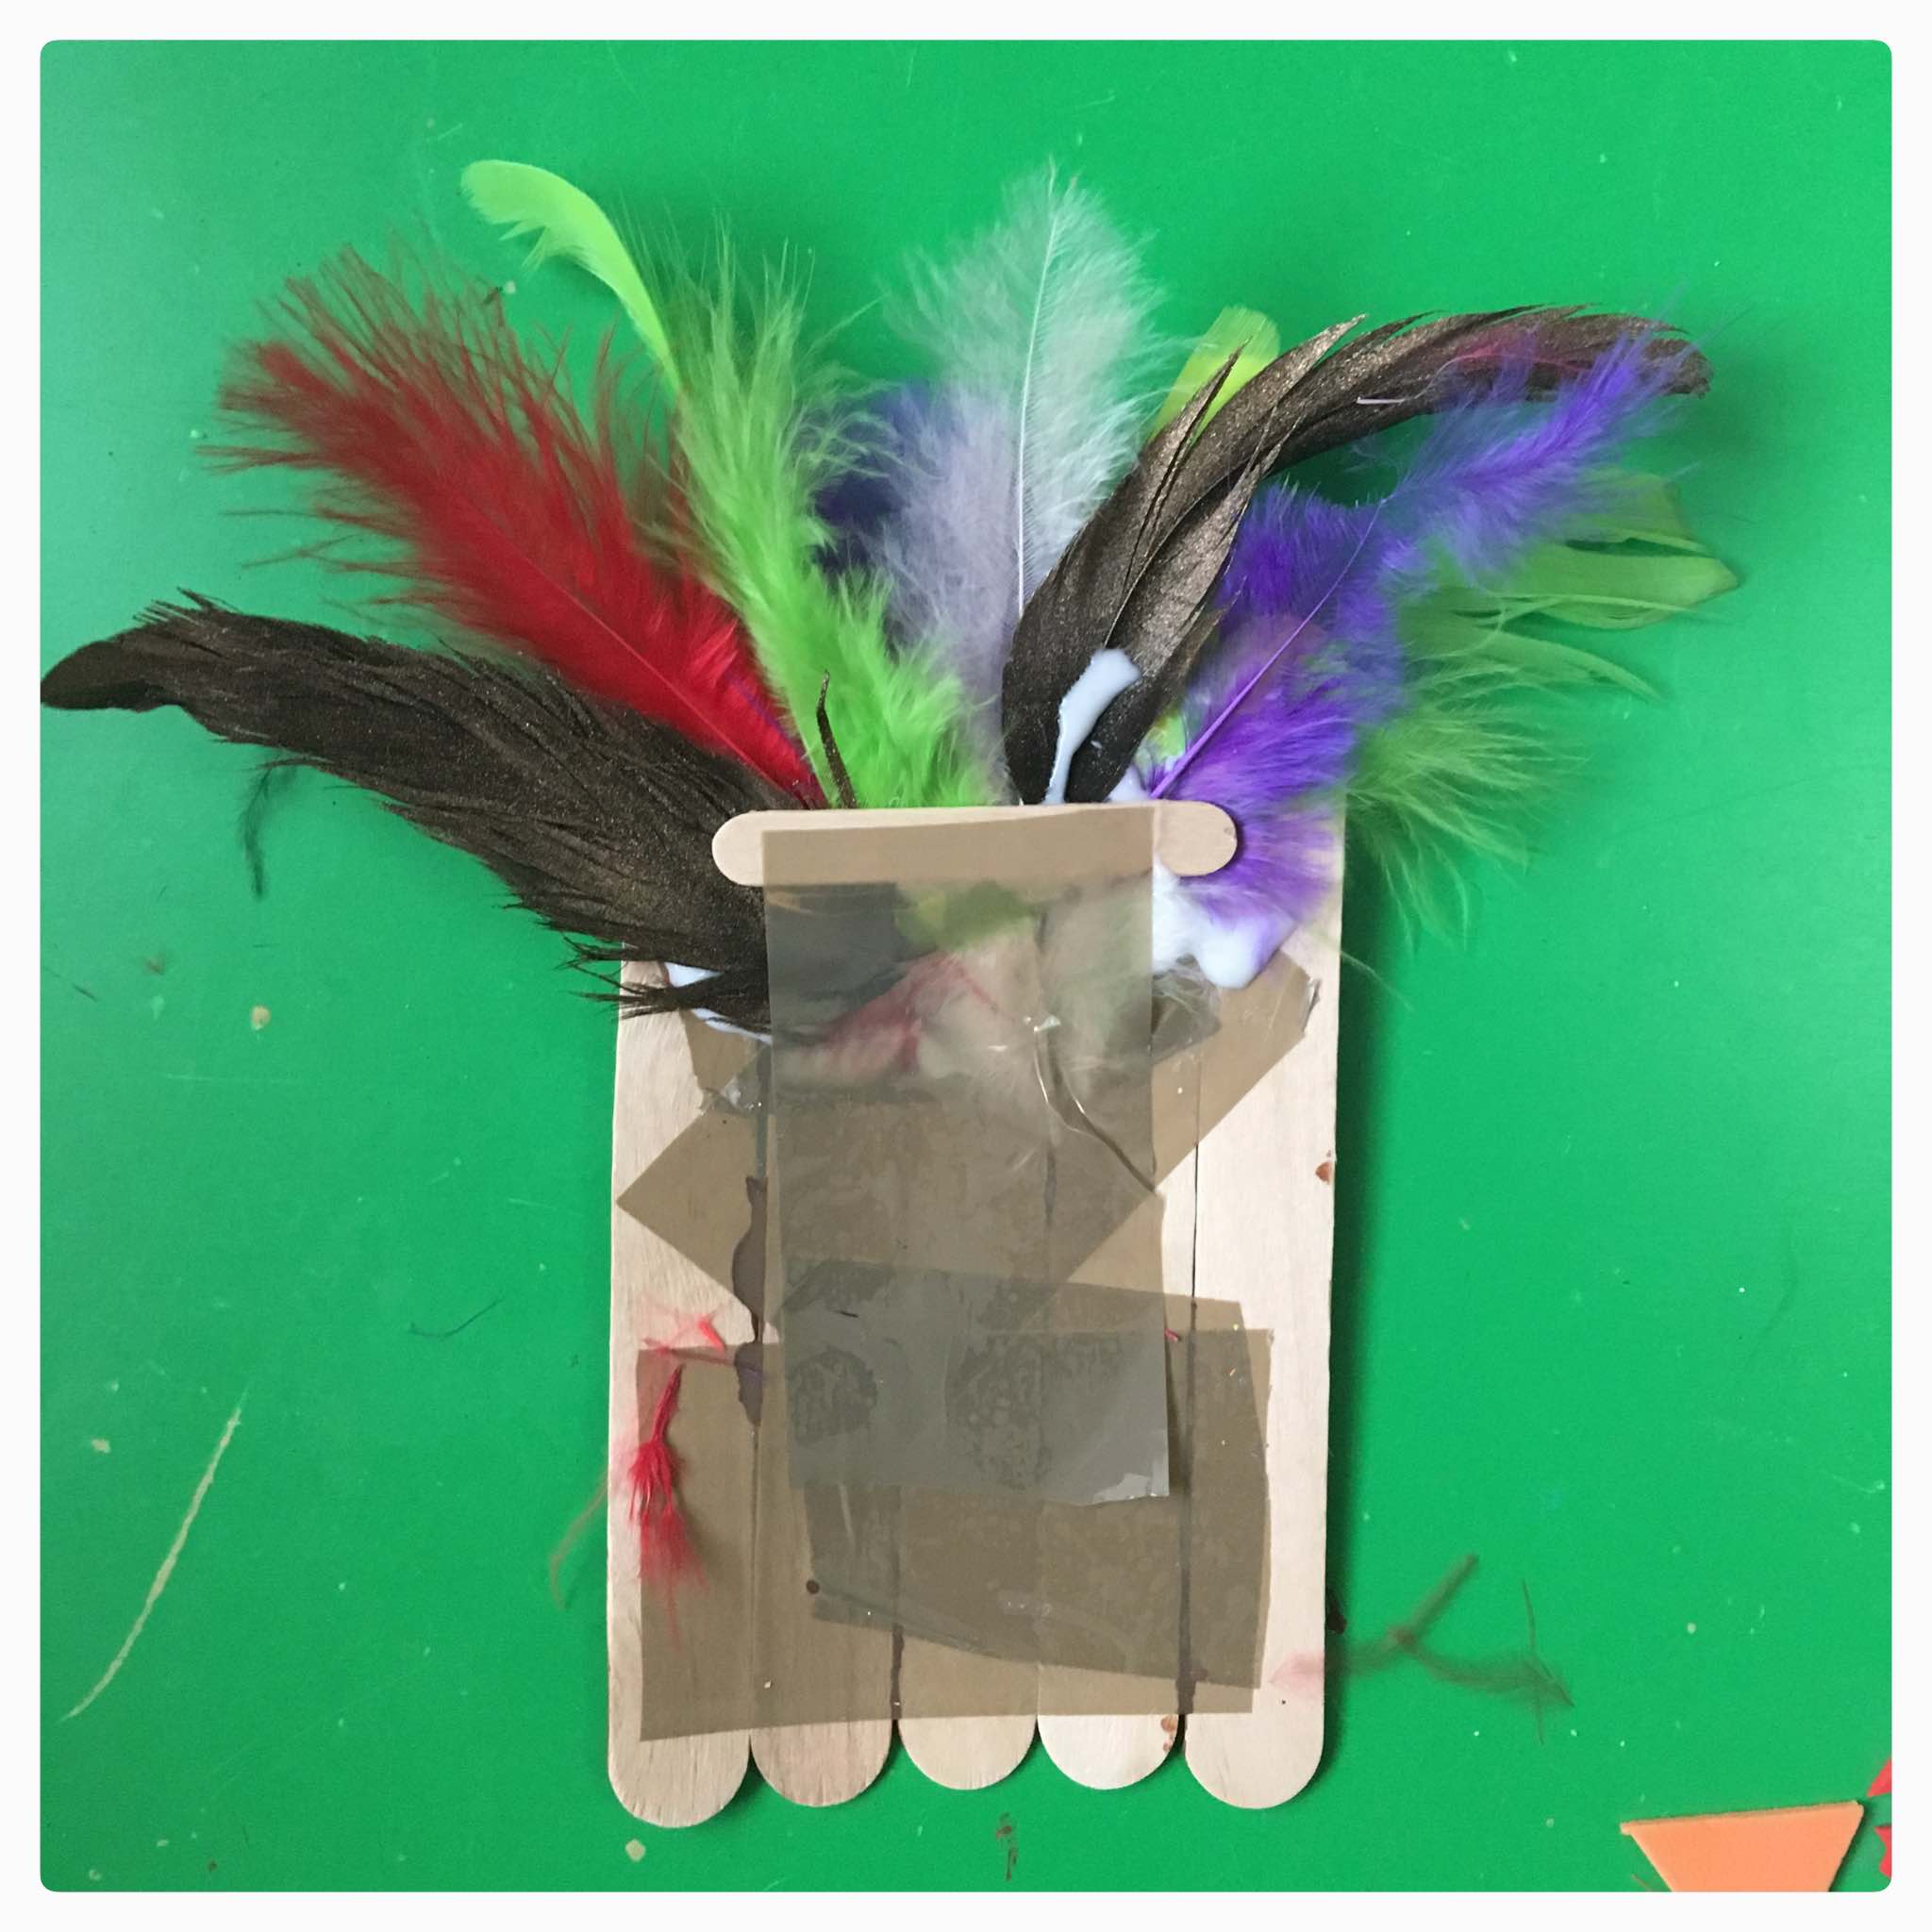
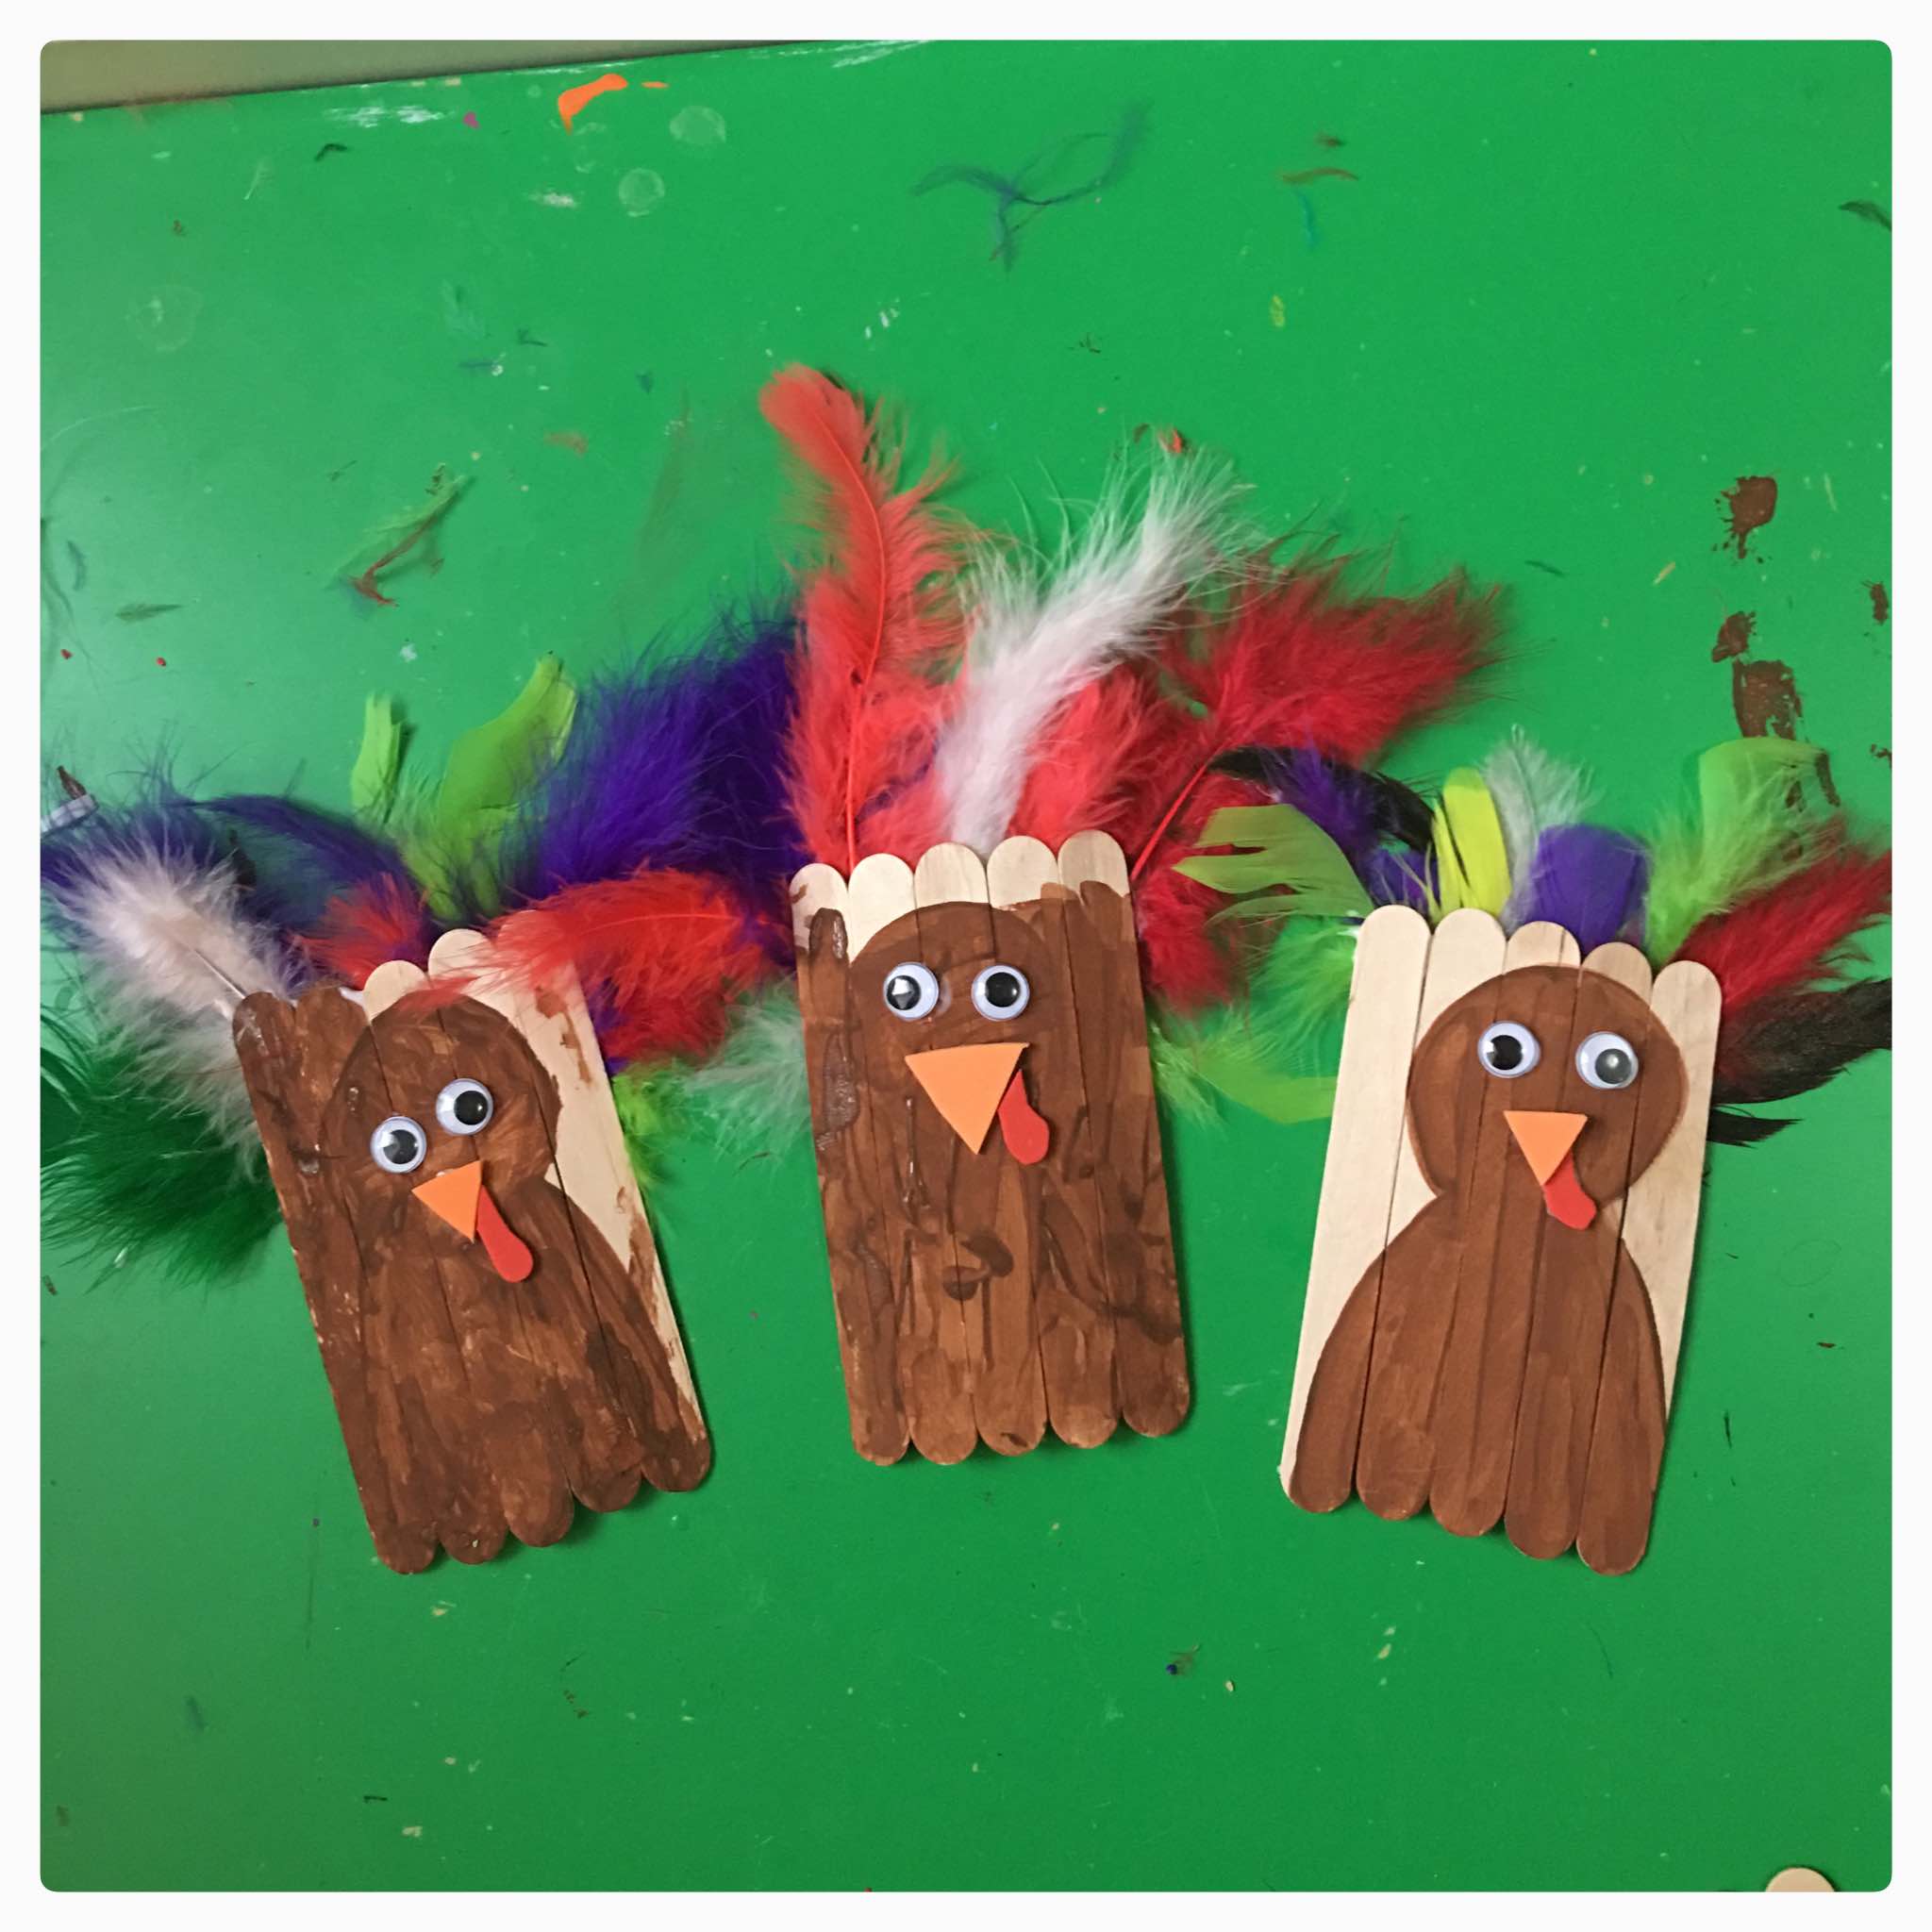
5. Let your child pick out the feathers and glue them on the back. We used Elmer's school glue.
6. I glued a small craft stick across the feathers and then taped it down, hoping this would help the feathers stay on better. It's seemed to work days later to keep them secure.
![]()
